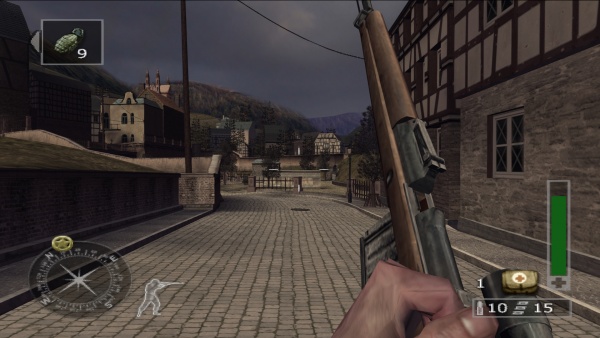
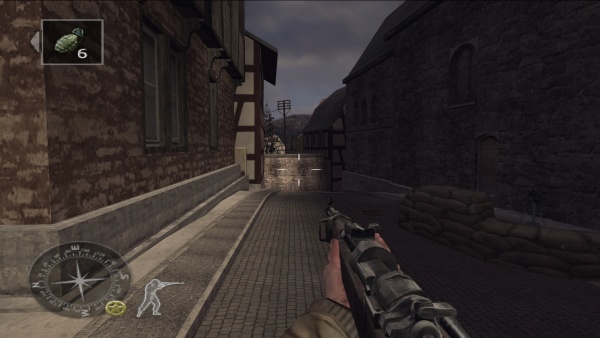
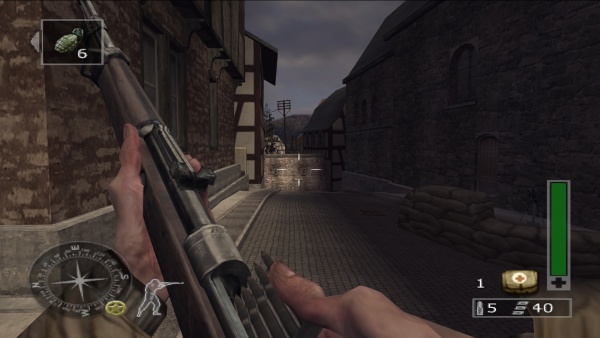
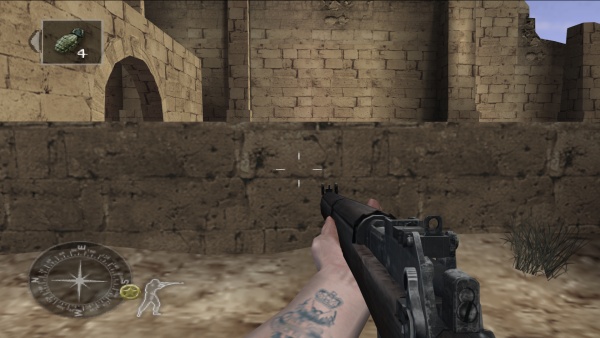
| If you have been locked out of your account you can request a password reset here. |
Difference between revisions of "Call of Duty: Finest Hour"
(Created page with "{{Infobox Video Game|{{PAGENAME}} |name=Call of Duty: Finest Hour |picture=CoDFHCover.jpg |caption=''European PS2 Boxart'' |date=November 16, 2004 |developer=Spark Unlimited<b...") |
m (→MP40: Added information regarding animations. Can be confirmed here: https://www.youtube.com/watch?v=2OssE2P6S-E) |
||
| (30 intermediate revisions by 6 users not shown) | |||
| Line 11: | Line 11: | ||
}} | }} | ||
| − | '''''Call of Duty: Finest Hour''''' is the first console game within the ''[[Call of Duty]]'' series that should oppose the ''[[Medal of Honor]]'' series which had already successfully asserted itself there. Three months earlier, so almost at the same time, the add-on ''[[Call of Duty: United Offensive]]'' was released for the PC. The game is set from 1942 to 1945 on the Eastern and Western Fronts in Europe and North Africa. There was supposed to be a sequel to this part titled ''Call of Duty: Combined Forces'', but was quickly canceled. | + | '''''Call of Duty: Finest Hour''''' is the first console game within the ''[[Call of Duty]]'' series that should oppose the ''[[Medal of Honor]]'' series which had already successfully asserted itself there. Three months earlier, so almost at the same time, the add-on ''[[Call of Duty: United Offensive]]'' was released for the PC. The game is set from 1942 to 1945 on the Eastern and Western Fronts in Europe and North Africa. There was supposed to be a sequel to this part titled ''Call of Duty: Combined Forces'', but was quickly canceled due to internal disagreements between Activision and Spark Unlimited. |
'''Note:''' An emulator was used to capture very high-resolution screenshots of this game for clarity. This upscaling required disabling some post-processing effects due to resulting graphical glitches. All screenshots have been checked against original PS2 footage to ensure that any glitches noted on this page are also present in the PS2 version. | '''Note:''' An emulator was used to capture very high-resolution screenshots of this game for clarity. This upscaling required disabling some post-processing effects due to resulting graphical glitches. All screenshots have been checked against original PS2 footage to ensure that any glitches noted on this page are also present in the PS2 version. | ||
| Line 22: | Line 22: | ||
==Tokarev TT-33== | ==Tokarev TT-33== | ||
| − | Although there are no playable pistols or revolvers, Commissar Viktor Durasov and other Soviet Commissars are seen brandishing [[Tokarev TT-33]] pistols during the | + | Although there are no playable pistols or revolvers, Commissar Viktor Durasov and other Soviet Commissars are seen brandishing [[Tokarev TT-33]] pistols during the ''[[Enemy at the Gates]]''-inspired Volga River crossing. |
| − | [[File:TT-33-Wartime.jpg|thumb|none|300px|Tokarev TT-33 - 7.62x25mm Tokarev | + | [[File:TT-33-Wartime.jpg|thumb|none|300px|Tokarev TT-33 - 7.62x25mm Tokarev, pre-1947 version]] |
[[File:CoDFH-TT1.jpg|thumb|none|600px|Commissar Viktor Durasov holds up his Tokarev pistol while giving a speech to his men.]] | [[File:CoDFH-TT1.jpg|thumb|none|600px|Commissar Viktor Durasov holds up his Tokarev pistol while giving a speech to his men.]] | ||
[[File:CoDFH-TT2.jpg|thumb|none|600px|Another Commissar with the TT-33.]] | [[File:CoDFH-TT2.jpg|thumb|none|600px|Another Commissar with the TT-33.]] | ||
| Line 36: | Line 36: | ||
[[File:CoDFH-Thompson3.jpg|thumb|none|600px|Taking the empty magazine.]] | [[File:CoDFH-Thompson3.jpg|thumb|none|600px|Taking the empty magazine.]] | ||
[[File:CoDFH-Thompson4.jpg|thumb|none|600px|Inserting a new one.]] | [[File:CoDFH-Thompson4.jpg|thumb|none|600px|Inserting a new one.]] | ||
| − | [[File:CoDFH-Thompson5.jpg|thumb|none|600px|Charging the Tommy Gun.]] | + | [[File:CoDFH-Thompson5.jpg|thumb|none|600px|Charging the Tommy Gun. All of the weapons have only one reload animation; no matter if it is shot empty or if there are still bullets in the magazines.]] |
| − | == | + | ==M3A1 "Grease Gun"== |
| − | The [[ | + | The [[M3A1 "Grease Gun"]] is used by U.S. tank crews of the 761st Tank Battalion "Black Panther". |
| − | [[File: | + | [[File:Grease3 2.jpg|thumb|none|400px|M3A1 "Grease Gun" - .45 ACP]] |
[[File:CoDFH-Grease1.jpg|thumb|none|600px|Holding the "Grease Gun" in-game.]] | [[File:CoDFH-Grease1.jpg|thumb|none|600px|Holding the "Grease Gun" in-game.]] | ||
| − | [[File:CoDFH-Grease2.jpg|thumb|none|600px|Aiming.]] | + | [[File:CoDFH-Grease2.jpg|thumb|none|600px|Aiming; the front sight appears to be a bit off-center.]] |
| − | [[File:CoDFH-Grease3.jpg|thumb|none|600px|Taking the used magazine.]] | + | [[File:CoDFH-Grease3.jpg|thumb|none|600px|Taking the used magazine...]] |
| − | [[File:CoDFH-Grease4.jpg|thumb|none|600px|]] | + | [[File:CoDFH-Grease4.jpg|thumb|none|600px|...pausing for a moment to look at the longer dustcover, showing that this is an M3A1 rather than the original M3...]] |
| − | [[File:CoDFH-Grease5.jpg|thumb|none|600px| | + | [[File:CoDFH-Grease5.jpg|thumb|none|600px|...and then smashing in a new one.]] |
| − | [[File:CoDFH-Grease6.jpg|thumb|none|600px| | + | [[File:CoDFH-Grease6.jpg|thumb|none|600px|Cocking the weapon. This also confirms that it's an M3A1, as the player character simply shoves his finger into the bolt; the M3A1 variant did away with the M3's breakage-prone charging handle in favor of this somewhat brutally simple system.]] |
==MP40== | ==MP40== | ||
| − | German soldiers carry [[MP40]]s which can of course be picked up and used by the player character. | + | German soldiers carry [[MP40]]s which can of course be picked up and used by the player character. The weapons firing animations depict it as a closed bolt weapon, when in reality it is an open bolt weapon. |
[[File:MP40.jpg|thumb|none|400px|Maschinenpistole 40 - 9x19mm]] | [[File:MP40.jpg|thumb|none|400px|Maschinenpistole 40 - 9x19mm]] | ||
| − | [[File:CoDFH-MP1.jpg|thumb|none|600px|Holding an "MP40" | + | [[File:CoDFH-MP1.jpg|thumb|none|600px|Holding an "MP40" inside the northern tower of the [[The Bridge at Remagen|Remagen Bridge]].]] |
[[File:CoDFH-MP2.jpg|thumb|none|600px|Looking through the sights.]] | [[File:CoDFH-MP2.jpg|thumb|none|600px|Looking through the sights.]] | ||
[[File:CoDFH-MP3.jpg|thumb|none|600px|Removing the magazine by pressing the mag release.]] | [[File:CoDFH-MP3.jpg|thumb|none|600px|Removing the magazine by pressing the mag release.]] | ||
| Line 58: | Line 58: | ||
==PPSh-41== | ==PPSh-41== | ||
| − | The [[PPSh-41]] fitted with a 71-round drum magazine is wielded by Soviet soldiers. | + | The [[PPSh-41]] fitted with a 71-round drum magazine is wielded by Soviet soldiers and is usable by the player in Soviet missions. |
[[File:PPSH-01-SMG.jpg|thumb|none|400px|PPSh-41 with 71-round drum magazine - 7.62x25mm Tokarev]] | [[File:PPSH-01-SMG.jpg|thumb|none|400px|PPSh-41 with 71-round drum magazine - 7.62x25mm Tokarev]] | ||
[[File:CoDFH-PPSh1.jpg|thumb|none|600px|Holding a "PPSH" in the ruins of Stalingrad.]] | [[File:CoDFH-PPSh1.jpg|thumb|none|600px|Holding a "PPSH" in the ruins of Stalingrad.]] | ||
| Line 68: | Line 68: | ||
==Sten Mk. II== | ==Sten Mk. II== | ||
| − | The [[Sten Mk II]] with Canadian stock is the submachine gun carried by British soldiers. | + | The [[Sten Mk II]] with a Canadian stock is the submachine gun carried by British soldiers. |
[[File:Unitsten2.jpg|thumb|none|400px|Sten Mk II (Canadian) - 9x19mm]] | [[File:Unitsten2.jpg|thumb|none|400px|Sten Mk II (Canadian) - 9x19mm]] | ||
[[File:CoDFH-Sten1.jpg|thumb|none|600px|Holding a "Sten" in-game.]] | [[File:CoDFH-Sten1.jpg|thumb|none|600px|Holding a "Sten" in-game.]] | ||
| − | [[File:CoDFH- | + | [[File:CoDFH-Sten-2.jpg|thumb|none|600px|Aiming.]] |
[[File:CoDFH-Sten3.jpg|thumb|none|600px|Pressing the stock against the upper body at the start of the reload.]] | [[File:CoDFH-Sten3.jpg|thumb|none|600px|Pressing the stock against the upper body at the start of the reload.]] | ||
[[File:CoDFH-Sten4.jpg|thumb|none|600px|Then pulling back the charging handle.]] | [[File:CoDFH-Sten4.jpg|thumb|none|600px|Then pulling back the charging handle.]] | ||
| − | [[File:CoDFH-Sten5.jpg|thumb|none|600px|Removing the used magazine with the left hand. The gun is held by | + | [[File:CoDFH-Sten5.jpg|thumb|none|600px|Removing the used magazine with the left hand. The gun is held by its charging handle with user's right hand.]] |
| − | [[File:CoDFH-Sten6.jpg|thumb|none|600px|Releasing the | + | [[File:CoDFH-Sten6.jpg|thumb|none|600px|Releasing the charging handle after inserting a new magazine.]] |
=Rifles= | =Rifles= | ||
| Line 92: | Line 92: | ||
The [[Karabiner 98k]] is the main battle rifle for the ''Wehrmacht'' forces. | The [[Karabiner 98k]] is the main battle rifle for the ''Wehrmacht'' forces. | ||
[[File:Karabiner-98K.jpg|thumb|none|450px|Karabiner 98k - 7.92x57mm Mauser]] | [[File:Karabiner-98K.jpg|thumb|none|450px|Karabiner 98k - 7.92x57mm Mauser]] | ||
| − | [[File:CoDFH-Karabiner1.jpg|thumb|none|600px|Holding a "Kar 98" in-game. It is worth mentioning that all bolt-action rifles in the game have functional moving | + | [[File:CoDFH-Karabiner1.jpg|thumb|none|600px|Holding a "Kar 98" in-game. It is worth mentioning that all bolt-action rifles in the game have functional strikers that can be seen moving after each shot or reloading. This feature was not adopted for the following CoD games.]] |
| − | [[File:CoDFH-Karabiner2.jpg|thumb|none|600px|Aiming.]] | + | [[File:CoDFH-Karabiner2.jpg|thumb|none|600px|Aiming. The bolt handle is slanted and smooth instead of round curved; similar to the [[M1903 Springfield]] rifle.]] |
| − | [[File:CoDFH-Karabiner3.jpg|thumb|none|600px|Inserting a new 5-round stripper clip into the chamber. Like the following Mosin Nagant Rifle, | + | [[File:CoDFH-Karabiner3.jpg|thumb|none|600px|Inserting a new 5-round stripper clip into the chamber. Like the following Mosin Nagant Rifle, this rifle is always reloaded with a full clip and completely ignores the remaining number of rounds in the gun if a partial reload is performed.]] |
==Lee-Enfield No. 4 Mk. I== | ==Lee-Enfield No. 4 Mk. I== | ||
| Line 101: | Line 101: | ||
[[File:CoDFH-SMLE1.jpg|thumb|none|600px|Holding the "Lee Enfield" in-game.]] | [[File:CoDFH-SMLE1.jpg|thumb|none|600px|Holding the "Lee Enfield" in-game.]] | ||
[[File:CoDFH-SMLE2.jpg|thumb|none|600px|Aiming.]] | [[File:CoDFH-SMLE2.jpg|thumb|none|600px|Aiming.]] | ||
| − | [[File:CoDFH-SMLE3.jpg|thumb|none|600px|Unlike many other games, the rifle is not reloaded from the top | + | [[File:CoDFH-SMLE3.jpg|thumb|none|600px|Unlike many other games, the rifle is not reloaded from the top; instead, the magazine is removed and replaced. While technically possible, as the Lee-Enfield's magazine was indeed detachable, this was mostly meant for unloading and maintenance - each soldier was only issued a single magazine and some stripper clips, so there wouldn't be any real way to do this short of looting spare magazines from other rifles.]] |
| − | [[File:CoDFH-SMLE4.jpg|thumb|none|600px| | + | [[File:CoDFH-SMLE4.jpg|thumb|none|600px|Bringing in a new magazine with a 2D .303 round...]] |
| − | [[File:CoDFH-SMLE5.jpg|thumb|none|600px| | + | [[File:CoDFH-SMLE5.jpg|thumb|none|600px|...and loading it in.]] |
==M1 Garand== | ==M1 Garand== | ||
| − | The iconic [[M1 Garand]] is the standard rifle for the U.S. Army. | + | The iconic [[M1 Garand]] is the standard rifle for the U.S. Army. It can only be reloaded when all 8 rounds have been fired, making partial reloads impossible in-game. |
[[File:M1 Garand.jpg|thumb|none|450px|M1 Garand - .30-06]] | [[File:M1 Garand.jpg|thumb|none|450px|M1 Garand - .30-06]] | ||
[[File:CoDFH-Garand1.jpg|thumb|none|600px|Holding an "M1 Garand" in-game.]] | [[File:CoDFH-Garand1.jpg|thumb|none|600px|Holding an "M1 Garand" in-game.]] | ||
[[File:CoDFH-Garand2.jpg|thumb|none|600px|Aiming down the sights]] | [[File:CoDFH-Garand2.jpg|thumb|none|600px|Aiming down the sights]] | ||
| − | [[File:CoDFH-Garand3.jpg|thumb|none|600px| | + | [[File:CoDFH-Garand3.jpg|thumb|none|600px|8 fired rounds later, the gun pings out the en-bloc clip.]] |
[[File:CoDFH-Garand4.jpg|thumb|none|600px|Bringing in a new en-bloc clip.]] | [[File:CoDFH-Garand4.jpg|thumb|none|600px|Bringing in a new en-bloc clip.]] | ||
[[File:CoDFH-Garand5.jpg|thumb|none|600px|About to insert the clip.]] | [[File:CoDFH-Garand5.jpg|thumb|none|600px|About to insert the clip.]] | ||
| Line 117: | Line 117: | ||
==Mosin Nagant M/28-30== | ==Mosin Nagant M/28-30== | ||
The in-game "Mosin Nagant" is modeled after the Finnish M/28-30 variant. | The in-game "Mosin Nagant" is modeled after the Finnish M/28-30 variant. | ||
| − | [[File: | + | [[File:MosinNagantM28-30Rifle.jpg|thumb|none|450px|Mosin Nagant M/28-30 "Uudisttu Kivääri" - 7.62x54mm R]] |
[[File:CoDFH-Mosin1.jpg|thumb|none|600px|Holding a "Mosin Nagant" rifle in-game.]] | [[File:CoDFH-Mosin1.jpg|thumb|none|600px|Holding a "Mosin Nagant" rifle in-game.]] | ||
| − | [[File:CoDFH-Mosin2.jpg|thumb|none|600px|Looking through the sights.]] | + | [[File:CoDFH-Mosin2.jpg|thumb|none|600px|Looking through the L-shaped rear and protected front sights.]] |
[[File:CoDFH-Mosin3.jpg|thumb|none|600px|Pulling back the bolt handle to open the chamber.]] | [[File:CoDFH-Mosin3.jpg|thumb|none|600px|Pulling back the bolt handle to open the chamber.]] | ||
| − | [[File:CoDFH- | + | [[File:CoDFH-Mosin-4.jpg|thumb|none|600px|Reloading a 5-round stripper clip. Note the hex receiver.]] |
[[File:CoDFH-Mosin5.jpg|thumb|none|600px|Closing the chamber by pushing the bolt forward.]] | [[File:CoDFH-Mosin5.jpg|thumb|none|600px|Closing the chamber by pushing the bolt forward.]] | ||
[[File:CoDFH-Mosin6.jpg|thumb|none|600px|[[Jude Law|"''I need a rifle!''"]]]] | [[File:CoDFH-Mosin6.jpg|thumb|none|600px|[[Jude Law|"''I need a rifle!''"]]]] | ||
| Line 128: | Line 128: | ||
The correct [[Mosin Nagant M91/30 Sniper Rifle]] is used by Tanya Pavelovna but it still has the Finnish rear sight. Its barrel and scope are covered by scraps of cloth, as in the previous part of the series, which is inspired by the 2001 movie ''[[Enemy at the Gates]]'' (as well as almost the entire Soviet campaign). | The correct [[Mosin Nagant M91/30 Sniper Rifle]] is used by Tanya Pavelovna but it still has the Finnish rear sight. Its barrel and scope are covered by scraps of cloth, as in the previous part of the series, which is inspired by the 2001 movie ''[[Enemy at the Gates]]'' (as well as almost the entire Soviet campaign). | ||
[[File:MosinNagantM9130Sniper.jpg|thumb|none|450px|Mosin Nagant M91/30 Sniper Rifle with PU 3.5x sniper scope and down turned bolt handle - 7.62x54mm R]] | [[File:MosinNagantM9130Sniper.jpg|thumb|none|450px|Mosin Nagant M91/30 Sniper Rifle with PU 3.5x sniper scope and down turned bolt handle - 7.62x54mm R]] | ||
| − | [[File:CoDFH-MosinSniper1.jpg|thumb|none|600px|Tanya holds her "Mosin Nagant Sniper".]] | + | [[File:CoDFH-MosinSniper1.jpg|thumb|none|600px|Tanya holds her "Mosin Nagant Sniper". It also has the hex receiver, which is not modeled incorrectly, but is a sign that this rifle was manufactured before 1936.]] |
[[File:CoDFH-MosinSniper2.jpg|thumb|none|600px|A view through the scope.]] | [[File:CoDFH-MosinSniper2.jpg|thumb|none|600px|A view through the scope.]] | ||
[[File:CoDFH-MosinSniper3.jpg|thumb|none|600px|Cycling the bolt-handle.]] | [[File:CoDFH-MosinSniper3.jpg|thumb|none|600px|Cycling the bolt-handle.]] | ||
| − | [[File:CoDFH-MosinSniper4.jpg|thumb|none|600px|Filling the chamber with loose rounds.]] | + | [[File:CoDFH-MosinSniper4.jpg|thumb|none|600px|Filling the chamber with loose rounds. The round hooded front sight is perfectly seen.]] |
==Springfield M1903A4== | ==Springfield M1903A4== | ||
| − | The [[M1903A4 Springfield]] is one of the available sniper rifles in multiplayer mode for the American and British factions. In the single-player campaign, it is used by the British sniper Yusuf in "Mission: Matmata" and "Depot Saboteurs". | + | The [[M1903A4 Springfield]] is one of the available sniper rifles in multiplayer mode for the American and British factions. In the single-player campaign, it is used by the British sniper Yusuf in "Mission: Matmata" and "Depot Saboteurs". However, after he gets killed, his rifle cannot be picked up. |
[[File:M1903A4Weaver.jpeg|thumb|none|450px|M1903A4 Springfield with Model 330 Weaver scope - .30-06]] | [[File:M1903A4Weaver.jpeg|thumb|none|450px|M1903A4 Springfield with Model 330 Weaver scope - .30-06]] | ||
[[File:CoDFH-Springfield1.jpg|thumb|none|600px|Yusuf holds his scoped "Springfield" rifle.]] | [[File:CoDFH-Springfield1.jpg|thumb|none|600px|Yusuf holds his scoped "Springfield" rifle.]] | ||
=Machine Guns= | =Machine Guns= | ||
| + | |||
| + | ==Bren Mk. II== | ||
| + | Some [[Bren Gun]]s can be picked up during the British North Afrika mission. It is the standard light machine gun for the British faction in multiplayer. | ||
| + | [[File:Bren mk2.jpg|thumb|none|450px|Bren Mark II - .303 British]] | ||
| + | [[File:CoDFH-Bren1.jpg|thumb|none|600px|Holding the "Bren" in-game.]] | ||
| + | [[File:CoDFH-Bren2.jpg|thumb|none|600px|Aiming.]] | ||
| + | [[File:CoDFH-Bren3.jpg|thumb|none|600px|Getting rid of the used magazine.]] | ||
| + | [[File:CoDFH-Bren4.jpg|thumb|none|600px|Inserting a new one. The entire reload animation is done off-screen.]] | ||
==Browning M1919A6== | ==Browning M1919A6== | ||
| − | The second support machine gun for the Americans is the [[Browning M1919A6]] which is called "Browning .30" and "M1919A6" in-game. It comes with | + | The second support machine gun for the Americans is the [[Browning M1919A6]] which is called "Browning .30" and "M1919A6" in-game. It comes with an ammo capacity of 99 rounds but it is the most inaccurate weapon in the game. |
[[File:1919A6 postWW2.jpg|thumb|none|450px|M1919A6, post-WWII manufacture with conical muzzle booster - .30-06 Springfield]] | [[File:1919A6 postWW2.jpg|thumb|none|450px|M1919A6, post-WWII manufacture with conical muzzle booster - .30-06 Springfield]] | ||
[[File:CoDFH-BrowningA1.jpg|thumb|none|600px|Holding an "M1919A6".]] | [[File:CoDFH-BrowningA1.jpg|thumb|none|600px|Holding an "M1919A6".]] | ||
| Line 149: | Line 157: | ||
[[File:CoDFH-BrowningA5.jpg|thumb|none|600px|Closing the top cover.]] | [[File:CoDFH-BrowningA5.jpg|thumb|none|600px|Closing the top cover.]] | ||
[[File:CoDFH-BrowningA6.jpg|thumb|none|600px|Pulling the charging handle, creating a bicycle bell-like "ding" sound.]] | [[File:CoDFH-BrowningA6.jpg|thumb|none|600px|Pulling the charging handle, creating a bicycle bell-like "ding" sound.]] | ||
| − | |||
| − | |||
| − | |||
| − | |||
| − | |||
| − | |||
| − | |||
| − | |||
==Degtyaryov DPM== | ==Degtyaryov DPM== | ||
| − | The [[Degtyaryov DPM]] is the light machine gun of the Soviet Army. It is modeled with a rotating magazine which is an amazing feature for the time. However, the in-game model lacks the pistol grip. | + | The [[Degtyaryov DPM]] is the light machine gun of the Soviet Army. It is modeled with a rotating pan magazine which is an amazing feature for the time. However, the in-game model lacks the pistol grip. |
[[File:Dpm.jpg|thumb|none|450px|Degtyarev DPM - 7.62x54mm R]] | [[File:Dpm.jpg|thumb|none|450px|Degtyarev DPM - 7.62x54mm R]] | ||
[[File:CoDFH-DPM1.jpg|thumb|none|600px|Holding a "DPM" in-game.]] | [[File:CoDFH-DPM1.jpg|thumb|none|600px|Holding a "DPM" in-game.]] | ||
| − | [[File:CoDFH-DPM2.jpg|thumb|none|600px|Note how the | + | [[File:CoDFH-DPM2.jpg|thumb|none|600px|Note how the pan magazine changed its position after firing several shots.]] |
[[File:CoDFH-DPM3.jpg|thumb|none|600px|Taking aim with the light machine gun.]] | [[File:CoDFH-DPM3.jpg|thumb|none|600px|Taking aim with the light machine gun.]] | ||
[[File:CoDFH-DPM4.jpg|thumb|none|600px|Removing the used magazine.]] | [[File:CoDFH-DPM4.jpg|thumb|none|600px|Removing the used magazine.]] | ||
| Line 168: | Line 168: | ||
[[File:CoDFH-DPM6.jpg|thumb|none|600px|Pulling the side-mounted charging handle.]] | [[File:CoDFH-DPM6.jpg|thumb|none|600px|Pulling the side-mounted charging handle.]] | ||
| − | == | + | ==M1918 Browning Automatic Rifle== |
| − | The [[ | + | The early [[M1918 Browning Automatic Rifle]] is another usable weapon in the American campaign levels. |
| − | [[File: | + | [[File:BARearlymodel.jpg|thumb|none|450px|M1918 Browning Automatic Rifle - .30-06]] |
| − | [[File:CoDFH-BAR1.jpg|thumb|none|600px|Holding a "BAR" in the | + | [[File:CoDFH-BAR1.jpg|thumb|none|600px|Holding a "BAR" in the sewers of Aachen.]] |
[[File:CoDFH-BAR2.jpg|thumb|none|600px|Aiming.]] | [[File:CoDFH-BAR2.jpg|thumb|none|600px|Aiming.]] | ||
| − | [[File:CoDFH-BAR3.jpg|thumb|none|600px| | + | [[File:CoDFH-BAR3.jpg|thumb|none|600px|Removing the used magazine.]] |
| − | [[File:CoDFH-BAR4.jpg|thumb|none|600px|Patting the new | + | [[File:CoDFH-BAR4.jpg|thumb|none|600px|Patting the new inserted one.]] |
| − | [[File:CoDFH-BAR5.jpg|thumb|none|600px|Pulling the charging handle.]] | + | [[File:CoDFH-BAR5.jpg|thumb|none|600px|Pulling the rifle's charging handle.]] |
==MG42== | ==MG42== | ||
The [[MG42]] appears as a portable machine gun with the ''Gurttrommel'' in-game and is therefore the first time in the series that the machine gun is not only in the game as a mounted weapon. | The [[MG42]] appears as a portable machine gun with the ''Gurttrommel'' in-game and is therefore the first time in the series that the machine gun is not only in the game as a mounted weapon. | ||
| − | [[File:Mg42drummag.jpg|thumb|none|450px|MG42 with 50-round drum | + | [[File:Mg42drummag.jpg|thumb|none|450px|MG42 with 50-round belt drum - 7.92x57mm Mauser]] |
[[File:CoDFH-MG1.jpg|thumb|none|600px|The world model of the machine gun.]] | [[File:CoDFH-MG1.jpg|thumb|none|600px|The world model of the machine gun.]] | ||
[[File:CoDFH-MG2.jpg|thumb|none|600px|Holding the "MG42".]] | [[File:CoDFH-MG2.jpg|thumb|none|600px|Holding the "MG42".]] | ||
| − | [[File:CoDFH-MG3.jpg|thumb|none|600px|After opening the top cover, the player character removes the drum | + | [[File:CoDFH-MG3.jpg|thumb|none|600px|After opening the top cover, the player character removes the belt drum which in-game apparently contains 57 rounds.]] |
[[File:CoDFH-MG4.jpg|thumb|none|600px|Closing the top cover.]] | [[File:CoDFH-MG4.jpg|thumb|none|600px|Closing the top cover.]] | ||
| Line 188: | Line 188: | ||
==Panzerschreck== | ==Panzerschreck== | ||
| − | The only mobile anti-tank weapon in the game is the [[Panzerschreck]] which appears in-game with its widespread suggestive name. | + | The only mobile anti-tank weapon in the game is the [[Panzerschreck]] which appears in-game with its widespread suggestive name. The single-player campaign's first appearance of the Panzerschreck is during the Battle of Stalingrad in October 1942, which is historically incorrect and thus an anachronism. |
| − | [[File:Tank h5.jpg|thumb|none|450px|Raketenpanzerbüchse 54 - 88mm]] | + | [[File:Tank h5.jpg|thumb|none|450px|Raketenpanzerbüchse 54 ("Panzerschreck") - 88mm]] |
[[File:CoDFH-Panzerschreck1.jpg|thumb|none|600px|Wielding a captured "Panzerschreck".]] | [[File:CoDFH-Panzerschreck1.jpg|thumb|none|600px|Wielding a captured "Panzerschreck".]] | ||
[[File:CoDFH-Panzerschreck2.jpg|thumb|none|600px|The iron sights.]] | [[File:CoDFH-Panzerschreck2.jpg|thumb|none|600px|The iron sights.]] | ||
| − | [[File:CoDFH-Panzerschreck3.jpg|thumb|none|600px|]] | + | [[File:CoDFH-Panzerschreck3.jpg|thumb|none|600px|About to insert an infamous 88mm rocket]] |
| − | [[File:CoDFH-Panzerschreck4.jpg|thumb|none|600px|Shoving in | + | [[File:CoDFH-Panzerschreck4.jpg|thumb|none|600px|Shoving in a rocket; without pressing down the contact pin on top of the contact box.]] |
=Grenades & Explosives= | =Grenades & Explosives= | ||
| Line 210: | Line 210: | ||
The [[No. 74 ST Grenade]] is only available for British forces. | The [[No. 74 ST Grenade]] is only available for British forces. | ||
[[File:Sticky72ii.jpg|thumb|none|400px|No. 74 Mark. I S.T. "Sticky Bomb"]] | [[File:Sticky72ii.jpg|thumb|none|400px|No. 74 Mark. I S.T. "Sticky Bomb"]] | ||
| − | [[File:CoDFH-STGrenade1.jpg|thumb|none|600px|Priming | + | [[File:CoDFH-STGrenade1.jpg|thumb|none|600px|Priming an "ST74 Grenade".]] |
==RGD-33== | ==RGD-33== | ||
The [[RGD-33 stick grenade]] can be picked up on the Eastern Front missions. | The [[RGD-33 stick grenade]] can be picked up on the Eastern Front missions. | ||
| + | ''Finest Hour'' is the only Call of Duty game to properly depict the arming sequence of the RGD-33 with the player inserting a detonator into the grenade. | ||
[[File:Rgd-33russianfrag mp.jpg|thumb|none|400px|RGD-33 high-explosive fragmentation stick grenade]] | [[File:Rgd-33russianfrag mp.jpg|thumb|none|400px|RGD-33 high-explosive fragmentation stick grenade]] | ||
[[File:CoDFH-RGD1.jpg|thumb|none|600px|Holding an "RGD-33 grenade".]] | [[File:CoDFH-RGD1.jpg|thumb|none|600px|Holding an "RGD-33 grenade".]] | ||
| Line 222: | Line 223: | ||
[[File:Tellermine35.jpg|thumb|none|400px|Tellermine 35 Anti-tank mine]] | [[File:Tellermine35.jpg|thumb|none|400px|Tellermine 35 Anti-tank mine]] | ||
[[File:CoDFH-Tellermine1.jpg|thumb|none|600px|Laying down a "Teller Mine".]] | [[File:CoDFH-Tellermine1.jpg|thumb|none|600px|Laying down a "Teller Mine".]] | ||
| − | [[File:CoDFH-Tellermine2.jpg|thumb|none|600px|The placed mine in the sand. "T.Mi.35 | + | [[File:CoDFH-Tellermine2.jpg|thumb|none|600px|The placed mine in the sand. "T.Mi.35/T.Mi.Z42" is written on the top side. These are German abbreviations and mean: T.Mi. for ''Tellermine'' and T.Mi.Z for ''Tellerminenzünder'' (teller mine fuse).]] |
=Mounted Weapons= | =Mounted Weapons= | ||
| Line 229: | Line 230: | ||
Several Flak 18 anti-aircraft guns with shields are deployed at the German Airfield 32 in the mission "Airfield Ambush". In "Come Out Fighting" multiple Flak guns are set up in and around the town of Tillet, Belgium. | Several Flak 18 anti-aircraft guns with shields are deployed at the German Airfield 32 in the mission "Airfield Ambush". In "Come Out Fighting" multiple Flak guns are set up in and around the town of Tillet, Belgium. | ||
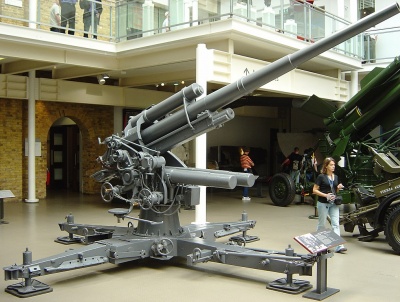
[[File:Flak18-36.jpg|thumb|none|400px|FlaK 18 antiaircraft gun on a FlaK 36 cruciform mount at the British Imperial War Museum - 88×571mmR]] | [[File:Flak18-36.jpg|thumb|none|400px|FlaK 18 antiaircraft gun on a FlaK 36 cruciform mount at the British Imperial War Museum - 88×571mmR]] | ||
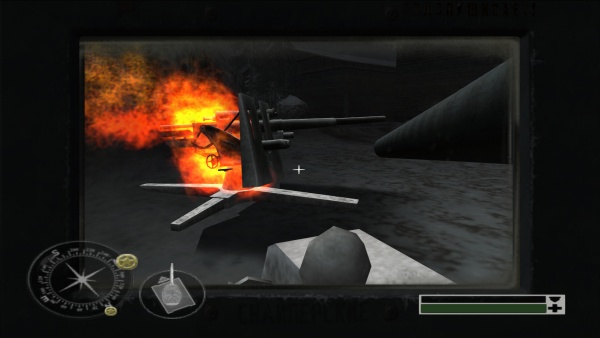
| − | [[File:CoDFH-Flak1.jpg|thumb|none|600px|]] | + | [[File:CoDFH-Flak1.jpg|thumb|none|600px|Viewing a destroyed FlaK 18 while in a Sherman tank.]] |
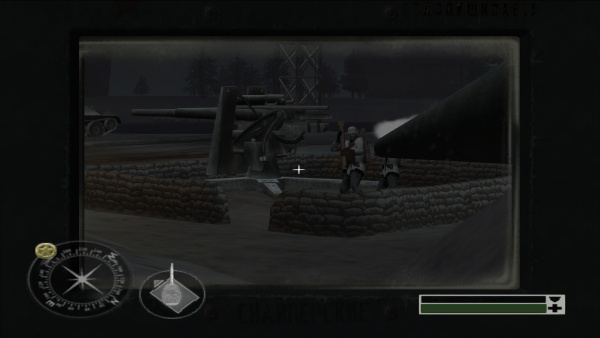
| − | [[File:CoDFH-Flak2.jpg|thumb|none|600px|]] | + | [[File:CoDFH-Flak2.jpg|thumb|none|600px|The player about to destroy a FlaK 18 with his tank's gun, much to the horror of the two German soldiers next to it.]] |
==155 mm Gun Motor Carriage M12== | ==155 mm Gun Motor Carriage M12== | ||
| Line 239: | Line 240: | ||
The [[Browning M2HB]] is mounted on British Long Range Desert Group jeeps. | The [[Browning M2HB]] is mounted on British Long Range Desert Group jeeps. | ||
[[File:BrowningM2.jpg|thumb|none|450px|Browning M2HB on vehicle mount - .50 BMG]] | [[File:BrowningM2.jpg|thumb|none|450px|Browning M2HB on vehicle mount - .50 BMG]] | ||
| − | [[File:CoDFH-BrowningHB1.jpg|thumb|none|600px|]] | + | [[File:CoDFH-BrowningHB1.jpg|thumb|none|600px|Inspecting the jeep-mounted M2.]] |
| − | [[File:CoDFH-BrowningHB2.jpg|thumb|none|600px|]] | + | [[File:CoDFH-BrowningHB2.jpg|thumb|none|600px|Manning the machine gun.]] |
| − | [[File:CoDFH-BrowningHB3.jpg|thumb|none|600px|]] | + | [[File:CoDFH-BrowningHB3.jpg|thumb|none|600px|Taking aim.]] |
==Browning M1919A4== | ==Browning M1919A4== | ||
| Line 250: | Line 251: | ||
==Degtyaryov DT== | ==Degtyaryov DT== | ||
The [[Degtyaryov DT]] is mounted on Soviet T-34/76 medium tanks. | The [[Degtyaryov DT]] is mounted on Soviet T-34/76 medium tanks. | ||
| − | [[File:DT tank machine gun TBiU 11.jpg|thumb|none|450px|Degtyaryov DT - 7. | + | [[File:DT tank machine gun TBiU 11.jpg|thumb|none|450px|Degtyaryov DT - 7.62x54mm R]] |
[[File:CoDFH-DT1.jpg|thumb|none|600px|]] | [[File:CoDFH-DT1.jpg|thumb|none|600px|]] | ||
==Flakvierling 38== | ==Flakvierling 38== | ||
| − | During the final mission "Into the Heartland", one [[Flakvierling 38]] is stationed on top of the | + | During the final mission "Into the Heartland", one [[Flakvierling 38]] is stationed on top of the south tower at the Remagen Bridge which must be manned to defend it against Junkers Ju 87 Stuka dive bombers. It is referred to as an "anti-aircraft gun" in the task text. |
[[Image:flak38.jpg|thumb|none|400px|Flakvierling 38 with gunshield removed - 20x138mmB]] | [[Image:flak38.jpg|thumb|none|400px|Flakvierling 38 with gunshield removed - 20x138mmB]] | ||
| − | [[File:CoDFH-Vierling1.jpg|thumb|none|600px|]] | + | [[File:CoDFH-Vierling1.jpg|thumb|none|600px|The Flakvierling 38 on the top of the south tower at Ludendorff Bridge.]] |
| − | [[File:CoDFH-Vierling2.jpg|thumb|none|600px|]] | + | [[File:CoDFH-Vierling2.jpg|thumb|none|600px|Viewing the weapon from its front.]] |
| − | [[File:CoDFH-Vierling3.jpg|thumb|none|600px|]] | + | [[File:CoDFH-Vierling3.jpg|thumb|none|600px|Having manned the Flakvierling, the player prepares for the finale mission's climax.]] |
==MG15== | ==MG15== | ||
| Line 265: | Line 266: | ||
[[File:CoDFH-MGJu1.jpg|thumb|none|600px|]] | [[File:CoDFH-MGJu1.jpg|thumb|none|600px|]] | ||
| − | == | + | ==MG 34 Panzerlauf== |
| − | The [[ | + | The [[MG 34 Panzerlauf]] is mounted on German Panzer IV and ''Panzerkampfwagen'' VI Ausf. B Tiger II (King Tiger) tanks. |
| − | [[File: | + | [[File:MG 34 Panzerlauf 2.jpg|thumb|none|450px|MG 34 Panzerlauf - 7.92x57mm Mauser]] |
[[File:CoDFH-MGTank1.jpg|thumb|none|600px|]] | [[File:CoDFH-MGTank1.jpg|thumb|none|600px|]] | ||
==MG42== | ==MG42== | ||
| − | The [[MG42]] appears also as a stationary weapon. It is mounted on a ''Lafette'' tripod. | + | The [[MG42]] appears also as a stationary weapon with unlimited ammo and no cooldown. It is mounted on a ''Lafette'' 34 tripod. |
[[File:MG42.jpg|thumb|none|450px|MG42 - 7.92x57mm Mauser]] | [[File:MG42.jpg|thumb|none|450px|MG42 - 7.92x57mm Mauser]] | ||
| − | [[File:CoDFH-MGM1.jpg|thumb|none|600px|]] | + | [[File:CoDFH-MGM1.jpg|thumb|none|600px|The unloaded MG42 in-game. It could have been modeled at least still with the belt drum like the portable variant.]] |
| − | [[File:CoDFH-MGM2.jpg|thumb|none|600px|]] | + | [[File:CoDFH-MGM2.jpg|thumb|none|600px|A view of the right side reveals the post-1943 vertical charging handle.]] |
| − | [[File:CoDFH-MGM3.jpg|thumb|none|600px|]] | + | [[File:CoDFH-MGM3.jpg|thumb|none|600px|Manning the mounted machine gun.]] |
| − | [[File:CoDFH-MGM4.jpg|thumb|none|600px|]] | + | [[File:CoDFH-MGM4.jpg|thumb|none|600px|Zooming in the sights.]] |
=Unusable Weapons= | =Unusable Weapons= | ||
Latest revision as of 16:50, 17 April 2024
|
Call of Duty: Finest Hour is the first console game within the Call of Duty series that should oppose the Medal of Honor series which had already successfully asserted itself there. Three months earlier, so almost at the same time, the add-on Call of Duty: United Offensive was released for the PC. The game is set from 1942 to 1945 on the Eastern and Western Fronts in Europe and North Africa. There was supposed to be a sequel to this part titled Call of Duty: Combined Forces, but was quickly canceled due to internal disagreements between Activision and Spark Unlimited.
Note: An emulator was used to capture very high-resolution screenshots of this game for clarity. This upscaling required disabling some post-processing effects due to resulting graphical glitches. All screenshots have been checked against original PS2 footage to ensure that any glitches noted on this page are also present in the PS2 version.
The following weapons appear in the video game Call of Duty: Finest Hour:
Handguns
Tokarev TT-33
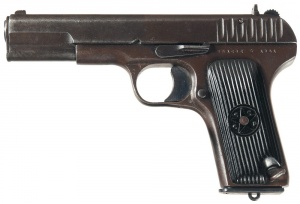
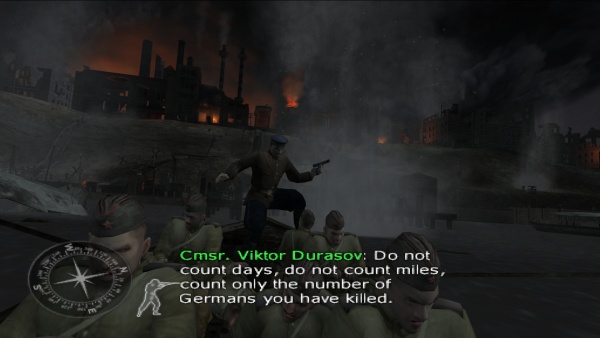
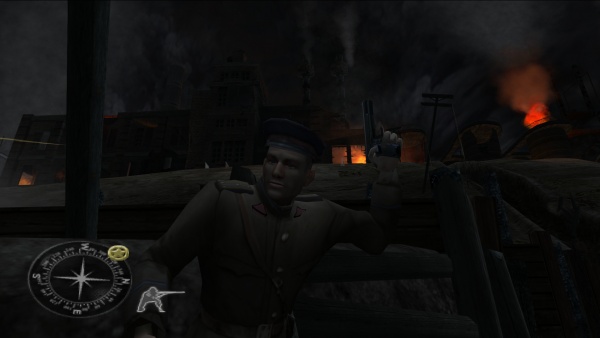
Although there are no playable pistols or revolvers, Commissar Viktor Durasov and other Soviet Commissars are seen brandishing Tokarev TT-33 pistols during the Enemy at the Gates-inspired Volga River crossing.
Submachine Guns
M1A1 Thompson
The M1A1 Thompson appears simply as the "Thompson" and is often the starting weapon for the American missions.
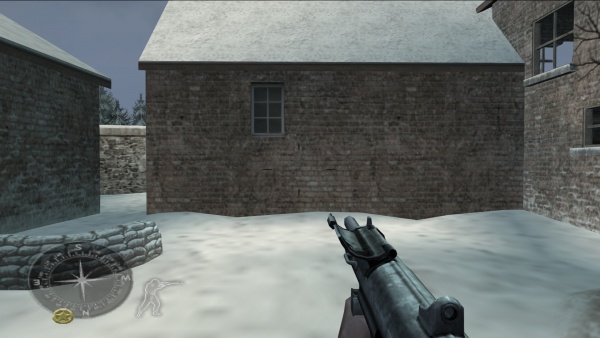
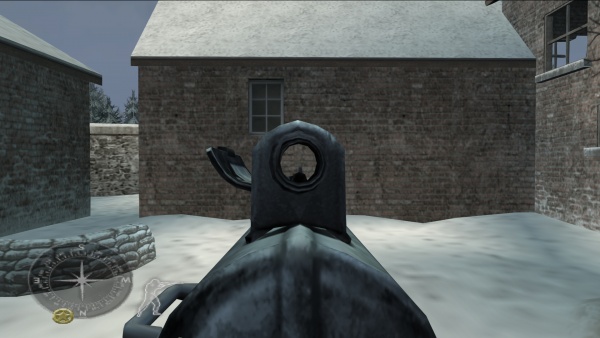
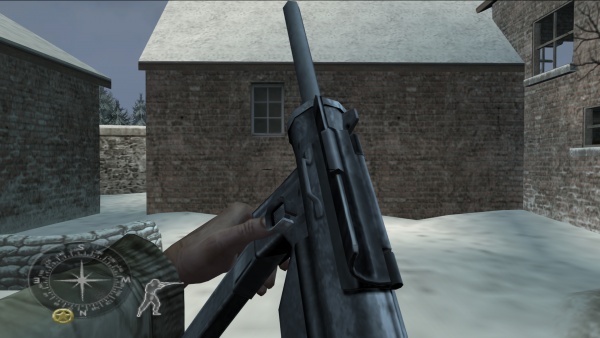
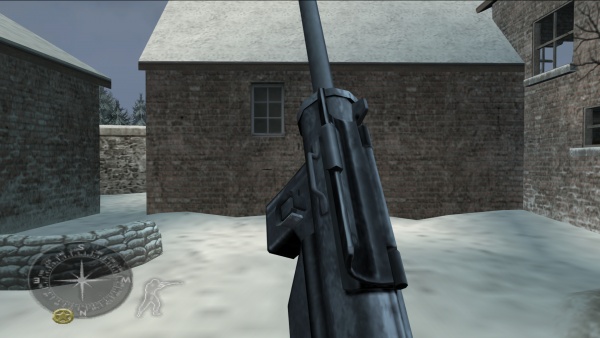
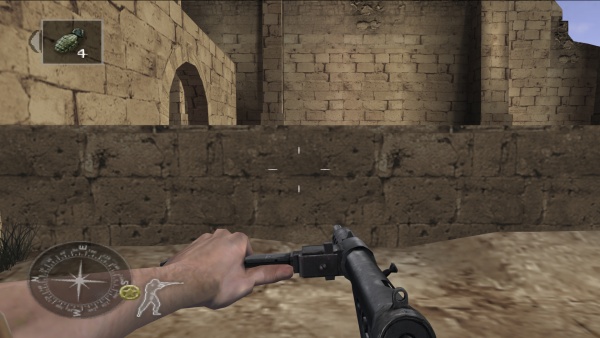
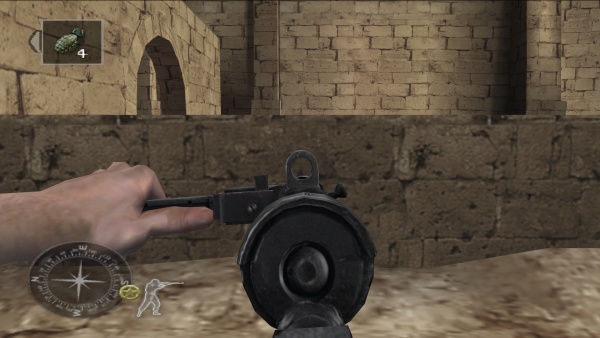
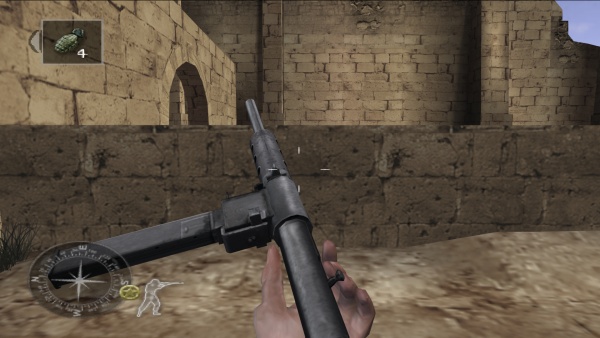
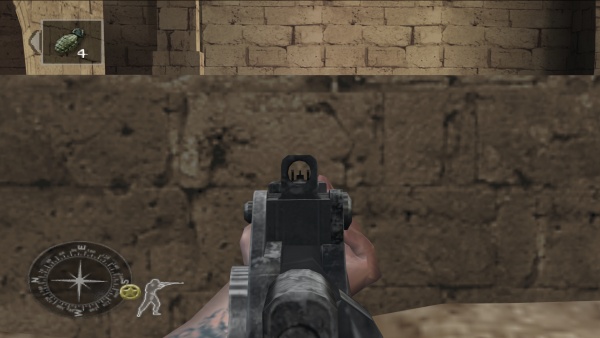
M3A1 "Grease Gun"
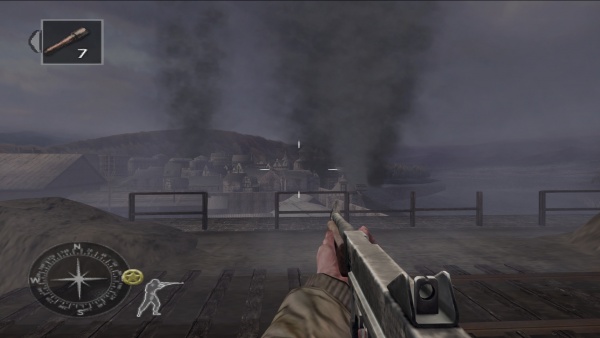
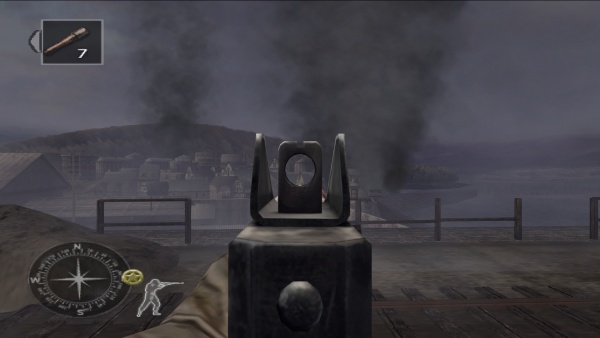
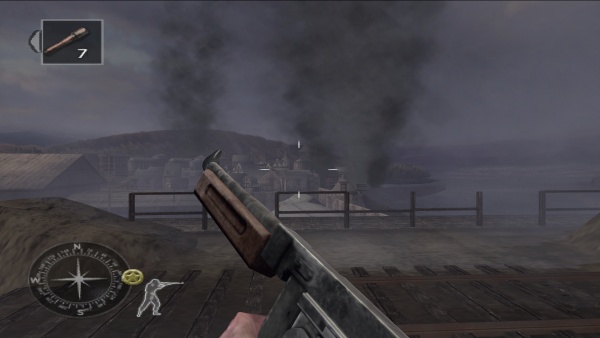
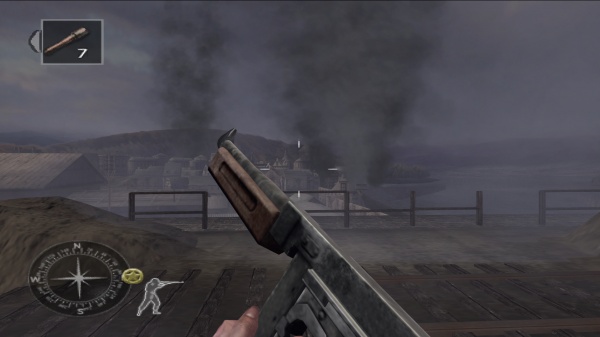
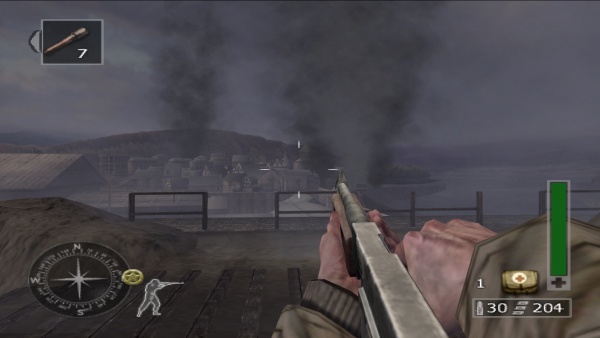
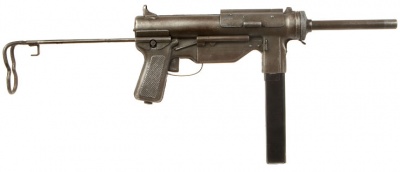
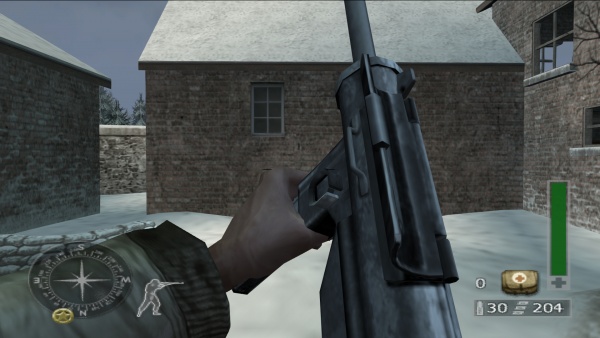
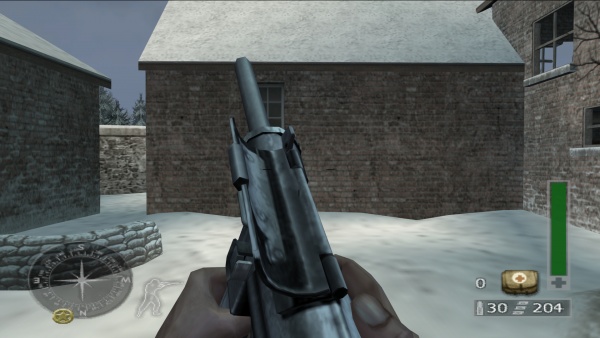
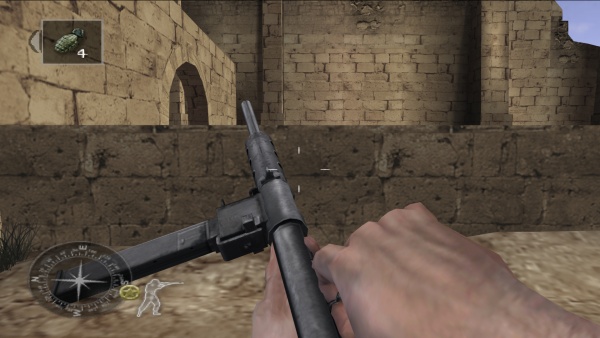
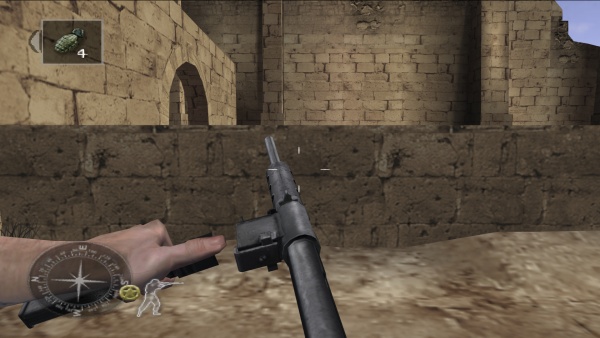
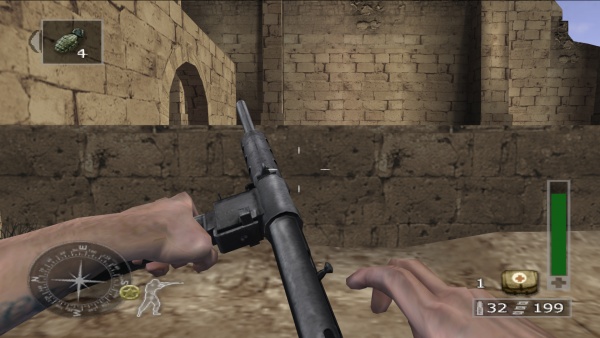
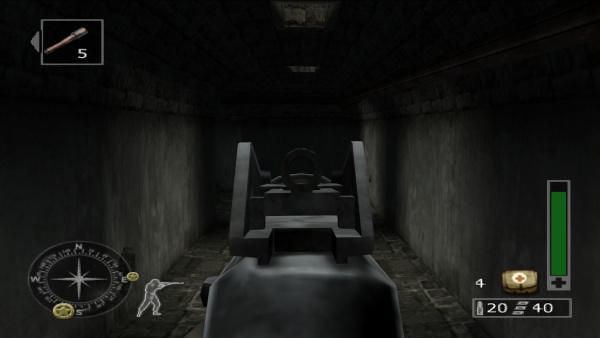
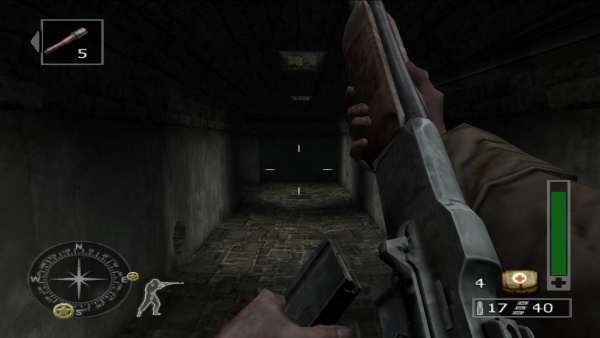
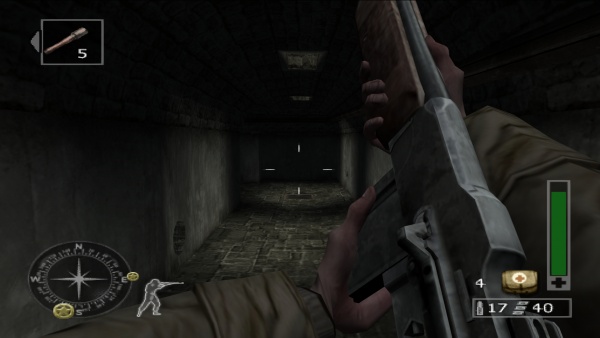
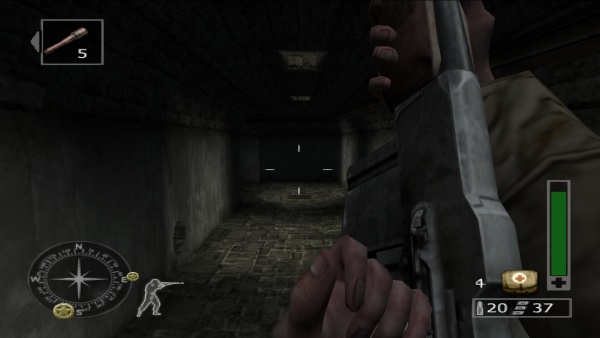
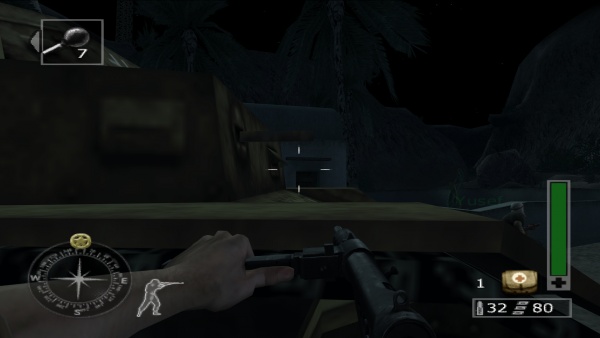
The M3A1 "Grease Gun" is used by U.S. tank crews of the 761st Tank Battalion "Black Panther".
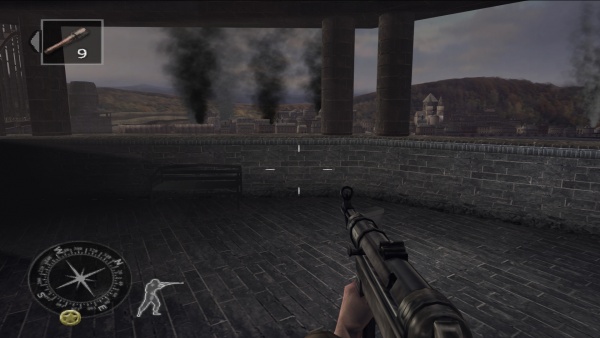
MP40
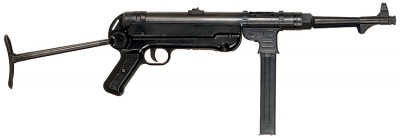
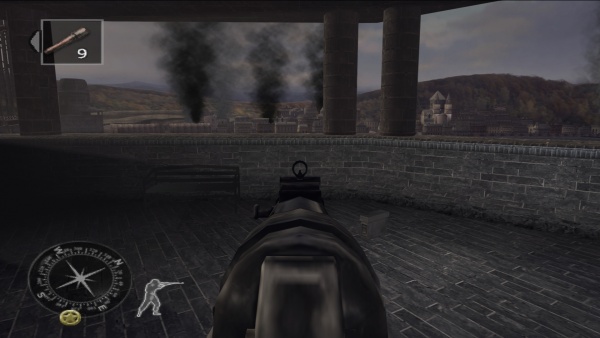
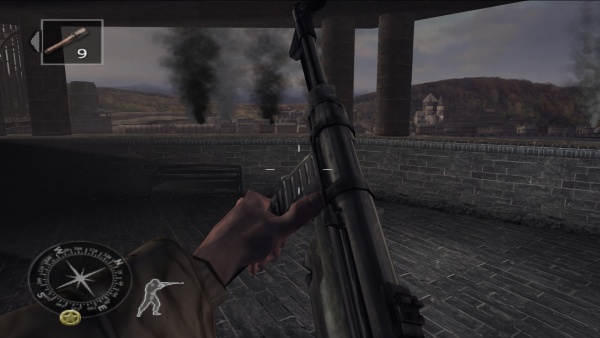
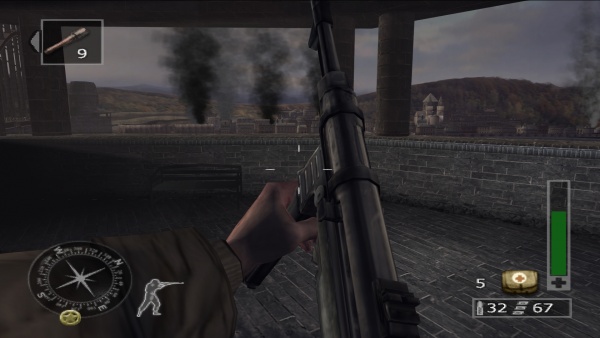
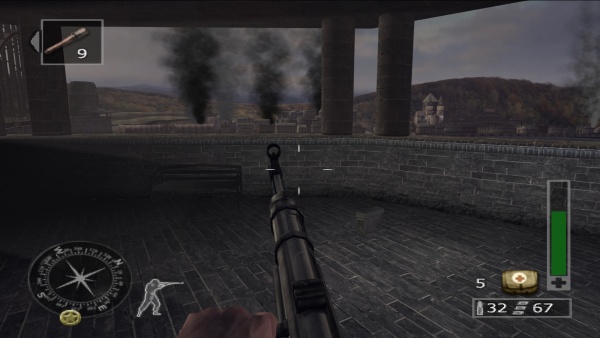
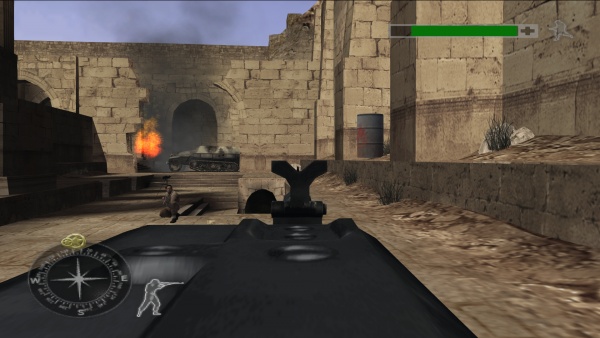
German soldiers carry MP40s which can of course be picked up and used by the player character. The weapons firing animations depict it as a closed bolt weapon, when in reality it is an open bolt weapon.
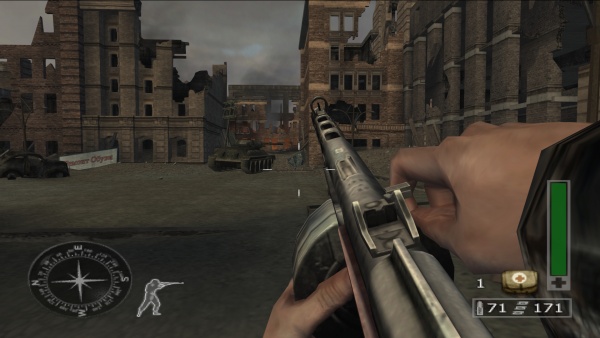
PPSh-41
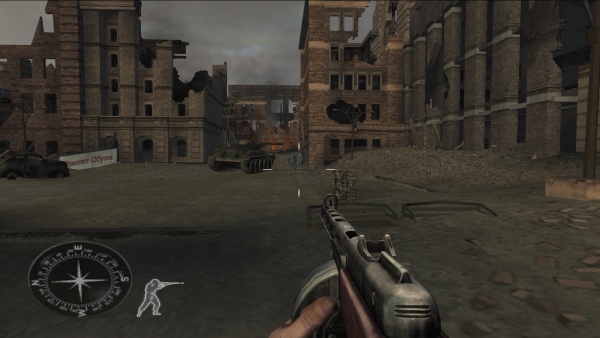
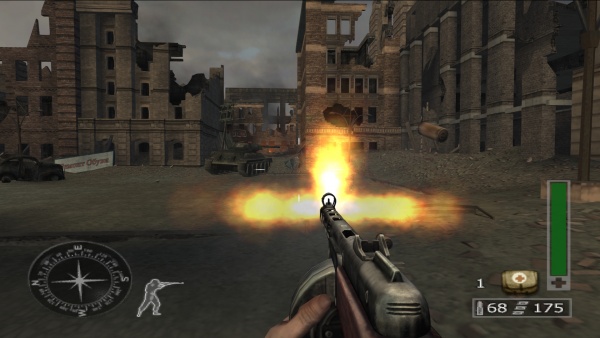
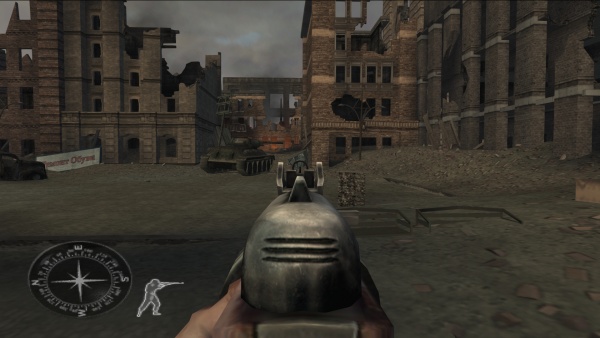
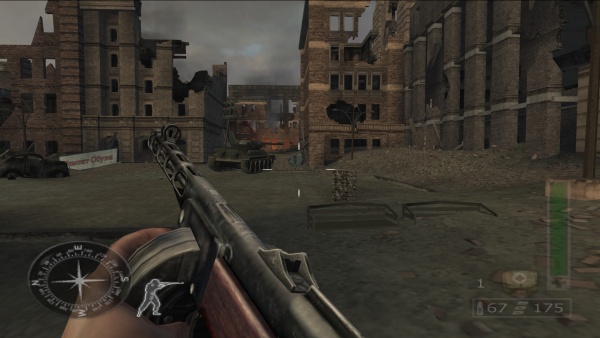
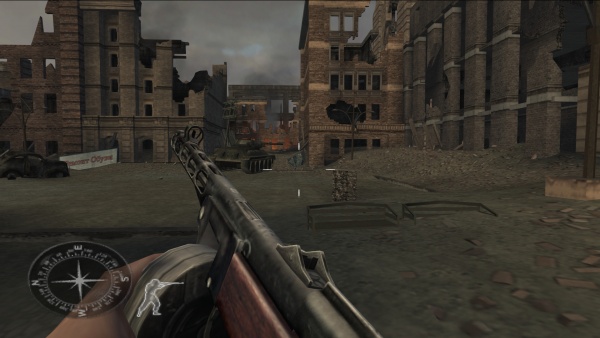
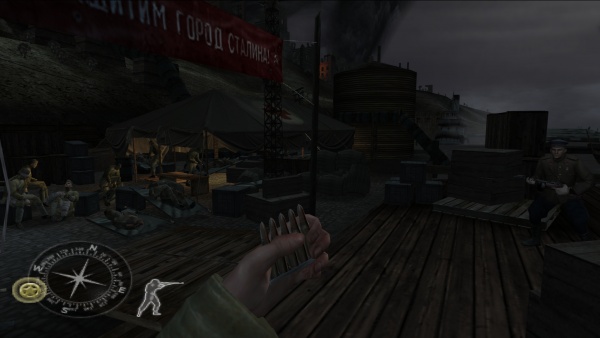
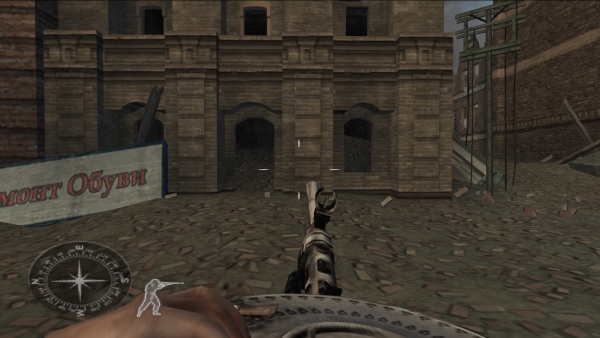
The PPSh-41 fitted with a 71-round drum magazine is wielded by Soviet soldiers and is usable by the player in Soviet missions.
Sten Mk. II
The Sten Mk II with a Canadian stock is the submachine gun carried by British soldiers.
Rifles
Gewehr 43
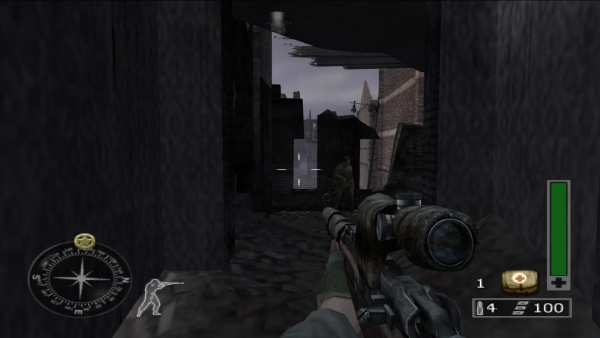
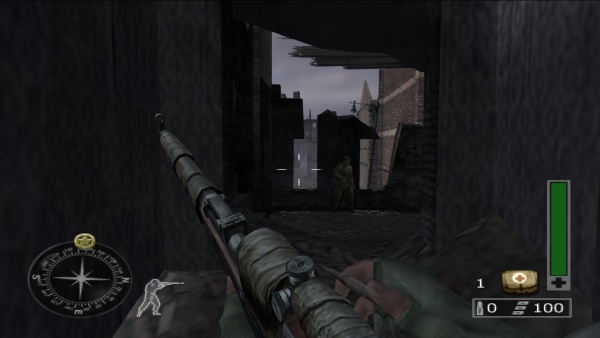
The standard German sniper rifle is the Gewehr 43.
Karabiner 98k
The Karabiner 98k is the main battle rifle for the Wehrmacht forces.
Lee-Enfield No. 4 Mk. I
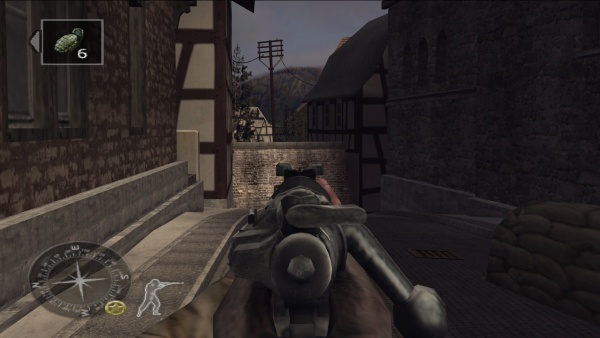
British soldiers make use of the Lee-Enfield No. 4 Mk I rifle.
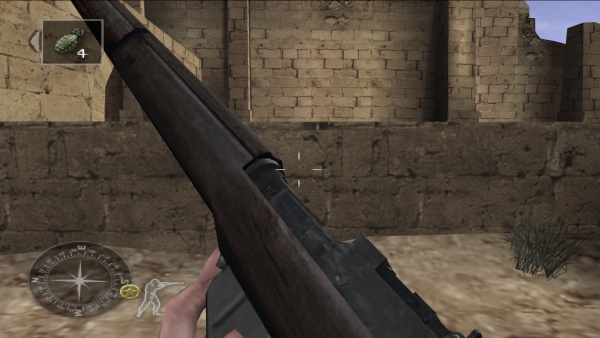
M1 Garand
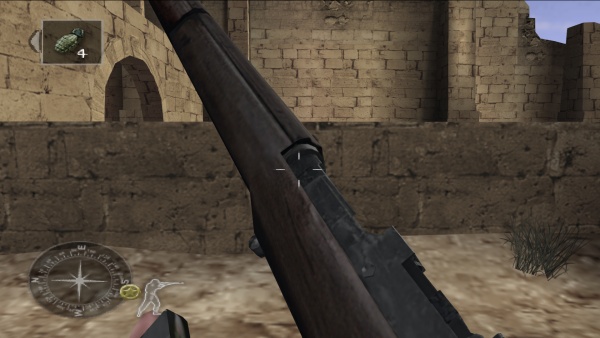
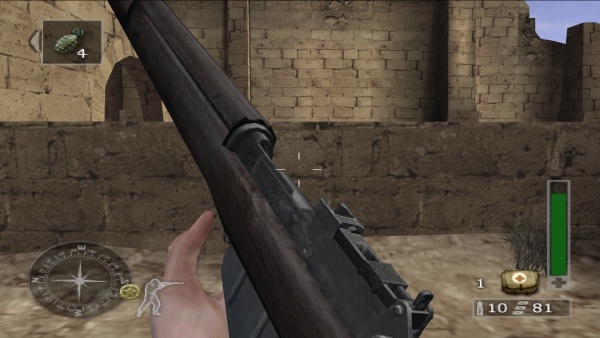
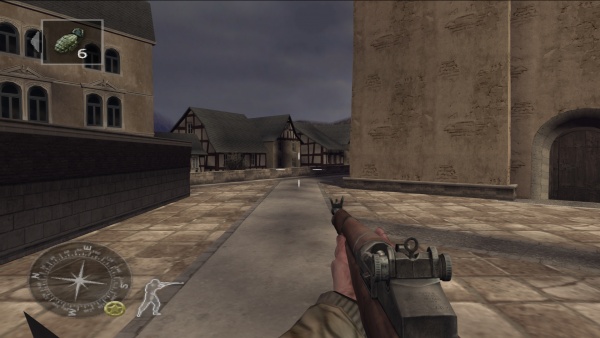
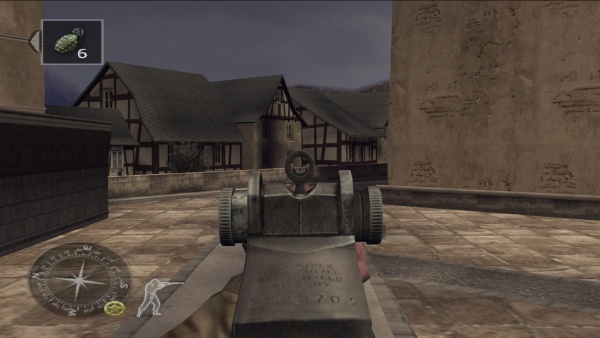
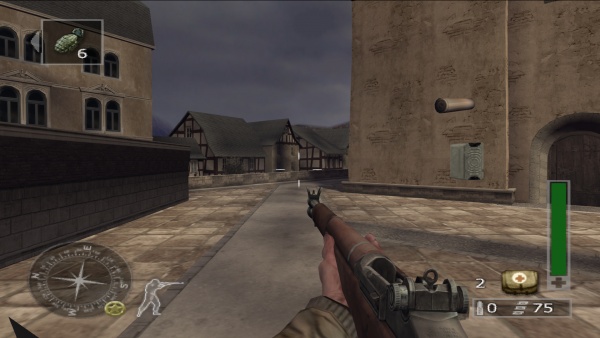
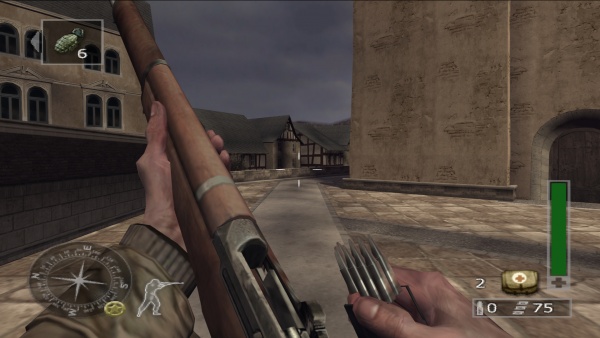
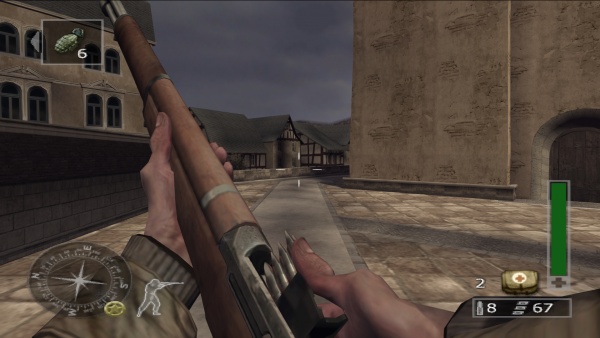
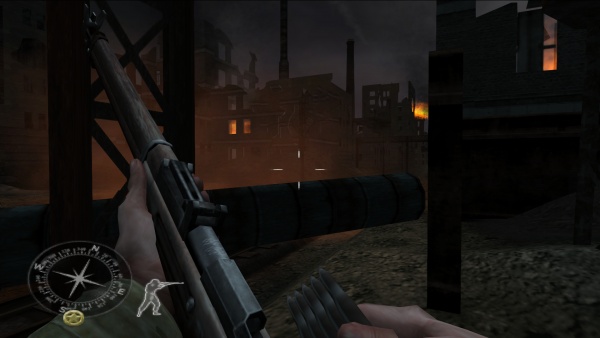
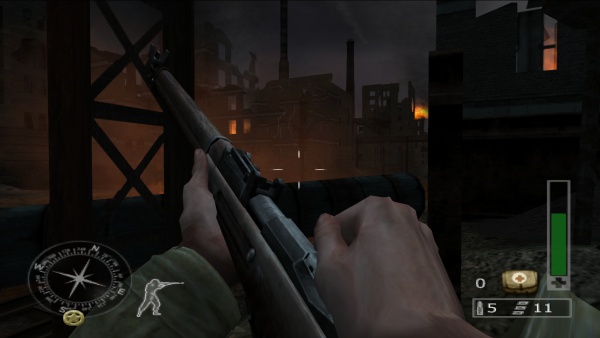
The iconic M1 Garand is the standard rifle for the U.S. Army. It can only be reloaded when all 8 rounds have been fired, making partial reloads impossible in-game.
Mosin Nagant M/28-30
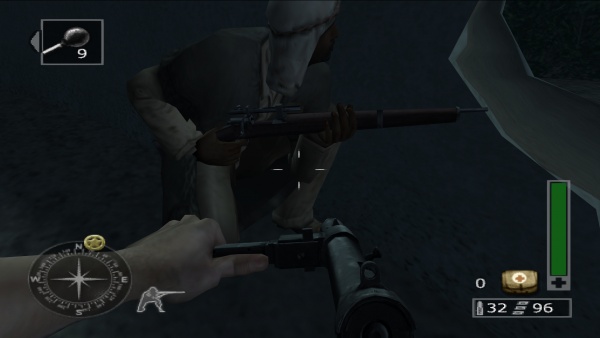
The in-game "Mosin Nagant" is modeled after the Finnish M/28-30 variant.
Mosin Nagant M91/30
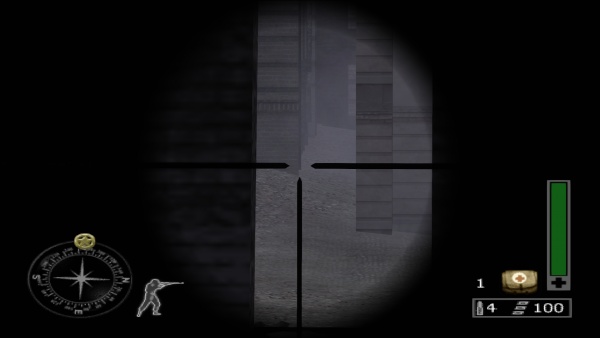
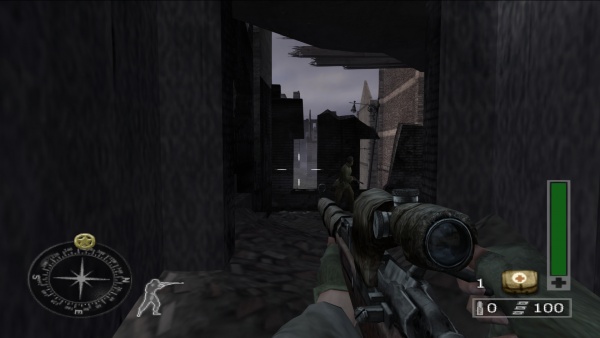
The correct Mosin Nagant M91/30 Sniper Rifle is used by Tanya Pavelovna but it still has the Finnish rear sight. Its barrel and scope are covered by scraps of cloth, as in the previous part of the series, which is inspired by the 2001 movie Enemy at the Gates (as well as almost the entire Soviet campaign).
Springfield M1903A4
The M1903A4 Springfield is one of the available sniper rifles in multiplayer mode for the American and British factions. In the single-player campaign, it is used by the British sniper Yusuf in "Mission: Matmata" and "Depot Saboteurs". However, after he gets killed, his rifle cannot be picked up.
Machine Guns
Bren Mk. II
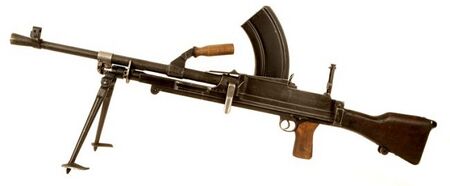
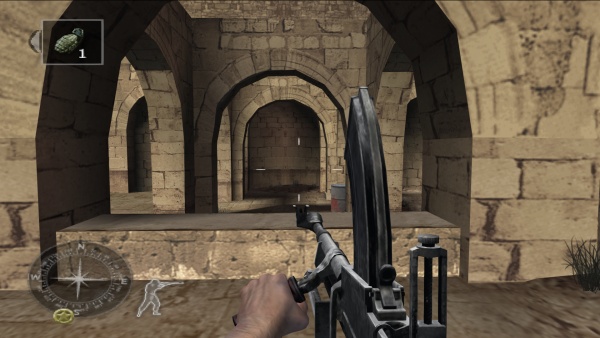
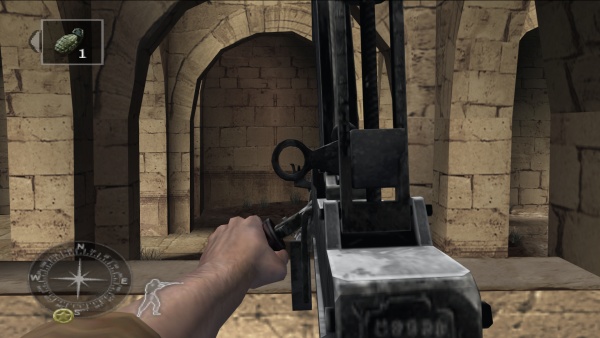
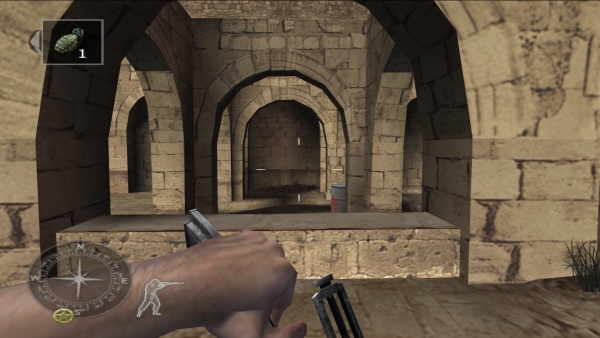
Some Bren Guns can be picked up during the British North Afrika mission. It is the standard light machine gun for the British faction in multiplayer.
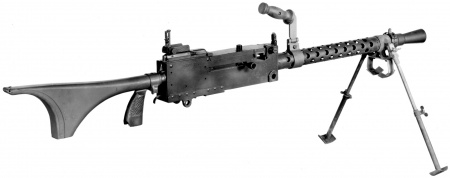
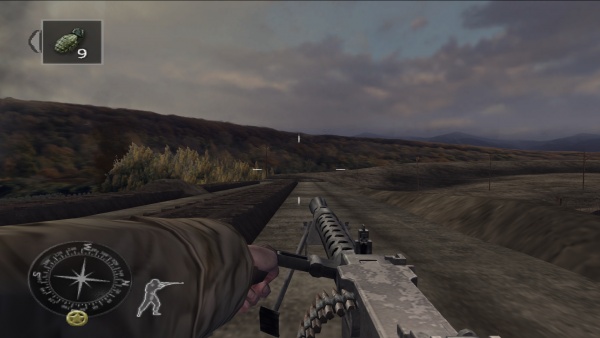
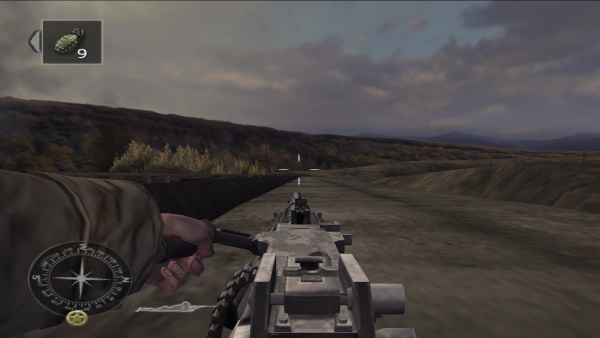
Browning M1919A6
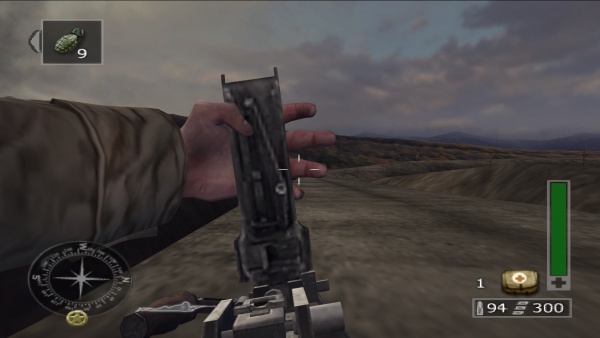
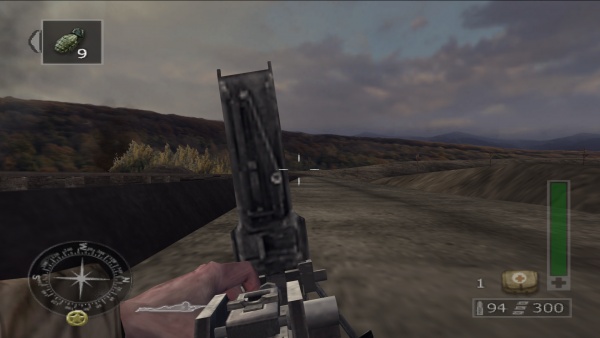
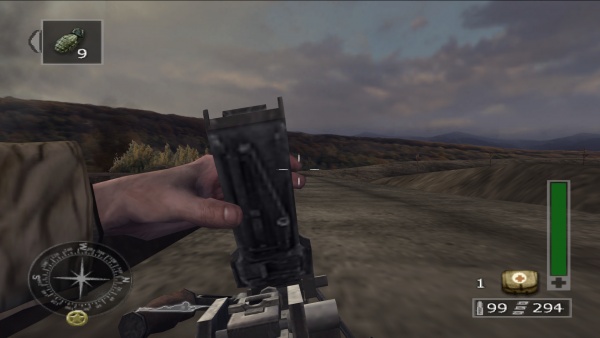
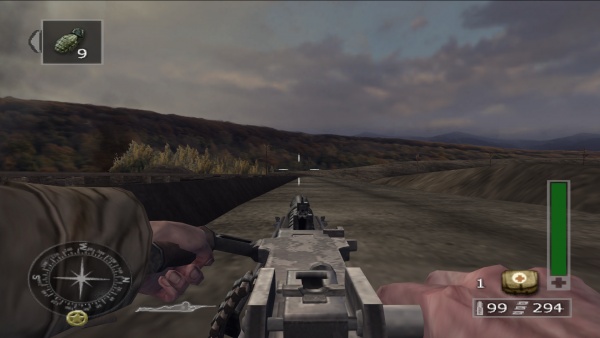
The second support machine gun for the Americans is the Browning M1919A6 which is called "Browning .30" and "M1919A6" in-game. It comes with an ammo capacity of 99 rounds but it is the most inaccurate weapon in the game.
Degtyaryov DPM
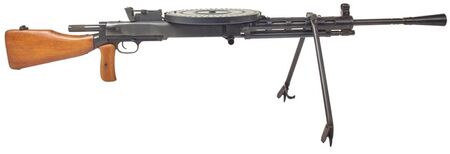
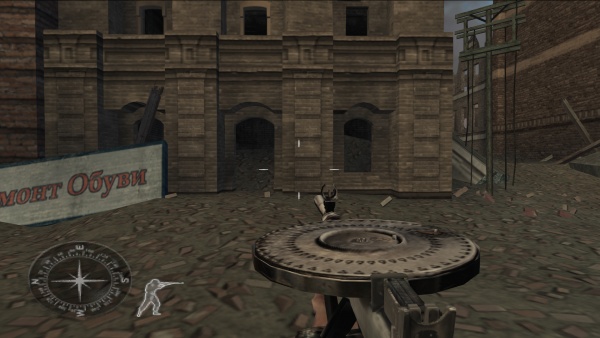
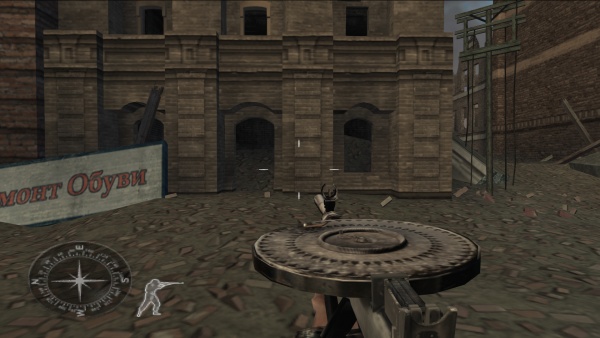
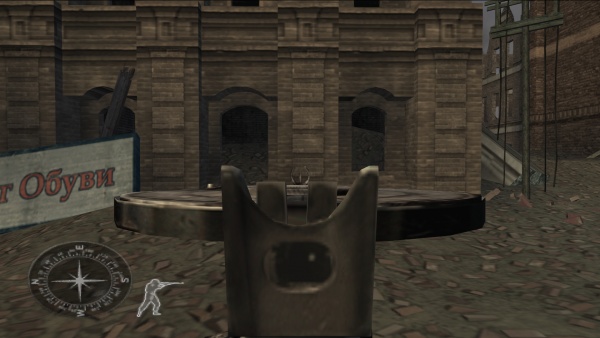
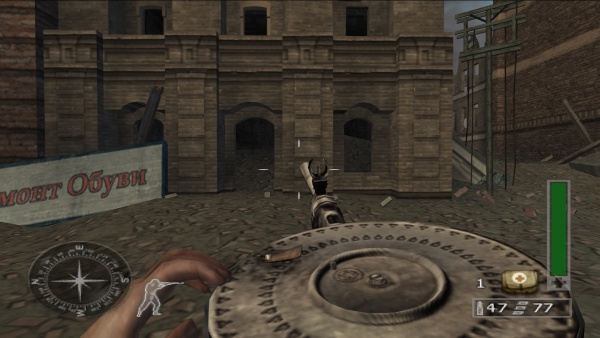
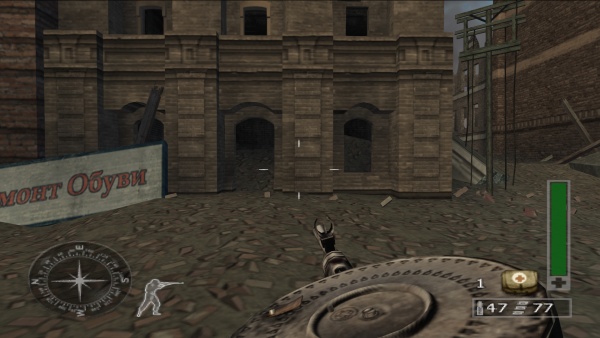
The Degtyaryov DPM is the light machine gun of the Soviet Army. It is modeled with a rotating pan magazine which is an amazing feature for the time. However, the in-game model lacks the pistol grip.
M1918 Browning Automatic Rifle
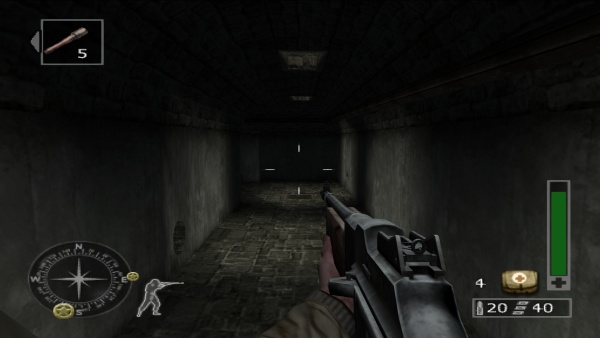
The early M1918 Browning Automatic Rifle is another usable weapon in the American campaign levels.
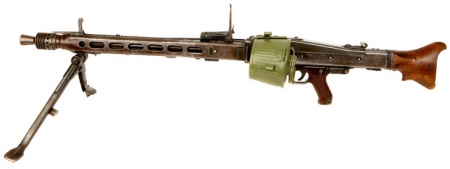
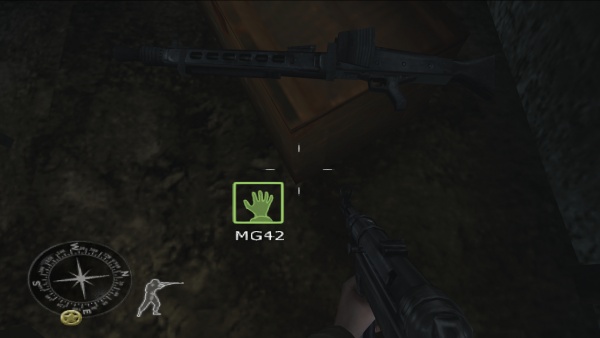
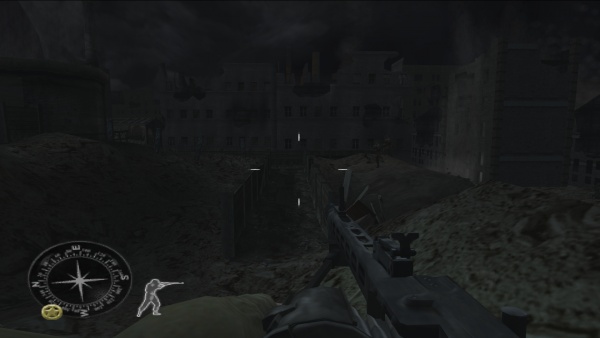
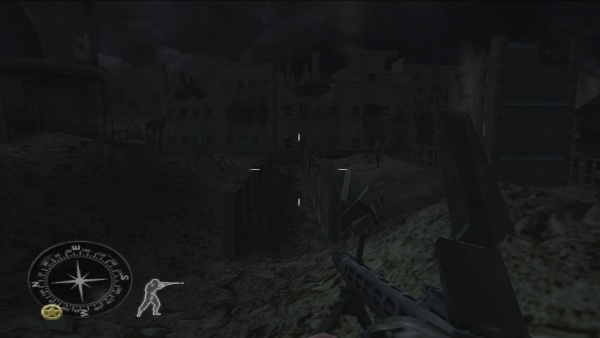
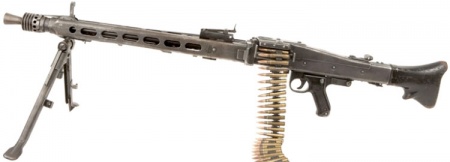
MG42
The MG42 appears as a portable machine gun with the Gurttrommel in-game and is therefore the first time in the series that the machine gun is not only in the game as a mounted weapon.
Launchers
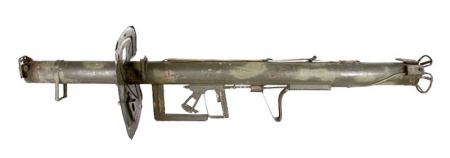
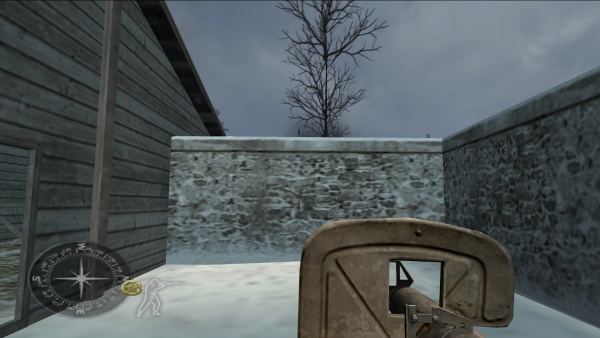
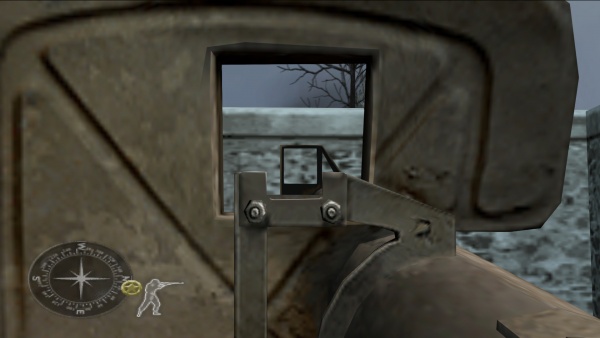
Panzerschreck
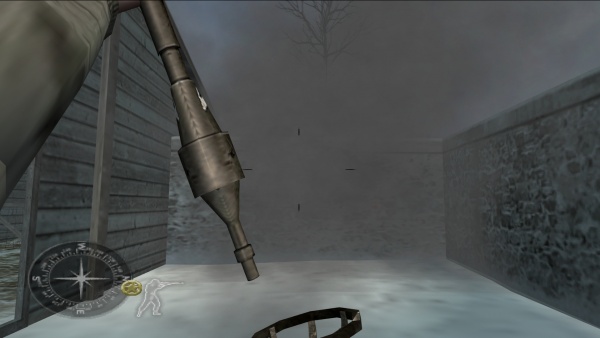
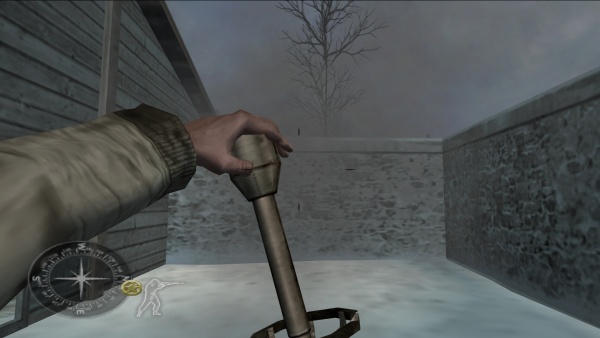
The only mobile anti-tank weapon in the game is the Panzerschreck which appears in-game with its widespread suggestive name. The single-player campaign's first appearance of the Panzerschreck is during the Battle of Stalingrad in October 1942, which is historically incorrect and thus an anachronism.
Grenades & Explosives
Mk 2 hand grenade
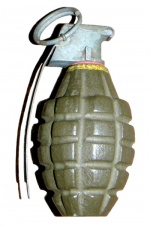
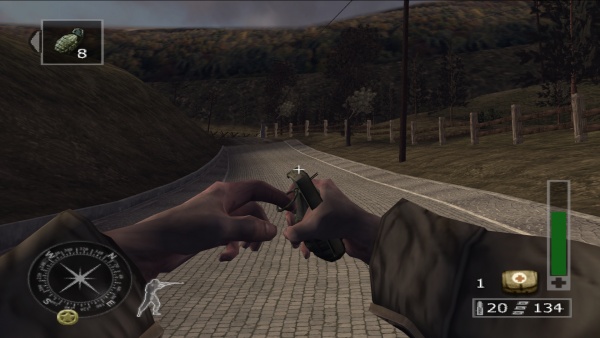
The Mk 2 hand grenade is used by American and British soldiers. The Mills Bomb is not present in the game.
Model 24 Stielhandgranate
The Model 24 Stielhandgranate is the standard grenade for the German Army.
No. 74 Mk. I
The No. 74 ST Grenade is only available for British forces.
RGD-33
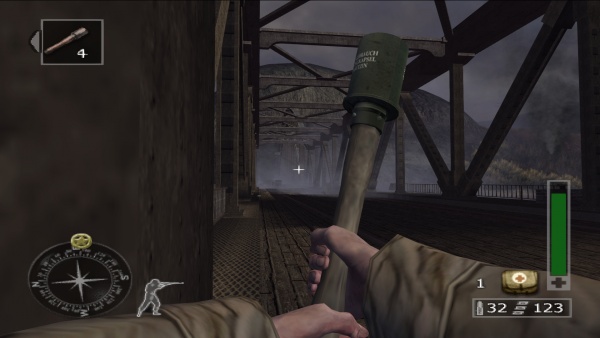
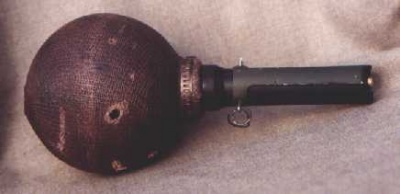
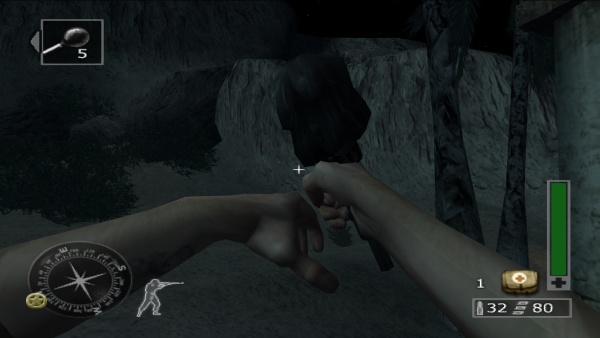
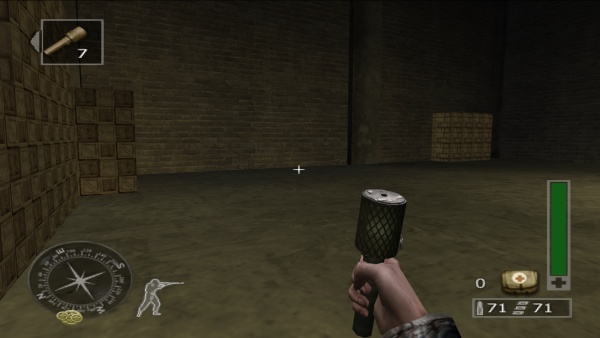
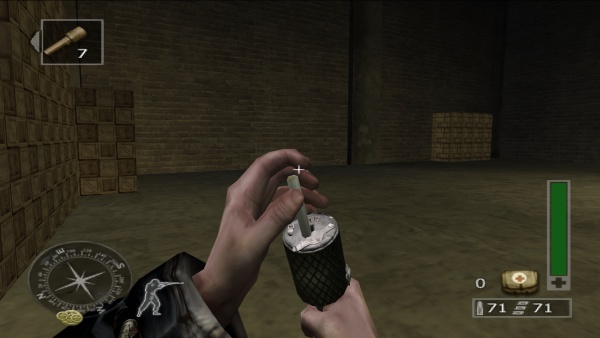
The RGD-33 stick grenade can be picked up on the Eastern Front missions. Finest Hour is the only Call of Duty game to properly depict the arming sequence of the RGD-33 with the player inserting a detonator into the grenade.
Tellermine 35
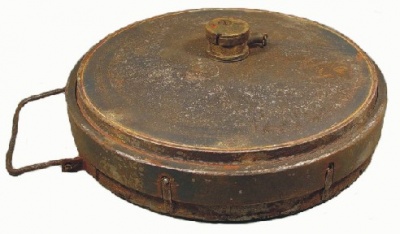
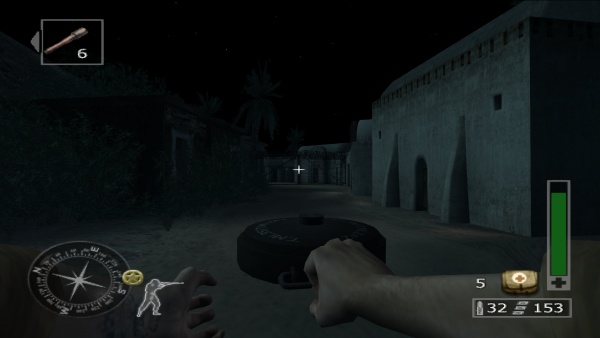
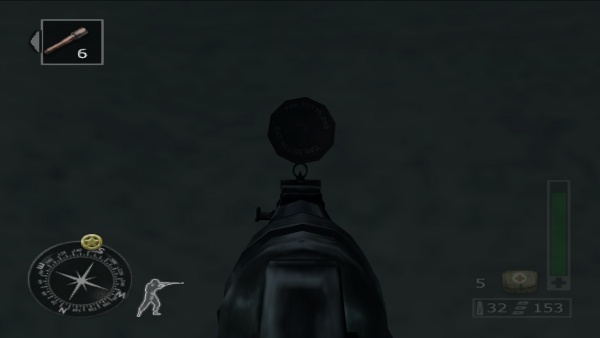
Tellermine 35 can be placed on the ground to disable German vehicles. In the penultimate mission "Last Bridge Standing", three Tellermines must be cleared from a street.
Mounted Weapons
8.8 cm FlaK 18
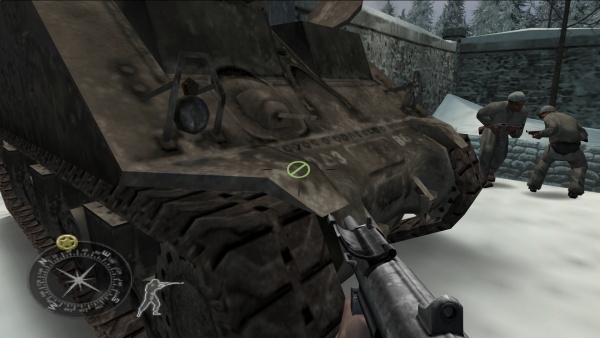
Several Flak 18 anti-aircraft guns with shields are deployed at the German Airfield 32 in the mission "Airfield Ambush". In "Come Out Fighting" multiple Flak guns are set up in and around the town of Tillet, Belgium.
155 mm Gun Motor Carriage M12
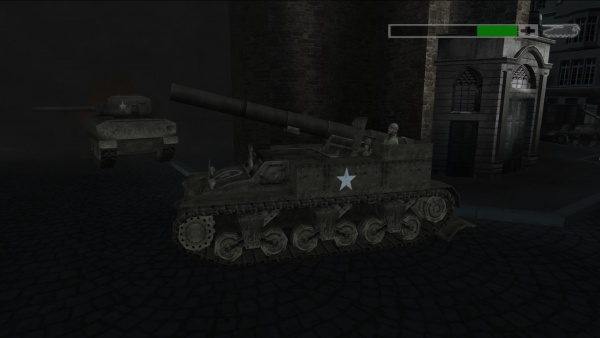
During the fifteenth mission "Surrender at Aachen", a 155 mm Gun Motor Carriage M12 must be protected and set up to fire on German positions. This scenario was paid tribute to on the multiplayer map "Aachen" from Call of Duty: WWII where an M12 Gun Motor Carriage is stationed in the streets in front of the Theater Aachen building.
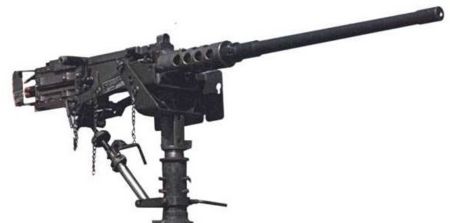
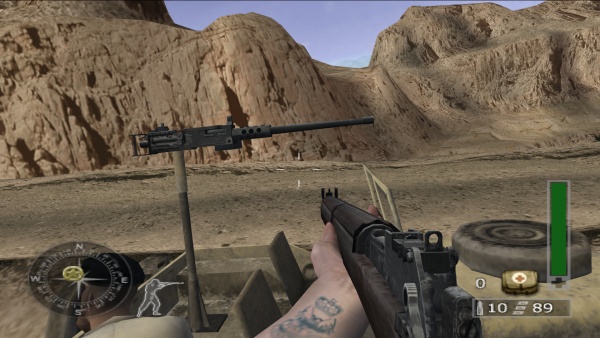
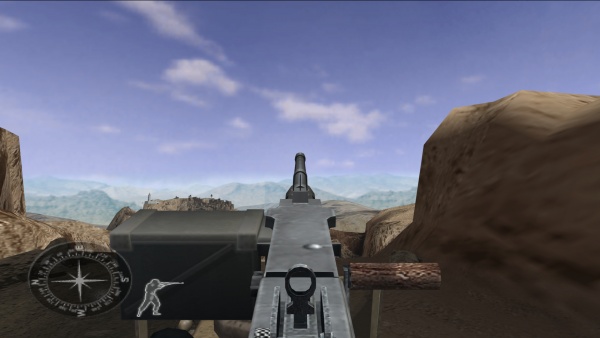
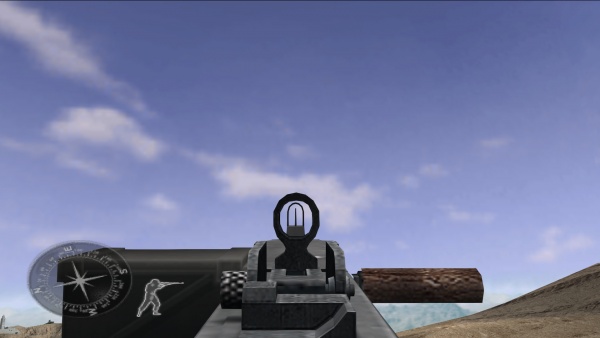
Browning M2HB
The Browning M2HB is mounted on British Long Range Desert Group jeeps.
Browning M1919A4
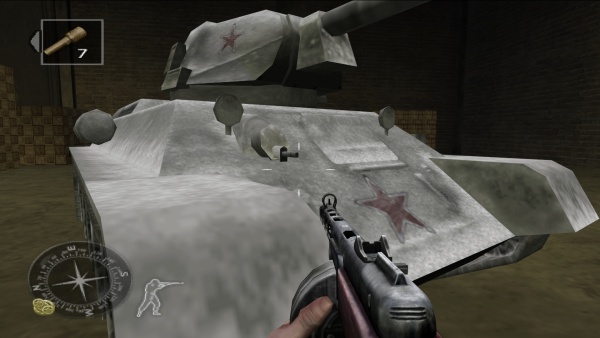
Browning M1919A4 machine guns are seen mounted in M4 Sherman tanks.
Degtyaryov DT
The Degtyaryov DT is mounted on Soviet T-34/76 medium tanks.
Flakvierling 38
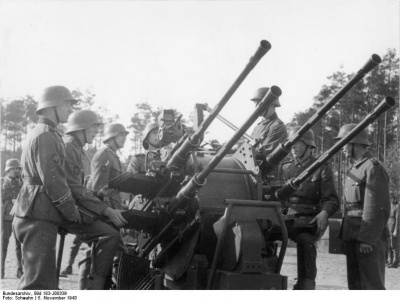
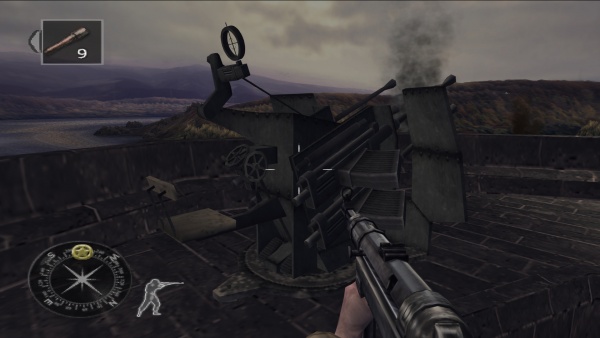
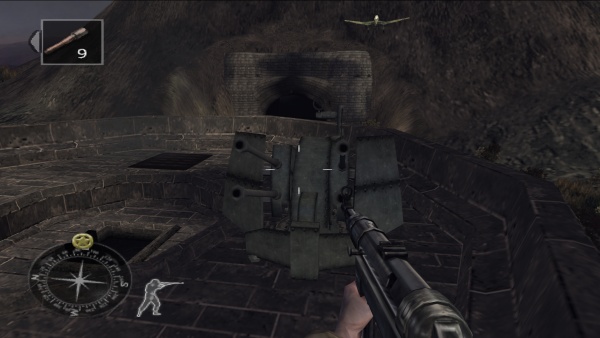
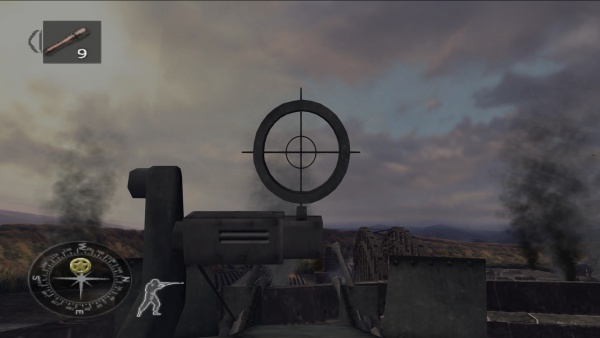
During the final mission "Into the Heartland", one Flakvierling 38 is stationed on top of the south tower at the Remagen Bridge which must be manned to defend it against Junkers Ju 87 Stuka dive bombers. It is referred to as an "anti-aircraft gun" in the task text.
MG15
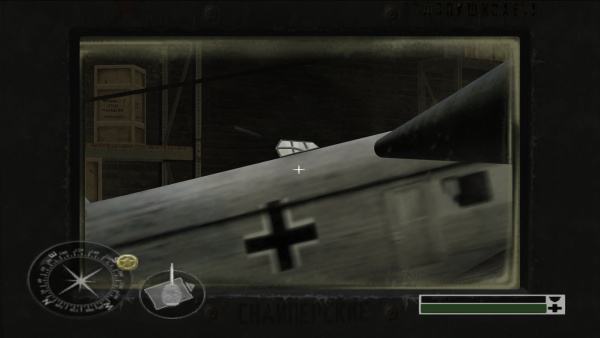
German Junkers Ju 52 transport aircraft can be seen with MG15s in their top-mounted turrets. The Stuka dive bombers are modeled too undetailed to see the mounted guns.
MG 34 Panzerlauf
The MG 34 Panzerlauf is mounted on German Panzer IV and Panzerkampfwagen VI Ausf. B Tiger II (King Tiger) tanks.
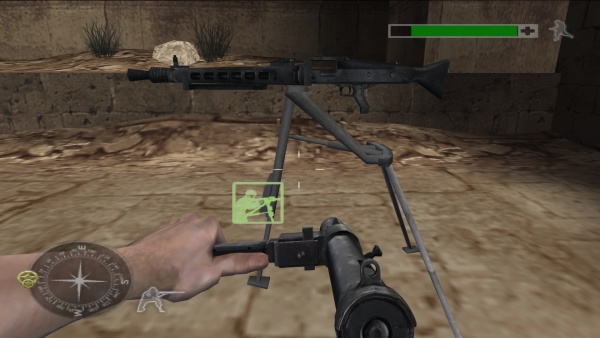
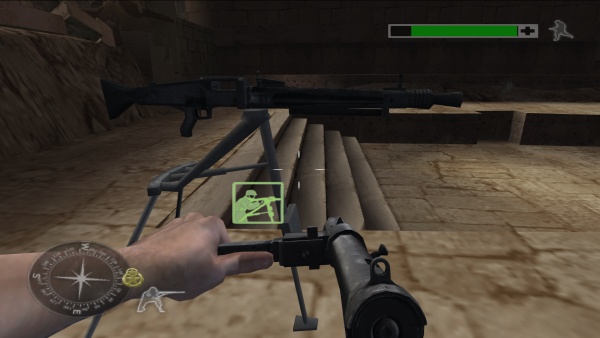
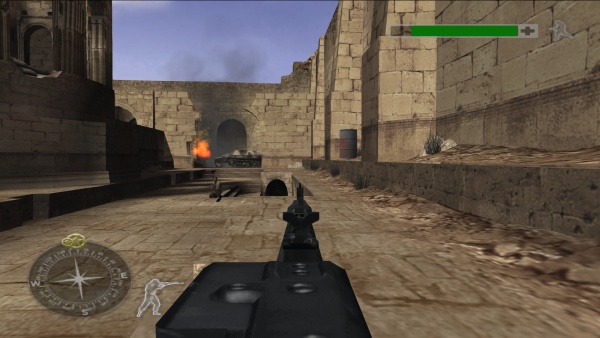
MG42
The MG42 appears also as a stationary weapon with unlimited ammo and no cooldown. It is mounted on a Lafette 34 tripod.
Unusable Weapons
The game includes loading screens with weapons that are not playable in-game.
