| If you have been locked out of your account you can request a password reset here. |
Medal of Honor: Underground
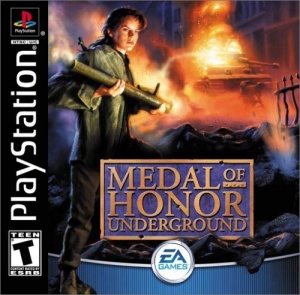
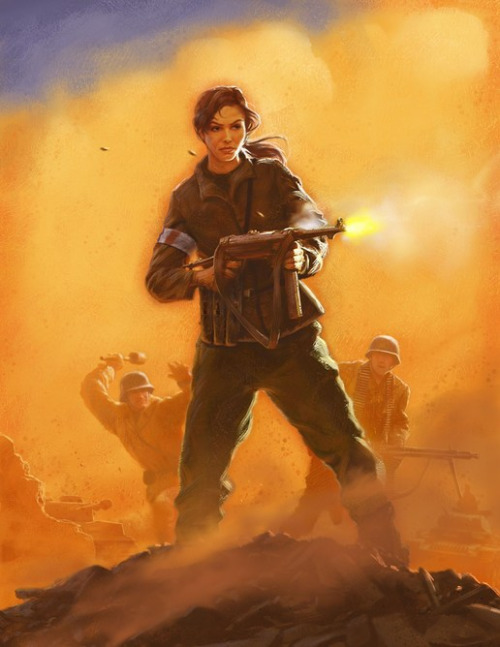
Medal of Honor: Underground is the 2000 prequel to the Medal of Honor (1999). Released initially for the Playstation, the game follows the exploits of female French Resistance fighter Manon Baptiste (who was featured in the original Medal of Honor) during the early years of World War II in Europe.
The following weapons appear in the video game Medal of Honor: Underground:
Pistols
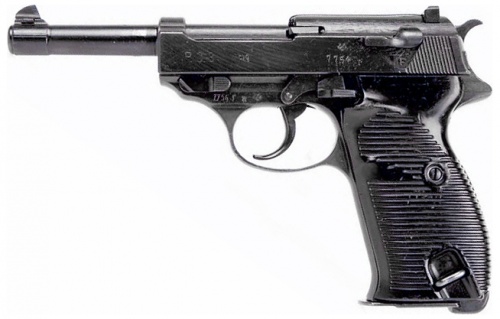
Walther P38
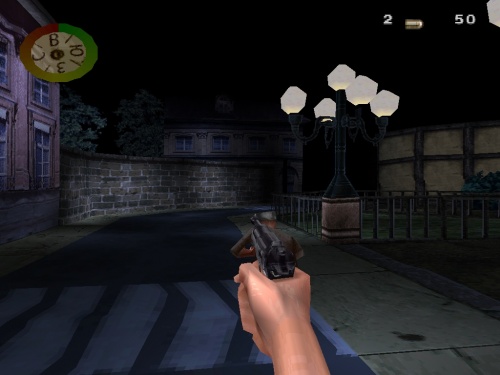
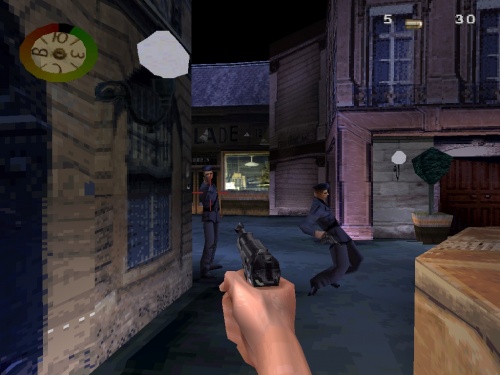
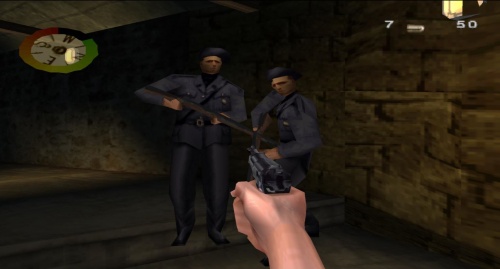
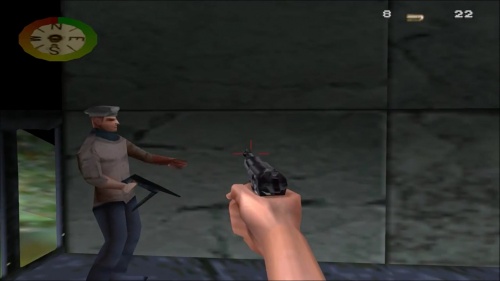
A Walther P38 is the first weapon the player acquires. It is only obtainable in Occupied! (Mission 1). Throughout the game, it is seen in the hands of German officers and Vichy French Milice enemies. In Level 2 of The last Rights of Monte Cassino (Mission 5), the Captain of American POW pilots uses one to help free prisoners. The skin of the Walther used by enemies has been redesigned from the first game with more detail. It holds 8 rounds and uses Pistol ammunition.
Walther PPK (Suppressed)
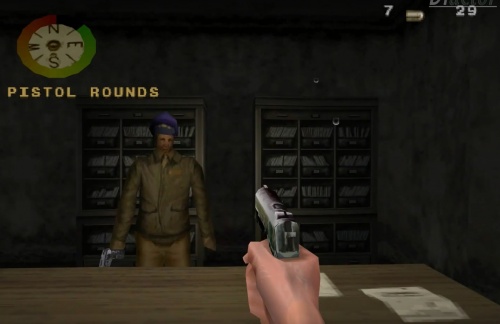
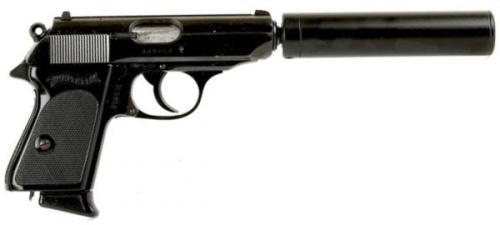
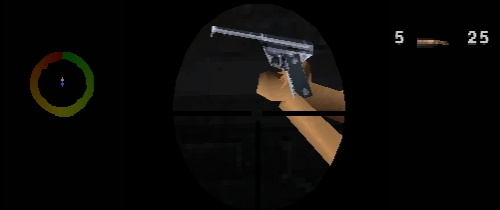
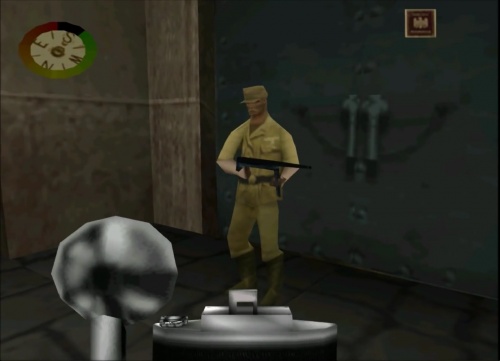
A suppressed Walther PPK is the standard weapon given during the undercover missions: Hunting The Desert Fox (Mission 2) and Undercover In Crete (Mission 3). It is recycled from the first game and retains all its qualities, including the oversized suppressor to emphasize it as a silent weapon. Although silent, enemies will most likely be alerted by its bullet impacts. It holds 7 rounds, is very powerful, and uses Pistol ammunition.
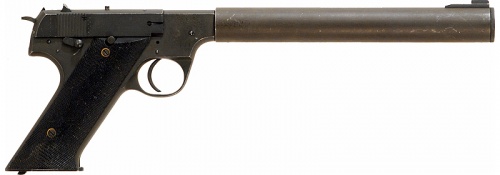
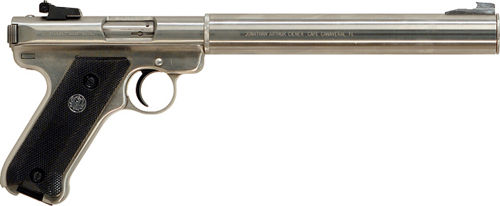
Underground is the first in the MOH series to prove that the game's programmers knew very little about the accuracy of a WWII-era suppressed pistol. Despite the first-person model of the 'Silenced Pistol' being a Walther PPK, the pistol's icon in Multiplayer is incorrectly a High Standard HDM. And in third-person, the pistol resembles a Ruger Mk II (developed in 1982). Later MOH games like Frontline and Rising Sun would continue to use mish-mashed, anachronistic suppressed pistols.
High Standard HDM
On the weapon selection in Multiplayer, the icon for the 'Silenced Pistol' is a High Standard HDM.
Ruger Mk II
In third-person in Multiplayer, the pistol appears to be a Ruger Mk II. This was likely the result of a programmer mistaking an image of a Ruger Mk II with a High Standard HDM.
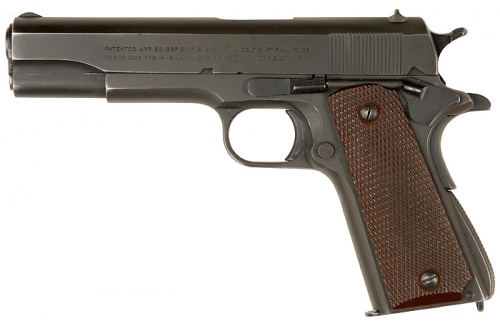
M1911A1
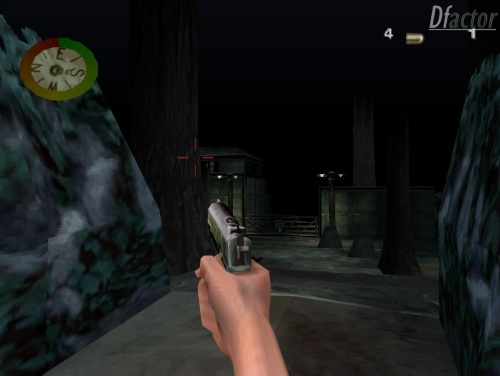
Once working with the American OSS, the M1911A1 is the sidearm in Last Rites at Monte Cassino (Mission 5). It is an atrocious weapon to have, dealing usually 2 hit kills to the helmet or 1-shot kills to a bare head at close range, and is a 3-5 hit kill (sometimes even more) if going for the torso. It holds 7 rounds and uses Pistol ammunition.
Rifles
Gewehr 43
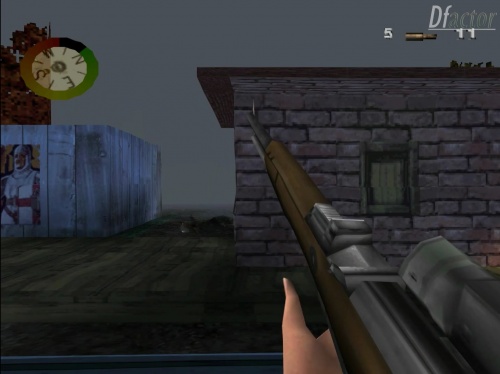
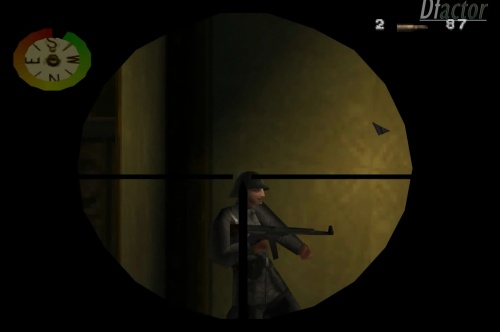
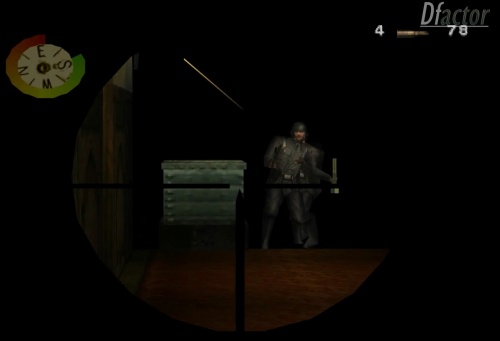
A scoped Gewehr 43 is the only rifle usable in the game. It is first acquired off enemy snipers in Wewelsburg: Dark Camelot (Mission 4) and later comes back in Liberation! (Mission 7). Although captured off enemies, it bares the Karabiner 98k skin and sound effect when used by enemies. It is most effective against enemy knights (armed with swords and shields) in Level 2 of Wewelsburg: Dark Camelot. It holds 5 rounds and despite being semiautomatic, has a slow rate of fire. In terms of the first game, it replaces the Springfield M1903 as a sniping weapon, and the M1 Garand as a semiautomatic rifle. In Multiplayer, its icon and in-game skin is incorrectly the Springfield. It uses Rifle ammunition.
Karabiner 98K
The Karabiner 98k is used by enemies throughout the game. Like the first game, it is an unusable weapon and holds 5 rounds. The skin for the Karabiner 98k is used for the Gewehr 43 in the game. In multiplayer, again like the first game, the skin is also used for the M1 Garand.
MAS-36
In Occupied (Mission 1), Vichy French Milice units use rifles which clearly have a different sound effect than the Karabiner 98k. Although the rifles use the same skin as the Karabiner 98k, it is quite possible that they are supposed to be French MAS-36 rifles, which is what Vichy French forces would have used during the Occupation of France.
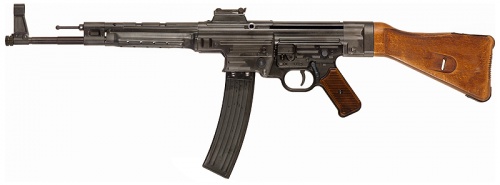
STG 44
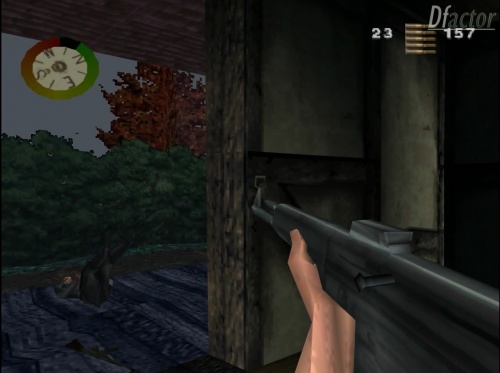
The Sturmgewehr 44 is first acquired off enemies in Wewelsburg: Dark Camelot (Mission 4) and later comes back in Liberation! (Mission 7). The weapon is incorrectly referred to as a submachine gun. It replaces the Browning Automatic Rifle from the first game in terms of automatic rifles. The STG 44 model is highly simplistic and lacks detail. It holds 30 rounds and uses special "STG44 AMMO".
Submachine Guns
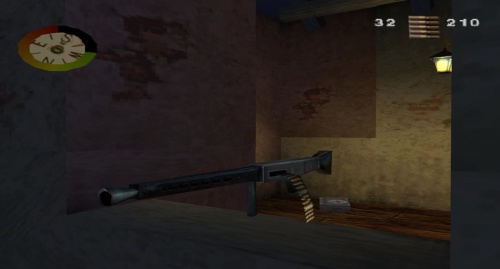
Sten Mark II
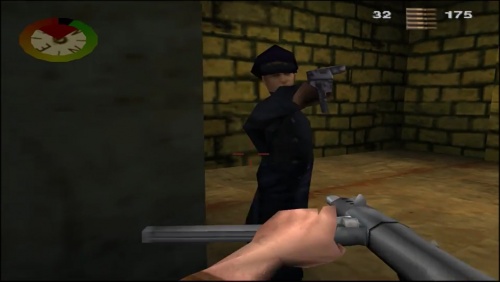
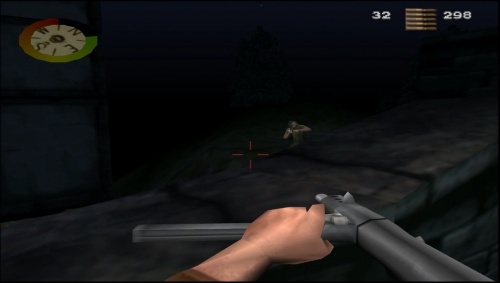
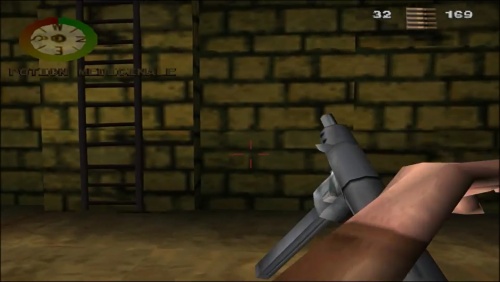
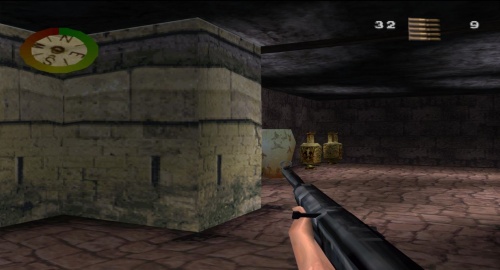
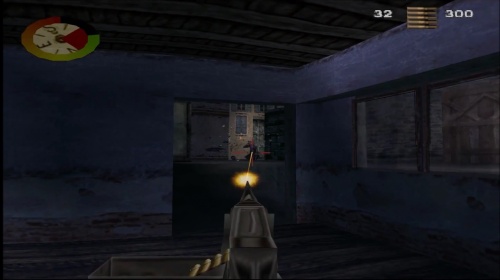
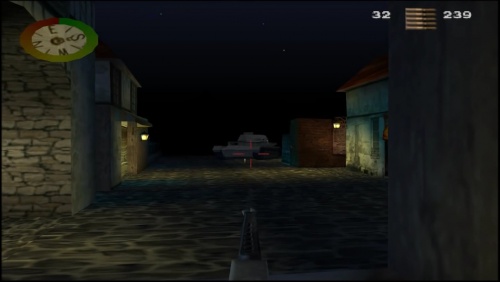
The first usable SMG to appear in the game is the Sten MKII. It is first acquired in Level 2 of Occupied! (Mission 1) but comes back in Last Rites at Monte Cassino (Mission 5). The Sten is incorrectly used by German enemies, but only when the player is armed with it. This was likely due to programing limitations - only able to have one SMG model per level. The Mission Briefing tries to correct this by claiming the Germans are armed with the MP 3008, a cheap German copy of the Sten designed for the Volksturm (German militia). However, the MP 3008 was not developed until 1945. The levels which feature the Sten take place in 1942 and 1944. The MP 3008 also had a vertical magazine, while all the in-game models retain the horizontal magazine of the Sten. In terms of the first game, the Sten replaces the Thompson M1A1. It holds 32 rounds and has a much higher rate of fire than the actual Sten. It uses SMG ammunition.
MP40
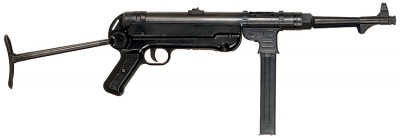
The MP40 is seen numerously throughout the game. It is mainly seen in the hands of German enemies, but is briefly used by some Vichy French Milice enemies in Level 1 of Occupied! (Mission 1). It is used in Hunting the Desert Fox (Mission 2), Undercover in Crete (Mission 3), and A Mittelwerk Saboteur (Mission 6). It has high recoil that results with bad accuracy, average damage and a decent fire rate. It is able to kill in 4 hits to the chest, and 2 hits to the head, more often 1 hit if enemies are bare-headed or have soft headwear. It uses the same model from the first game, but has a darker tone. It holds 32 rounds and uses SMG ammunition.
Special
Winchester Model 12 Riot Shotgun
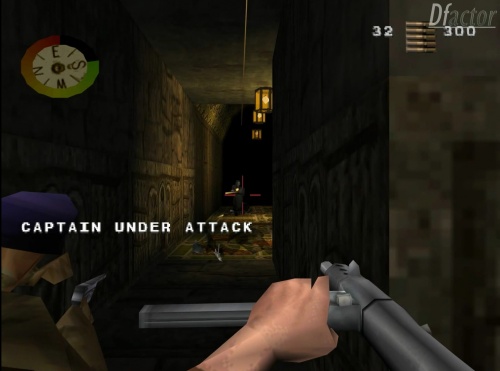
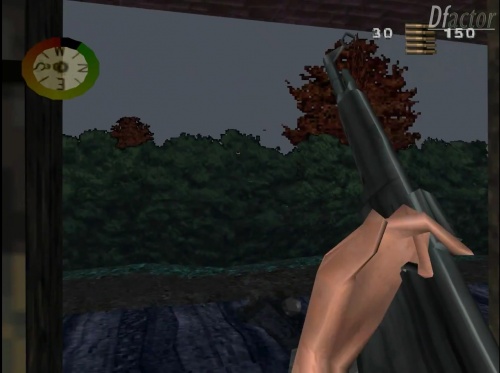
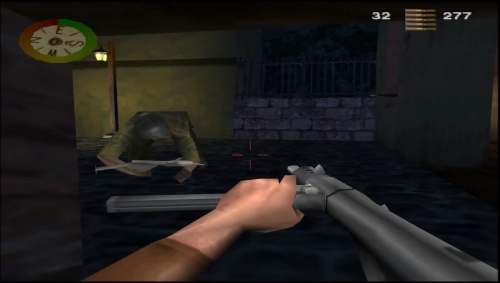
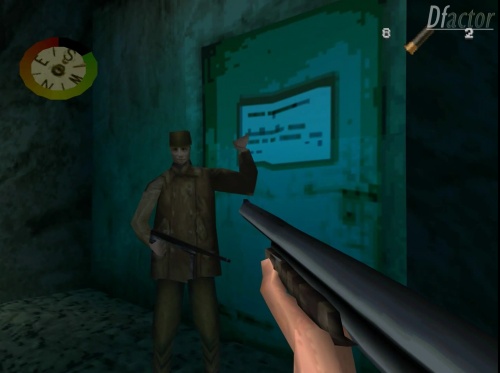
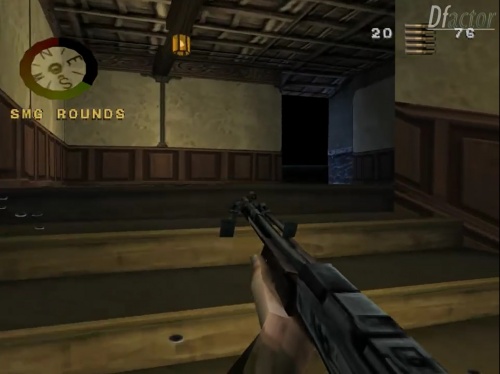
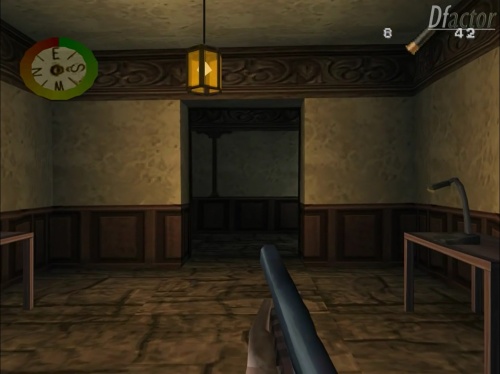
Referred to as the "W12 Riot Shotgun", the Winchester Model 1912 appears in A Mittelwerk Saboteur (Mission 6). In terms of the first game, there was no reason for the developers to change the Winchester Model 1897 to the Model 1912; it shares all attributes, with the exception of it's redesigned model and slightly improved accuracy. Its model redesign was likely done to attribute to the character's (Mannon) feminine hand. However, the in-game shotgun is most likely still supposed to be the Model 1897. Referring to it as the Model 1912 with "W12" was likely a programing mistake. In Multiplayer, its icon is the Model 1897.
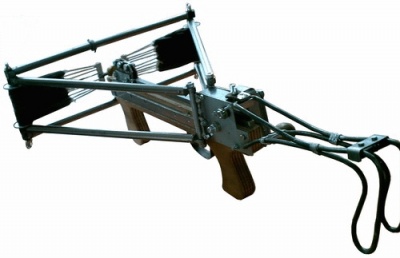
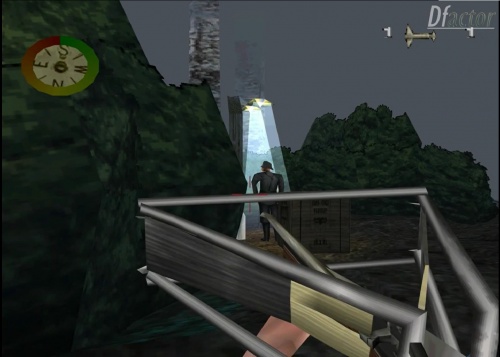
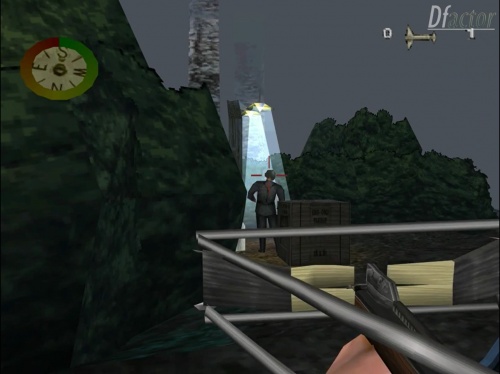
Big Joe 5 Crossbow
The Big Joe 5 was a crossbow developed by the OSS for assassinations which appears in Wewelsburg: Dark Camelot (Mission 4). It is a highly powerful weapon, even capable of making a double or triple kill if enemies are stacked up for such a shot. In multiplayer, the crossbow's damage is reduced for obvious reasons. However, it takes an insanely long time to reload and ammunition for it is extremely scarce. It is one of the few weapons that cannot be used to do a melee attack when its ammunition runs out.
Machine Guns
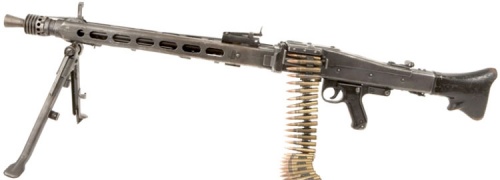
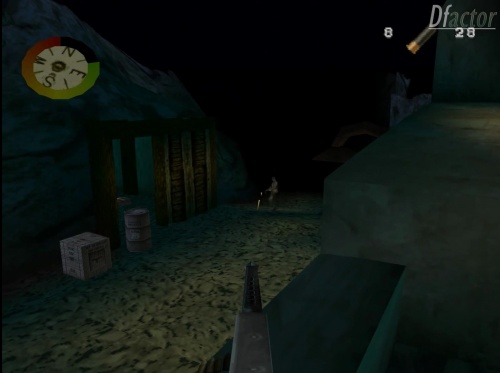
MG42
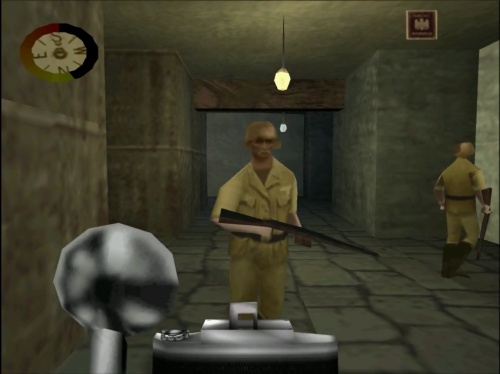
At certain points, mounted MG42s can be found and used by Mannon or enemies. Their rate of fire is incorrectly much slower than the actual MG42. Thankfully, it replaces the incorrect "German" Browning M2 from the first game, resembling more of a German MG. The MG42 is quite devastating to face. When being used by the player, it will spawn a swarm of enemies to shoot and has an unlimited amount of ammo.
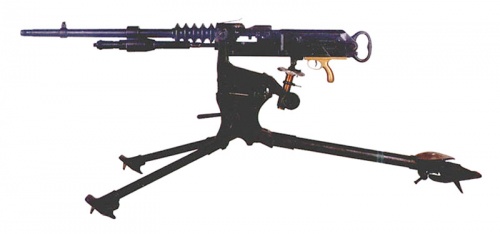
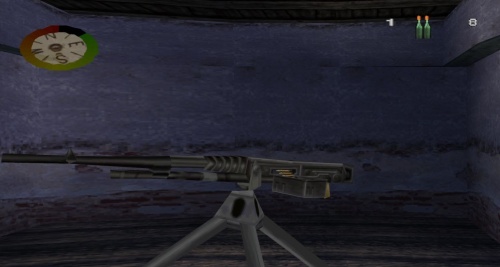
Hotchkiss Gun
A mounted Hotchkiss M1914 Machine Gun can be used in Level 3 of Occupied! (Mission 1) and later in the final level of Hunting the Desert Fox (Mission 2). It has a slow rate of fire and like the MG42, will spawn a swarm of enemies. Improbably, it can destroy a Panzer IV with ease.
MG15
An MG15 machine gun is seen mounted on enemy motorcycle sidecars and atop enemy halftracks. Manon uses one in Level 3 of A Mittelwerk Saboteur (Mission 6) to escape on motorcycle.
Explosives
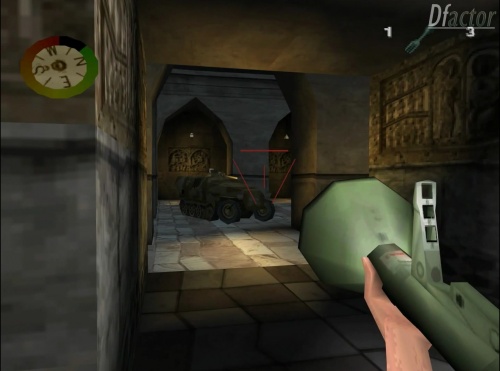
Panzerfaust
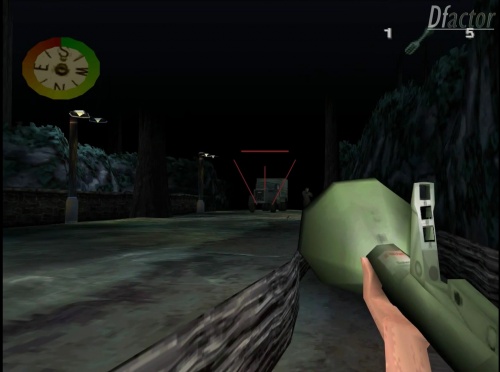
The game's "rocket launcher" is the Panzerfaust It takes 3 to 4 shots to destroy an enemy vehicle. It is first encountered in Occupied! (Mission 1), anachronistically, which takes place in 1942. It later comes back in The Last Rights of Monte Cassino (Mission 4) and Liberation! (Mission 7). In the hands of enemies, it uses the skin of the Panzerschreck from the first game. It incorrectly depicts the projectiles as rockets.
Model 24 Stielhandgranate
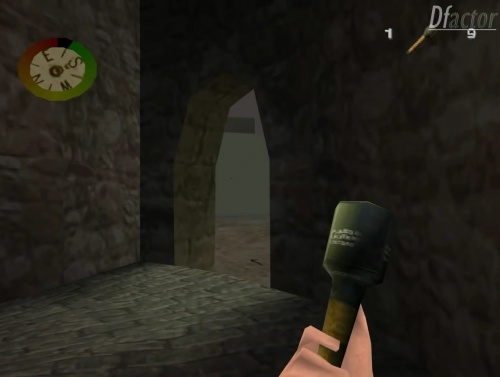
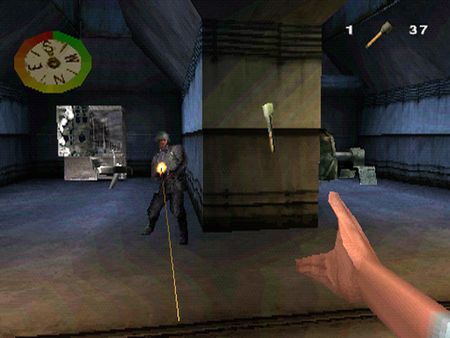
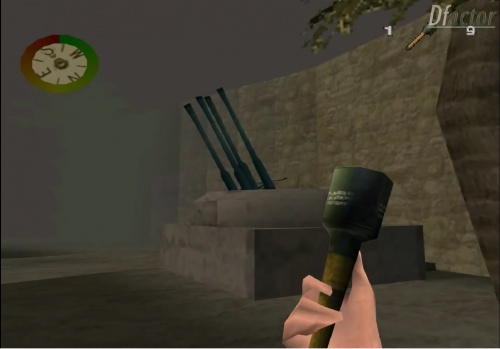
The game's main grenade is the Model 24 Stielhandgranate. They are first encountered in the final level of Hunting the Desert Fox (Mission 2), the final level in Undercover in Crete (Mission 3), the final level in Wewelsburg: Dark Camelot (Mission 4), Last Rites at Monte Cassino (Mission 5), A Mittelwerk Saboteur (Mission 6), and Panzerknacker Unleashed (Bonus Mission). Just like the first game, enemies can easily kick them away unless the player hits said enemies with a grenade, in which case they will explode on contact. Enemies can also catch grenades and throw them back. Grenade bundles are found frequently throughout levels.
Molotov Cocktail
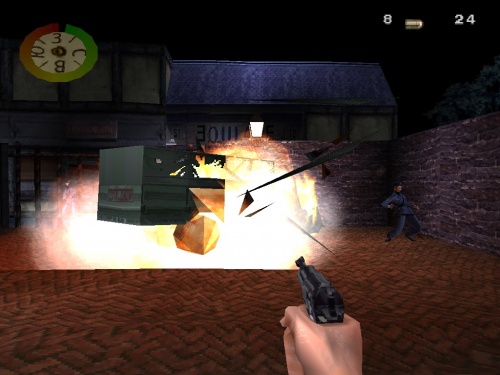
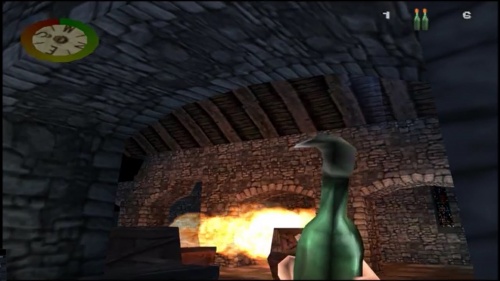
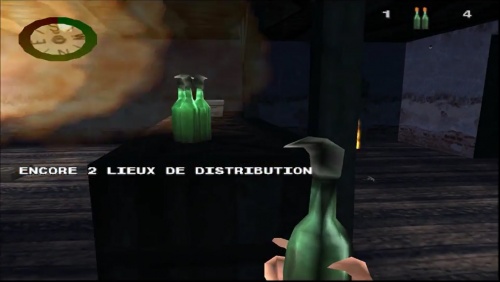
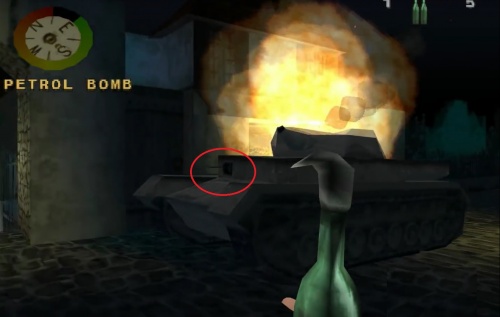
Makeshift Molotov Cocktails or "Petrol Bombs" are used in Occupied! (Mission 1) and Liberation! (Mission 7). They are basically the same as the grenades, but will blow up when hitting any surface and have a longer blast. Like the Stielhandgrenate, they can be caught and thrown back by enemies.
Panzerknacker Unleashed!
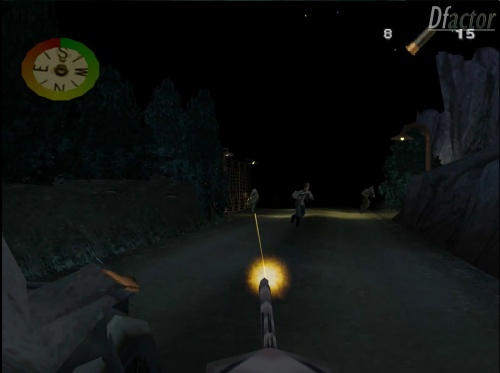
Once the campaign is complete, a bonus mission is available titled Panzerknacker Unleashed! It involves Jimmy Patterson being called in to investigate a mysterious Castle owned by an ex SS scientist. The mission presumably takes place between Destroy the Mighty Railgun Greta (Mission 2) and Scuttle Das Boot U-4901 (Mission 3) from the first game; despite the mission log reading June 23, 1944 which is the exact date Scuttle Das Boot U-4901 takes place. The vague briefing of this mission makes it all the more shocking when playing it for the first time. The first level consists only of guard dogs (recycled from Level 3 of Rescue the G3 Officer from the first game) who dance and wield MP40's and Panzerfausts! Level 2 is filled with zombie enemies armed with MP40's who explode when killed and battle axe totting knights. In the final level, your enemies are the "Panzerknacker" (Tank Cracker) robots armed with Sturmgewehrs. A Panzerknacker ally assists you along the way. For this ridiculous, and hard, bonus mission, a few weapons from the first game are brought back for Patterson to use: The M1911A1, the Browning Automatic Rifle, and the Winchester Model 1897 Trench Gun. The Model 24 Stielhandgranate is used as well.
Browning Automatic Rifle
The Browning Automatic Rifle is available in Panzerknacker Unleashed! (Bonus Mission), obtained in Level 2. It is a direct copy of the BAR from the first game, and again, uses SMG ammunition.
Winchester Model 1897 Trench Gun
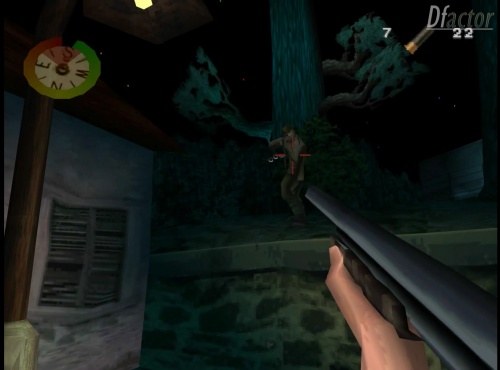
The Winchester Model 1897 is available to use. It is copied directly from the first game.
Multiplayer
A couple weapons from the first game, which were left out in the campaign, are usable in multiplayer.
M1 Garand
The M1 Garand is only available in Multiplayer and is recycled from the first game. Its skin is the Karabiner 98k.
M9A1 Bazooka
The M9A1 Bazooka recycled from the first game is only available in multiplayer. Interestingly, it seems to fire the Panzerfaust projectile.
Extras
Mauser C96
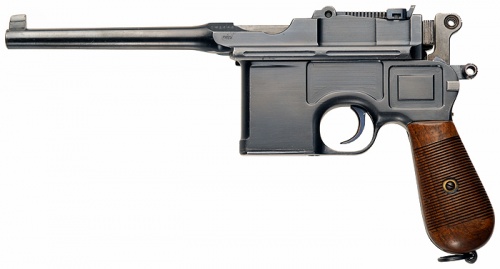
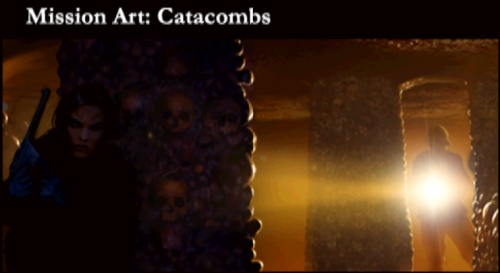
A Mauser C96 is seen in Mission Art for Occupied! (Mission 1). The weapon, however, never appears in the game. The C96 was intended to be in the game as the first weapon in Mission 1, but was then replaced by the recycled Walther P38 from the first game.
M1903A4 Springfield
On the weapons selection in Multiplayer, the icon for the scoped Gewehr 43 is a M1903A4 Sniper Rifle recycled from the previous game.
Demolition Charges
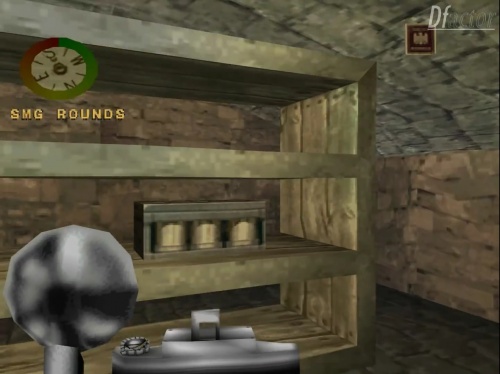
Like the first game, demolition charges are required to sabotage specific targets. Targets marked for demolition are identified by pulsating red boxes. The charges themselves seem to be dynamite sticks strapped to a timer. A few demolitions appear in unique forms, such as the "Bombs" used to destroy the trucks in Level 3 of Hunting the Desert Fox (Mission 2).
LeFH 18/40
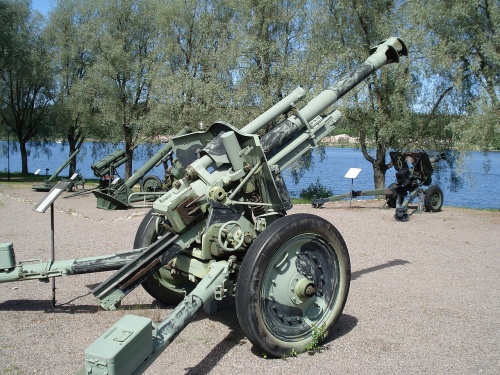
In Level 3 of Undercover in Crete (Mission 3), two artillery cannons which resemble 10.5 cm leichte FeldHaubitze 18/40's are targeted for sabotage.
2 cm Flakvierling 38
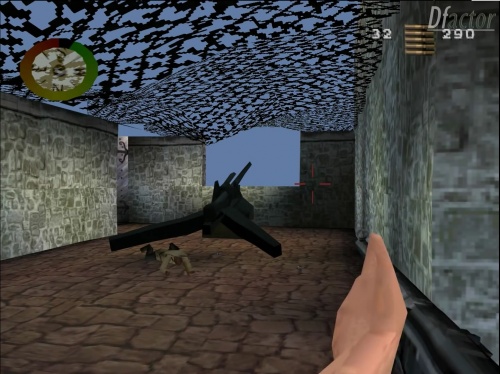
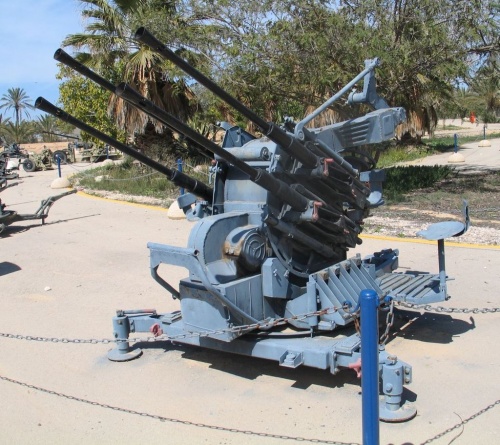
In Level 3 of Hunting the Desert Fox (Mission 2) Flakvierling 38's are seen in fortified nests that sort of resemble ringstand "tobruk" positions. They are disabled by tossing grenades into the fortification. Interestingly, all four barrels fire simultaneously.
Panzer IV
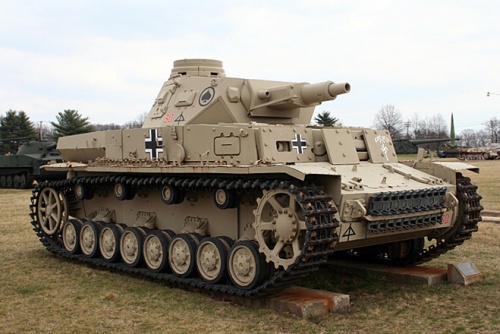
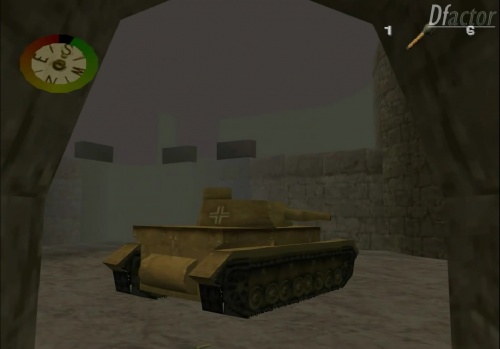
Panzer IV enemy tanks appear throughout the game, most notably in Level 4 of Hunting the Desert Fox (Mission 3). They are relatively slow take some time to position their turrets to fire. They can be brought down in time with just about any weapon, as long as enough damage is done. Grenades and panzerfausts are the most efficient way to knock them out. A mounted MG can also disable one, which is highly improbable in reality.
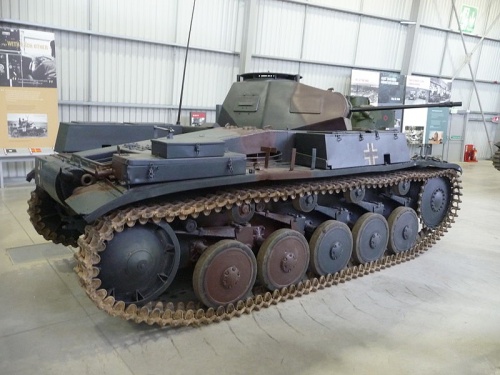
Panzer II
A Panzer II enemy tank appears in Level 3 of Liberation! (Mission 7). It shares all the attributes of the Panzer III except uses a coax MG.
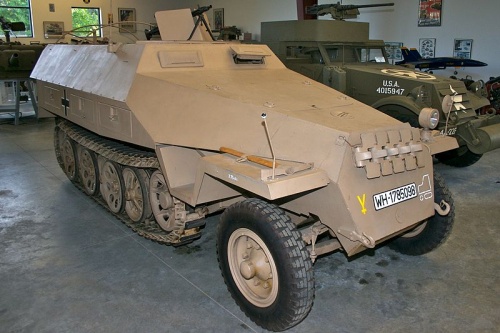
Sd.Kfz. 251 Halftrack
Enemy halftracks are encountered in some levels. They require as many hits as a tank to destroy and carry 3 machine guns.
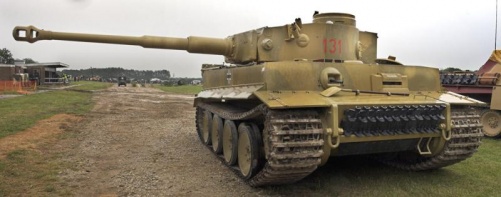
Tiger I
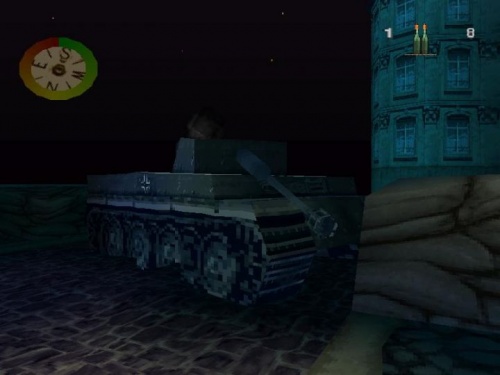
Two Tiger I heavy tanks can be found in Level 1 of Liberation! (Mission 7). They are the same model as the undersized Tiger featured in Level 2 of Rescue the G3 Officer (Mission 1) in the first game, except here the tanks appear to be scaled up to a more accurate size. Unlike other hostile armored vehicles encountered in the game, the Tiger tanks appear to be knocked out of commission with smoke billowing from their turrets and their main guns drooping down.
MG 34 Panzerlauf
The enemy tanks use the MG 34 Panzerlauf as their secondary weapons. The enemy halftracks use them on the sides as well. They can be disabled if shot just right.
V1 Missile
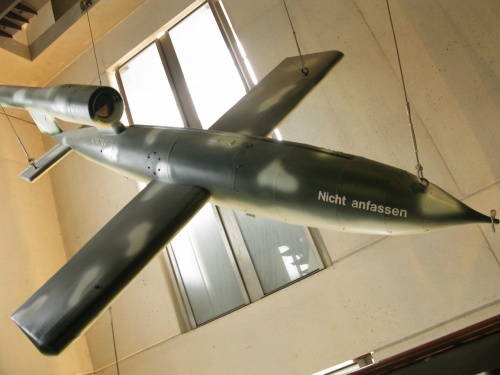
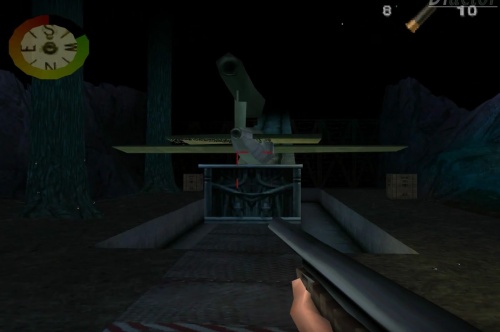
The V1 pulse-jet cruise missile is seen in A Mittlewerk Saboteur (Mission 6) as a V1 Mittlewerk facility is the main objective of sabotage. Two V1s are encountered in Level 3 of the mission and must be destroyed before launch.
Junkers Ju 87
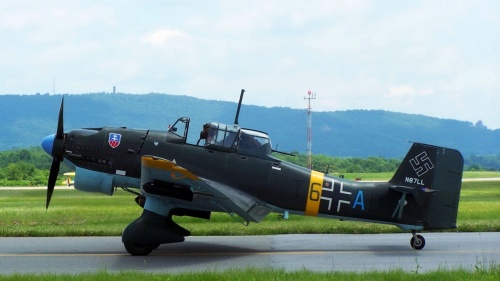
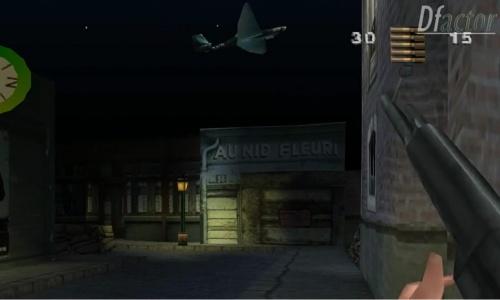
In Level 3 of Liberation! (Mission 7), two Junkers Ju 87 "Stuka" Dive Bombers fly overhead. The Stukas strafe the road and drop bombs, which can inflict serious damage. They can also kill several enemies, despite being enemy planes. Although briefly seen, they clearly use the same model as the parked Stuka in Attack Impenetrable Fort Schmerzen (Mission 4) from the first game.
Lockheed P-38 Lightning
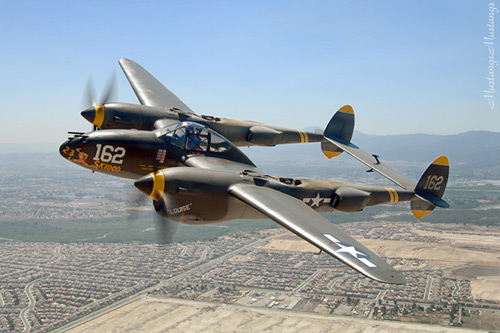
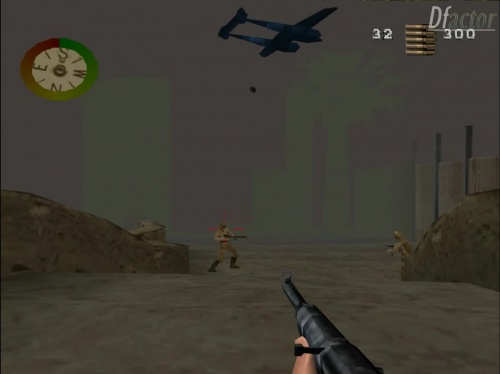
Several Allied Lockheed P-38 fighters are seen in Level 4 of Hunting the Desert Fox (Mission 3), dropping bombs upon the enemy base. They are only seen in the sky briefly, have an unusual dark blue color, and quickly disappear after dropping their payload.
