| If you have been locked out of your account you can request a password reset here. |
Difference between revisions of "Gallipoli (2015)"
| (7 intermediate revisions by 5 users not shown) | |||
| Line 18: | Line 18: | ||
|character4=Cliff Sutton | |character4=Cliff Sutton | ||
|actor4=[[Tom Budge]] | |actor4=[[Tom Budge]] | ||
| − | |character5=Anthony | + | |character5=Anthony Chandler |
| − | |actor5=[[Anthony | + | |actor5=[[Anthony Hayes]] |
|character6=Sergeant Harry Percival | |character6=Sergeant Harry Percival | ||
|actor6=[[Matt Nable]] | |actor6=[[Matt Nable]] | ||
| Line 57: | Line 57: | ||
=Rifles= | =Rifles= | ||
| − | ==Lee-Enfield No.1 Mk | + | ==Lee-Enfield No. 1 Mk III== |
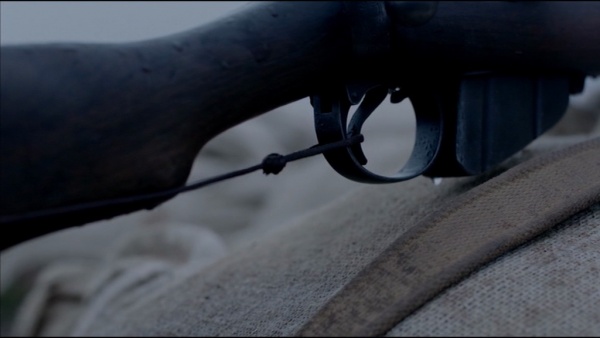
| − | Anzac soldiers carry the [[ | + | The majority of Anzac soldiers carry the [[Lee-Enfield No. 1 Mk III]] rifle in the miniseries, including all four main characters. In Episode 4, ''The Deeper Scar'', Thomas "Tolly" Johnson ([[Kodi Smit-McPhee]]) uses a Lee-Enfield No. 1 Mk. III* with magnifying Galilean sights fixed for sniper duty. In Episode 7, ''The Earth Abides'', the famous self-firing rifle designed by William Scurry (a .303 with a string attached to a trigger and a water bucket, causing the rifle to fire when the bucket empties) is seen set up during the evacuation. |
| − | [[File:SMLE.jpg|thumb|none|500px|Lee-Enfield No.1 Mk | + | [[File:SMLE Mark III.jpg|thumb|none|500px|Lee-Enfield No. 1 Mk III - .303 British]] |
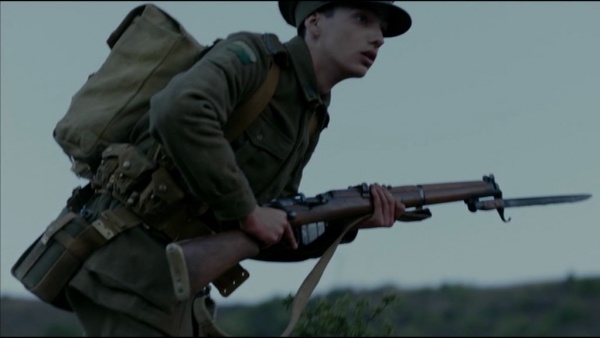
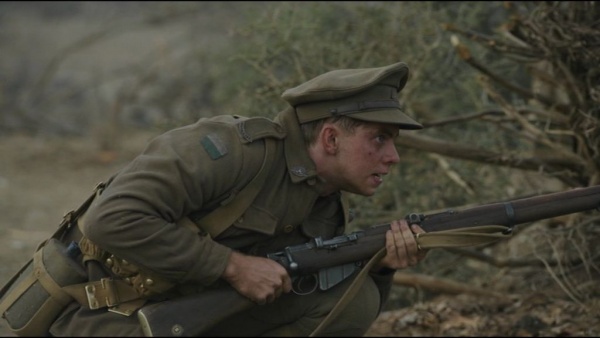
[[File:Gallip Tolly 303.jpg|thumb|none|600px|Thomas "Tolly" Johnson ([[Kodi Smit-McPhee]]) carries a Lee-Enfield No.1 Mk.III* with bayonet fixed during the dawn landing.]] | [[File:Gallip Tolly 303.jpg|thumb|none|600px|Thomas "Tolly" Johnson ([[Kodi Smit-McPhee]]) carries a Lee-Enfield No.1 Mk.III* with bayonet fixed during the dawn landing.]] | ||
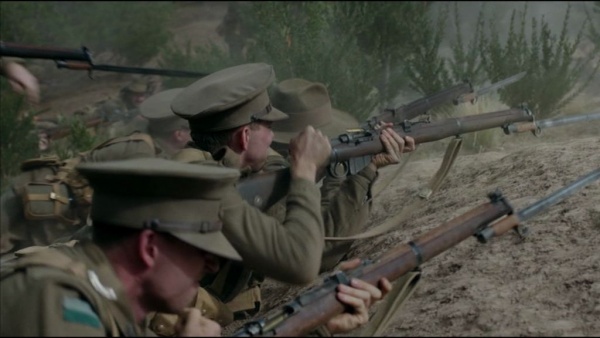
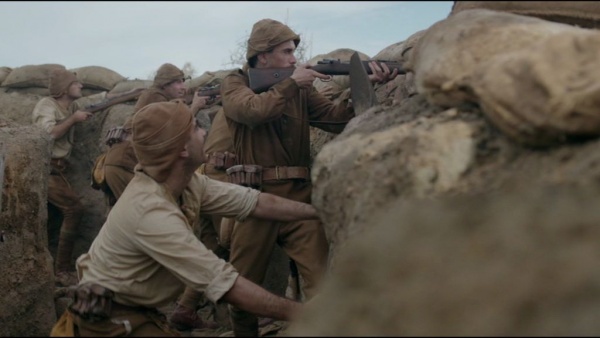
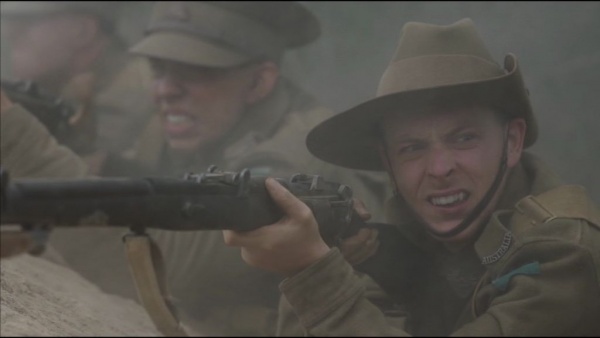
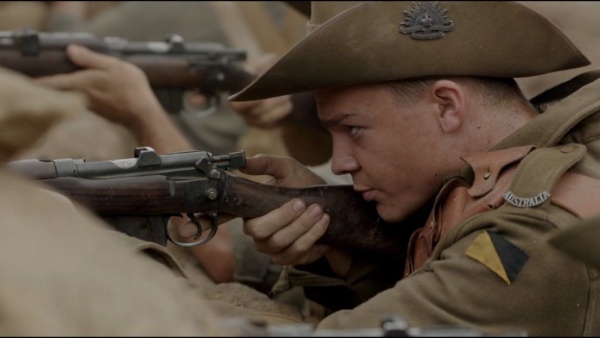
| − | [[File:Gallip Anzac 303.jpg|thumb|none|600px|Anzac troops fire their rifles at charging Turks. Several are working the bolt-action.]] | + | [[File:Gallip Anzac 303.jpg|thumb|none|600px|Anzac troops fire their rifles at charging Turks. Several are working the bolt-action. The toprifle is a Mk.III and the bottom rifle is a Mk.III*]] |
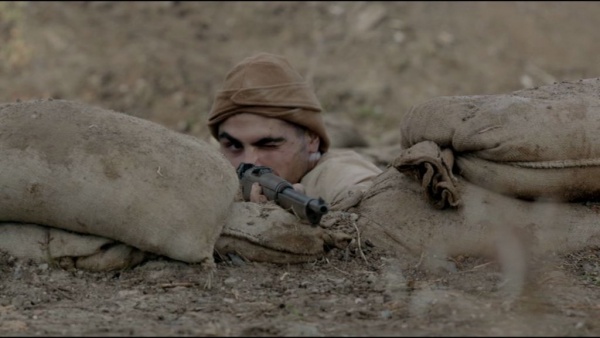
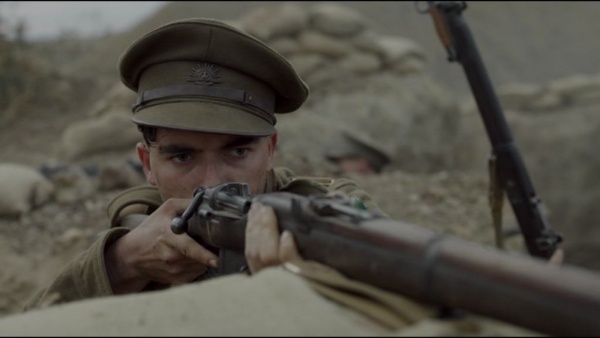
[[File:Gallip Cliffy 303.jpg|thumb|none|600px|Cliff Sutton ([[Tom Budge]]) aims his rifle.]] | [[File:Gallip Cliffy 303.jpg|thumb|none|600px|Cliff Sutton ([[Tom Budge]]) aims his rifle.]] | ||
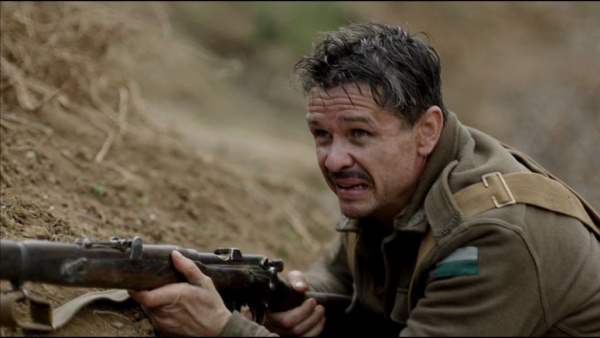
[[File:Gallip Percival 303.jpg|thumb|none|600px|Sergeant Harry Percival ([[Matt Nable]]) with his rifle when pinned down by a Turkish sniper.]] | [[File:Gallip Percival 303.jpg|thumb|none|600px|Sergeant Harry Percival ([[Matt Nable]]) with his rifle when pinned down by a Turkish sniper.]] | ||
| Line 67: | Line 67: | ||
[[File:Gallip Dave 303.jpg|thumb|none|600px|Dave Klein ([[Sam Parsonson]]) fires his rifle.]] | [[File:Gallip Dave 303.jpg|thumb|none|600px|Dave Klein ([[Sam Parsonson]]) fires his rifle.]] | ||
[[File:Gallip Chook 303.jpg|thumb|none|600px|Light Horseman Chook ([[Lincoln Lewis]]) fires his Lee-Enfield.]] | [[File:Gallip Chook 303.jpg|thumb|none|600px|Light Horseman Chook ([[Lincoln Lewis]]) fires his Lee-Enfield.]] | ||
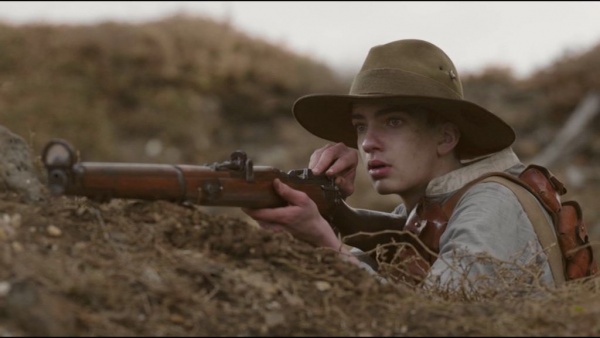
| − | [[File:Gallip Tolly 303 2.jpg|thumb|none|600px|Tolly aims his .303, fitted with | + | [[File:Gallip Tolly 303 2.jpg|thumb|none|600px|Tolly aims his .303, fitted with Galilean sights, at a Turkish sniper.]] |
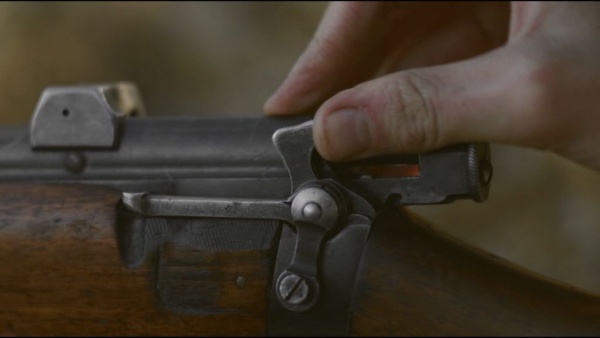
[[File:Gallip Tolly 303 3.jpg|thumb|none|600px|Tolly works the safety.]] | [[File:Gallip Tolly 303 3.jpg|thumb|none|600px|Tolly works the safety.]] | ||
[[File:Gallip Anzac 303 2.jpg|thumb|none|600px|One of the self-firing rifles goes off.]] | [[File:Gallip Anzac 303 2.jpg|thumb|none|600px|One of the self-firing rifles goes off.]] | ||
| Line 73: | Line 73: | ||
[[File:Gallip Tolly 303 5.jpg|thumb|none|600px|Attaching the string.]] | [[File:Gallip Tolly 303 5.jpg|thumb|none|600px|Attaching the string.]] | ||
| − | == | + | ==Lee-Enfield No. 1 Mk III*== |
| − | + | Some Anzac soldiers carry the [[Lee-Enfield No. 1 Mk III*]] rifle, the simplified variant of the No.1 Mk.III with the magazine cutoff and volley sights removed. | |
| − | [[File: | + | [[File:SMLE.jpg|thumb|none|500px|Lee-Enfield No. 1 Mk III* - .303 British]] |
| − | [[File:Gallip | + | [[File:Gallip Anzac 303.jpg|thumb|none|600px|Anzac troops fire their rifles at charging Turks. Several are working the bolt-action. The bottom rifle is an Mk.III* and the top rifle is an Mk.III.]] |
| − | [[File:Gallip Turk Mauser 2.jpg|thumb|none|600px|A Turkish soldier running towards a machine gun nest under siege.]] | + | |
| + | ==Mauser Model 1893== | ||
| + | In some scenes, very accurate [[M1893 Turkish Mauser]] rifles, which appear to be the unconverted 7.65×53mm original version, are used by Turkish soldiers. | ||
| + | [[File:Turkish1893Mauser.jpg|thumb|none|500px|Turkish Mauser 1893 - 7.65×53mm Mauser]] | ||
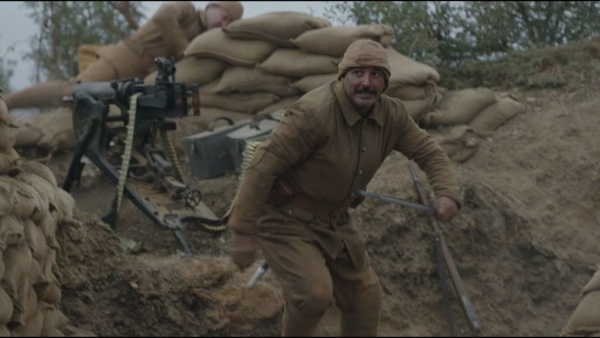
| + | [[File:Gallip Turk Mauser 2.jpg|thumb|none|600px|A Turkish soldier running towards a machine gun nest under siege. The magazine cut-off is visible and it has no metal plates on the buttstock, both signs of the real M1893 variant (a true rarity).]] | ||
| + | |||
| + | ==Mauser Model 1903/30== | ||
| + | The post-WWI updated [[Mauser Rifle Series#1903 Turkish Mauser|Mauser 1903/30 Rifle]] is carried by Turkish troops, often fitted with an M1890 bayonet. Identified by the large stripper clip bridges and 7.92x57mm rounds loaded by the Turks during the Battle of the Nek scenes. | ||
| + | [[Image:TurkishMauser03-30.jpg|thumb|none|500px|Turkish Mauser 1903/30 - 7.92x57mm]] | ||
[[File:Gallip Turk Mauser 3.jpg|thumb|none|600px|A Turkish soldier takes a 1903 Mauser from his comrade.]] | [[File:Gallip Turk Mauser 3.jpg|thumb|none|600px|A Turkish soldier takes a 1903 Mauser from his comrade.]] | ||
[[File:Gallip Turk Mauser 4.jpg|thumb|none|600px|The soldier fires his Mauser.]] | [[File:Gallip Turk Mauser 4.jpg|thumb|none|600px|The soldier fires his Mauser.]] | ||
[[File:Gallip Turk Mauser 5.jpg|thumb|none|600px|Turkish soldiers with Mauser rifles.]] | [[File:Gallip Turk Mauser 5.jpg|thumb|none|600px|Turkish soldiers with Mauser rifles.]] | ||
[[File:Gallip Turk Mauser 6.jpg|thumb|none|600px|A Turkish soldier in the trenches of the Nek.]] | [[File:Gallip Turk Mauser 6.jpg|thumb|none|600px|A Turkish soldier in the trenches of the Nek.]] | ||
| − | [[File:Gallip Turk Mauser 7.jpg|thumb|none|600px|A Turkish sniper aims his Mauser.]] | + | |
| − | [[File:Gallip Turk Mauser 8.jpg|thumb|none|600px|Working the bolt. A round can be seen in the chamber.]] | + | ==Mauser Model 1938== |
| + | Some anachronistic Turkish Model 1938 rifles can be seen used by several Turkish soldiers. | ||
| + | [[Image:Turk38Mauser.jpg|thumb|none|500px|Turkish Mauser Model 1938 - 7.92x57mm ("8mm Mauser")]] | ||
| + | [[File:Gallip Turk Mauser.jpg|thumb|none|600px|A Turkish sentry fires at Anzac troops during the dawn landing.]] | ||
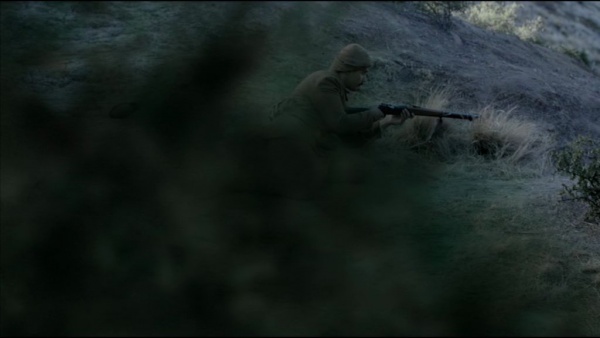
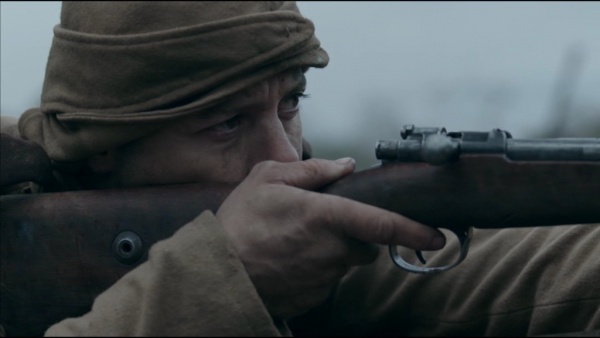
| + | [[File:Gallip Turk Mauser 7.jpg|thumb|none|600px|A Turkish sniper aims his Mauser without the large stripper clip bridges.]] | ||
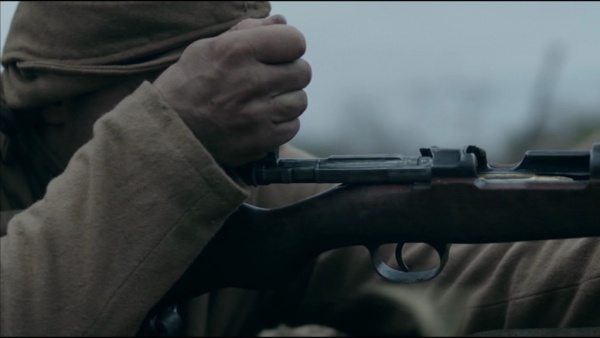
| + | [[File:Gallip Turk Mauser 8.jpg|thumb|none|600px|Working the bolt. A 7.92x57mm round can be seen in the chamber.]] | ||
=Machine Guns= | =Machine Guns= | ||
| Line 102: | Line 115: | ||
=Grenades= | =Grenades= | ||
==Jam Tin Grenade== | ==Jam Tin Grenade== | ||
| − | The improvised Jam Tin Grenade, made from empty jam or bully beef tins and filled with gunpowder or dynamite, is used by Anzacs, including Sergeant Harry Percival ([[Matt Nable]]). | + | The improvised [[Jam Tin Grenade]], made from empty jam or bully beef tins and filled with gunpowder or dynamite, is used by Anzacs, including Sergeant Harry Percival ([[Matt Nable]]). |
[[File:Gws-jamtinbomb.jpg|thumb|none|300px|Jam Tin Grenade]] | [[File:Gws-jamtinbomb.jpg|thumb|none|300px|Jam Tin Grenade]] | ||
[[File:Gallip Percival JamTin.jpg|thumb|none|600px|Sergeant Harry Percival ([[Matt Nable]]) readies a Jam Tin Grenade.]] | [[File:Gallip Percival JamTin.jpg|thumb|none|600px|Sergeant Harry Percival ([[Matt Nable]]) readies a Jam Tin Grenade.]] | ||
[[File:Gallip Anzac JamTin.jpg|thumb|none|600px|A grenade is thrown into a Turkish bunker at Lone Pine.]] | [[File:Gallip Anzac JamTin.jpg|thumb|none|600px|A grenade is thrown into a Turkish bunker at Lone Pine.]] | ||
| − | ==No. 15 Grenade== | + | ==No. 15 Hand Grenade "Ball"== |
| − | The No. 15 Grenade is used by both Anzac and Turkish troops. Cliff Sutton ([[Tom Budge]]) throws several during a skirmish in Episode 3, ''A Man Alone''. | + | The [[No. 15 Hand Grenade "Ball"]] is used by both Anzac and Turkish troops. Cliff Sutton ([[Tom Budge]]) throws several during a skirmish in Episode 3, ''A Man Alone''. |
| − | [[Image:Nov15a.jpg|thumb|none|150px|No 15 Grenade]] | + | [[Image:Nov15a.jpg|thumb|none|150px|No. 15 Hand Grenade "Ball".]] |
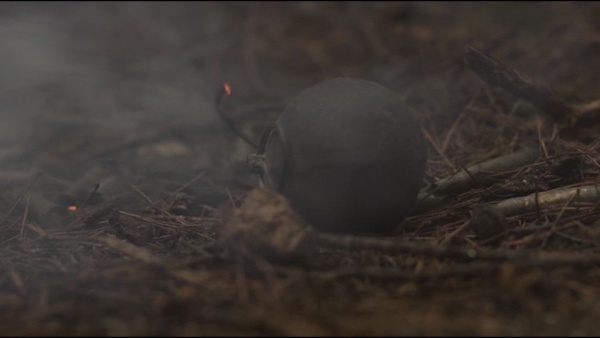
| − | [[File:Gallip Cliffy Bomb.jpg|thumb|none|600px|Cliff Sutton ([[Tom Budge]]) lights a No. 15 Grenade with his cigarette.]] | + | [[File:Gallip Cliffy Bomb.jpg|thumb|none|600px|Cliff Sutton ([[Tom Budge]]) lights a No. 15 Hand Grenade "Ball" with his cigarette.]] |
[[File:Gallip Turk Bomb.jpg|thumb|none|600px|A Turkish bomb in the trenches of Lone Pine.]] | [[File:Gallip Turk Bomb.jpg|thumb|none|600px|A Turkish bomb in the trenches of Lone Pine.]] | ||
| + | |||
| + | =Other= | ||
| + | |||
| + | ==Krupp Field Gun== | ||
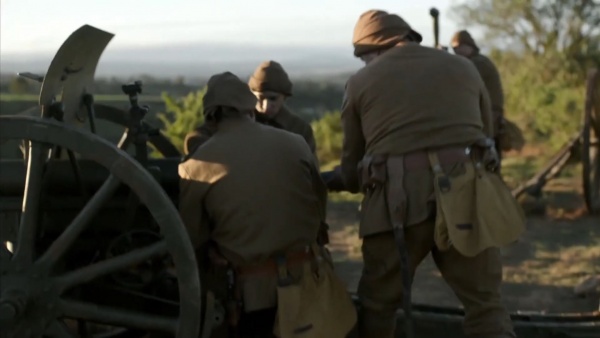
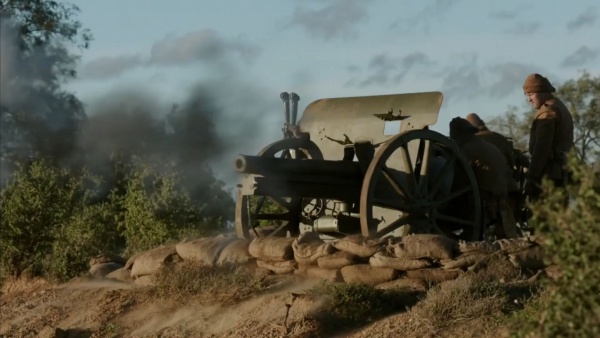
| + | A Krupp field gun, possibly an M1903, is used by Turkish troops. | ||
| + | [[File:Gallipoli2015-FieldGun1.jpg|thumb|none|600px|]] | ||
| + | [[File:Gallipoli2015-FieldGun2.jpg|thumb|none|600px|]] | ||
[[Category:Australian Produced/Filmed]] | [[Category:Australian Produced/Filmed]] | ||
Latest revision as of 13:03, 4 April 2021
| ||||||||||||||||||||||||||||||||||||||
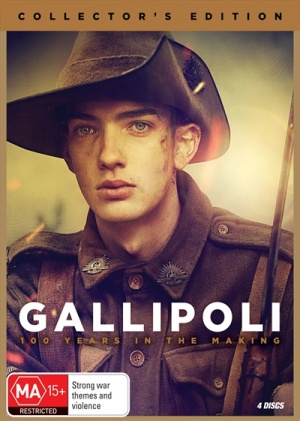
Gallipoli is an Australian-made miniseries, produced for the 100th anniversary of the ill-fated Gallipoli campaign and based on the non-fiction book by journalist Les Carlyon. Thomas "Tolly" Johnson, a 17 year old Australian, lies about his age so he can follow his older brother Bevan to war. With their mates Dave Klein and Cliff Sutton, they endure the eight month campaign, from landing at Anzac Cove, to the August Offensive, and finally the evacuation.
The following weapons can be seen in the miniseries Gallipoli:
Sidearms
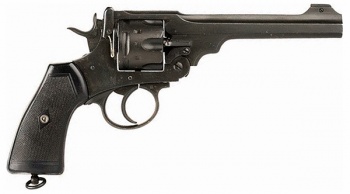
Webley Mk. VI
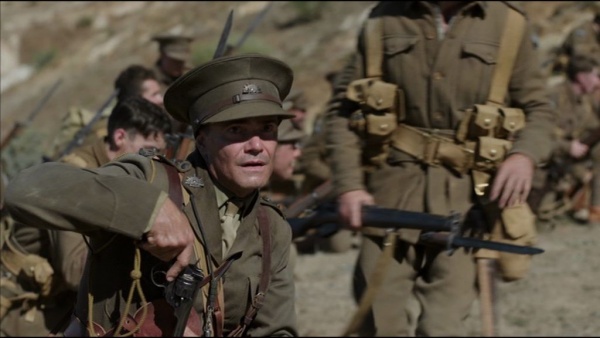
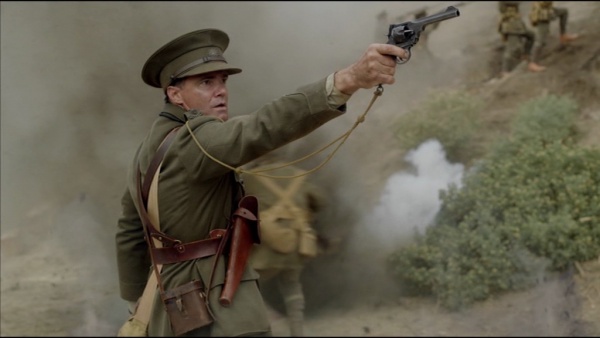
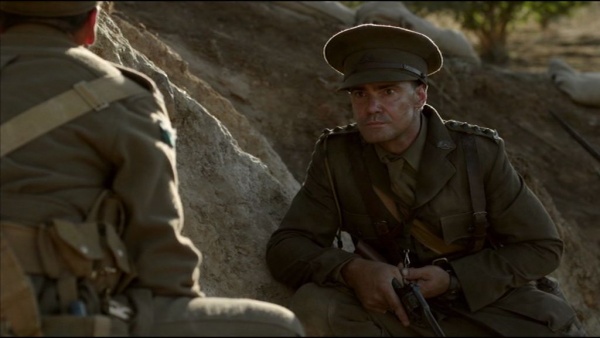
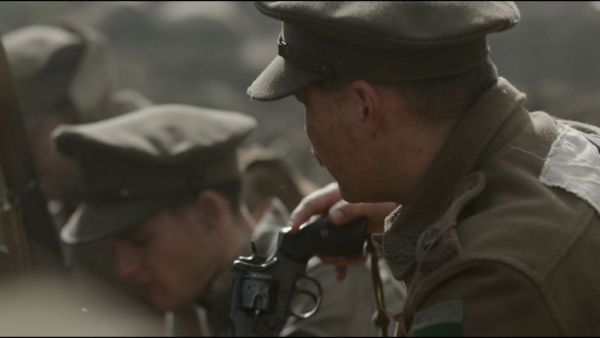
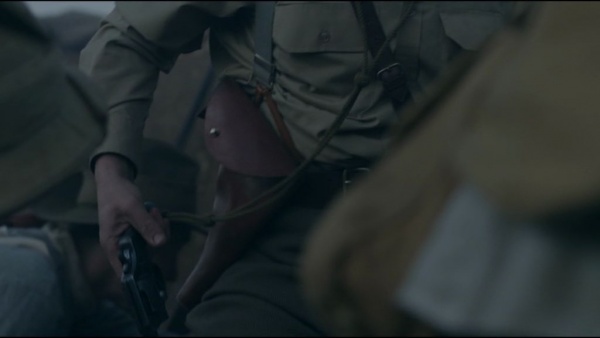
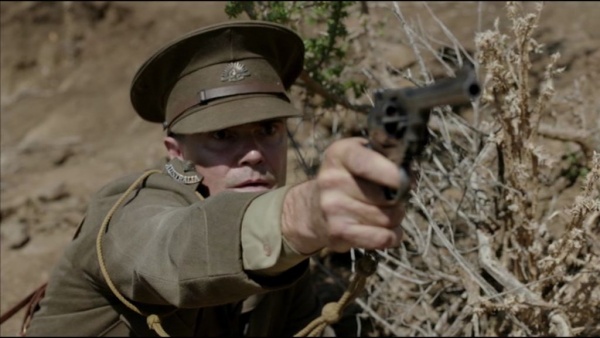
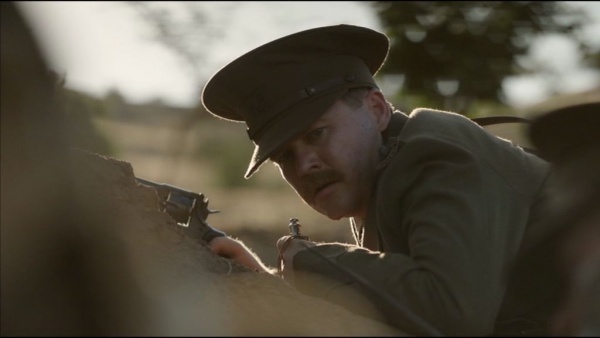
The Webley Mk. VI revolver is carried by Anzac officers fighting in Gallipoli, most notably Captain Eric Taylor (Jeremy Lindsay Taylor) and Anthony Chandler (Anthony Hayes).
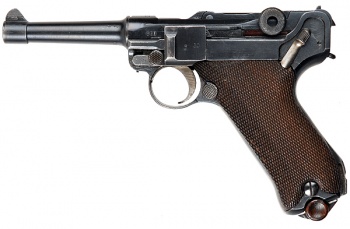
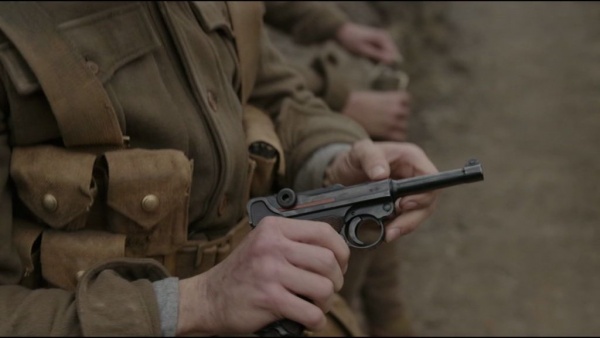
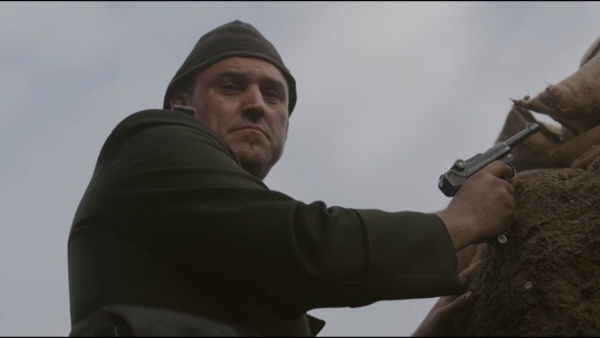
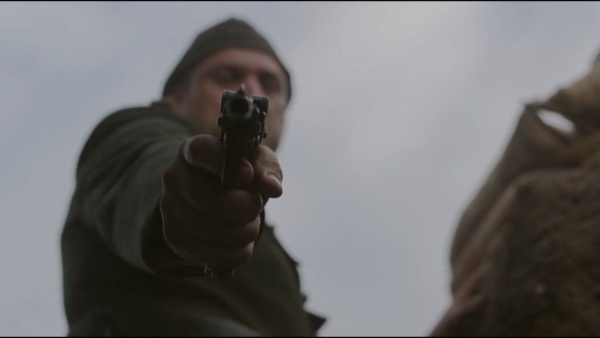
Luger P08
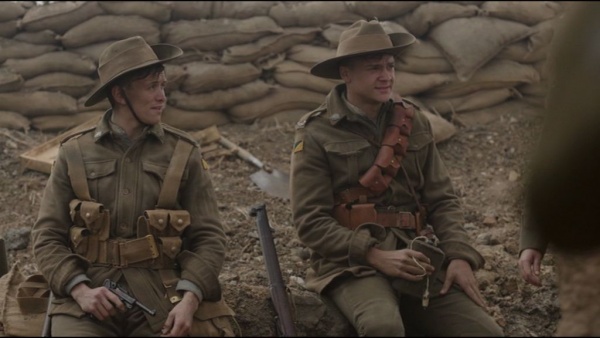
The World War One model Luger P08 is used by Turkish officers. Light Horseman Henry "Stewie" Stewart Watson (Travis Jeffery) is seen with a captured one after a battle with Turkish soldiers.
Rifles
Lee-Enfield No. 1 Mk III
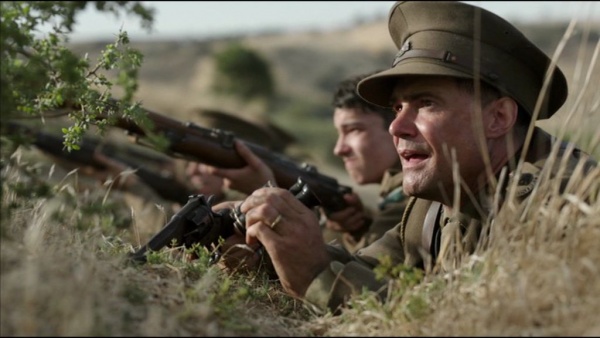
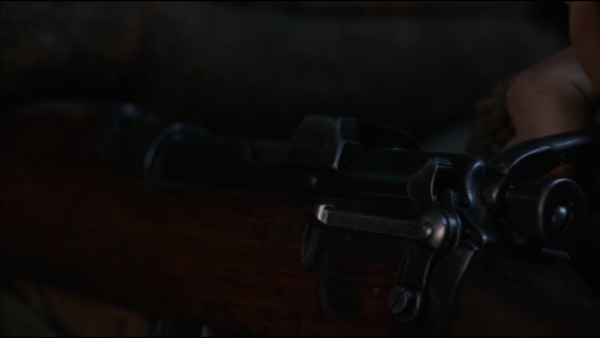
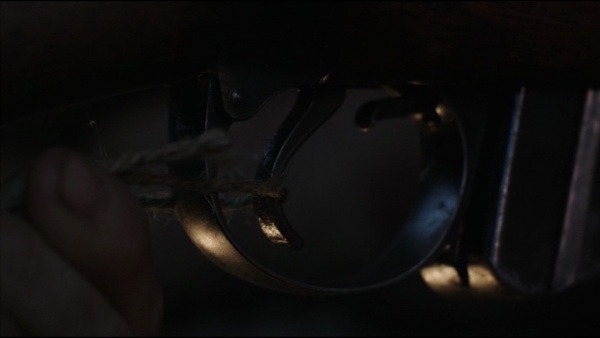
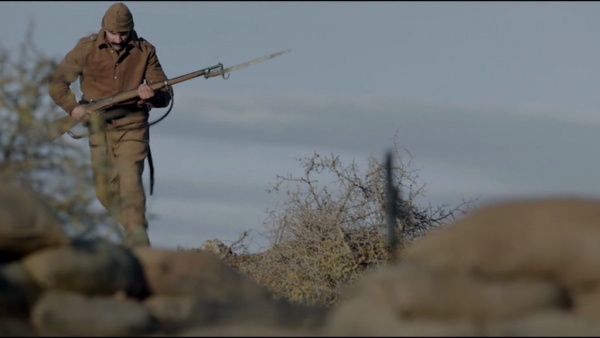
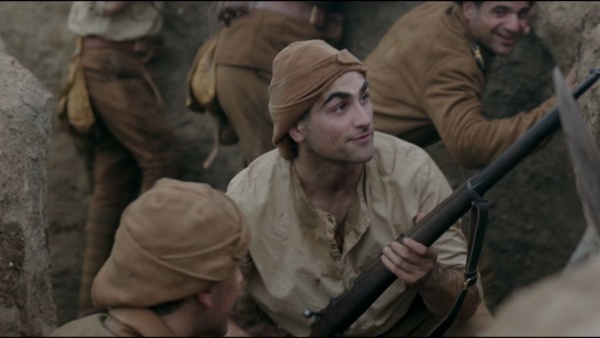
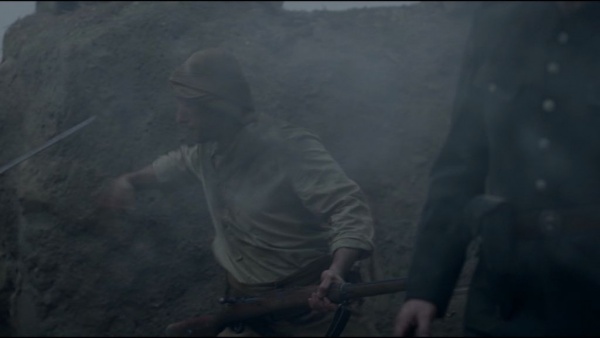
The majority of Anzac soldiers carry the Lee-Enfield No. 1 Mk III rifle in the miniseries, including all four main characters. In Episode 4, The Deeper Scar, Thomas "Tolly" Johnson (Kodi Smit-McPhee) uses a Lee-Enfield No. 1 Mk. III* with magnifying Galilean sights fixed for sniper duty. In Episode 7, The Earth Abides, the famous self-firing rifle designed by William Scurry (a .303 with a string attached to a trigger and a water bucket, causing the rifle to fire when the bucket empties) is seen set up during the evacuation.
Lee-Enfield No. 1 Mk III*
Some Anzac soldiers carry the Lee-Enfield No. 1 Mk III* rifle, the simplified variant of the No.1 Mk.III with the magazine cutoff and volley sights removed.
Mauser Model 1893
In some scenes, very accurate M1893 Turkish Mauser rifles, which appear to be the unconverted 7.65×53mm original version, are used by Turkish soldiers.
Mauser Model 1903/30
The post-WWI updated Mauser 1903/30 Rifle is carried by Turkish troops, often fitted with an M1890 bayonet. Identified by the large stripper clip bridges and 7.92x57mm rounds loaded by the Turks during the Battle of the Nek scenes.
Mauser Model 1938
Some anachronistic Turkish Model 1938 rifles can be seen used by several Turkish soldiers.
Machine Guns
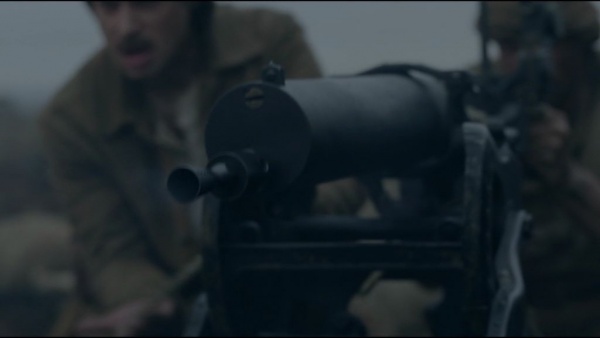
Maxim MG08
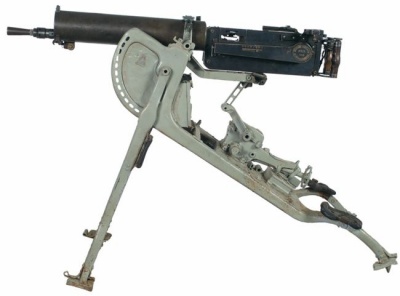
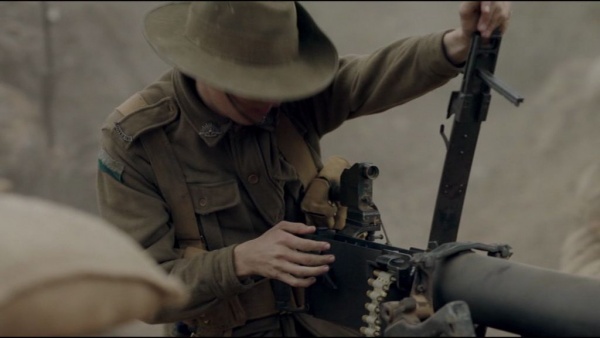
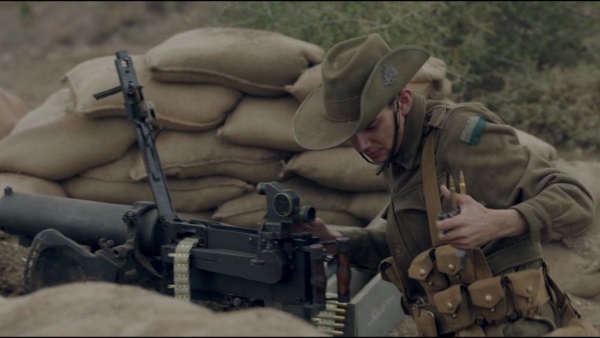
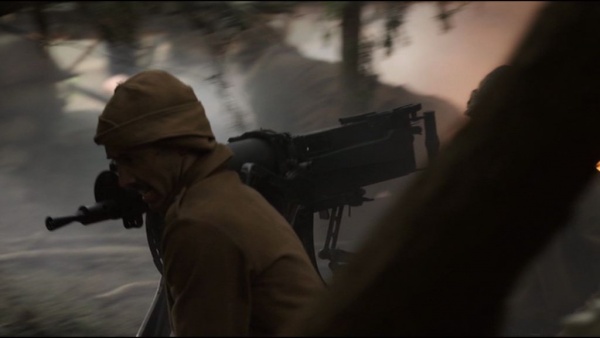
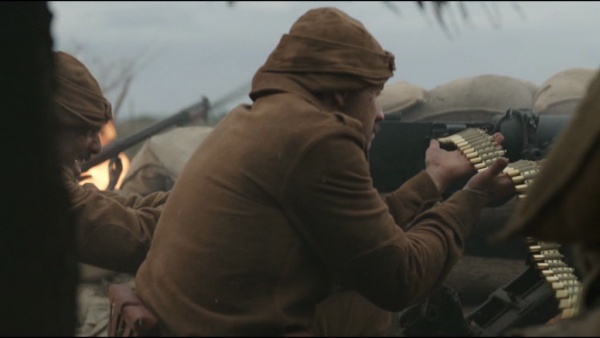
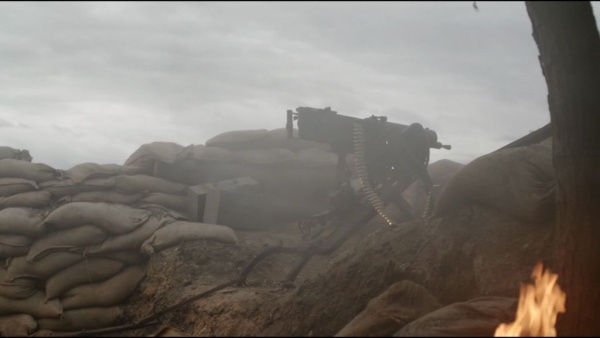
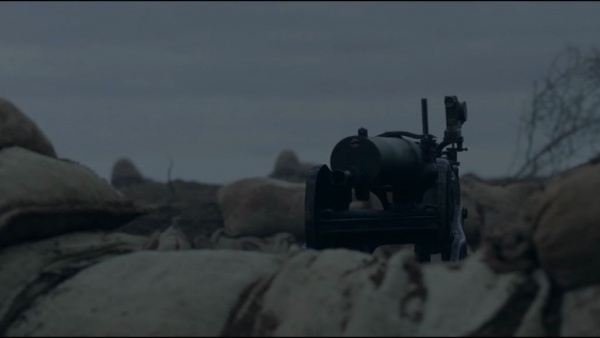
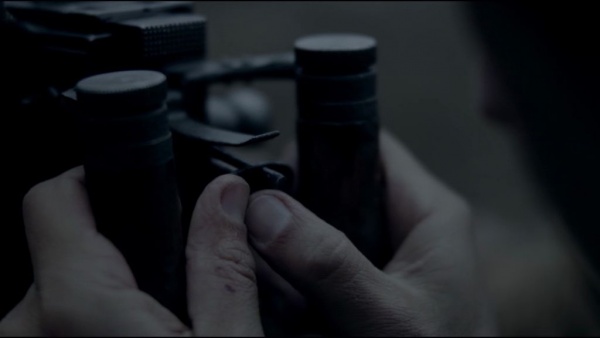
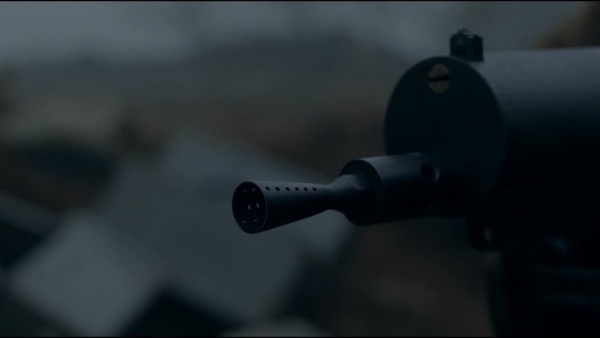
Turkish soldiers use the Maxim MG08 in defense. It is seen in Episode 2 My Friend, The Enemy when Tolly charges the gun crew to save his brother, and Episode 5, The Breakout, against the Anzac offensive at Lone Pine and the Nek.
Grenades
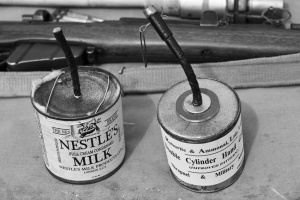
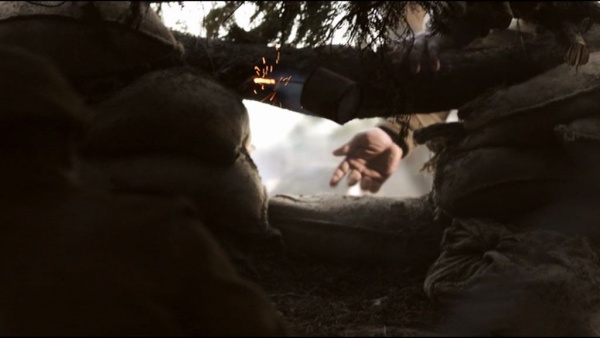
Jam Tin Grenade
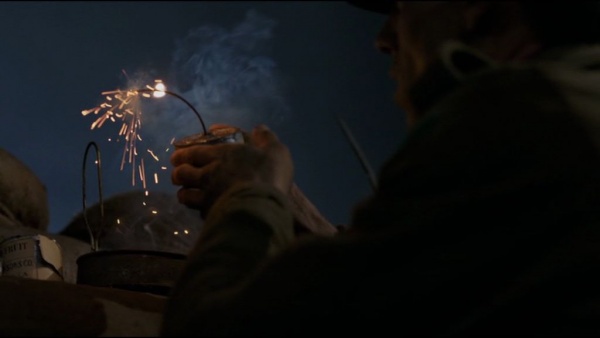
The improvised Jam Tin Grenade, made from empty jam or bully beef tins and filled with gunpowder or dynamite, is used by Anzacs, including Sergeant Harry Percival (Matt Nable).
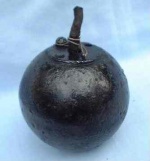
No. 15 Hand Grenade "Ball"
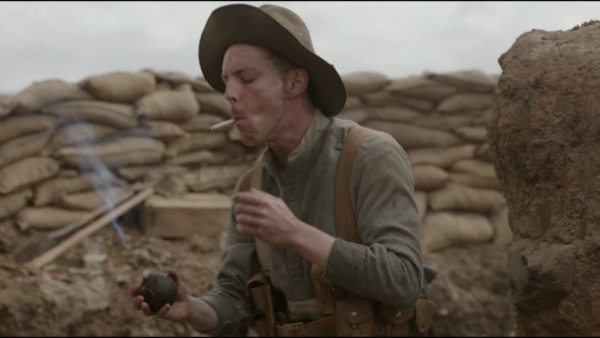
The No. 15 Hand Grenade "Ball" is used by both Anzac and Turkish troops. Cliff Sutton (Tom Budge) throws several during a skirmish in Episode 3, A Man Alone.
Other
Krupp Field Gun
A Krupp field gun, possibly an M1903, is used by Turkish troops.
