| If you have been locked out of your account you can request a password reset here. |
Difference between revisions of "User:Pyramid Silent/Sandbox 2"
| Line 42: | Line 42: | ||
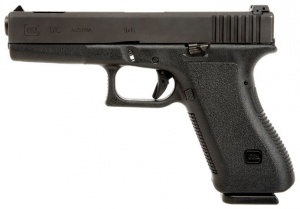
==Glock 17== | ==Glock 17== | ||
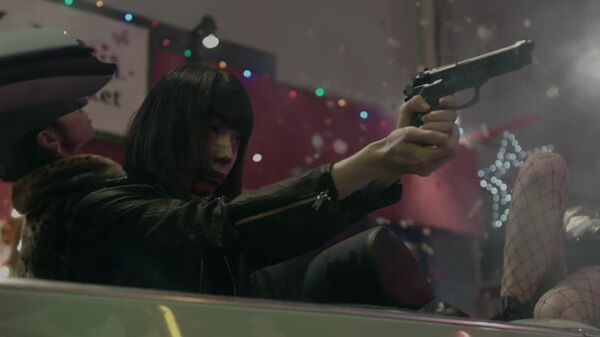
| − | [[Glock 17]] | + | Nemerous characters uses [[Glock 17]] pistols. |
[[File:Glock17C Gen2.jpg|thumb|none|300px|2nd Generation Glock 17C - 9x19mm. This model has compensator cuts on the slide and barrel to reduce muzzle climb while firing.]] | [[File:Glock17C Gen2.jpg|thumb|none|300px|2nd Generation Glock 17C - 9x19mm. This model has compensator cuts on the slide and barrel to reduce muzzle climb while firing.]] | ||
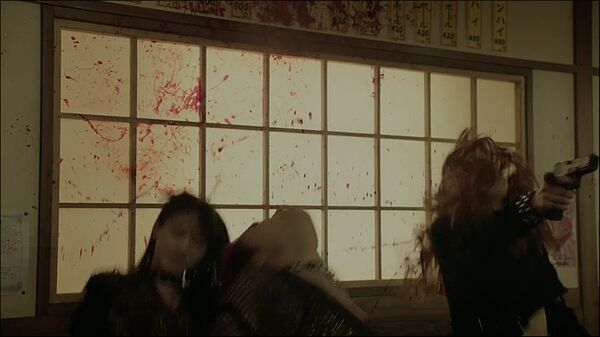
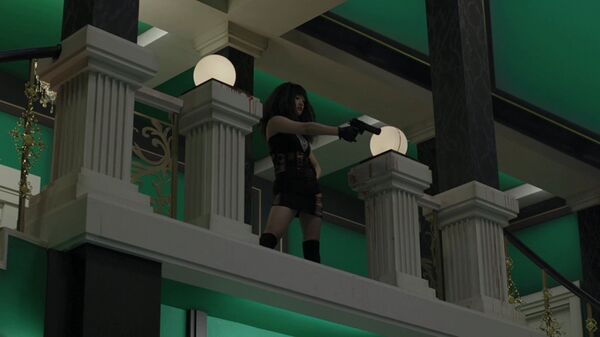
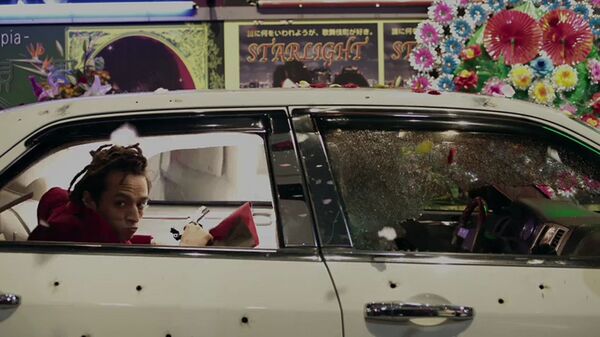
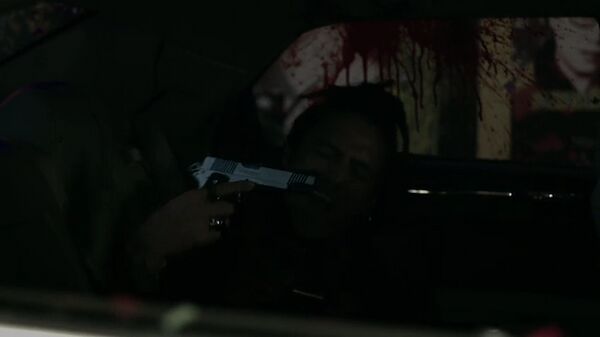
| − | + | [[Image:Tokyo Vampire Hotel E01 pistol 1 2.jpg|thumb|none|600px|Jesse (uncredited) aims her Glock after being gunned down. (Ep.1).]] | |
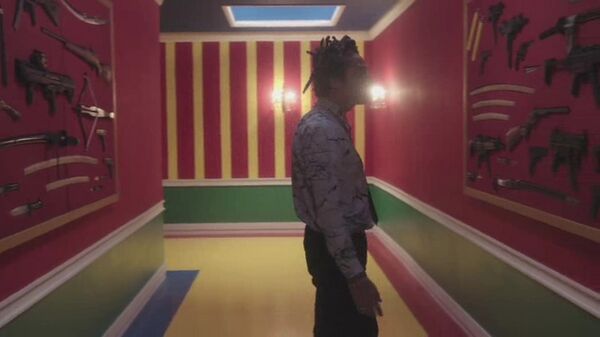
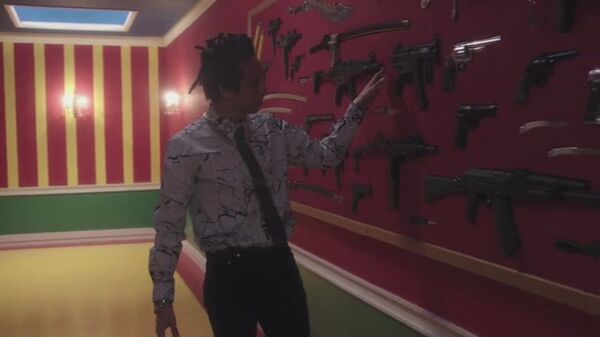
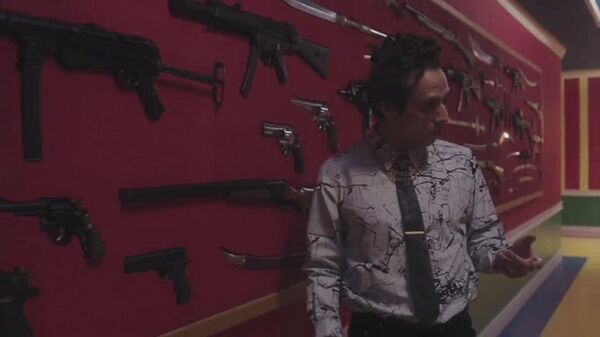
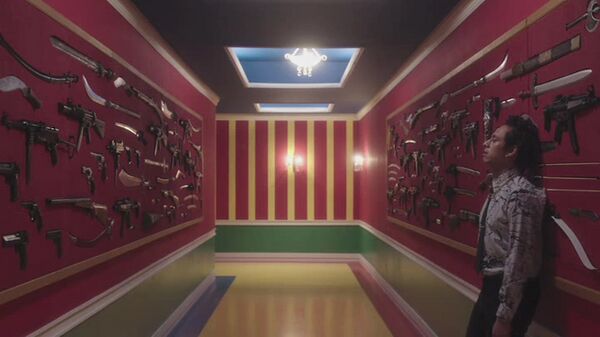
[[Image:Tokyo Vampire Hotel E03 guns 3 2.jpg|thumb|none|600px|The Glock is seen on the wall (at the right, bottom, center). (Ep.3).]] | [[Image:Tokyo Vampire Hotel E03 guns 3 2.jpg|thumb|none|600px|The Glock is seen on the wall (at the right, bottom, center). (Ep.3).]] | ||
==Glock 17 OD== | ==Glock 17 OD== | ||
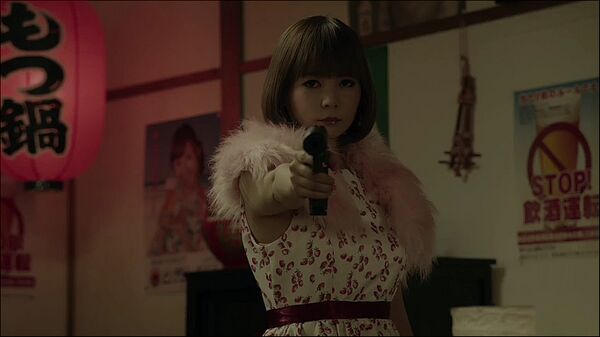
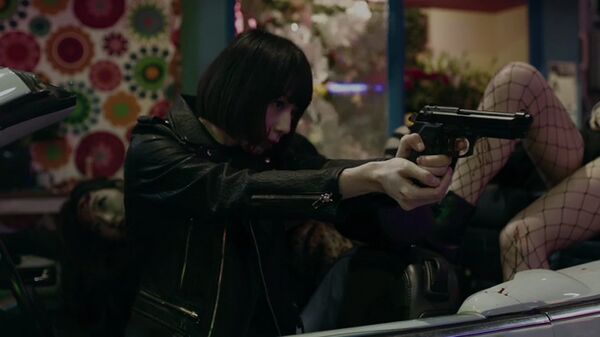
| − | [[Glock 17|Glock 17 OD]] | + | Giga (Shôko Nakagawa) usses [[Glock 17|Glock 17 OD]] at the episode 1. |
[[File:Glock 12892-1-.jpg|thumb|none|300px|Glock 17 OD Green - 9x19mm Parabellum]] | [[File:Glock 12892-1-.jpg|thumb|none|300px|Glock 17 OD Green - 9x19mm Parabellum]] | ||
| + | [[Image:Tokyo Vampire Hotel E01 guns 1 2.jpg|thumb|none|600px|A Glock is seen at the top, right.]] | ||
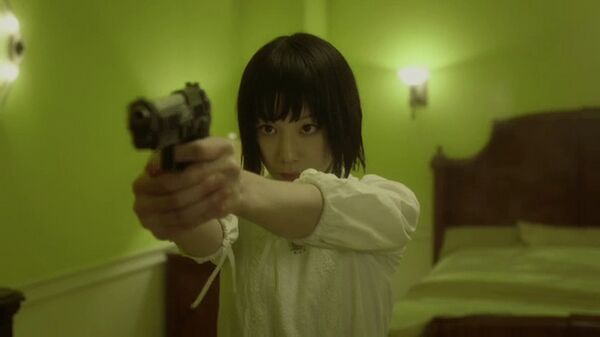
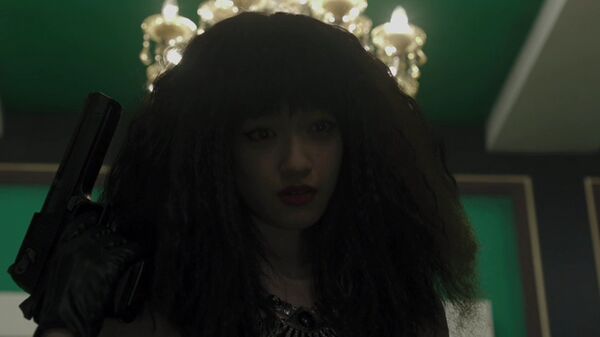
| + | [[Image:Tokyo Vampire Hotel E01 pistol 1 1.jpg|thumb|none|600px|Giga aims her Glock.]] | ||
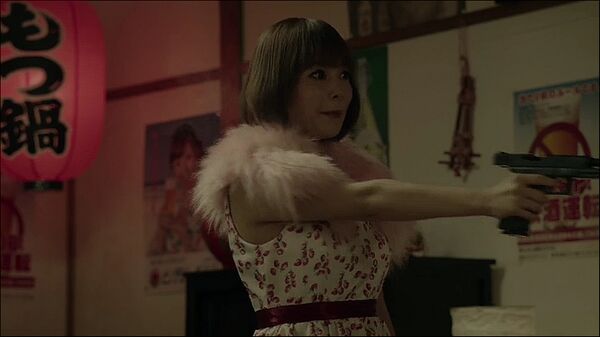
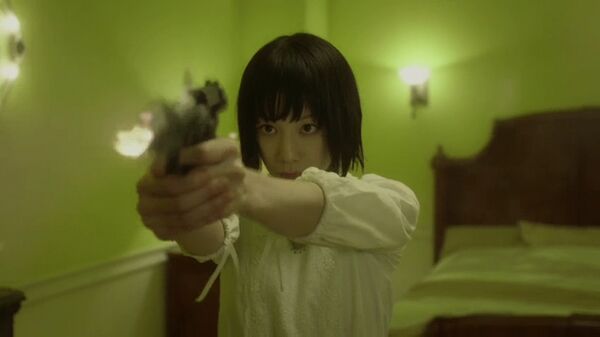
| + | [[Image:Tokyo Vampire Hotel E01 pistol 1 3.jpg|thumb|none|600px|Giga fires.]] | ||
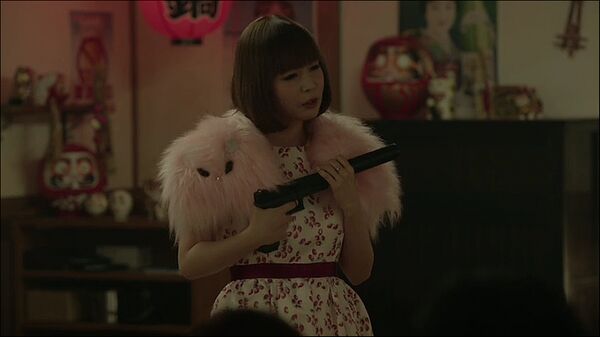
| + | [[Image:Tokyo Vampire Hotel E01 pistol 1 4.jpg|thumb|none|600px|Giga attaches the suppressor to her Glock.]] | ||
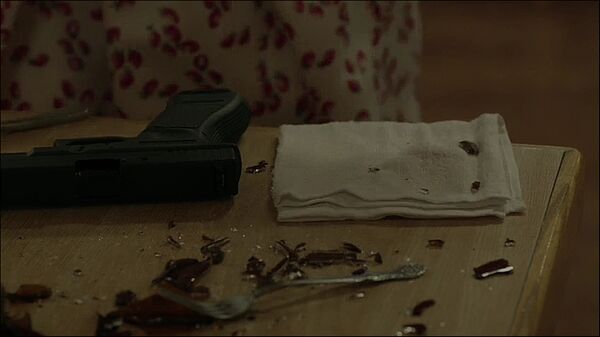
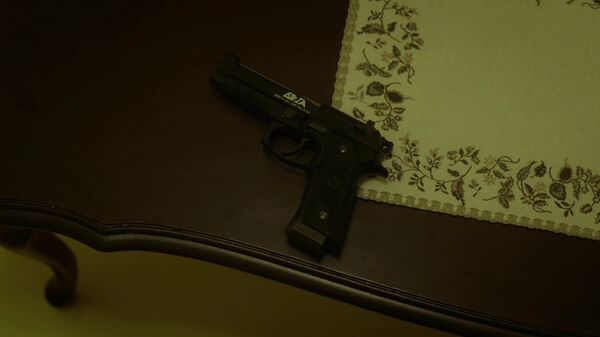
| + | [[Image:Tokyo Vampire Hotel E01 pistol 1 5.jpg|thumb|none|600px|Giga's Glock is lying on the table.]] | ||
==Beretta 92FS== | ==Beretta 92FS== | ||
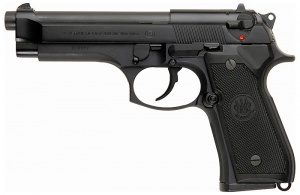
A [[Beretta 92FS]] is the very popular sidearm. | A [[Beretta 92FS]] is the very popular sidearm. | ||
[[File:BerettaM92FS.jpg|thumb|300px|none|Beretta 92FS - 9x19mm]] | [[File:BerettaM92FS.jpg|thumb|300px|none|Beretta 92FS - 9x19mm]] | ||
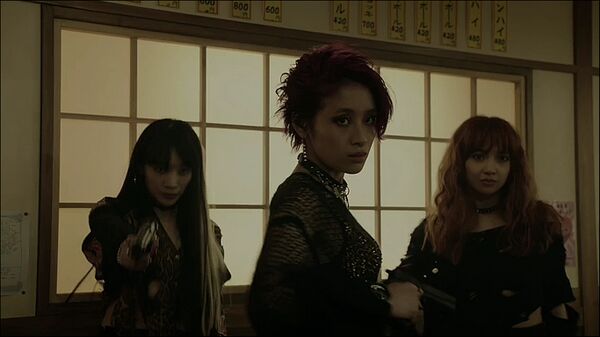
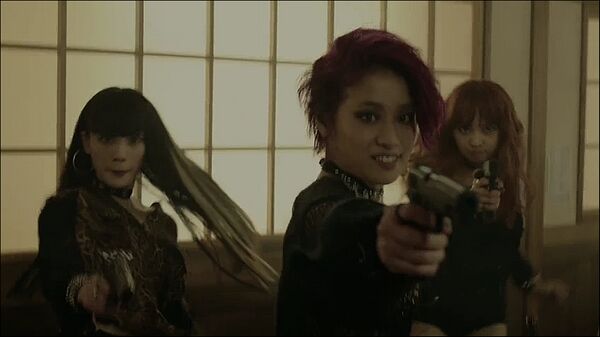
| − | + | [[Image:Tokyo Vampire Hotel E01 pistols 1 2.jpg|thumb|none|600px|Nadi (uncredited) aims the Beretta at the left, Daddy (uncredited) pulls the M1911 at the center. (Ep.1).]] | |
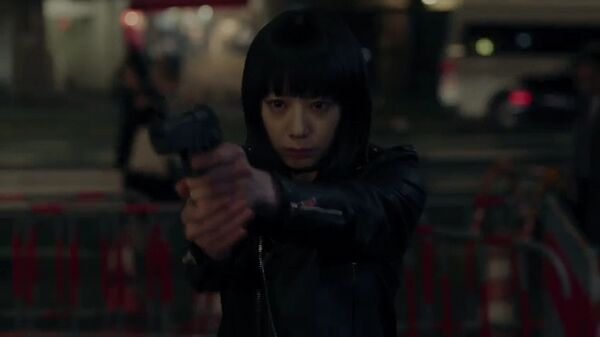
| + | [[Image:Tokyo Vampire Hotel E01 pistol 4 1.jpg|thumb|none|600px|K (Kaho) aims her Beretta. (Ep.1).]] | ||
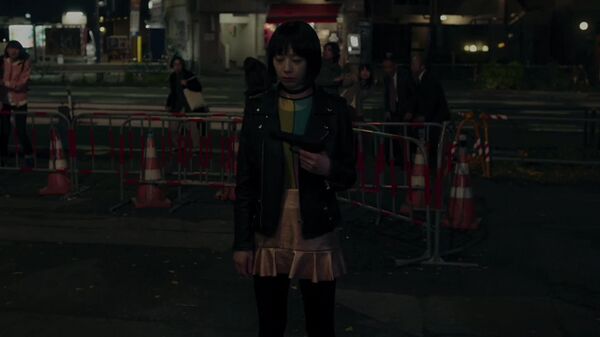
| + | [[Image:Tokyo Vampire Hotel E01 pistol 4 2.jpg|thumb|none|600px|The Beretta is seen in K's hand. (Ep.1).]] | ||
| + | [[Image:Tokyo Vampire Hotel E01 pistol 4 3.jpg|thumb|none|600px|K fires the Beretta. (Ep.1).]] | ||
| + | [[Image:Tokyo Vampire Hotel E01 pistol 4 4.jpg|thumb|none|600px|A better view of K's Beretta. (Ep.1).]] | ||
| + | [[Image:Tokyo Vampire Hotel E03 guns 3 4.jpg|thumb|none|600px|The Beretta is seen at the right, center, above the AK. (Ep.3).]] | ||
[[Image:Tokyo Vampire Hotel E07 pistol 4 21.jpg|thumb|none|600px|Yamada fires the pistol in his left hand. (Ep.7).]] | [[Image:Tokyo Vampire Hotel E07 pistol 4 21.jpg|thumb|none|600px|Yamada fires the pistol in his left hand. (Ep.7).]] | ||
[[Image:Tokyo Vampire Hotel E07 pistol 4 22.jpg|thumb|none|600px|Yamada holds another similar pistol in his right hand. (Ep.7).]] | [[Image:Tokyo Vampire Hotel E07 pistol 4 22.jpg|thumb|none|600px|Yamada holds another similar pistol in his right hand. (Ep.7).]] | ||
| + | [[Image:Tokyo Vampire Hotel E07 pistol 4 25.jpg|thumb|none|600px|Monami (Ami Tomite) puts the Beretta on the floor. (Ep.7).]] | ||
| + | [[Image:Tokyo Vampire Hotel E07 pistol 4 24.jpg|thumb|none|600px|K aims her Beretta at Manami. (Ep.7).]] | ||
==Beretta 92FS Inox== | ==Beretta 92FS Inox== | ||
| Line 67: | Line 79: | ||
==Taurus PT92AF== | ==Taurus PT92AF== | ||
| − | [[Taurus PT92AF]] | + | A [[Taurus PT92AF]] is used by K at the episode 7. |
[[Image:Taurus-PT92AF.jpg|thumb|none|300px|Taurus PT92AF - 9x19mm]] | [[Image:Taurus-PT92AF.jpg|thumb|none|300px|Taurus PT92AF - 9x19mm]] | ||
| + | [[Image:Tokyo Vampire Hotel E07 pistol 15 1.jpg|thumb|none|600px|A close up.]] | ||
| + | [[Image:Tokyo Vampire Hotel E07 pistol 15 2.jpg|thumb|none|600px|K grabs the pistol...]] | ||
| + | [[Image:Tokyo Vampire Hotel E07 pistol 15 3.jpg|thumb|none|600px|...and puts it to her own head.]] | ||
| + | [[Image:Tokyo Vampire Hotel E07 pistol 15 4.jpg|thumb|none|600px|K aims the pistol...]] | ||
| + | [[Image:Tokyo Vampire Hotel E07 pistol 15 5.jpg|thumb|none|600px|...and fires it.]] | ||
| + | [[Image:Tokyo Vampire Hotel E07 pistol 15 6.jpg|thumb|none|600px|K press the pistol to her forehead.]] | ||
==Walther PP== | ==Walther PP== | ||
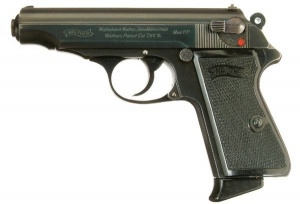
| Line 74: | Line 92: | ||
[[Image:Walther_PP.jpg|thumb|300px|none|War Time Walther PP - .32 ACP]] | [[Image:Walther_PP.jpg|thumb|300px|none|War Time Walther PP - .32 ACP]] | ||
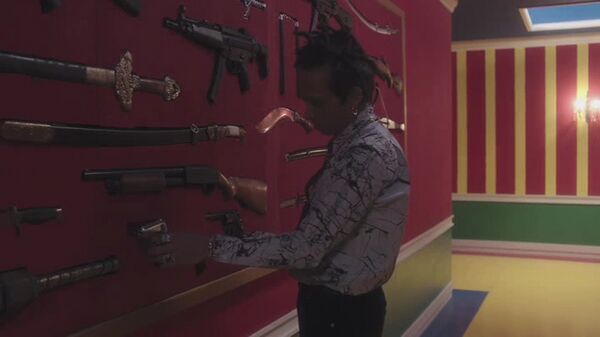
[[Image:Tokyo Vampire Hotel E03 guns 3 1.jpg|thumb|none|600px|Yamada grabs the pistol. (Ep.3).]] | [[Image:Tokyo Vampire Hotel E03 guns 3 1.jpg|thumb|none|600px|Yamada grabs the pistol. (Ep.3).]] | ||
| + | [[Image:Tokyo Vampire Hotel E03 guns 3 5.jpg|thumb|none|600px|The Walther PP is seen at the top, left. (Ep.3).]] | ||
| + | |||
| + | ==Walther P38== | ||
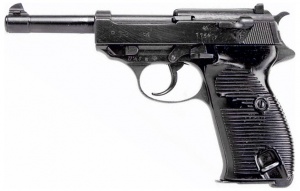
| + | The [[Walther P38]] is seen hanged on the wall. | ||
| + | [[File:P38Black.jpg|thumb|none|300px|Walther P38 WWII dated with black grips - 9x19mm]] | ||
| + | [[Image:Tokyo Vampire Hotel E03 guns 3 5.jpg|thumb|none|600px|The Walther P38 is seen aright from Walther PP. (Ep.3).]] | ||
==M1911A1== | ==M1911A1== | ||
[[M1911A1]] | [[M1911A1]] | ||
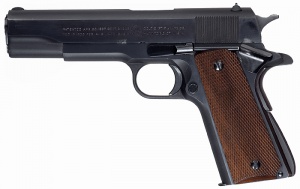
[[File:Colt1911A1PreWar.jpg|thumb|300px|none|Pre-War Colt M1911A1 - Commercial Model known as the "Colt Government Model" - .45 ACP. This has a deep Colt factory blued finish, common for commercial variants before and after the war.]] | [[File:Colt1911A1PreWar.jpg|thumb|300px|none|Pre-War Colt M1911A1 - Commercial Model known as the "Colt Government Model" - .45 ACP. This has a deep Colt factory blued finish, common for commercial variants before and after the war.]] | ||
| + | [[Image:Tokyo Vampire Hotel E01 pistols 1 1.jpg|thumb|none|600px|Nadi (uncredited) aims the Beretta at the left, Daddy (uncredited) aims the M1911 at the center, Jesse (uncredited) aims the Glock at the right. (Ep.1).]] | ||
| + | [[Image:Tokyo Vampire Hotel E01 pistols 1 2.jpg|thumb|none|600px|a ditto. (Ep.1).]] | ||
| + | [[Image:Tokyo Vampire Hotel E03 guns 3 8.jpg|thumb|none|600px|The M1911 pistol is seen on the wall (bottom, left). (Ep.3).]] | ||
==Desert Eagle Mark I== | ==Desert Eagle Mark I== | ||
| − | [[Desert Eagle Mark I]] | + | A [[Desert Eagle Mark I]]s is used by numerous characters. |
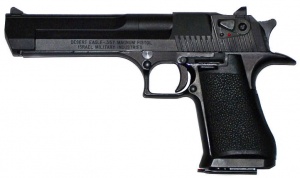
[[Image:MagResDE.357MarkI.jpg|thumb|none|300px|IMI Desert Eagle Mark I - .357 Magnum]] | [[Image:MagResDE.357MarkI.jpg|thumb|none|300px|IMI Desert Eagle Mark I - .357 Magnum]] | ||
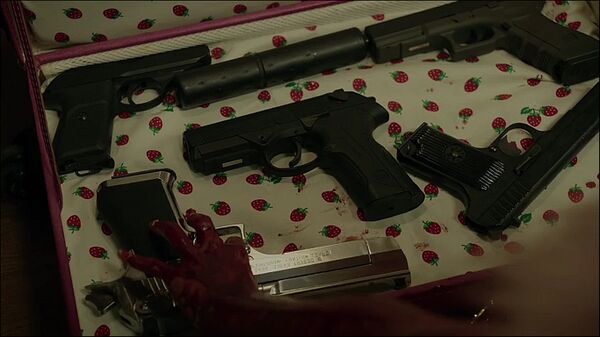
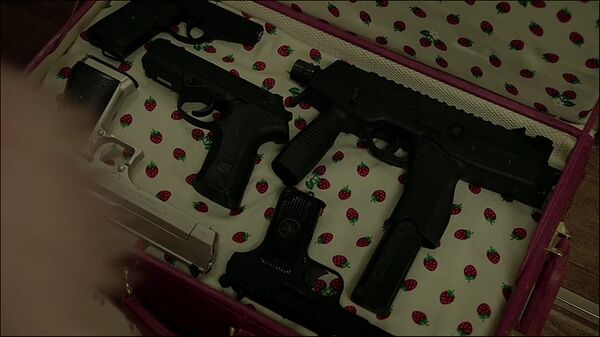
| + | [[Image:Tokyo Vampire Hotel E01 guns 1 1.jpg|thumb|none|600px|The Desert Eagle is seen at the bottom, left, the SIG-Sauer is seen at the top, left, the S&W Sigma is seen at the center, the TMP, is seen at the top, right, the TT is seen at the bottom, right. (Ep.1).]] | ||
| + | [[Image:Tokyo Vampire Hotel E01 guns 1 2.jpg|thumb|none|600px|A ditto (the only exception is Glock exchange from TMP). (Ep.1).]] | ||
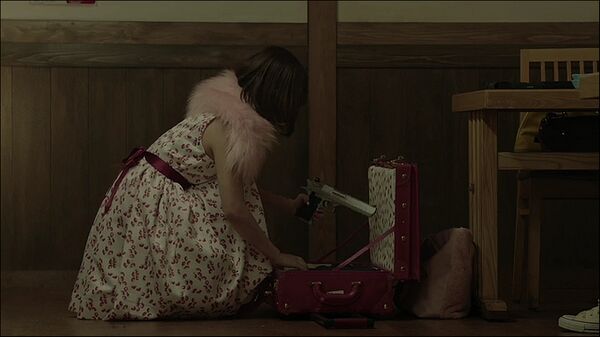
| + | [[Image:Tokyo Vampire Hotel E01 pistol 2 1.jpg|thumb|none|600px|Giga grabs the Desert Eagle. (Ep.1).]] | ||
| + | [[Image:Tokyo Vampire Hotel E01 pistol 2 2.jpg|thumb|none|600px|A good view of Giga's Desert Eagle. (Ep.1).]] | ||
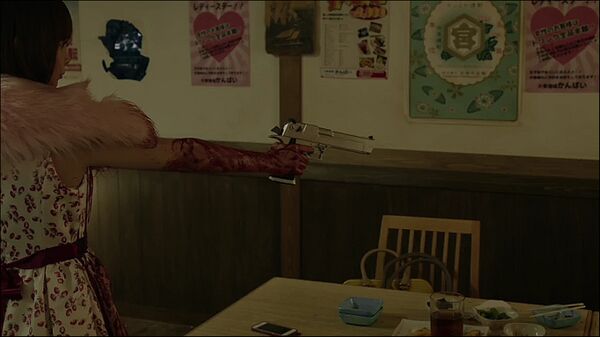
| + | [[Image:Tokyo Vampire Hotel E01 pistol 2 3.jpg|thumb|none|600px|Giga aims her Desert Eagle...]] | ||
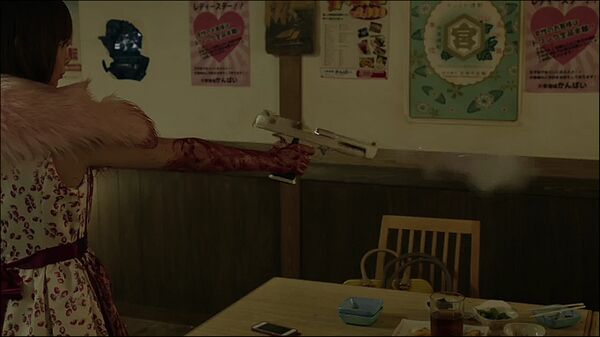
| + | [[Image:Tokyo Vampire Hotel E01 pistol 2 4.jpg|thumb|none|600px|...and fires it. (Ep.1).]] | ||
| + | [[Image:Tokyo Vampire Hotel E03 guns 3 9.jpg|thumb|none|600px|The Desert Eagle pistol is seen at the bottom, left, alfet from previously M1911. (Ep.3).]] | ||
| + | [[Image:Tokyo Vampire Hotel E03 guns 3 11.jpg|thumb|none|600px|A better view of two Desert Eagles, one of them was previously depicted, another one is seen above it. (Ep.3).]] | ||
| + | [[Image:Tokyo Vampire Hotel E08.1 pistol 16 1.jpg|thumb|none|600px|Maruki (Moe Miura) aims the Desert Eagle after firing it. (Ep.8.1).]] | ||
| + | [[Image:Tokyo Vampire Hotel E08.1 pistol 16 2.jpg|thumb|none|600px|A closer view of Maruki's Desert Eagle. (Ep.8.1).]] | ||
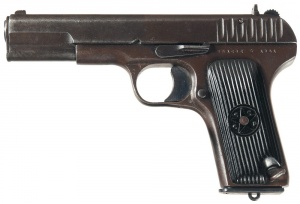
==TT-33== | ==TT-33== | ||
| − | [[TT-33]] | + | A [[TT-33]] is seen in Giga's bag. |
[[Image:TT-33-Wartime.jpg|thumb|none|300px|Tokarev TT-33 - 7.62x25mm Tokarev. Pre-1947 version.]] | [[Image:TT-33-Wartime.jpg|thumb|none|300px|Tokarev TT-33 - 7.62x25mm Tokarev. Pre-1947 version.]] | ||
| + | [[Image:Tokyo Vampire Hotel E01 guns 1 1.jpg|thumb|none|600px|The Desert Eagle is seen at the bottom, left, the SIG-Sauer is seen at the top, left, the S&W Sigma is seen at the center, the TMP, is seen at the top, right, the TT is seen at the bottom, right. (Ep.1).]] | ||
| + | [[Image:Tokyo Vampire Hotel E01 guns 1 2.jpg|thumb|none|600px|A ditto (the only exception is Glock exchange from TMP). (Ep.1).]] | ||
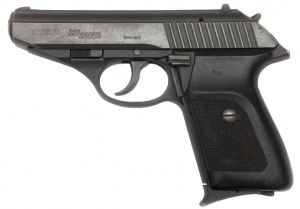
==SIG-Sauer P230== | ==SIG-Sauer P230== | ||
| − | [[SIG-Sauer P230]] | + | A [[SIG-Sauer P230]] is the one of Giga's firearms. |
[[Image:Sig P230 (black).jpg|thumb|none|300px|SIG-Sauer P230 - .380 ACP (9mm kurz). Built between 1977-1996.]] | [[Image:Sig P230 (black).jpg|thumb|none|300px|SIG-Sauer P230 - .380 ACP (9mm kurz). Built between 1977-1996.]] | ||
| + | [[Image:Tokyo Vampire Hotel E01 guns 1 1.jpg|thumb|none|600px|The Desert Eagle is seen at the bottom, left, the SIG-Sauer is seen at the top, left, the S&W Sigma is seen at the center, the TMP, is seen at the top, right, the TT is seen at the bottom, right. (Ep.1).]] | ||
| + | [[Image:Tokyo Vampire Hotel E01 guns 1 2.jpg|thumb|none|600px|A ditto (the only exception is Glock exchange from TMP). (Ep.1).]] | ||
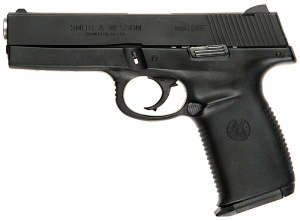
==Smith & Wesson Sigma SW9F== | ==Smith & Wesson Sigma SW9F== | ||
| − | [[Smith & Wesson Sigma SW9F]] | + | A [[Smith & Wesson Sigma SW9F]] is seen in Giga's bag |
[[Image:S&WSigma9F.jpg|thumb|none|300px|Smith & Wesson Sigma SW9F - 9x19mm]] | [[Image:S&WSigma9F.jpg|thumb|none|300px|Smith & Wesson Sigma SW9F - 9x19mm]] | ||
| + | [[Image:Tokyo Vampire Hotel E01 guns 1 1.jpg|thumb|none|600px|The Desert Eagle is seen at the bottom, left, the SIG-Sauer is seen at the top, left, the S&W Sigma is seen at the center, the TMP, is seen at the top, right, the TT is seen at the bottom, right. (Ep.1).]] | ||
| + | [[Image:Tokyo Vampire Hotel E01 guns 1 2.jpg|thumb|none|600px|A ditto (the only exception is Glock exchange from TMP). (Ep.1).]] | ||
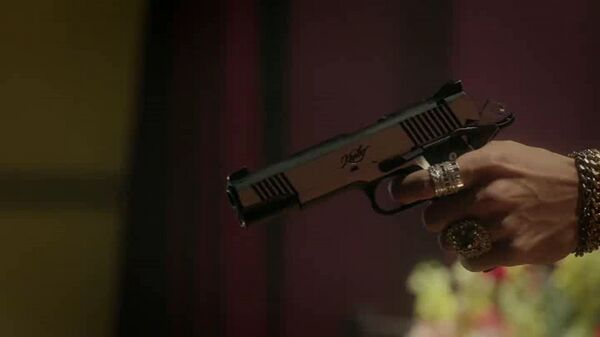
==Kimber Eclipse Custom II== | ==Kimber Eclipse Custom II== | ||
| Line 109: | Line 152: | ||
[[Image:Tokyo Vampire Hotel E07 pistol 13 1.jpg|thumb|none|600px|Yamada fires his pistol-axe at K.]] | [[Image:Tokyo Vampire Hotel E07 pistol 13 1.jpg|thumb|none|600px|Yamada fires his pistol-axe at K.]] | ||
[[Image:Tokyo Vampire Hotel E07 pistol 13 2.jpg|thumb|none|600px|Yamada aims his pistol-axe after firing it.]] | [[Image:Tokyo Vampire Hotel E07 pistol 13 2.jpg|thumb|none|600px|Yamada aims his pistol-axe after firing it.]] | ||
| + | [[Image:Tokyo Vampire Hotel E07 pistol 13 3.jpg|thumb|none|600px|K threatens Yamada with his own pistol-axe.]] | ||
| + | [[Image:Tokyo Vampire Hotel E07 pistol 13 4.jpg|thumb|none|600px|Another view of the same scene.]] | ||
==Various pistols== | ==Various pistols== | ||
Numerous pistols can be seen at the several points. | Numerous pistols can be seen at the several points. | ||
| + | [[Image:Tokyo Vampire Hotel E01 pistol 3 1.jpg|thumb|none|600px|Cleaners pulls the pistol. (Ep.1).]] | ||
| + | [[Image:Tokyo Vampire Hotel E01 pistol 3 2.jpg|thumb|none|600px|Another cleaner aims his pistol at Giga. (Ep.1).]] | ||
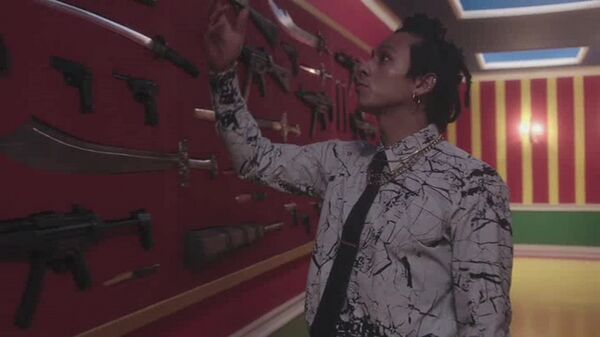
[[Image:Tokyo Vampire Hotel E03 guns 3 2.jpg|thumb|none|600px|Three pistols is seen on the wall (two at the left and on at the right, top, left angle). (Ep.3).]] | [[Image:Tokyo Vampire Hotel E03 guns 3 2.jpg|thumb|none|600px|Three pistols is seen on the wall (two at the left and on at the right, top, left angle). (Ep.3).]] | ||
| Line 120: | Line 167: | ||
==Smith & Wesson Model 10== | ==Smith & Wesson Model 10== | ||
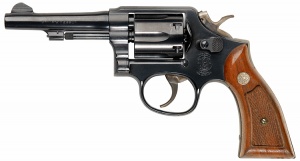
| − | [[Smith & Wesson Model 10]] | + | Numerous characters can be seen using a [[Smith & Wesson Model 10]]s |
[[Image:S&W-Model-10.jpg|thumb|300px|none|Smith & Wesson Model 10 Revolver - .38 Special]] | [[Image:S&W-Model-10.jpg|thumb|300px|none|Smith & Wesson Model 10 Revolver - .38 Special]] | ||
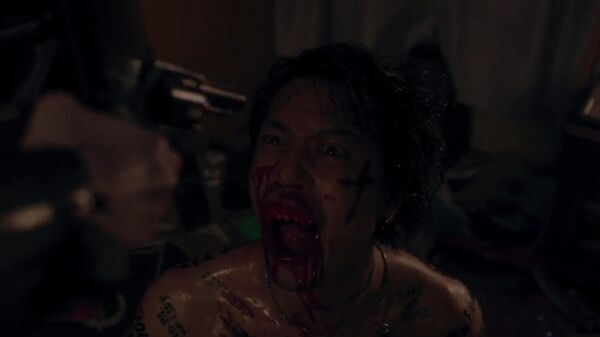
| + | [[Image:Tokyo Vampire Hotel E01 revolver 2 1.jpg|thumb|none|600px|Manami's Boyfriend ([[Takumi Saitoh]]) grabs the revolver...]] | ||
| + | [[Image:Tokyo Vampire Hotel E01 revolver 2 2.jpg|thumb|none|600px|...but K dissarms him and guns down by his own gun. (Ep.1).]] | ||
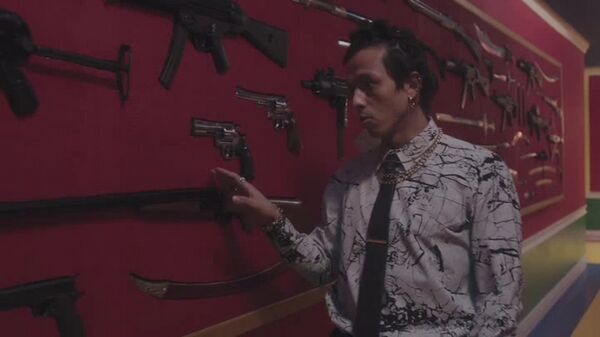
[[Image:Tokyo Vampire Hotel E03 guns 3 1.jpg|thumb|none|600px|The S&W is seen hanged on the wall (behind Yamada's hand). (Ep.3).]] | [[Image:Tokyo Vampire Hotel E03 guns 3 1.jpg|thumb|none|600px|The S&W is seen hanged on the wall (behind Yamada's hand). (Ep.3).]] | ||
| + | [[Image:Tokyo Vampire Hotel E03 guns 3 4.jpg|thumb|none|600px|The S&W is seen at the top, right. (Ep.3).]] | ||
| + | [[Image:Tokyo Vampire Hotel E03 guns 3 9.jpg|thumb|none|600px|A good view of the S&W (under the MP40). (Ep.3).]] | ||
==Smith & Wesson Model 37== | ==Smith & Wesson Model 37== | ||
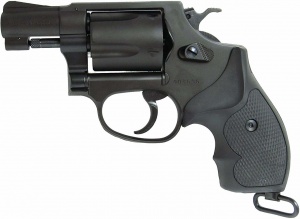
[[Smith & Wesson Model 37]] | [[Smith & Wesson Model 37]] | ||
[[File:TanakaM37AirsoftRevolver.jpg|thumb|none|300px|Tanaka S&W M37 Airsoft revolver]] | [[File:TanakaM37AirsoftRevolver.jpg|thumb|none|300px|Tanaka S&W M37 Airsoft revolver]] | ||
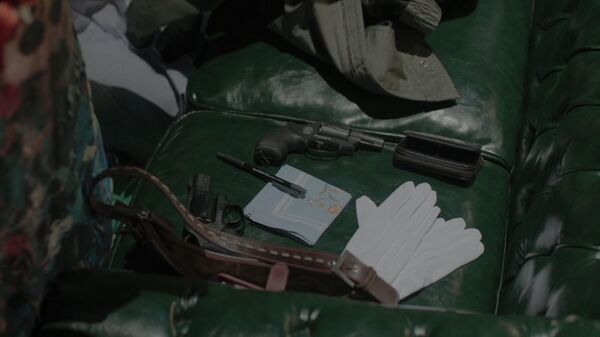
| + | [[Image:Tokyo Vampire Hotel E09 revolver 3 1.jpg|thumb|none|600px|Two revolvers is lying on the table. (Ep.9).]] | ||
| + | [[Image:Tokyo Vampire Hotel E09 revolver 3 2.jpg|thumb|none|600px|Emi (Hanae Kan) aims one of this revolvers. (Ep.9).]] | ||
==Taurus Model 431== | ==Taurus Model 431== | ||
| Line 142: | Line 195: | ||
[[Image:Tokyo Vampire Hotel E07 revolver 5 6.jpg|thumb|none|600px|Bathory holds her now reloaded revolver.]] | [[Image:Tokyo Vampire Hotel E07 revolver 5 6.jpg|thumb|none|600px|Bathory holds her now reloaded revolver.]] | ||
| − | ==Smith & Wesson Model | + | ==Smith & Wesson Model 629== |
| − | A [[Smith & Wesson Model | + | A [[Smith & Wesson Model 629]] is seen hanged on the wall. |
| − | [[Image: | + | [[Image:S&WModel629.jpg|thumb|none|300px|Smith & Wesson Model 629 with Hogue Grips - .44 Magnum]] |
[[Image:Tokyo Vampire Hotel E03 guns 3 3.jpg|thumb|none|600px|The revolver is seen hanged on the wall (top, right). (Ep.3).]] | [[Image:Tokyo Vampire Hotel E03 guns 3 3.jpg|thumb|none|600px|The revolver is seen hanged on the wall (top, right). (Ep.3).]] | ||
| + | [[Image:Tokyo Vampire Hotel E03 guns 3 4.jpg|thumb|none|600px|A ditto. (Ep.3).]] | ||
| + | [[Image:Tokyo Vampire Hotel E03 guns 3 8.jpg|thumb|none|600px|The S&W is seen at the center, above the Colt Python. (Ep.3).]] | ||
| + | |||
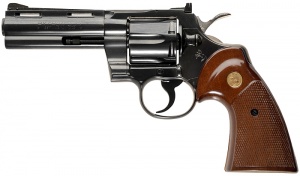
| + | ==Colt Python== | ||
| + | A [[Colt Python]] is seen hanged on the wall. | ||
| + | [[Image:Colt-Python.jpg|thumb|300px|none|Colt Python with 4" Barrel and factory wood grips - .357 Magnum]] | ||
| + | [[Image:Tokyo Vampire Hotel E03 guns 3 8.jpg|thumb|none|600px|The Colt is seen at the center, under the S&W. (Ep.3).]] | ||
==Various revolvers== | ==Various revolvers== | ||
| Line 155: | Line 215: | ||
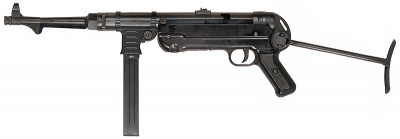
[[MP40]] | [[MP40]] | ||
[[File:MP40Side.jpg|thumb|none|400px|MP40 - 9x19mm]] | [[File:MP40Side.jpg|thumb|none|400px|MP40 - 9x19mm]] | ||
| + | [[Image:Tokyo Vampire Hotel E03 guns 3 9.jpg|thumb|none|600px|A good view of the MP40. (Ep.3).]] | ||
| + | |||
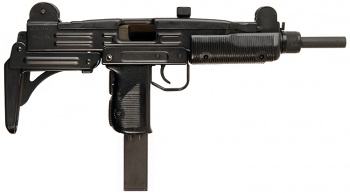
==IMI Uzi== | ==IMI Uzi== | ||
| Line 161: | Line 223: | ||
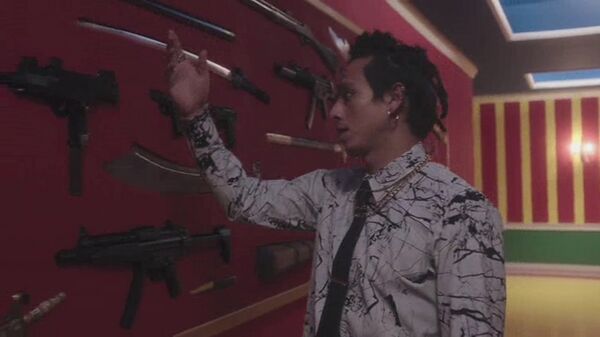
[[Image:Tokyo Vampire Hotel E03 guns 3 2.jpg|thumb|none|600px|Numerous Uzi's is seen on the wall (at the right). (Ep.3).]] | [[Image:Tokyo Vampire Hotel E03 guns 3 2.jpg|thumb|none|600px|Numerous Uzi's is seen on the wall (at the right). (Ep.3).]] | ||
[[Image:Tokyo Vampire Hotel E03 guns 3 3.jpg|thumb|none|600px|A ditto. (Ep.3).]] | [[Image:Tokyo Vampire Hotel E03 guns 3 3.jpg|thumb|none|600px|A ditto. (Ep.3).]] | ||
| + | [[Image:Tokyo Vampire Hotel E03 guns 3 4.jpg|thumb|none|600px|A ditto. (Ep.3).]] | ||
| + | [[Image:Tokyo Vampire Hotel E03 guns 3 4.jpg|thumb|none|600px|The good view of the Uzi (between Yamada's arm and AK). (Ep.3).]] | ||
| + | [[Image:Tokyo Vampire Hotel E03 guns 3 7.jpg|thumb|none|600px|A good view of the Uzi (top, left). (Ep.3).]] | ||
| + | [[Image:Tokyo Vampire Hotel E03 guns 3 10.jpg|thumb|none|600px|More Uzi's is seen hanged on the wall. (Ep.3).]] | ||
==Ingram MAC-10== | ==Ingram MAC-10== | ||
| Line 167: | Line 233: | ||
[[Image:Tokyo Vampire Hotel E03 guns 3 2.jpg|thumb|none|600px|The MAC's is seen on the wall (at the right, top, left angle). (Ep.3).]] | [[Image:Tokyo Vampire Hotel E03 guns 3 2.jpg|thumb|none|600px|The MAC's is seen on the wall (at the right, top, left angle). (Ep.3).]] | ||
[[Image:Tokyo Vampire Hotel E03 guns 3 3.jpg|thumb|none|600px|A ditto. (Ep.3).]] | [[Image:Tokyo Vampire Hotel E03 guns 3 3.jpg|thumb|none|600px|A ditto. (Ep.3).]] | ||
| + | [[Image:Tokyo Vampire Hotel E03 guns 3 10.jpg|thumb|none|600px|One more MAC-10 is seen hanged on the wall. (Ep.3).]] | ||
==Heckler & Koch MP5A2== | ==Heckler & Koch MP5A2== | ||
| Line 178: | Line 245: | ||
[[Image:MP5A3.jpg|thumb|none|400px|Heckler & Koch MP5A3 with "tropical" (wide) forearm and stock extended - 9x19mm]] | [[Image:MP5A3.jpg|thumb|none|400px|Heckler & Koch MP5A3 with "tropical" (wide) forearm and stock extended - 9x19mm]] | ||
[[Image:Tokyo Vampire Hotel E03 guns 3 1.jpg|thumb|none|600px|The MP5A3 is seen on the wall. (Ep.3).]] | [[Image:Tokyo Vampire Hotel E03 guns 3 1.jpg|thumb|none|600px|The MP5A3 is seen on the wall. (Ep.3).]] | ||
| + | [[Image:Tokyo Vampire Hotel E03 guns 3 5.jpg|thumb|none|600px|Another MP5A3 is seen on the wall (bottom, left). (Ep.3).]] | ||
| + | [[Image:Tokyo Vampire Hotel E03 guns 3 11.jpg|thumb|none|600px|One more MPA3 is seen on the wall. (Ep.3).]] | ||
==Heckler & Koch MP5SD== | ==Heckler & Koch MP5SD== | ||
| Line 183: | Line 252: | ||
[[File:MP5SD2.jpg|thumb|none|400px|Heckler & Koch MP5SD2 with S-E-F trigger group - 9x19mm]] | [[File:MP5SD2.jpg|thumb|none|400px|Heckler & Koch MP5SD2 with S-E-F trigger group - 9x19mm]] | ||
[[Image:Tokyo Vampire Hotel E03 guns 3 1.jpg|thumb|none|600px|The MP5SD is partly seen on the wall (at the top, left). (Ep.3).]] | [[Image:Tokyo Vampire Hotel E03 guns 3 1.jpg|thumb|none|600px|The MP5SD is partly seen on the wall (at the top, left). (Ep.3).]] | ||
| + | [[Image:Tokyo Vampire Hotel E03 guns 3 8.jpg|thumb|none|600px|Another MPA2 is seen at the top. (Ep.3).]] | ||
| + | [[Image:Tokyo Vampire Hotel E03 guns 3 9.jpg|thumb|none|600px|A ditto. (Ep.3).]] | ||
==Heckler & Koch MP5K== | ==Heckler & Koch MP5K== | ||
| Line 189: | Line 260: | ||
[[Image:Tokyo Vampire Hotel E03 guns 3 2.jpg|thumb|none|600px|The MP5K is seen on the wall (at the right). (Ep.3).]] | [[Image:Tokyo Vampire Hotel E03 guns 3 2.jpg|thumb|none|600px|The MP5K is seen on the wall (at the right). (Ep.3).]] | ||
[[Image:Tokyo Vampire Hotel E03 guns 3 3.jpg|thumb|none|600px|A ditto. (Ep.3).]] | [[Image:Tokyo Vampire Hotel E03 guns 3 3.jpg|thumb|none|600px|A ditto. (Ep.3).]] | ||
| + | [[Image:Tokyo Vampire Hotel E03 guns 3 4.jpg|thumb|none|600px|The MP5K is seen on the wall (between Yamada's hand and S&W). (Ep.3).]] | ||
==Steyr TMP== | ==Steyr TMP== | ||
| − | [[Steyr TMP]] | + | Giga uses [[Steyr TMP]] at the episode 1. |
[[Image:SteyrTMP.jpg|thumb|300px|none|Steyr TMP - 9x19mm]] | [[Image:SteyrTMP.jpg|thumb|300px|none|Steyr TMP - 9x19mm]] | ||
| + | [[Image:Tokyo Vampire Hotel E01 guns 1 1.jpg|thumb|none|600px|The Desert Eagle is seen at the bottom, left, the SIG-Sauer is seen at the top, left, the S&W Sigma is seen at the center, the TMP, is seen at the top, right, the TT is seen at the bottom, right. (Ep.1).]] | ||
| + | [[Image:Tokyo Vampire Hotel E01 SMG 1 1.jpg|thumb|none|600px|Giga grabs her TMP.]] | ||
| + | [[Image:Tokyo Vampire Hotel E01 SMG 1 2.jpg|thumb|none|600px|A good view of Giga's TMP.]] | ||
| + | [[Image:Tokyo Vampire Hotel E01 SMG 1 3.jpg|thumb|none|600px|Giga brandishes her TMP after firing it.]] | ||
==Heckler & Koch UMP== | ==Heckler & Koch UMP== | ||
| Line 199: | Line 275: | ||
=Shotguns= | =Shotguns= | ||
==12 Gauge Double Barreled Shotgun== | ==12 Gauge Double Barreled Shotgun== | ||
| − | [[12 Gauge Double Barreled Shotgun]] | + | A [[12 Gauge Double Barreled Shotgun]] is seen hanged on the wall. |
[[Image:Stevens12GaugeShotgun.jpg|thumb|none|400px|J. Stevens and Company Side by Side Shotgun (Circa 1878) exposed hammers and designed to fire Black Powder shotgun shells - 12 gauge]] | [[Image:Stevens12GaugeShotgun.jpg|thumb|none|400px|J. Stevens and Company Side by Side Shotgun (Circa 1878) exposed hammers and designed to fire Black Powder shotgun shells - 12 gauge]] | ||
| + | [[Image:Tokyo Vampire Hotel E03 guns 3 8.jpg|thumb|none|600px|The DBS is seen on the wall (under Yamada's hand). (Ep.3).]] | ||
| + | |||
| + | ==Percussion Shotgun== | ||
| + | A [[Percussion Shotgun]] is seen hanged on the wall. | ||
| + | [[Image:Percussion shotgun.jpg|thumb|none|400px|16 Gauge Percussion Shotgun with a 33" barrel.]] | ||
| + | [[Image:Tokyo Vampire Hotel E03 guns 3 7.jpg|thumb|none|600px|The shotgun is seen on the wall (aleft from Yamada's head). (Ep.3).]] | ||
==Ithaca 37== | ==Ithaca 37== | ||
| − | An [[Ithaca 37]] is seen hunged on the wall. | + | An [[Ithaca 37]]s is seen hunged on the wall. |
[[Image:IthacaModel37.jpg|thumb|400px|none|Ithaca 37 Riot Version - 12 gauge]] | [[Image:IthacaModel37.jpg|thumb|400px|none|Ithaca 37 Riot Version - 12 gauge]] | ||
[[Image:Tokyo Vampire Hotel E03 guns 3 1.jpg|thumb|none|600px|The Ithaca 37 is seen on the wall. (Ep.3).]] | [[Image:Tokyo Vampire Hotel E03 guns 3 1.jpg|thumb|none|600px|The Ithaca 37 is seen on the wall. (Ep.3).]] | ||
| + | [[Image:Tokyo Vampire Hotel E03 guns 3 10.jpg|thumb|none|600px|Another one shotgun is seen at the right wall. (Ep.3).]] | ||
==Mossberg 590== | ==Mossberg 590== | ||
| Line 227: | Line 310: | ||
[[File:AK-74M.jpg|thumb|none|400px|AK-74M - 5.45x39mm]] | [[File:AK-74M.jpg|thumb|none|400px|AK-74M - 5.45x39mm]] | ||
[[Image:Tokyo Vampire Hotel E03 guns 3 3.jpg|thumb|none|600px|The AK is seen hanged on the wall. (Ep.3).]] | [[Image:Tokyo Vampire Hotel E03 guns 3 3.jpg|thumb|none|600px|The AK is seen hanged on the wall. (Ep.3).]] | ||
| + | [[Image:Tokyo Vampire Hotel E03 guns 3 4.jpg|thumb|none|600px|A better view of the AK. (Ep.3).]] | ||
| + | |||
==Winchester Model 70== | ==Winchester Model 70== | ||
Revision as of 11:26, 21 November 2022
The following weapons were used in the television series Pyramid Silent/Sandbox 2:
Pistols
Glock 17
Nemerous characters uses Glock 17 pistols.
Glock 17 OD
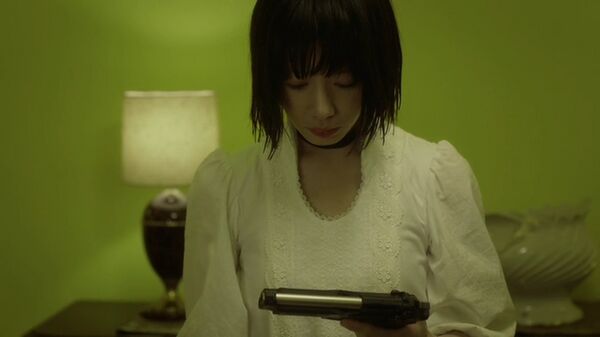
Giga (Shôko Nakagawa) usses Glock 17 OD at the episode 1.
Beretta 92FS
A Beretta 92FS is the very popular sidearm.
Beretta 92FS Inox
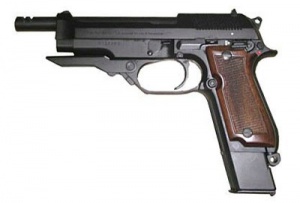
Beretta 93R
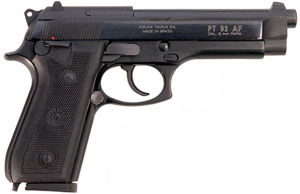
Taurus PT92AF
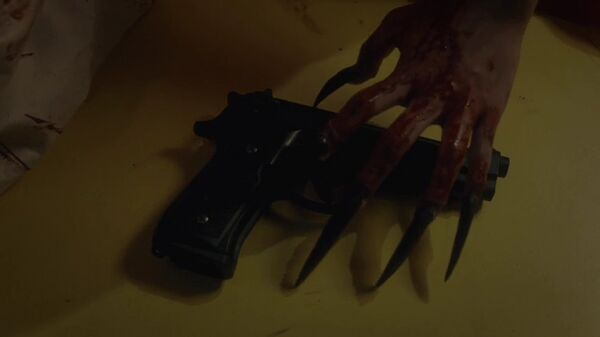
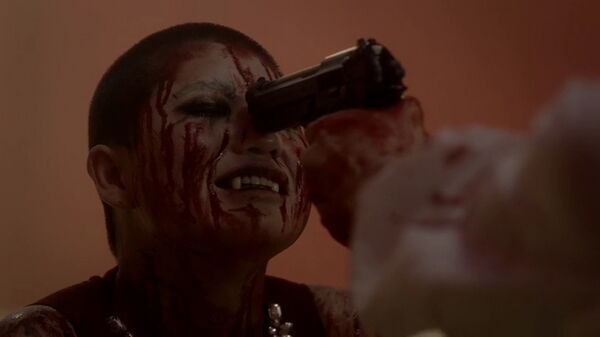
A Taurus PT92AF is used by K at the episode 7.
Walther PP
Walther P38
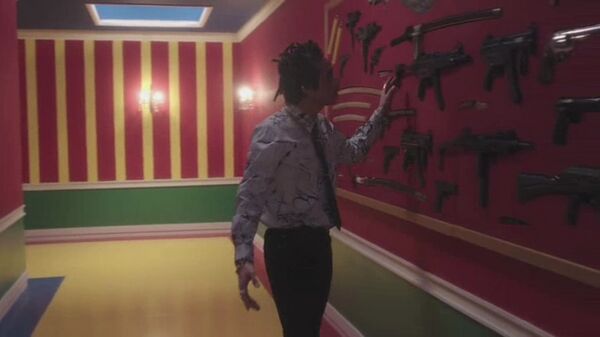
The Walther P38 is seen hanged on the wall.
M1911A1
Desert Eagle Mark I
A Desert Eagle Mark Is is used by numerous characters.
TT-33
A TT-33 is seen in Giga's bag.
SIG-Sauer P230
A SIG-Sauer P230 is the one of Giga's firearms.
Smith & Wesson Sigma SW9F
A Smith & Wesson Sigma SW9F is seen in Giga's bag
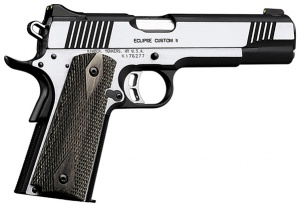
Kimber Eclipse Custom II
Numerous characters use a Kimber Eclipse Custom II throughout the TV-series.
Pistol-Axe
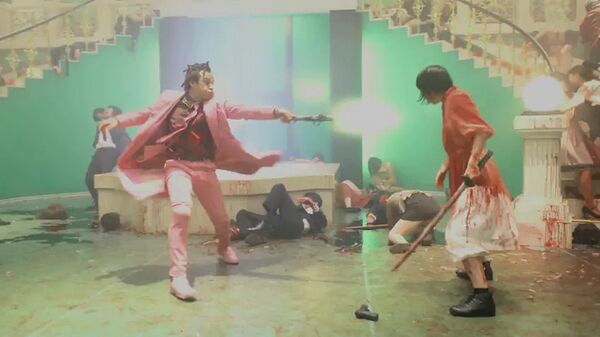
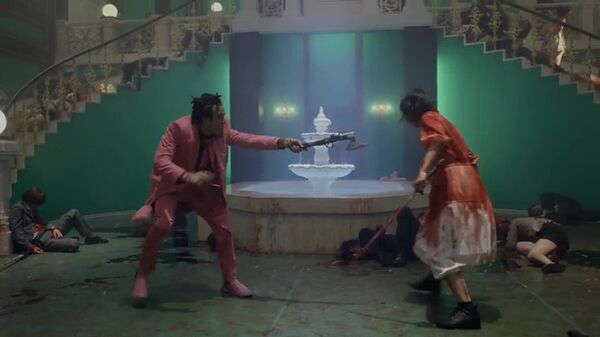
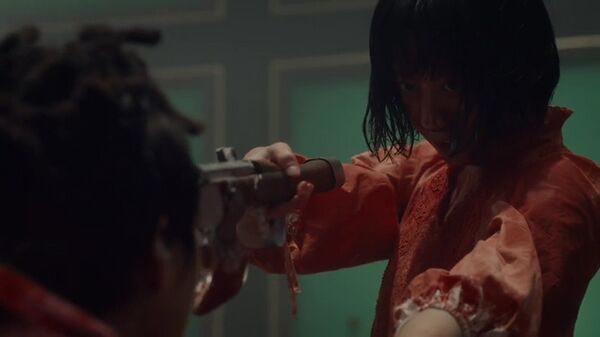
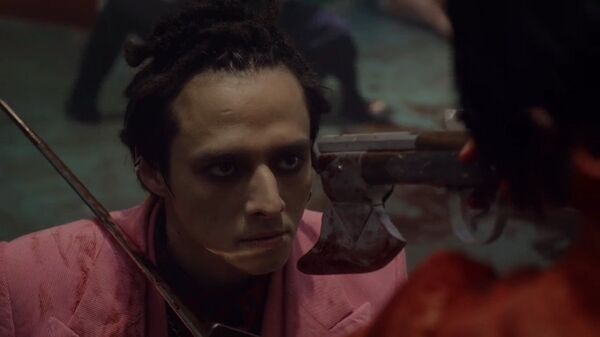
What appeared to be pistol-axe can be seen used by Yamda, until K toke it from him at the episode 7.
Various pistols
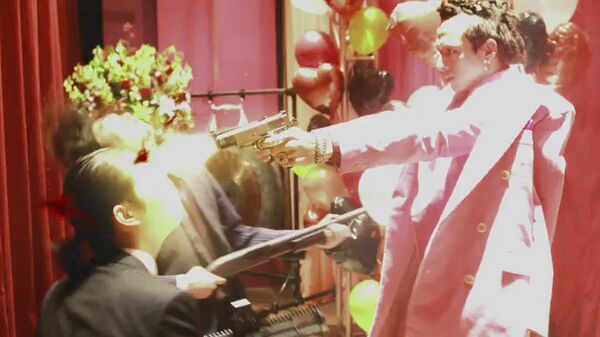
Numerous pistols can be seen at the several points.
Revolvers
Nambu Model 60
Smith & Wesson Model 10
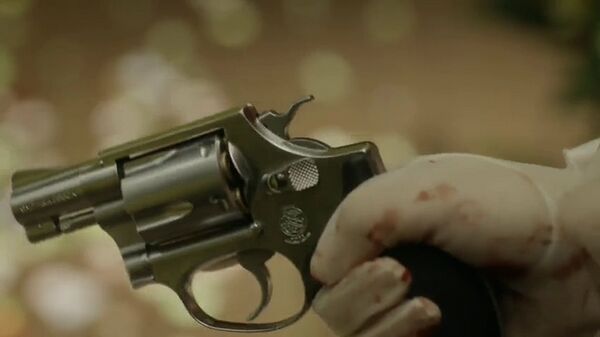
Numerous characters can be seen using a Smith & Wesson Model 10s
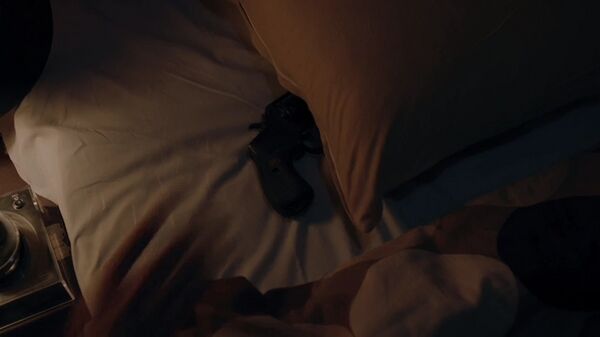
Smith & Wesson Model 37
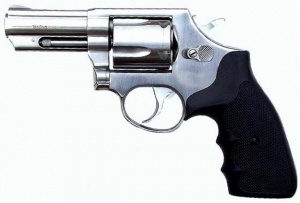
Taurus Model 431
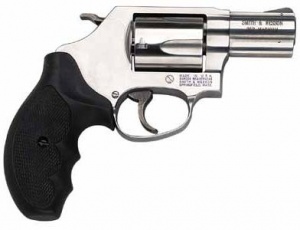
Smith & Wesson Model 60
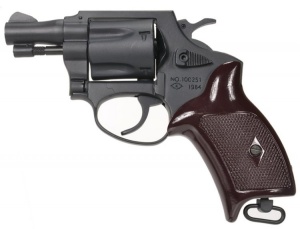
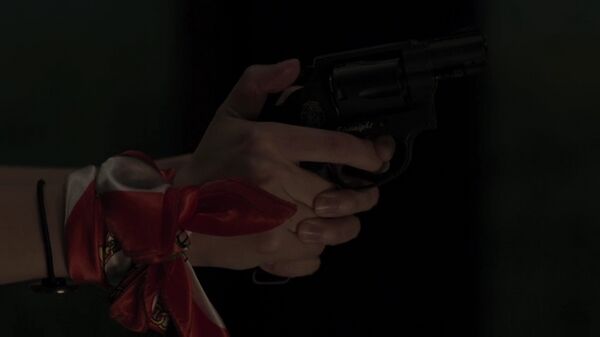
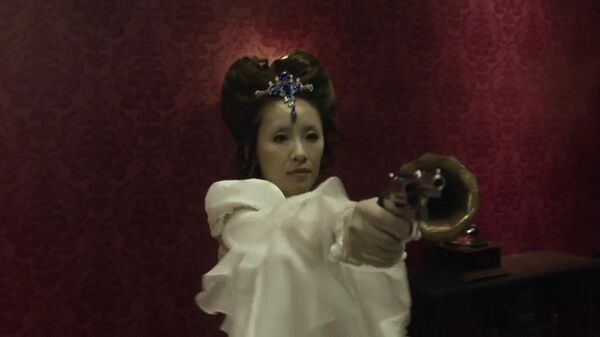
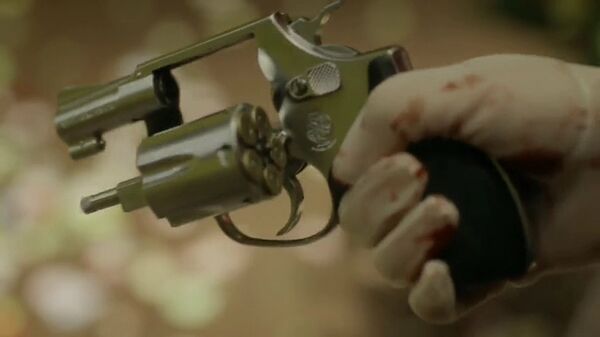
Elisabeth Bathory (Megumi Kagurazaka) uses a Smith & Wesson Model 60 at the episode 07.
Smith & Wesson Model 629
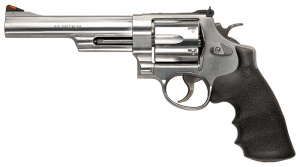
A Smith & Wesson Model 629 is seen hanged on the wall.
Colt Python
A Colt Python is seen hanged on the wall.
Various revolvers
Numerous revolvers can be seen at the several points.
Submachine Guns
MP40
IMI Uzi
An IMI Uzis is seen hanged on the wall.
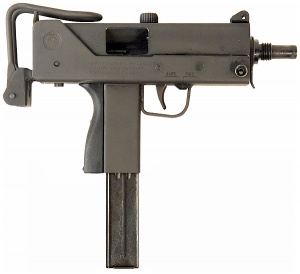
Ingram MAC-10
An Ingram MAC-10s is seen hanged on the wall.
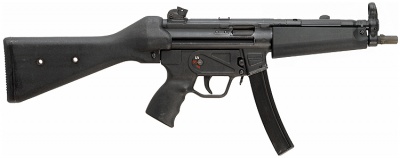
Heckler & Koch MP5A2
An Heckler & Koch MP5A2 is used by the numerous characters.
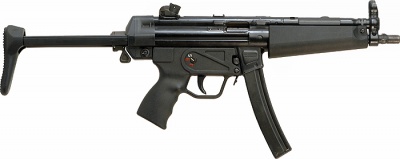
Heckler & Koch MP5A3
An Heckler & Koch MP5A3 can be seen at the several points.
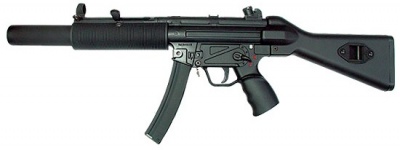
Heckler & Koch MP5SD
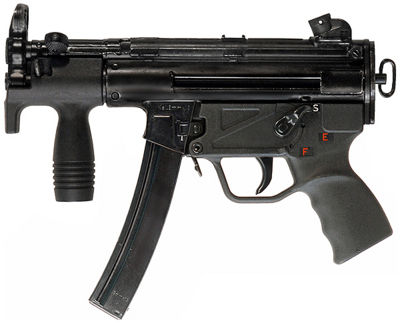
Heckler & Koch MP5K
A Heckler & Koch MP5Ks is seen hanged on the wall.
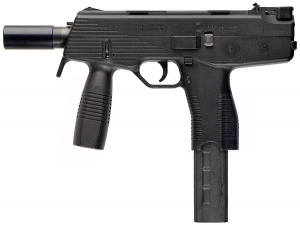
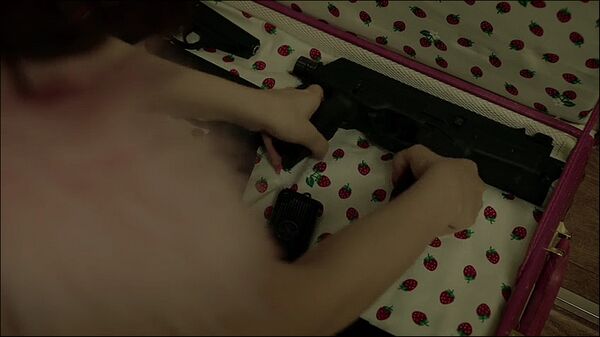
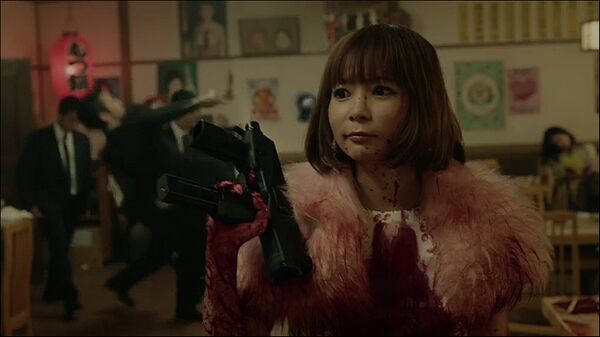
Steyr TMP
Giga uses Steyr TMP at the episode 1.
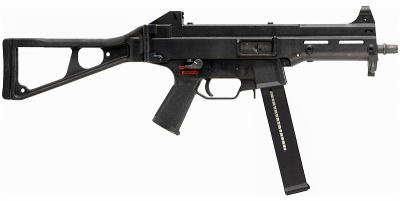
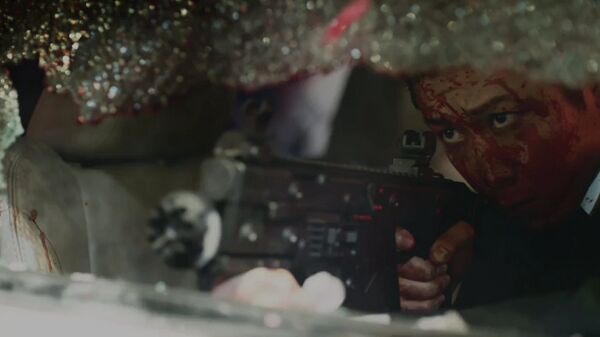
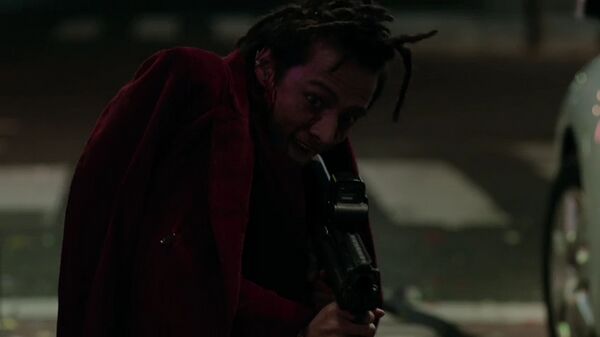
Heckler & Koch UMP
Shotguns
12 Gauge Double Barreled Shotgun
A 12 Gauge Double Barreled Shotgun is seen hanged on the wall.
Percussion Shotgun
A Percussion Shotgun is seen hanged on the wall.
Ithaca 37
An Ithaca 37s is seen hunged on the wall.
Mossberg 590
A Mossberg 590 is seen in the hands of survivor at the episode 7
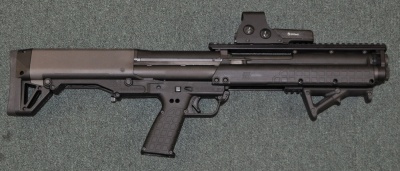
Kel-Tec KSG
Numerous characters, include Yamada (Shinnosuke Mitsushima), his driver (uncredited) and henchwoman (Asami) use the Kel-Tec KSG throughout the TV-series.
Rifles
AK-74M
Several characters use AK-74M rifles.
Winchester Model 70
A Winchester Model 70 is seen hanged on the wall.
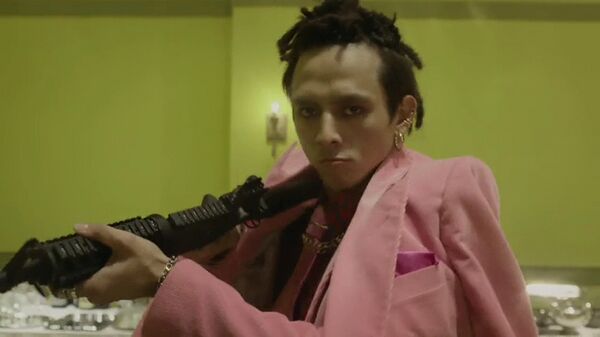
M4 Carbine
Numerous characters use M4 Carbines.
