| If you have been locked out of your account you can request a password reset here. |
Difference between revisions of "24 - Season 2"
| Line 9: | Line 9: | ||
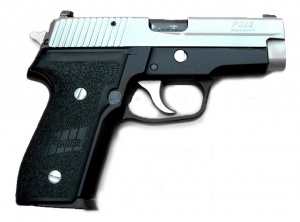
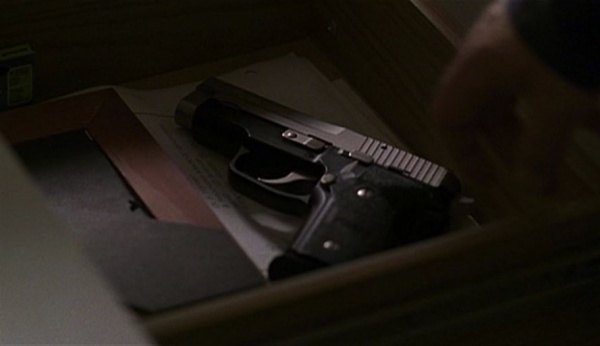
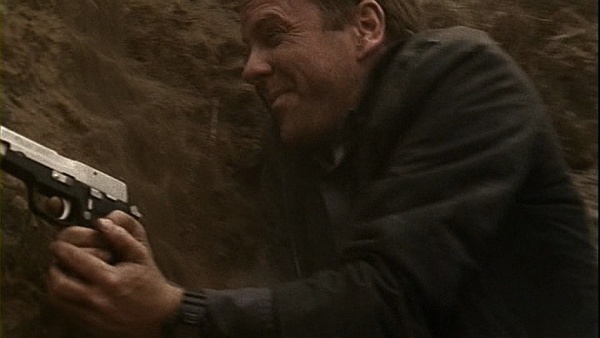
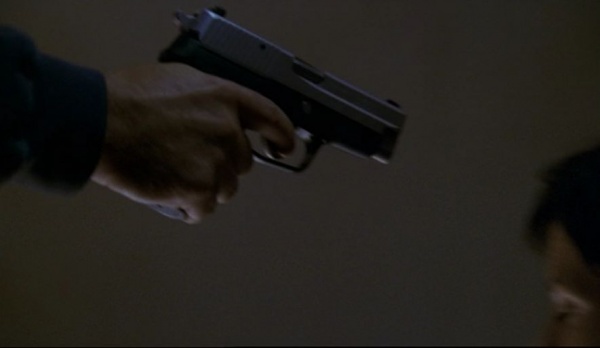
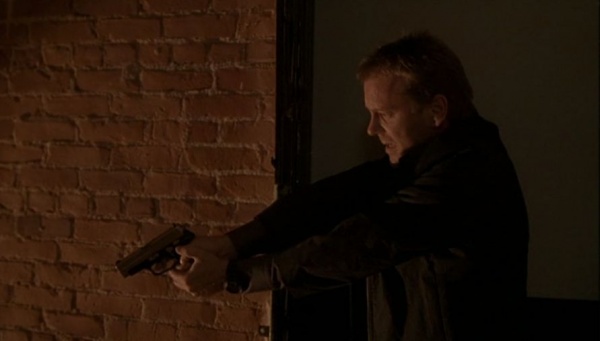
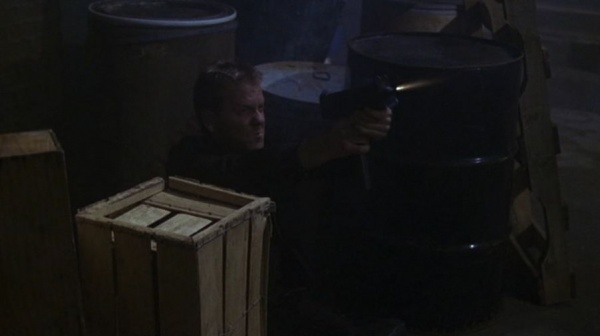
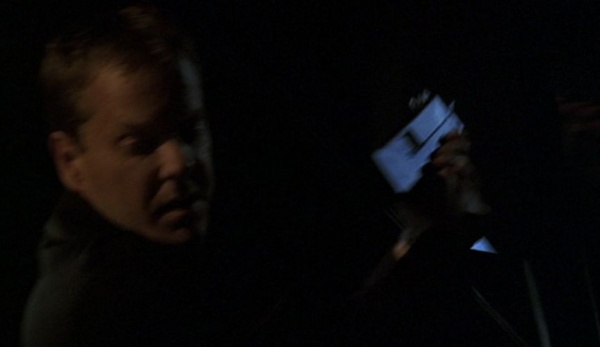
Jack Bauer ([[Kiefer Sutherland]]) continues to use a CTU-issued [[SIG-Sauer_P220_pistol_series#SIG_P228|SIG-Sauer P228]] pistol in the second season. | Jack Bauer ([[Kiefer Sutherland]]) continues to use a CTU-issued [[SIG-Sauer_P220_pistol_series#SIG_P228|SIG-Sauer P228]] pistol in the second season. | ||
[[Image:Two Tone Sig Sauer P228.jpg|thumb|none|300px|Two Tone SIG-Sauer P228 - 9x19mm.]] | [[Image:Two Tone Sig Sauer P228.jpg|thumb|none|300px|Two Tone SIG-Sauer P228 - 9x19mm.]] | ||
| − | [[Image:JackFamilyPhotoP229.JPG|thumb|none| | + | [[Image:JackFamilyPhotoP229.JPG|thumb|none|600px|Jack's two-tone SIG-Sauer P228 conveniently placed beside the framed photo of his wife and daughter.]] |
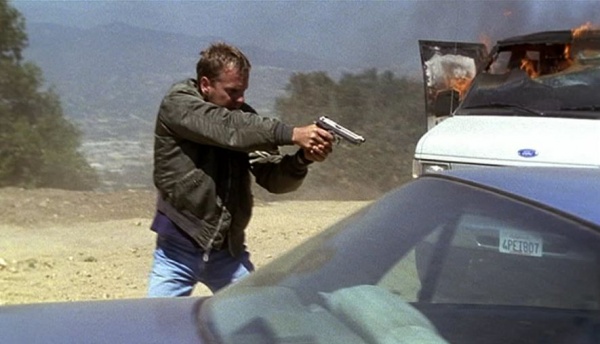
| − | [[Image:JackTakingCoverP228.JPG|thumb|none| | + | [[Image:JackTakingCoverP228.JPG|thumb|none|600px|Jack takes cover from enemy fire with his P228.]] |
| − | [[Image:JackNinaInterrogationP228.JPG|thumb|none| | + | [[Image:JackNinaInterrogationP228.JPG|thumb|none|600px|Jack hold his P228 to Nina's head during her interrogation.]] |
| − | [[Image:JackFiresFaheenP228.JPG|thumb|none| | + | [[Image:JackFiresFaheenP228.JPG|thumb|none|600px|Jack fires his P228.]] |
| − | [[Image:JackStairWellP228.JPG|thumb|none| | + | [[Image:JackStairWellP228.JPG|thumb|none|600px|Jack searching for hostiles with his P228.]] |
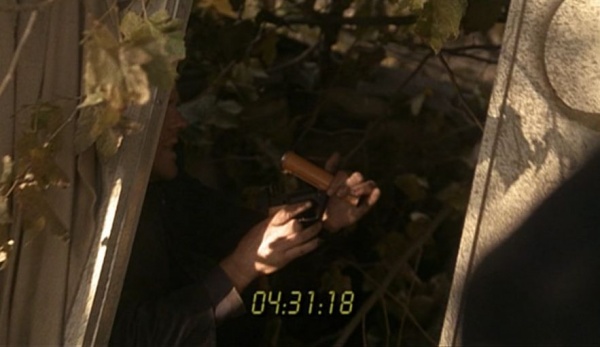
| − | [[Image:JackChambersRoundP228.JPG|thumb|none| | + | [[Image:JackChambersRoundP228.JPG|thumb|none|600px|Jack chambers a round in his P228.]] |
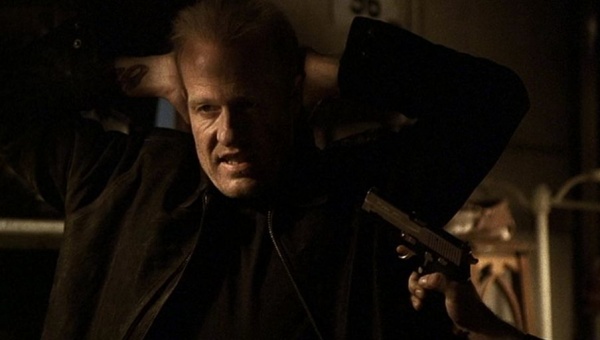
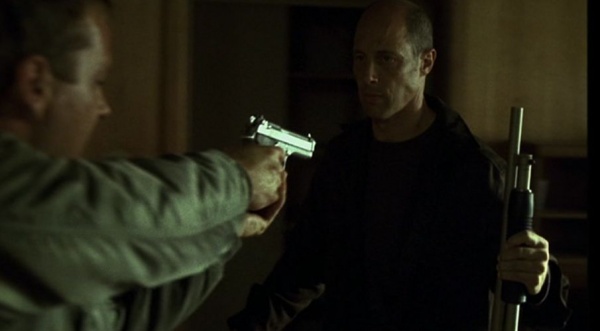
| − | [[Image:JonathanWallaceP228.JPG|thumb|none| | + | [[Image:JonathanWallaceP228.JPG|thumb|none|600px|Jack holds Captain Jonathan Wallace at gunpoint.]] |
| − | [[Image:JackHitArmP229.JPG|thumb|none| | + | [[Image:JackHitArmP229.JPG|thumb|none|600px|Jack is hit in the arm carrying a SIG-Sauer P229.]] |
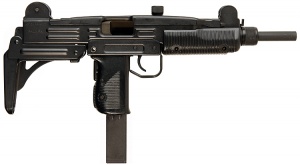
===IMI Uzi=== | ===IMI Uzi=== | ||
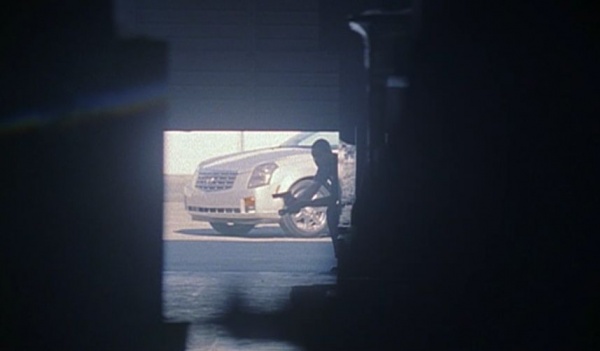
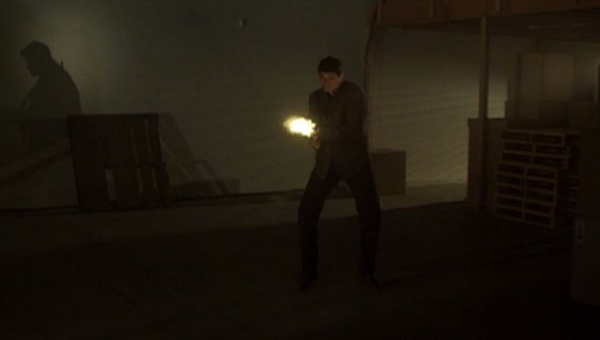
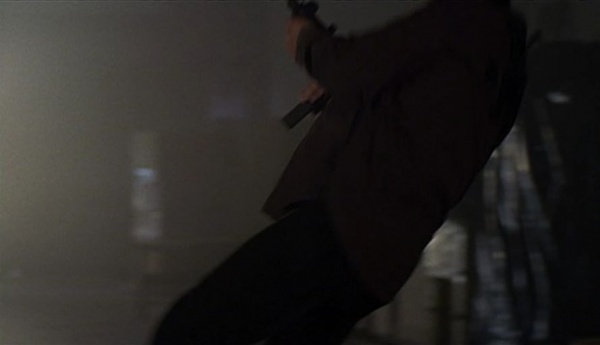
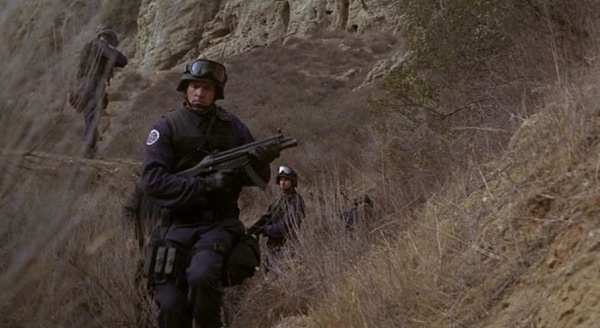
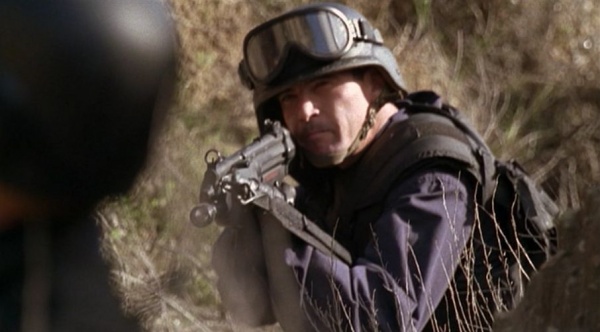
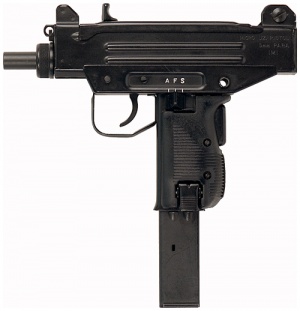
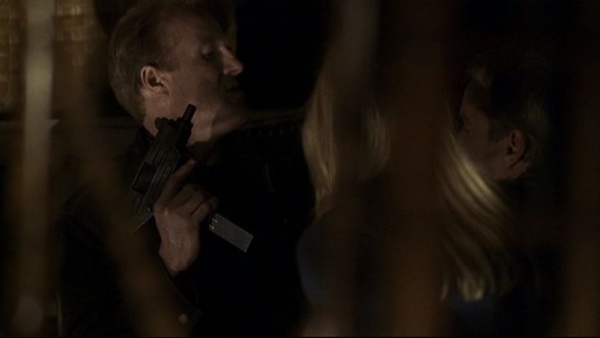
An [[Uzi|IMI Uzi]] is used by a terrorist to fire on Mason and the LAPD team infiltrating the warehouse in Panorama City. | An [[Uzi|IMI Uzi]] is used by a terrorist to fire on Mason and the LAPD team infiltrating the warehouse in Panorama City. | ||
[[Image:Uzi.jpg|thumb|none|300px|IMI Uzi 9x19mm.]] | [[Image:Uzi.jpg|thumb|none|300px|IMI Uzi 9x19mm.]] | ||
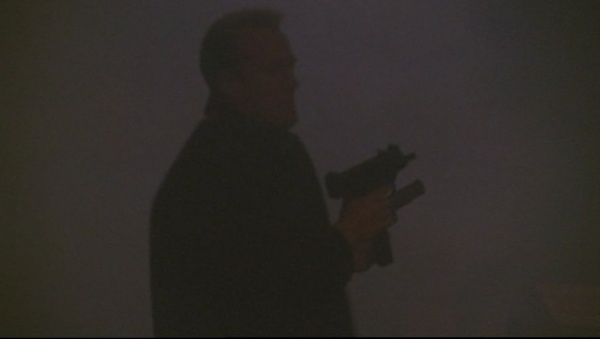
| − | [[Image:24S2UZIv1.JPG|thumb|none| | + | [[Image:24S2UZIv1.JPG|thumb|none|600px|The IMI Uzi is a barely visible, out-of-focus, silhouette in the foreground.]] |
| − | [[Image:24S2UZIv2.JPG|thumb|none| | + | [[Image:24S2UZIv2.JPG|thumb|none|600px|The terrorist fires on Mason with the IMI Uzi.]] |
| − | [[Image:24S2UZIv3.JPG|thumb|none| | + | [[Image:24S2UZIv3.JPG|thumb|none|600px|The terrorist goes down after being shot, IMI Uzi in hands.]] |
===Unknown Ak variant=== | ===Unknown Ak variant=== | ||
| Line 31: | Line 31: | ||
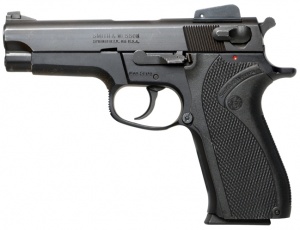
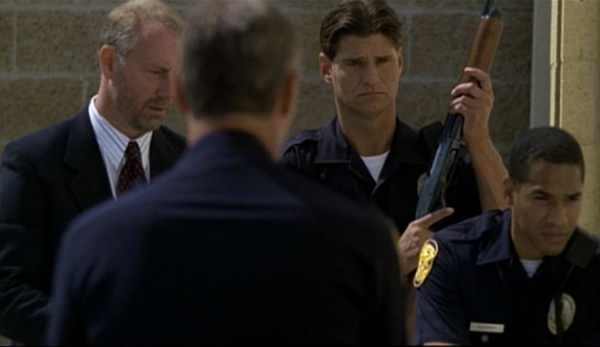
LAPD officers carry the [[Smith & Wesson 5904]] at the warehouse in Panorama City. | LAPD officers carry the [[Smith & Wesson 5904]] at the warehouse in Panorama City. | ||
[[Image:S&W5904LateModel.jpg|thumb|none|300px|Late Model Smith & Wesson 5904 - 9x19mm. Note the rounded trigger guard.]] | [[Image:S&W5904LateModel.jpg|thumb|none|300px|Late Model Smith & Wesson 5904 - 9x19mm. Note the rounded trigger guard.]] | ||
| − | [[Image:24LAPDS&W5904v1.JPG|thumb|none| | + | [[Image:24LAPDS&W5904v1.JPG|thumb|none|600px|As all well-trained officers do, this guy waits with his finger on the trigger and weapon aimed at his colleague's head.]] |
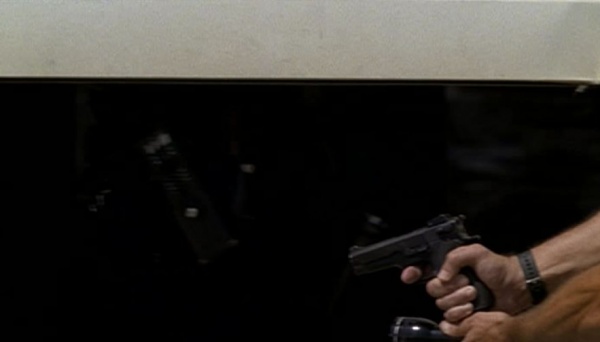
| − | [[Image:24LAPDS&W5904v2.JPG|thumb|none| | + | [[Image:24LAPDS&W5904v2.JPG|thumb|none|600px|The LAPD officers prepare to enter the warehouse; the guy on the right carrying a Smith & Wesson 5904.]] |
| − | [[Image:24LAPDS&W5904v3.JPG|thumb|none| | + | [[Image:24LAPDS&W5904v3.JPG|thumb|none|600px|The Smith & Wesson 5904.]] |
===Glock 19=== | ===Glock 19=== | ||
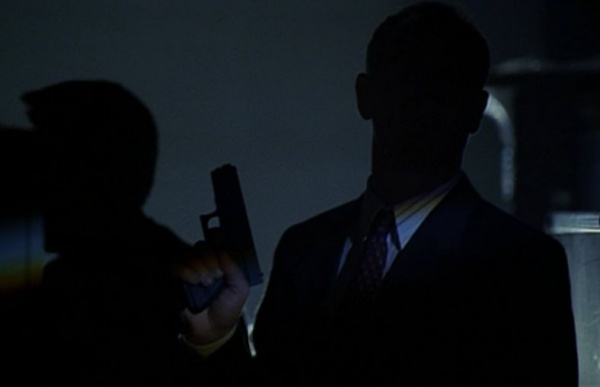
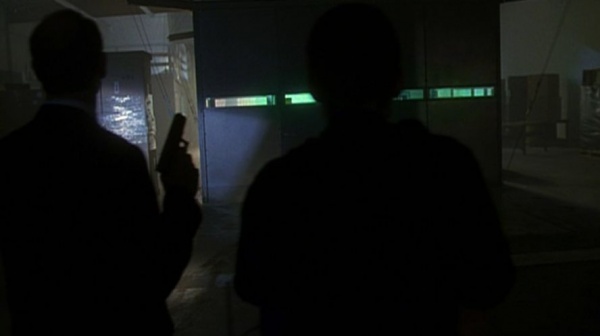
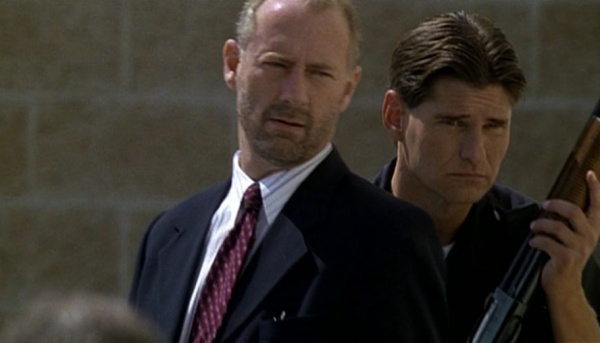
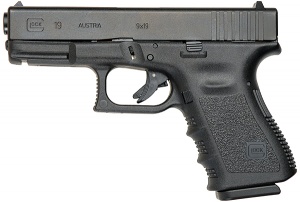
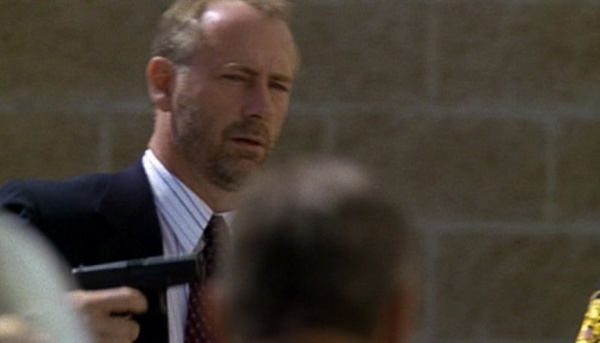
The [[Glock 19]] is carried by CTU Director George Mason ([[Xander Berkeley]]) when he discovers the weapons-grade plutonium in Panorama City. | The [[Glock 19]] is carried by CTU Director George Mason ([[Xander Berkeley]]) when he discovers the weapons-grade plutonium in Panorama City. | ||
[[Image:Glock19pistol.jpg|thumb|none|300px|[[Glock 19]] (3rd Generation) - 9x19mm.]] | [[Image:Glock19pistol.jpg|thumb|none|300px|[[Glock 19]] (3rd Generation) - 9x19mm.]] | ||
| − | [[Image:GeorgeMasonGlockv3.JPG|thumb|none| | + | [[Image:GeorgeMasonGlockv3.JPG|thumb|none|600px|George Mason ([[Xander Berkeley]]) draws his Glock 19.]] |
| − | [[Image:GeorgeMasonGlockv1.JPG|thumb|none| | + | [[Image:GeorgeMasonGlockv1.JPG|thumb|none|600px|George sweeping the area, Glock in hand.]] |
| − | [[Image:GeorgeMasonGlockv2.JPG|thumb|none| | + | [[Image:GeorgeMasonGlockv2.JPG|thumb|none|600px|George discovers the nuclear weapons lab, silhouetted Glock 19 visible.]] |
===Beretta 92FS=== | ===Beretta 92FS=== | ||
| Line 46: | Line 46: | ||
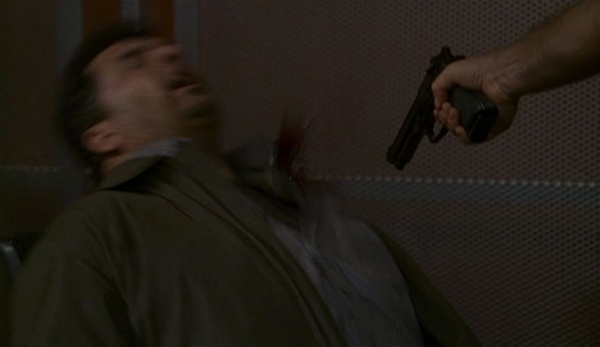
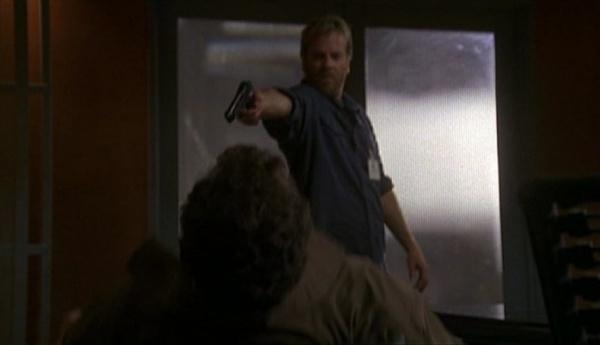
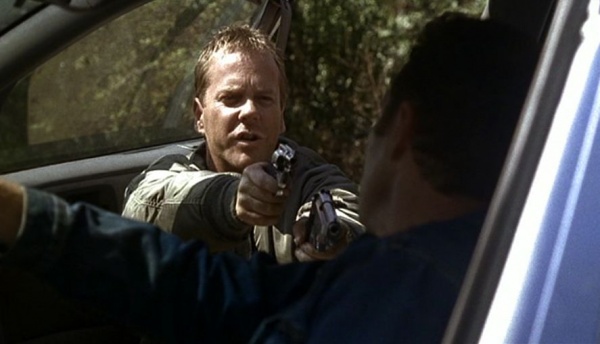
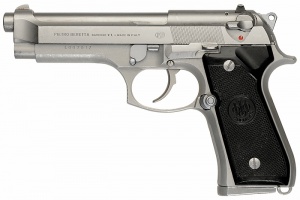
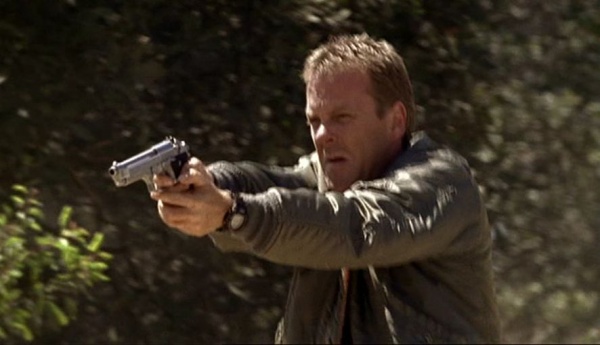
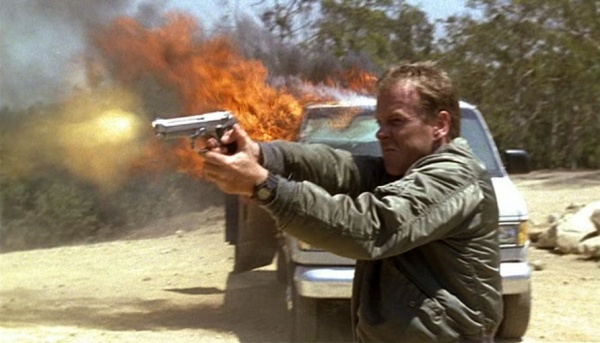
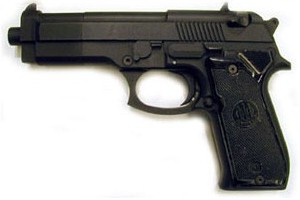
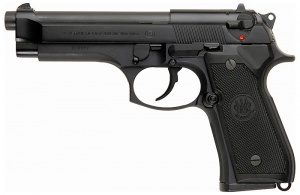
A [[Beretta 92FS]] is used by Jack to eliminate a witness in Season 2's premiere episode. Also used by LAPD officers, notably to kill a terrorist firing on Mason. | A [[Beretta 92FS]] is used by Jack to eliminate a witness in Season 2's premiere episode. Also used by LAPD officers, notably to kill a terrorist firing on Mason. | ||
[[Image:BerettaM92FS.jpg|thumb|none|300px|[[Beretta 92FS]] - 9x19mm.]] | [[Image:BerettaM92FS.jpg|thumb|none|300px|[[Beretta 92FS]] - 9x19mm.]] | ||
| − | [[Image:MarshalGoren92Fsv1.JPG|thumb|none| | + | [[Image:MarshalGoren92Fsv1.JPG|thumb|none|600px|Subtlety is thrown out the window with Jack Bauer and his Beretta 92FS.]] |
| − | [[Image:MarshalGoren92Fsv2.JPG|thumb|none| | + | [[Image:MarshalGoren92Fsv2.JPG|thumb|none|600px|Great squib placement, wouldn't you say?]] |
| − | [[Image:JackMarshal92FSv1.JPG|thumb|none| | + | [[Image:JackMarshal92FSv1.JPG|thumb|none|600px|"I'm gonna need a hack saw."]] |
| − | [[Image:24LAPD92FSv1.JPG|thumb|none| | + | [[Image:24LAPD92FSv1.JPG|thumb|none|600px|An LAPD officer with his 92FS at the ready.]] |
===Remington 870=== | ===Remington 870=== | ||
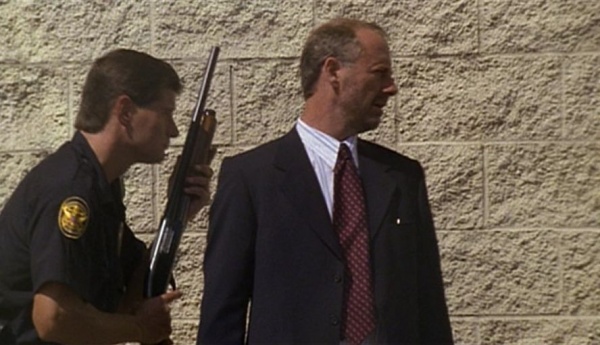
An LAPD officer is seen with one. | An LAPD officer is seen with one. | ||
[[Image:Remington870PoliceStd.jpg|thumb|none|300px|[[Remington 870]] Police Magnum Riot Shotgun - 12 Gauge.]] | [[Image:Remington870PoliceStd.jpg|thumb|none|300px|[[Remington 870]] Police Magnum Riot Shotgun - 12 Gauge.]] | ||
| − | [[Image:24S2LAPDRemington870v1.JPG|thumb|none| | + | [[Image:24S2LAPDRemington870v1.JPG|thumb|none|600px|An LAPD officer with a Remington 870.]] |
| − | [[Image:24S2LAPDRemington870v2.JPG|thumb|none| | + | [[Image:24S2LAPDRemington870v2.JPG|thumb|none|600px|Another view of the Remington 870.]] |
| − | [[Image:24S2LAPDRemington870v3.JPG|thumb|none| | + | [[Image:24S2LAPDRemington870v3.JPG|thumb|none|600px|And another view of the Remington 870.]] |
===Smith & Wesson Model 60=== | ===Smith & Wesson Model 60=== | ||
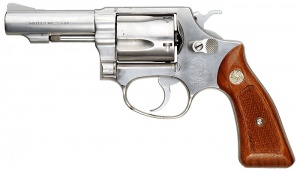
Jack Bauer ([[Kiefer Sutherland]]) carries a snubnosed [[Smith & Wesson Model 60]] undercover, later seen dual wielding it with a [[Beretta_92_pistol_series#Beretta_Inox|Beretta 92FS INOX]]. | Jack Bauer ([[Kiefer Sutherland]]) carries a snubnosed [[Smith & Wesson Model 60]] undercover, later seen dual wielding it with a [[Beretta_92_pistol_series#Beretta_Inox|Beretta 92FS INOX]]. | ||
[[Image:S&WM60.jpg|thumb|none|300px|Smith & Wesson Model 60; .357 Magnum.]] | [[Image:S&WM60.jpg|thumb|none|300px|Smith & Wesson Model 60; .357 Magnum.]] | ||
| − | [[Image:JackChecksLoadS&W60.JPG|thumb|none| | + | [[Image:JackChecksLoadS&W60.JPG|thumb|none|600px|Jack checks the load of his Smith & Wesson Model 60 revolver.]] |
| − | [[Image:JackEddieGrantv1.JPG|thumb|none| | + | [[Image:JackEddieGrantv1.JPG|thumb|none|600px|Jack threatens Eddie Grant with the revolver.]] |
| − | [[Image:JackEddieGrantv3.JPG|thumb|none| | + | [[Image:JackEddieGrantv3.JPG|thumb|none|600px|Jack threatens Eddie Grant with the revolver and a Beretta 92FS Inox.]] |
===Beretta 92FS Inox=== | ===Beretta 92FS Inox=== | ||
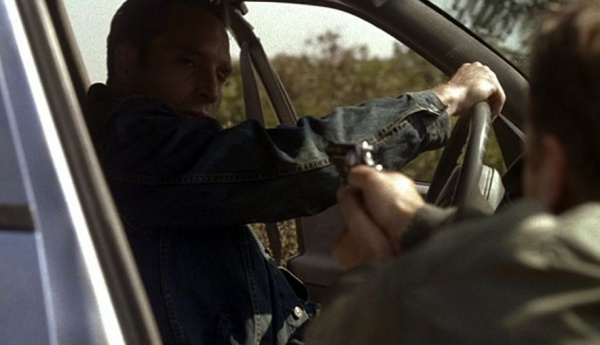
Jack Bauer ([[Kiefer Sutherland]]) takes a [[Beretta_92_pistol_series#Beretta_Inox|Beretta 92FS Inox]] off of Eddie Grant ([[Douglas O'Keeffe]]) in Episode 4 (11:00 am - 12:00 pm) when he breaks from his undercover identity to get the address of Grant's boss, Joseph Wald. When Grant's buddies see the action, though, a gunfight ensues, and Bauer uses both the Beretta and his own revolver to eliminate them. Grant takes several rounds in the face from the Beretta. It's also used by one of the racists who beat Yusuf Auda to death. | Jack Bauer ([[Kiefer Sutherland]]) takes a [[Beretta_92_pistol_series#Beretta_Inox|Beretta 92FS Inox]] off of Eddie Grant ([[Douglas O'Keeffe]]) in Episode 4 (11:00 am - 12:00 pm) when he breaks from his undercover identity to get the address of Grant's boss, Joseph Wald. When Grant's buddies see the action, though, a gunfight ensues, and Bauer uses both the Beretta and his own revolver to eliminate them. Grant takes several rounds in the face from the Beretta. It's also used by one of the racists who beat Yusuf Auda to death. | ||
[[Image:Beretta-Inox.jpg|thumb|none|300px|Beretta 92FS INOX - 9x19mm.]] | [[Image:Beretta-Inox.jpg|thumb|none|300px|Beretta 92FS INOX - 9x19mm.]] | ||
| − | [[Image:JackKillsEddie'sCrew92FSInox.JPG|thumb|none| | + | [[Image:JackKillsEddie'sCrew92FSInox.JPG|thumb|none|600px|Jack kills Eddie Grant's crew with the Beretta 92FS Inox.]] |
| − | [[Image:JackFiresOnEddie92FSInox.JPG|thumb|none| | + | [[Image:JackFiresOnEddie92FSInox.JPG|thumb|none|600px|Jack fires on Eddie Grant, who is driving at him, with the 92FS Inox.]] |
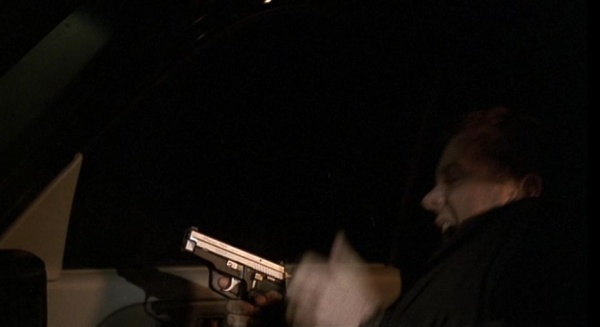
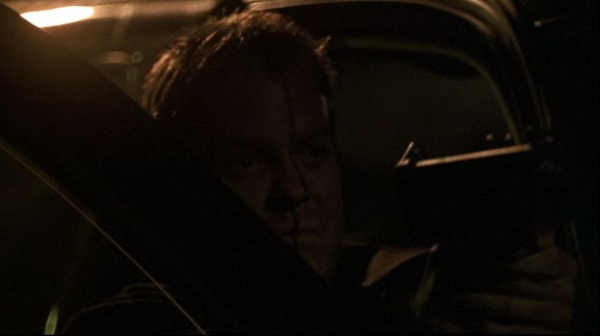
| − | [[Image:JackFiresOnEddie92FSInoxv2.JPG|thumb|none| | + | [[Image:JackFiresOnEddie92FSInoxv2.JPG|thumb|none|600px|Jack checks to make sure Eddie is dead inside the car.]] |
| − | [[Image:JackJosephWald92FSInox.JPG|thumb|none| | + | [[Image:JackJosephWald92FSInox.JPG|thumb|none|600px|Jack threatens Joseph Wald.]] |
===Heckler & Koch P2A1 Flare Gun=== | ===Heckler & Koch P2A1 Flare Gun=== | ||
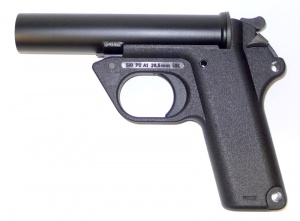
Used by Jack Bauer to kill a Coral Snake Commando in Episode 9 (4 p.m. - 5 p.m.) | Used by Jack Bauer to kill a Coral Snake Commando in Episode 9 (4 p.m. - 5 p.m.) | ||
[[Image:H&K P2A1.JPG|thumb|none|300px|[[Heckler & Koch P2A1 Flare Pistol]]; 26.5mm.]] | [[Image:H&K P2A1.JPG|thumb|none|300px|[[Heckler & Koch P2A1 Flare Pistol]]; 26.5mm.]] | ||
| − | [[Image:JackBauerHKP2A1v1.JPG|thumb|none| | + | [[Image:JackBauerHKP2A1v1.JPG|thumb|none|600px|Jack Bauer checks the Heckler & Koch P2A1 flare gun.]] |
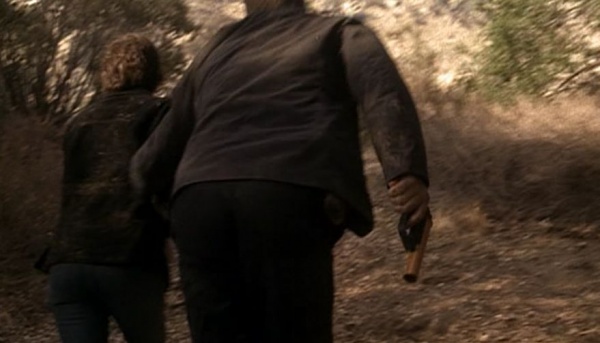
| − | [[Image:JackBauerHKP2A1v2.JPG|thumb|none| | + | [[Image:JackBauerHKP2A1v2.JPG|thumb|none|600px|Jack Bauer and Nina Myers escape the crash site, Jack carrying the P2A1.]] |
| − | [[Image:JackBauerHKP2A1v3.JPG|thumb|none| | + | [[Image:JackBauerHKP2A1v3.JPG|thumb|none|600px|A Coral Snake soldier is killed by a flare to the chest from Jack's P2A1.]] |
===Mossberg 500 Mariner === | ===Mossberg 500 Mariner === | ||
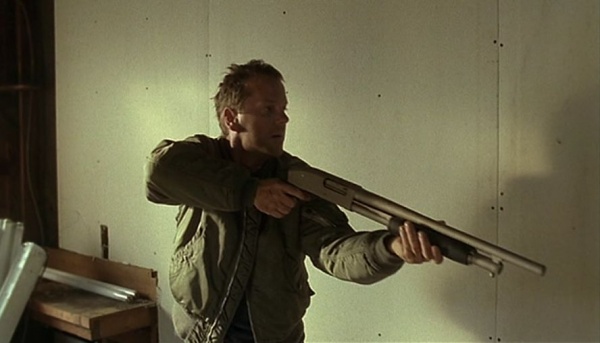
Jack ([[Kiefer Sutherland]]) ,uses the [[Mossberg 500|Mossberg 500 Mariner]] with a pistol grip in episode 4, in which he takes it from Joseph Wald. | Jack ([[Kiefer Sutherland]]) ,uses the [[Mossberg 500|Mossberg 500 Mariner]] with a pistol grip in episode 4, in which he takes it from Joseph Wald. | ||
| − | [[Image:Mossberg590Mariner 9Shot.jpg|thumb|none| | + | [[Image:Mossberg590Mariner 9Shot.jpg|thumb|none|600px|Mossberg 500 Mariner - 12 gauge.]] |
| − | [[Image:JosephWald590Cruiser.JPG|thumb|none| | + | [[Image:JosephWald590Cruiser.JPG|thumb|none|600px|Joseph Wald surrenders his Mossberg 500 Mariner to Jack.]] |
| − | [[Image:JackMossberg590Cruiserv1.JPG|thumb|none| | + | [[Image:JackMossberg590Cruiserv1.JPG|thumb|none|600px|Jack interrogates Wald, threatening him with the 500 Mariner.]] |
| − | [[Image:JackMossberg590Cruiserv3.JPG|thumb|none| | + | [[Image:JackMossberg590Cruiserv3.JPG|thumb|none|600px|BOOM! Joseph Wald's dog goes splat.]] |
| − | [[Image:JackMossberg590Cruiserv4.JPG|thumb|none| | + | [[Image:JackMossberg590Cruiserv4.JPG|thumb|none|600px|Jack approaches Wald's safe-room cautiously, Mossberg 500 Mariner leveled and at the ready.]] |
| − | [[Image:JackMossberg590Cruiserv5.JPG|thumb|none| | + | [[Image:JackMossberg590Cruiserv5.JPG|thumb|none|600px|Jack hears the bolts lock shut, securing Wald in his safe-room, Mossberg 500 Mariner in hand.]] |
===M4A1=== | ===M4A1=== | ||
| Line 93: | Line 93: | ||
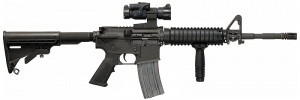
[[Image:ColtM4.jpg|thumb|none|300px|[[M16 rifle series#M4/M4A1 Carbine|Colt M4A1]] carbine with M68 Aimpoint scope and RIS foregrip 5.56mm]] | [[Image:ColtM4.jpg|thumb|none|300px|[[M16 rifle series#M4/M4A1 Carbine|Colt M4A1]] carbine with M68 Aimpoint scope and RIS foregrip 5.56mm]] | ||
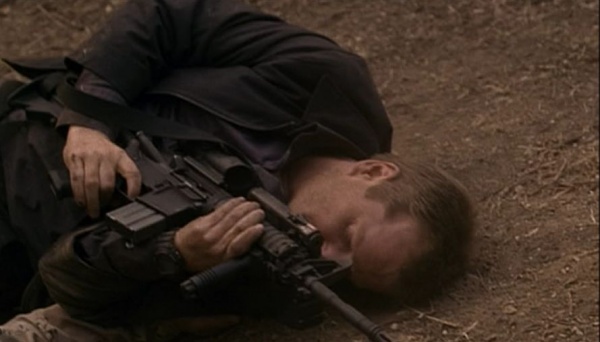
| − | [[Image:JackBauerM4A1v2.JPG|thumb|none| | + | [[Image:JackBauerM4A1v2.JPG|thumb|none|600px|Jack acquires a Coral Snake soldier's M4A1.]] |
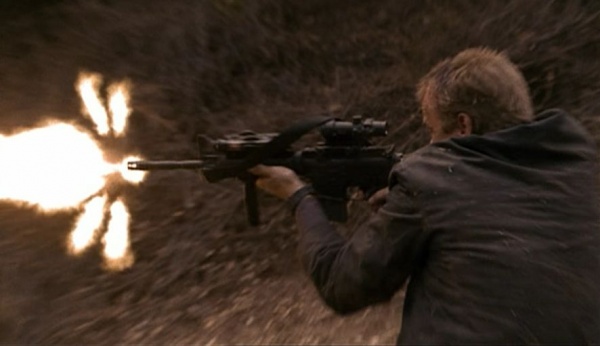
| − | [[Image:JackBauerM4A1v3.JPG|thumb|none| | + | [[Image:JackBauerM4A1v3.JPG|thumb|none|600px|Jack fires his newly acquired M4A1.]] |
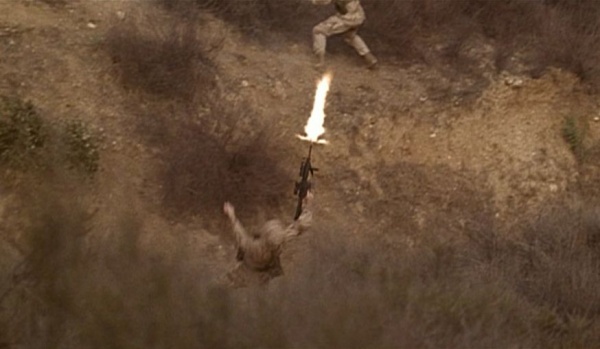
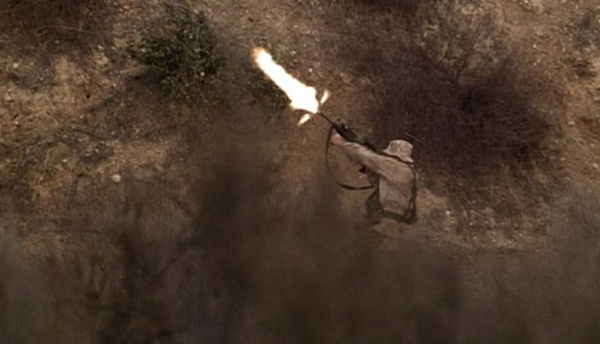
| − | [[Image:CoralSnakeCommandoM4A1v3.JPG|thumb|none| | + | [[Image:CoralSnakeCommandoM4A1v3.JPG|thumb|none|600px|The first Coral Snake soldier to be hit from Jack's M4A1 goes down firing.]] |
| − | [[Image:JackBauerM4A1v4.JPG|thumb|none| | + | [[Image:JackBauerM4A1v4.JPG|thumb|none|600px|A close up of Jack firing the M4A1.]] |
| − | [[Image:JackBauerM4A1v6.JPG|thumb|none| | + | [[Image:JackBauerM4A1v6.JPG|thumb|none|600px|A close up, front on view of Jack firing the M4A1.]] |
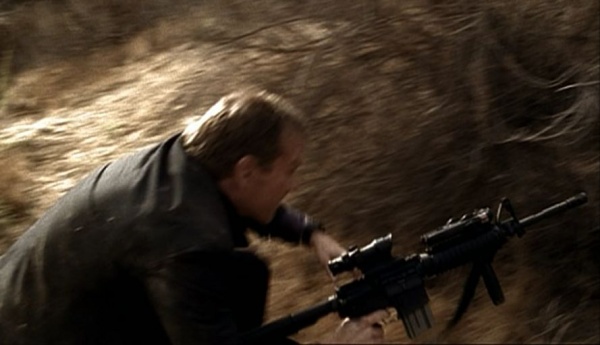
| − | [[Image:JackBauerM4A1v5.JPG|thumb|none| | + | [[Image:JackBauerM4A1v5.JPG|thumb|none|600px|Jack runs to cover from the Coral Snake team's fire.]] |
| − | [[Image:CoralSnakeCommandoM4A1v2.JPG|thumb|none| | + | [[Image:CoralSnakeCommandoM4A1v2.JPG|thumb|none|600px|A Coral Snake soldier fires at the CTU chopper.]] |
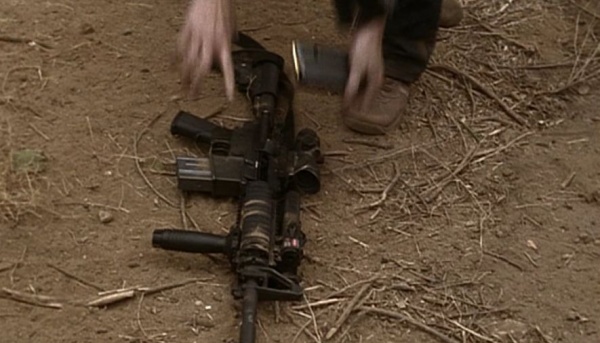
| − | [[Image:NinaMyersM4A1v1.JPG|thumb|none| | + | [[Image:NinaMyersM4A1v1.JPG|thumb|none|600px|Nina Myers picks up Jack's discarded M4A1.]] |
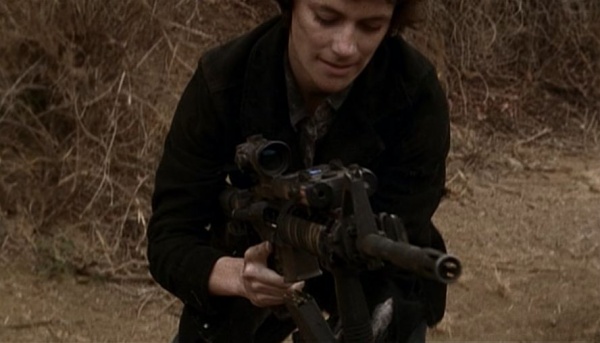
| − | [[Image:NinaMyersM4A1v2.JPG|thumb|none| | + | [[Image:NinaMyersM4A1v2.JPG|thumb|none|600px|Nina reloads the M4A1.]] |
| − | [[Image:Ninajackm4.png|thumb|none| | + | [[Image:Ninajackm4.png|thumb|none|600px|Nina Myers holding Jack hostage with the M4A1 carbine.]] |
===Heckler & Koch MP5A2=== | ===Heckler & Koch MP5A2=== | ||
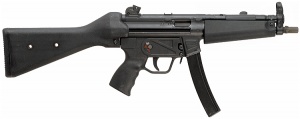
[[Heckler & Koch MP5#Heckler & Koch MP5A2|Heckler & Koch MP5A2]] submachine guns were used by members of the CTU tactical team. | [[Heckler & Koch MP5#Heckler & Koch MP5A2|Heckler & Koch MP5A2]] submachine guns were used by members of the CTU tactical team. | ||
[[Image:H&KMP5A2WideForearm.jpg|thumb|none|300px|[[Heckler & Koch MP5A2]].]] | [[Image:H&KMP5A2WideForearm.jpg|thumb|none|300px|[[Heckler & Koch MP5A2]].]] | ||
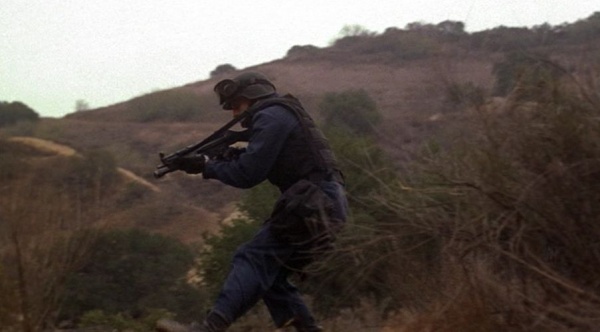
| − | [[Image:24S2MP5A2v1.JPG|thumb|none| | + | [[Image:24S2MP5A2v1.JPG|thumb|none|600px|A tactical team member moves in on the wounded Nina.]] |
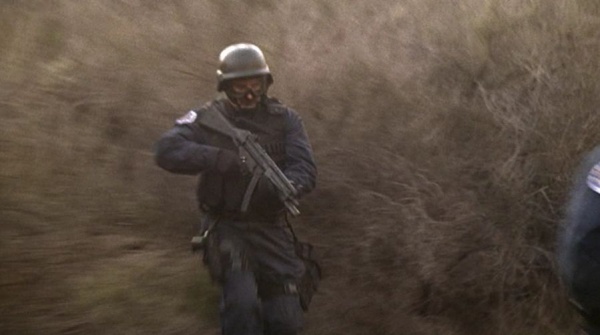
| − | [[Image:24S2MP5A2v3.JPG|thumb|none| | + | [[Image:24S2MP5A2v3.JPG|thumb|none|600px|Moving in on Nina, holding an MP5A2.]] |
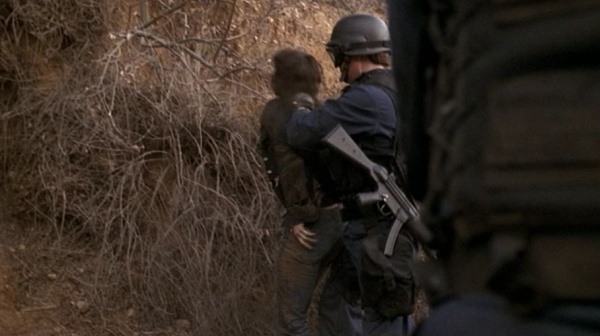
| − | [[Image:24S2MP5A2v2.JPG|thumb|none| | + | [[Image:24S2MP5A2v2.JPG|thumb|none|600px|A TAC team member holds Nina.]] |
| − | [[Image:24S2MP5A2v4.JPG|thumb|none| | + | [[Image:24S2MP5A2v4.JPG|thumb|none|600px|'Hmm. Dead guy. Nice.']] |
| − | [[Image:24S2MP5A2v5.JPG|thumb|none| | + | [[Image:24S2MP5A2v5.JPG|thumb|none|600px|Although not seen in this frame, like many actors, this guy seems to have trouble keeping the light button depressed enough to not turn it on.]] |
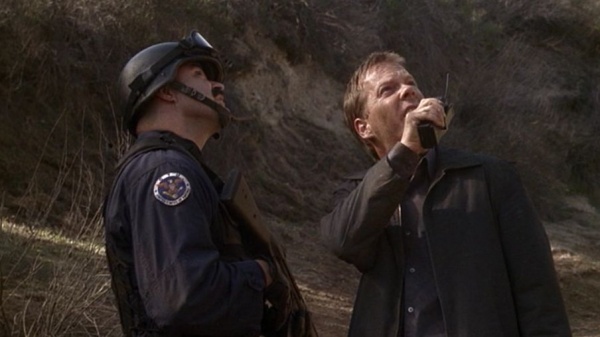
| − | [[Image:24S2MP5A2v6.JPG|thumb|none| | + | [[Image:24S2MP5A2v6.JPG|thumb|none|600px|Jack radios the chopper, the TAC team guy holding an MP5A2 next to him.]] |
===Flashpaper Beretta 92FS=== | ===Flashpaper Beretta 92FS=== | ||
Used by Syed Ali to kill Paul Koplin, who was trying to help Kate Warner retrieve computer files that would have compromised Ali. | Used by Syed Ali to kill Paul Koplin, who was trying to help Kate Warner retrieve computer files that would have compromised Ali. | ||
[[Image:Ng pistol beretta92 blk.jpg|thumb|none|300px|A "non-gun" flashpaper Beretta 92FS.]] | [[Image:Ng pistol beretta92 blk.jpg|thumb|none|300px|A "non-gun" flashpaper Beretta 92FS.]] | ||
| − | [[Image:24S2FlashpaperBeretta92v2.JPG|thumb|none| | + | [[Image:24S2FlashpaperBeretta92v2.JPG|thumb|none|600px|A clear shot of Syed Ali holding the Flashpaper Beretta 92FS.]] |
| − | [[Image:24S2FlashpaperBeretta92v3.JPG|thumb|none| | + | [[Image:24S2FlashpaperBeretta92v3.JPG|thumb|none|600px|Ali fires. Quite an impressive muzzle flash from a flashpaper gun...]] |
| − | [[Image:24S2FlashpaperBeretta92v1.JPG|thumb|none| | + | [[Image:24S2FlashpaperBeretta92v1.JPG|thumb|none|600px|The Flashpaper Beretta 92FS in the foreground, Koplin's tortured and dead body in the background.]] |
| − | === | + | ==Smith & Wesson 3913 Ladysmith== |
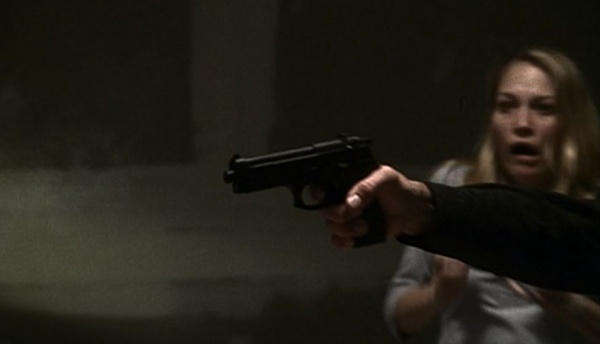
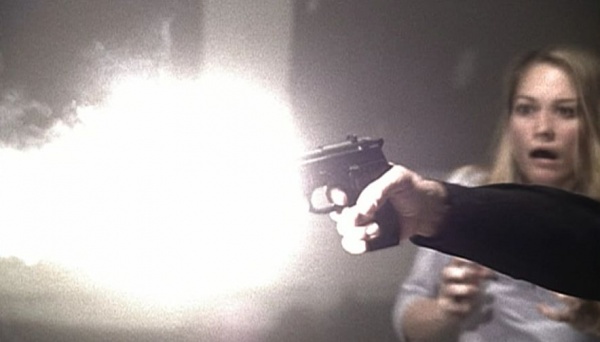
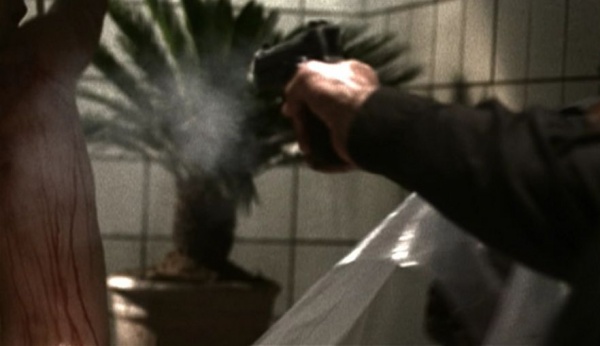
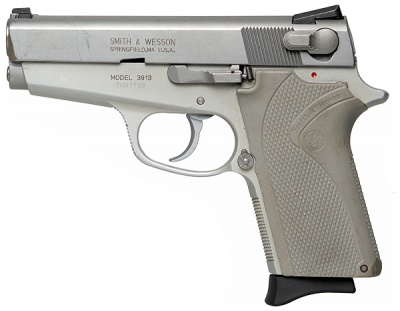
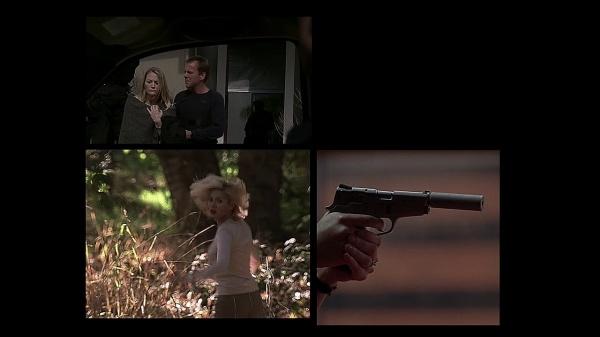
| + | A [[Smith & Wesson 3913|Smith & Wesson 3913 "Ladysmith"]] is used by Marie Warner to kill her fiancee and a CTU agent. | ||
| + | [[Image:S&W Model 3913.jpg|thumb|right|400px|Smith & Wesson 3913 LS "Ladysmith" 9x19mm.]] | ||
| + | [[Image:24 season 2 model 3913.JPG|none|thumb|600px|Marie's 3913 as seen during one of the signiture cut screens]] | ||
| + | |||
| + | ===Smith & Wesson Model 64=== | ||
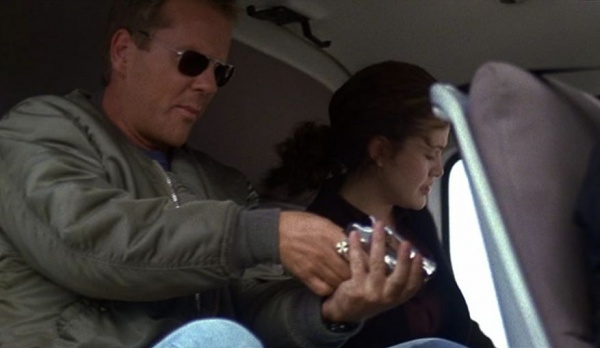
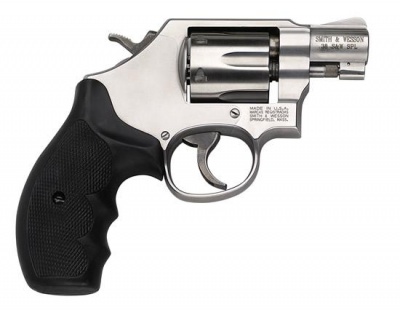
Given to Kim by Lonnie for protection against cougars. She later uses it to scare away a dangerous stranger. | Given to Kim by Lonnie for protection against cougars. She later uses it to scare away a dangerous stranger. | ||
| + | [[Image:S&W64Snub.jpg|thumb|none|400px|Smith & Wesson Model 64 Snub Nose - .38 Special.]] | ||
| + | [[Image:24 season 2 model 60.JPG|thumb|600px|none|Kim threatened with her own revolver]] | ||
===MAC-10=== | ===MAC-10=== | ||
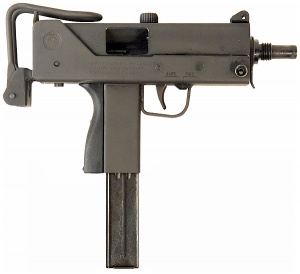
Used by Jack Bauer and Captain Jonathan Wallace when escaping the warehouse. | Used by Jack Bauer and Captain Jonathan Wallace when escaping the warehouse. | ||
[[Image:IngramMAC10.jpg|thumb|none|300px|Ingram [[MAC-10]] open bolt submachine gun - .45 ACP.]] | [[Image:IngramMAC10.jpg|thumb|none|300px|Ingram [[MAC-10]] open bolt submachine gun - .45 ACP.]] | ||
| − | [[Image:JackBauerMac10v1.JPG|thumb|none| | + | [[Image:JackBauerMac10v1.JPG|thumb|none|600px|Jack Bauer covers Captain Wallace with his MAC-10.]] |
| − | [[Image:JackBauerMac10v3.JPG|thumb|none| | + | [[Image:JackBauerMac10v3.JPG|thumb|none|600px|Jack searching for hostiles with Kate Warner and his MAC-10.]] |
| − | [[Image:JackBauerMac10v4.JPG|thumb|none| | + | [[Image:JackBauerMac10v4.JPG|thumb|none|600px|Jack fires his MAC-10 at the hostiles trying to kill Captain Jonathan Wallace.]] |
| − | [[Image:JackBauerMac10v6.JPG|thumb|none| | + | [[Image:JackBauerMac10v6.JPG|thumb|none|600px|Jack taking cover, MAC-10 in hand.]] |
===Colt M1911A1=== | ===Colt M1911A1=== | ||
| Line 138: | Line 145: | ||
Used by Captain Jonathan Wallace while escaping the warehouse. This SMG is also used by terrorists throughout this season. | Used by Captain Jonathan Wallace while escaping the warehouse. This SMG is also used by terrorists throughout this season. | ||
[[Image:MicroUziPistol02.jpg|thumb|none|300px|The IMI Micro Uzi, with 32 round 9x19mm magazine.]] | [[Image:MicroUziPistol02.jpg|thumb|none|300px|The IMI Micro Uzi, with 32 round 9x19mm magazine.]] | ||
| − | [[Image:JonathanWallaceMicroUZIv1.JPG|thumb|none| | + | [[Image:JonathanWallaceMicroUZIv1.JPG|thumb|none|600px|Captain Jonathan Wallace with his IMI Micro UZI.]] |
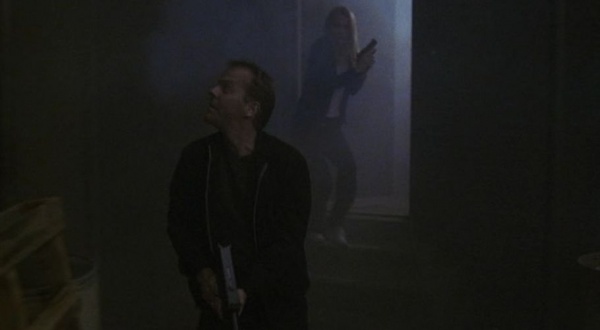
| − | [[Image:JonathanWallaceMicroUZIv2.JPG|thumb|none| | + | [[Image:JonathanWallaceMicroUZIv2.JPG|thumb|none|600px|Wallace taking fire under the cover of smoke with his IMI Micro UZI. You can see the Colt M1911A1 in his other hand.]] |
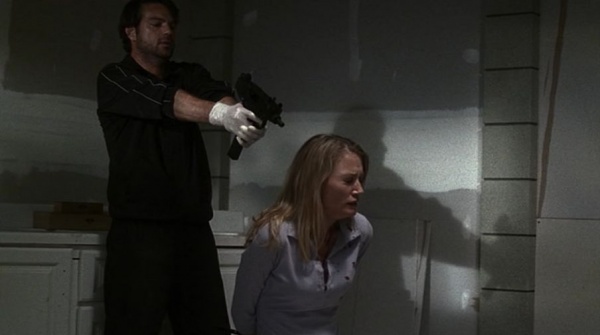
| − | [[Image:24S2MicroUZIv1.JPG|thumb|none| | + | [[Image:24S2MicroUZIv1.JPG|thumb|none|600px|A terrorist about to execute Kate Warner with an IMI Micro Uzi.]] |
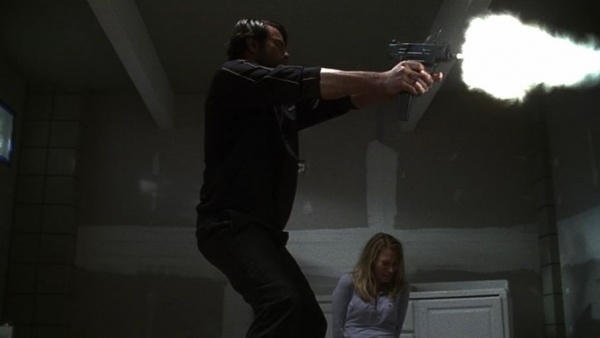
| − | [[Image:24S2MicroUZIv2.JPG|thumb|none| | + | [[Image:24S2MicroUZIv2.JPG|thumb|none|600px|The terrorist fires at the walls when he hears the TAC team approaching.]] |
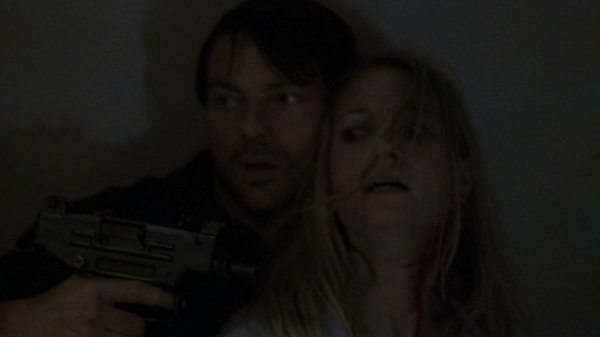
| − | [[Image:24S2MicroUZIv4.JPG|thumb|none| | + | [[Image:24S2MicroUZIv4.JPG|thumb|none|600px|"I'm the one they want alive, not you."]] |
===Heckler & Koch G36K=== | ===Heckler & Koch G36K=== | ||
Seen in the weapons drawer in the trunk of Jack Bauer's CTU vehicle, amongst other weapons, with stock folded. | Seen in the weapons drawer in the trunk of Jack Bauer's CTU vehicle, amongst other weapons, with stock folded. | ||
[[Image:H&K-G36K.jpg|thumb|none|300px|Heckler & Koch G36K - 5.56x45mm.]] | [[Image:H&K-G36K.jpg|thumb|none|300px|Heckler & Koch G36K - 5.56x45mm.]] | ||
| − | [[Image:Jack Bauer's Trunk.JPG|thumb|none| | + | [[Image:Jack Bauer's Trunk.JPG|thumb|none|600px|Jack Bauer's in-vehicle weapons drawer, holding the Heckler & Koch G36K.]] |
===Heckler & Koch MP5A3=== | ===Heckler & Koch MP5A3=== | ||
With an Aimpoint sight and a tri-rail RAS forearm, used by Yusuf Auda during the firefight with the Coral Snake commandos at the warehouse. | With an Aimpoint sight and a tri-rail RAS forearm, used by Yusuf Auda during the firefight with the Coral Snake commandos at the warehouse. | ||
[[Image:MP5A3.jpg|thumb|none|300px|Heckler & Koch MP5A3, 9x19mm; stock extended.]] | [[Image:MP5A3.jpg|thumb|none|300px|Heckler & Koch MP5A3, 9x19mm; stock extended.]] | ||
| − | [[Image:YusufAudaMP5v2.JPG|thumb|none| | + | [[Image:YusufAudaMP5v2.JPG|thumb|none|600px|Yusuf collects the kitted out MP5A3 from Jack Bauer's weapons drawer.]] |
| − | [[Image:YusufAudaMP5v4.JPG|thumb|none| | + | [[Image:YusufAudaMP5v4.JPG|thumb|none|600px|Yusuf Auda holding the MP5A3.]] |
| − | [[Image:YusufAudaMP5v5.JPG|thumb|none| | + | [[Image:YusufAudaMP5v5.JPG|thumb|none|600px|Yusuf Auda's MP5A3.]] |
===Heckler & Koch USP=== | ===Heckler & Koch USP=== | ||
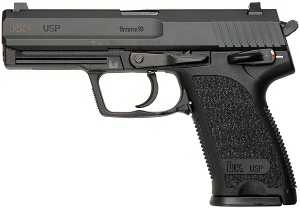
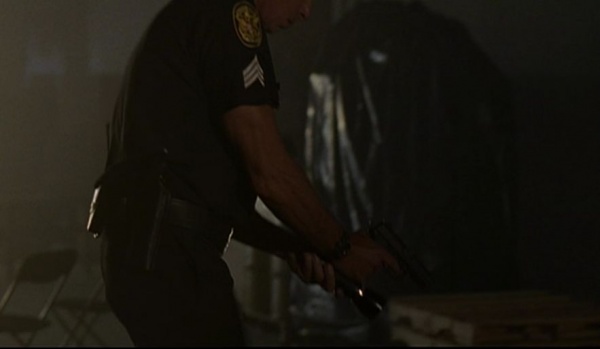
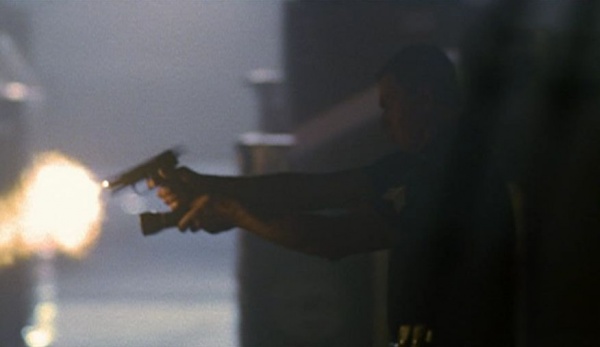
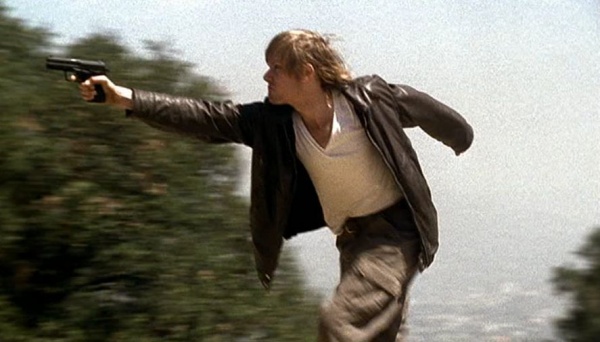
When Jack Bauer ([[Kiefer Sutherland]]) is revived after being tortured to a near-death state, his initial torturer is killed and Raymond O'Hara ([[Bryan Goodman]]) takes over. But as he attempts to get information from Jack, a doctor forced to help him attacks him instead, allowing Bauer to grab Raymond's gun - a suppressed [[Heckler_%26_Koch_USP|Heckler & Koch USP]]. Bauer dispatches Raymond and his guards, and later uses it to subdue several racists who kidnapped Kate Warner ([[Sarah Wynter]]) and got ahold of an important computer chip. It was also used earlier on in the season by an LAPD officer to kill terrorists firing on George Mason, and by Chris; one of the men on Eddie Grant's crew that bombed CTU. | When Jack Bauer ([[Kiefer Sutherland]]) is revived after being tortured to a near-death state, his initial torturer is killed and Raymond O'Hara ([[Bryan Goodman]]) takes over. But as he attempts to get information from Jack, a doctor forced to help him attacks him instead, allowing Bauer to grab Raymond's gun - a suppressed [[Heckler_%26_Koch_USP|Heckler & Koch USP]]. Bauer dispatches Raymond and his guards, and later uses it to subdue several racists who kidnapped Kate Warner ([[Sarah Wynter]]) and got ahold of an important computer chip. It was also used earlier on in the season by an LAPD officer to kill terrorists firing on George Mason, and by Chris; one of the men on Eddie Grant's crew that bombed CTU. | ||
[[Image:USP9mm.jpg|thumb|none|300px|Heckler & Koch USP 9x19mm.]] | [[Image:USP9mm.jpg|thumb|none|300px|Heckler & Koch USP 9x19mm.]] | ||
| − | [[Image:24LAPDofficerUSPv1.JPG|thumb|none| | + | [[Image:24LAPDofficerUSPv1.JPG|thumb|none|600px|A barely visible Heckler and Koch USP.]] |
| − | [[Image:24LAPDofficerUSPv2.JPG|thumb|none| | + | [[Image:24LAPDofficerUSPv2.JPG|thumb|none|600px|The LAPD office shoots and kills the terrorist firing on George Mason.]] |
| − | [[Image:JoshephWald'sMenUSPv2.JPG|thumb|none| | + | [[Image:JoshephWald'sMenUSPv2.JPG|thumb|none|600px|Chris fires on Jack with his Heckler & Koch USP.]] |
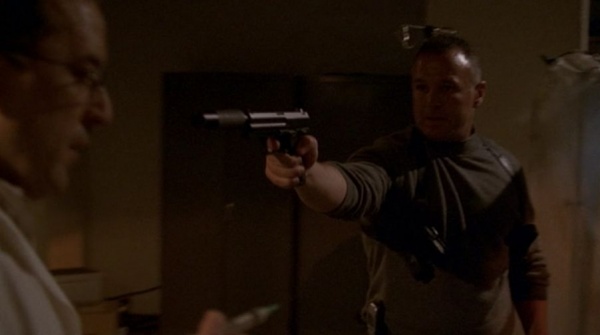
| − | [[Image:24S2-USPv5.JPG|thumb|none| | + | [[Image:24S2-USPv5.JPG|thumb|none|600px|The doctor is forced to inject Jack with Beroglide, suppressed Heckler & Koch USP aimed at his head.]] |
| − | [[Image:24S2-USPv6.JPG|thumb|none| | + | [[Image:24S2-USPv6.JPG|thumb|none|600px|Jack makes a hostile's death quick after he's injected with a lethal dose of Beroglide.]] |
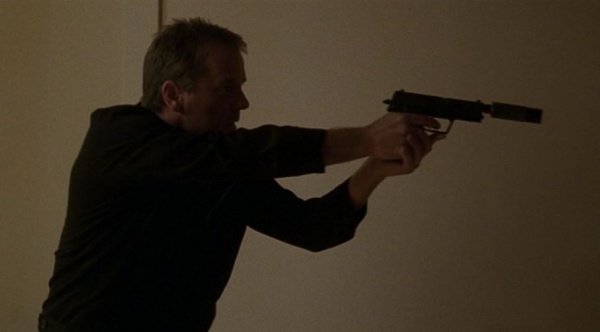
| − | [[Image:24S2-USPv4.JPG|thumb|none| | + | [[Image:24S2-USPv4.JPG|thumb|none|600px|Jack demands the CPB memory chip with his suppressed USP.]] |
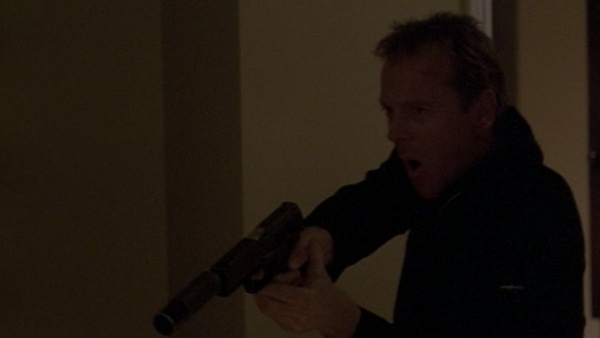
| − | [[Image:24S2-USPv3.JPG|thumb|none| | + | [[Image:24S2-USPv3.JPG|thumb|none|600px|Jack searches for hostiles with a suppressed USP.]] |
===Walther PPK=== | ===Walther PPK=== | ||
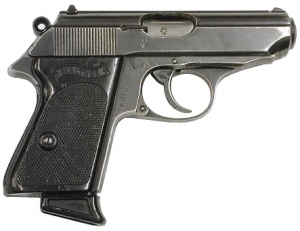
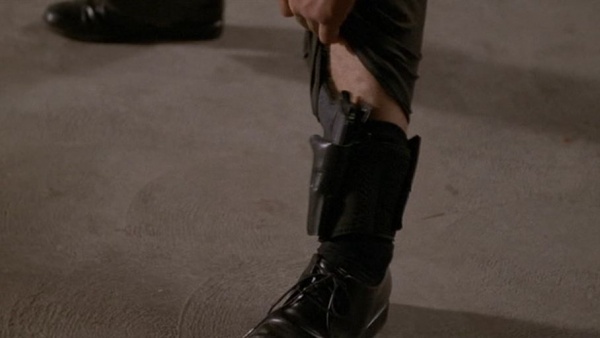
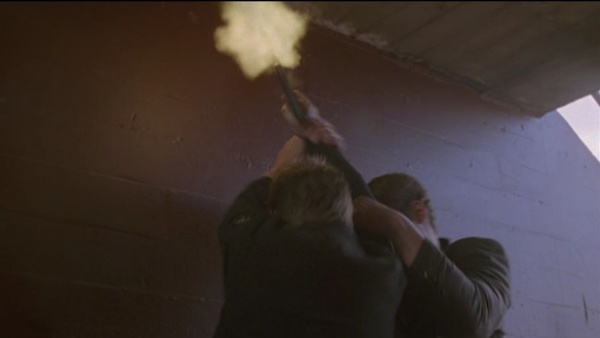
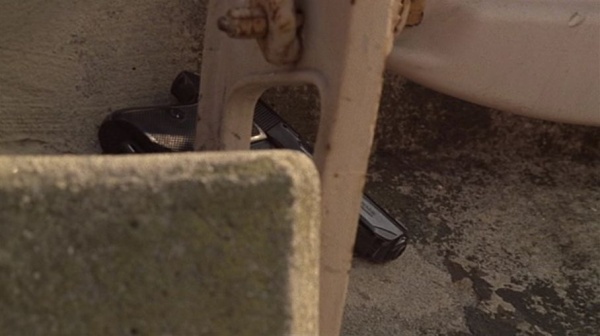
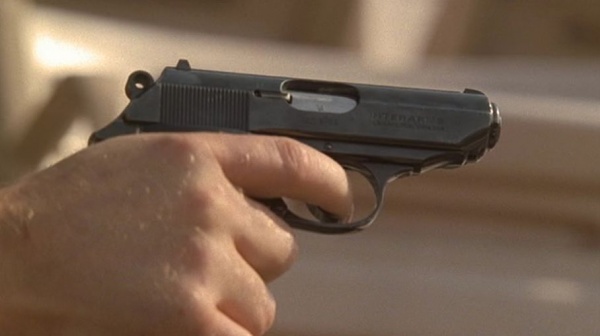
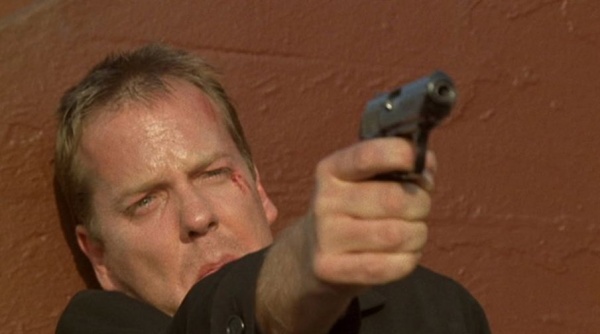
In the Season 2 finale, one of Peter Kingsley's ([[Tobin Bell]]) henchmen has a [[Walther_PP_Pistol_Series#Walther_PPK|Walther PPK]] in an ankle holster. During a fight with Jack Bauer ([[Kiefer Sutherland]]), he tries to use it with no success, discharging the weapon several times. A few minutes later, Jack tries to use it against Kingsley himself, but to no avail - the gun is empty. | In the Season 2 finale, one of Peter Kingsley's ([[Tobin Bell]]) henchmen has a [[Walther_PP_Pistol_Series#Walther_PPK|Walther PPK]] in an ankle holster. During a fight with Jack Bauer ([[Kiefer Sutherland]]), he tries to use it with no success, discharging the weapon several times. A few minutes later, Jack tries to use it against Kingsley himself, but to no avail - the gun is empty. | ||
[[Image:Walther-PPK.jpg|thumb|none|300px|Walther PPK in 7.65x17mm Auto (.32 ACP).]] | [[Image:Walther-PPK.jpg|thumb|none|300px|Walther PPK in 7.65x17mm Auto (.32 ACP).]] | ||
| − | [[Image:24S2WaltherPPKv3.JPG|thumb|none| | + | [[Image:24S2WaltherPPKv3.JPG|thumb|none|600px|A Walther PPK in a hostile's ankle holster.]] |
| − | [[Image:24S2WaltherPPKv4.JPG|thumb|none| | + | [[Image:24S2WaltherPPKv4.JPG|thumb|none|600px|Jack and the hostile discharge the PPK several times while fighting over it.]] |
| − | [[Image:24S2WaltherPPKBehindChair.JPG|thumb|none| | + | [[Image:24S2WaltherPPKBehindChair.JPG|thumb|none|600px|The PPK is lodged behind a chair in the coliseum.]] |
| − | [[Image:24S2WaltherPPKv1.JPG|thumb|none| | + | [[Image:24S2WaltherPPKv1.JPG|thumb|none|600px|Jack attempts to fire the empty Walther PPK.]] |
| − | [[Image:24S2WaltherPPKv2.JPG|thumb|none| | + | [[Image:24S2WaltherPPKv2.JPG|thumb|none|600px|Jack trying to fire on Kingsley.]] |
===Heckler & Koch SR9T=== | ===Heckler & Koch SR9T=== | ||
| Line 180: | Line 187: | ||
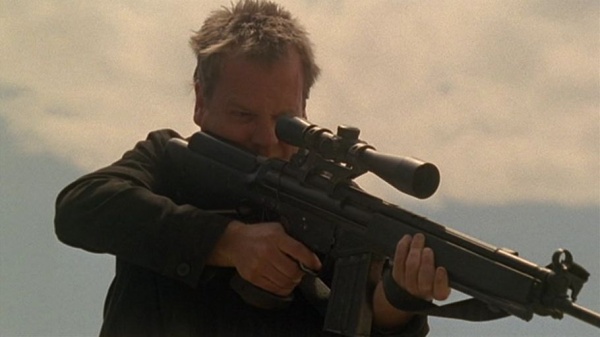
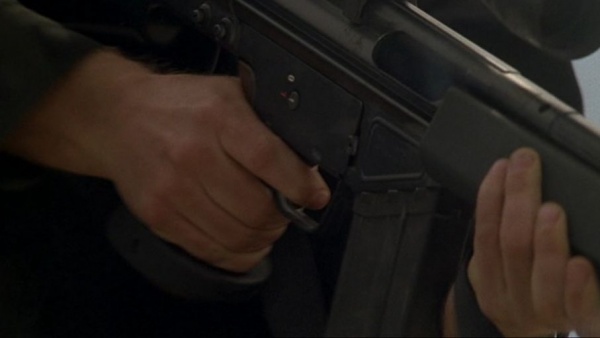
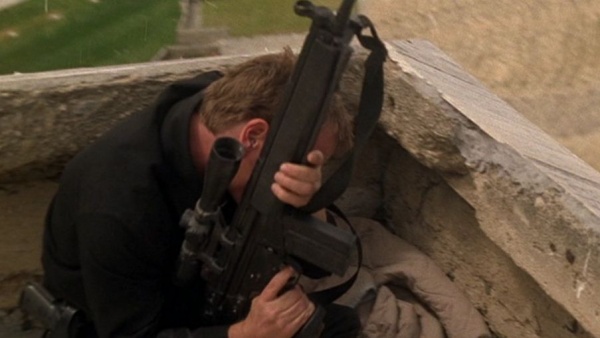
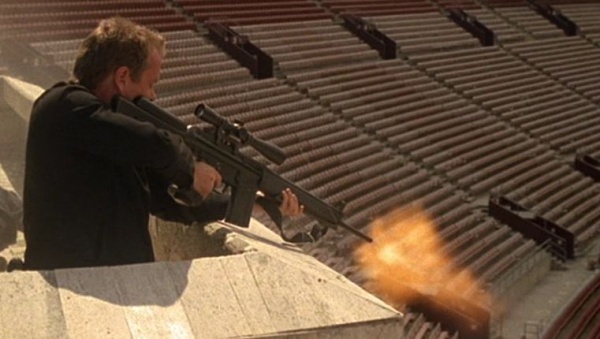
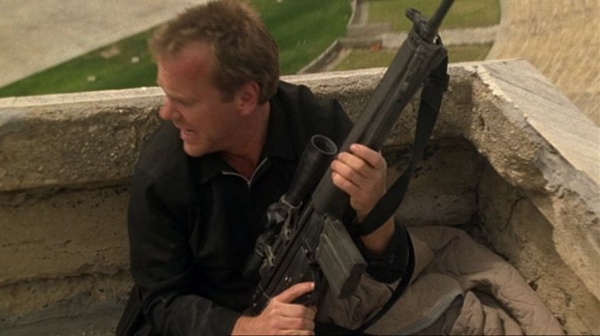
Used by Jack to Fight Kingsley's men during final encounter. | Used by Jack to Fight Kingsley's men during final encounter. | ||
[[Image:H&KSR9T.jpg|thumb|none|300px|Heckler & Koch SR9T. (This is a 'faux' SR9T movie gun converted from an HK91, with an SG/1 style buttstock (instead of the correct MSG90 style) and PSG trigger pack - 7.62x51mm.)]] | [[Image:H&KSR9T.jpg|thumb|none|300px|Heckler & Koch SR9T. (This is a 'faux' SR9T movie gun converted from an HK91, with an SG/1 style buttstock (instead of the correct MSG90 style) and PSG trigger pack - 7.62x51mm.)]] | ||
| − | [[Image:24S2-SR9Tv2.JPG|thumb|none| | + | [[Image:24S2-SR9Tv2.JPG|thumb|none|600px|Jack takes aim with his SR9T.]] |
| − | [[Image:24S2-SR9Tv3.JPG|thumb|none| | + | [[Image:24S2-SR9Tv3.JPG|thumb|none|600px|A close-up of Jack firing on hostiles to protect Sherry Palmer.]] |
| − | [[Image:24S2-SR9Tv4.JPG|thumb|none| | + | [[Image:24S2-SR9Tv4.JPG|thumb|none|600px|Jack takes cover from enemy fire with his SR9T.]] |
| − | [[Image:24S2-SR9Tv5.JPG|thumb|none| | + | [[Image:24S2-SR9Tv5.JPG|thumb|none|600px|Jack fires at hostiles.]] |
| − | [[Image:24S2-SR9Tv6.JPG|thumb|none| | + | [[Image:24S2-SR9Tv6.JPG|thumb|none|600px|Jack prepares to ditch the SR9T and rescue Sherry.]] |
===Walther P99=== | ===Walther P99=== | ||
| Line 195: | Line 202: | ||
Seen in the hands of Secret Service agents, when President Palmer passes out. | Seen in the hands of Secret Service agents, when President Palmer passes out. | ||
| − | [[Image:24 Secret Service MP5KA4.png|thumb|none| | + | [[Image:24 Secret Service MP5KA4.png|thumb|none|600px|Secret Service agents brandish MP5KA4 submachine guns]] |
===Advanced Taser M26=== | ===Advanced Taser M26=== | ||
Revision as of 05:42, 5 June 2010
The following weapons were used in Season 2 of 24:
SIG-Sauer P228 / SIG-Sauer P229
Jack Bauer (Kiefer Sutherland) continues to use a CTU-issued SIG-Sauer P228 pistol in the second season.
IMI Uzi
An IMI Uzi is used by a terrorist to fire on Mason and the LAPD team infiltrating the warehouse in Panorama City.
Unknown Ak variant
Seen in a terrorist video.
Smith & Wesson 5904
LAPD officers carry the Smith & Wesson 5904 at the warehouse in Panorama City.
Glock 19
The Glock 19 is carried by CTU Director George Mason (Xander Berkeley) when he discovers the weapons-grade plutonium in Panorama City.
Beretta 92FS
A Beretta 92FS is used by Jack to eliminate a witness in Season 2's premiere episode. Also used by LAPD officers, notably to kill a terrorist firing on Mason.
Remington 870
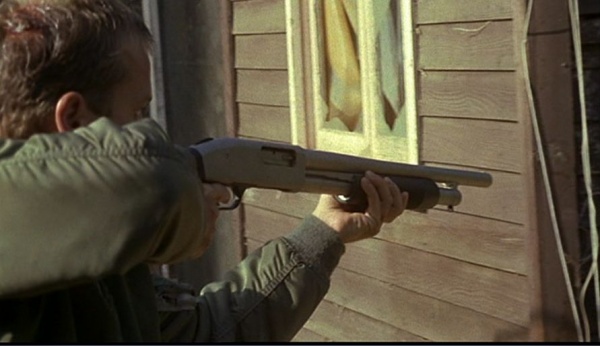
An LAPD officer is seen with one.

Smith & Wesson Model 60
Jack Bauer (Kiefer Sutherland) carries a snubnosed Smith & Wesson Model 60 undercover, later seen dual wielding it with a Beretta 92FS INOX.
Beretta 92FS Inox
Jack Bauer (Kiefer Sutherland) takes a Beretta 92FS Inox off of Eddie Grant (Douglas O'Keeffe) in Episode 4 (11:00 am - 12:00 pm) when he breaks from his undercover identity to get the address of Grant's boss, Joseph Wald. When Grant's buddies see the action, though, a gunfight ensues, and Bauer uses both the Beretta and his own revolver to eliminate them. Grant takes several rounds in the face from the Beretta. It's also used by one of the racists who beat Yusuf Auda to death.
Heckler & Koch P2A1 Flare Gun
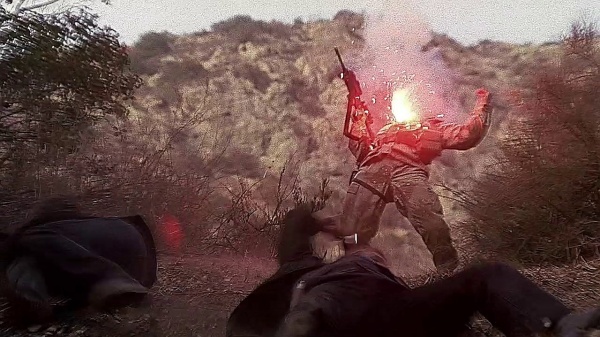
Used by Jack Bauer to kill a Coral Snake Commando in Episode 9 (4 p.m. - 5 p.m.)
Mossberg 500 Mariner
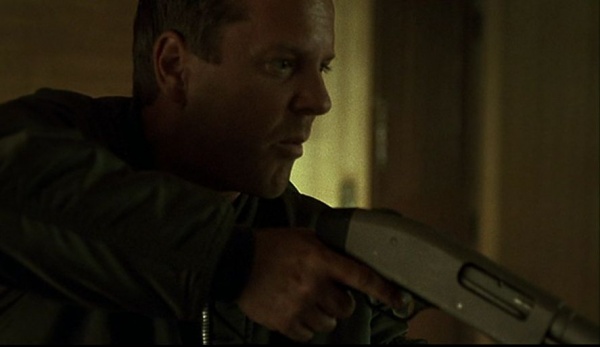
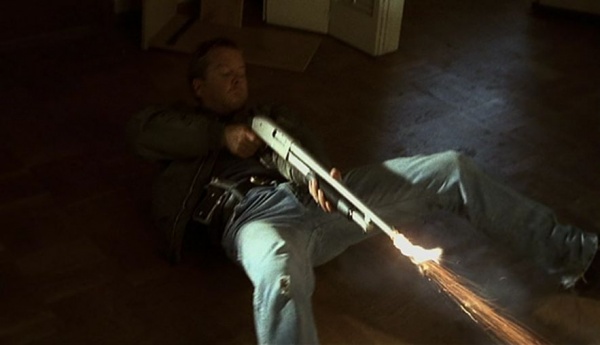
Jack (Kiefer Sutherland) ,uses the Mossberg 500 Mariner with a pistol grip in episode 4, in which he takes it from Joseph Wald.
M4A1
M4A1 carbines were used by the Coral Snake Commandos, Jack Bauer and Nina Myers in Episodes 9 and 10. (4 p.m. - 5p.m., & 5p.m. - 6p.m.) Outfitted with ACOG Sight, Foregrip, AN/PEQ2A Laser Aiming Module and 20 round magazine. Coral Snake Commandos used them again during the warehouse shootout judging by the muzzle flashes.
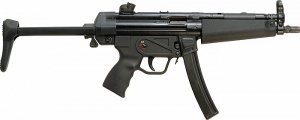
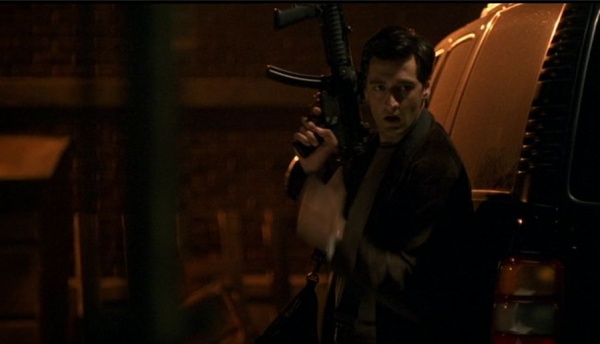
Heckler & Koch MP5A2
Heckler & Koch MP5A2 submachine guns were used by members of the CTU tactical team.
Flashpaper Beretta 92FS
Used by Syed Ali to kill Paul Koplin, who was trying to help Kate Warner retrieve computer files that would have compromised Ali.
Smith & Wesson 3913 Ladysmith
A Smith & Wesson 3913 "Ladysmith" is used by Marie Warner to kill her fiancee and a CTU agent.
Smith & Wesson Model 64
Given to Kim by Lonnie for protection against cougars. She later uses it to scare away a dangerous stranger.
MAC-10
Used by Jack Bauer and Captain Jonathan Wallace when escaping the warehouse.
Colt M1911A1
Used by Captain Jonathan Wallace during the warehouse shootout.
IMI Micro UZI
Used by Captain Jonathan Wallace while escaping the warehouse. This SMG is also used by terrorists throughout this season.
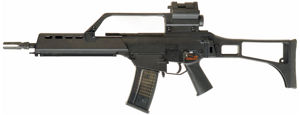
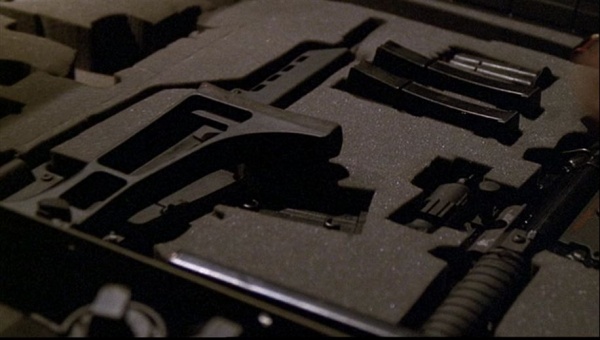
Heckler & Koch G36K
Seen in the weapons drawer in the trunk of Jack Bauer's CTU vehicle, amongst other weapons, with stock folded.
Heckler & Koch MP5A3
With an Aimpoint sight and a tri-rail RAS forearm, used by Yusuf Auda during the firefight with the Coral Snake commandos at the warehouse.
Heckler & Koch USP
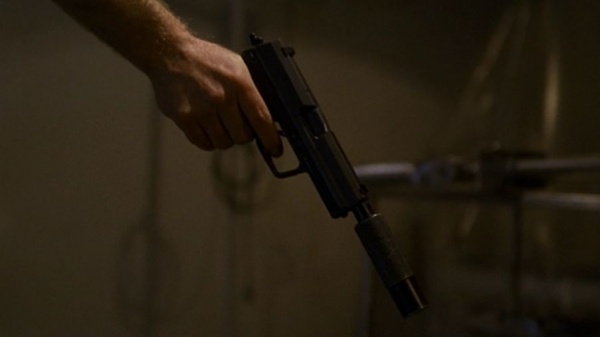
When Jack Bauer (Kiefer Sutherland) is revived after being tortured to a near-death state, his initial torturer is killed and Raymond O'Hara (Bryan Goodman) takes over. But as he attempts to get information from Jack, a doctor forced to help him attacks him instead, allowing Bauer to grab Raymond's gun - a suppressed Heckler & Koch USP. Bauer dispatches Raymond and his guards, and later uses it to subdue several racists who kidnapped Kate Warner (Sarah Wynter) and got ahold of an important computer chip. It was also used earlier on in the season by an LAPD officer to kill terrorists firing on George Mason, and by Chris; one of the men on Eddie Grant's crew that bombed CTU.
Walther PPK
In the Season 2 finale, one of Peter Kingsley's (Tobin Bell) henchmen has a Walther PPK in an ankle holster. During a fight with Jack Bauer (Kiefer Sutherland), he tries to use it with no success, discharging the weapon several times. A few minutes later, Jack tries to use it against Kingsley himself, but to no avail - the gun is empty.
Heckler & Koch SR9T
Used by Jack to Fight Kingsley's men during final encounter.
Walther P99
Used by Peter Kingsley in the season finale.
Beretta M12
Used by Kingsley's men.
Heckler & Koch MP5KA4
Seen in the hands of Secret Service agents, when President Palmer passes out.
Advanced Taser M26
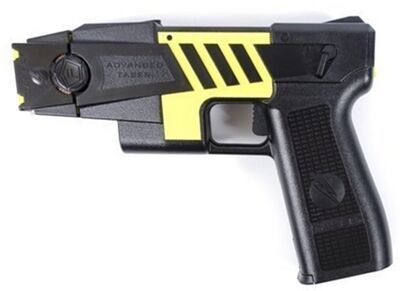
Ronnie Stark (Peter Outerbridge) uses it on Jack on episode 19 (2:00AM-3:00AM).
