| If you have been locked out of your account you can request a password reset here. |
Difference between revisions of "Six Against the Rock"
Speakeasy804 (talk | contribs) (New page: '''''Six Against the Rock''''' is a 1987 made-for-TV movie based on the true story of six convicts who attempted to break out of the infamous Alcatraz federal prison in May 1946, starring ...) |
Speakeasy804 (talk | contribs) |
||
| Line 7: | Line 7: | ||
== M1903 Springfield == | == M1903 Springfield == | ||
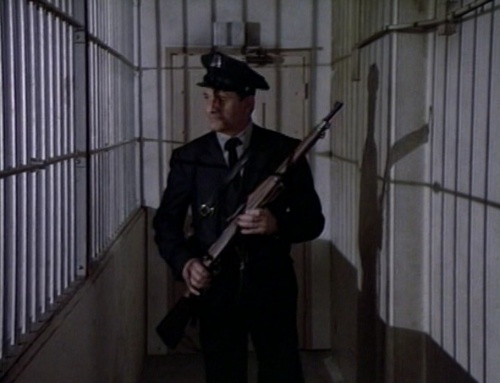
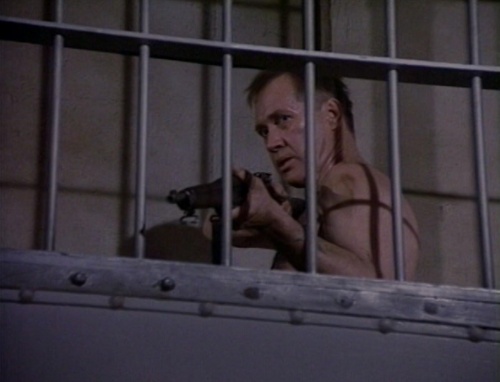
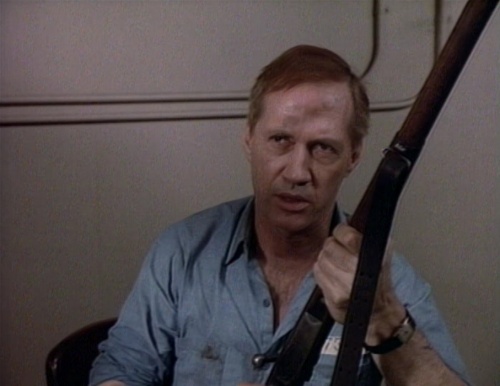
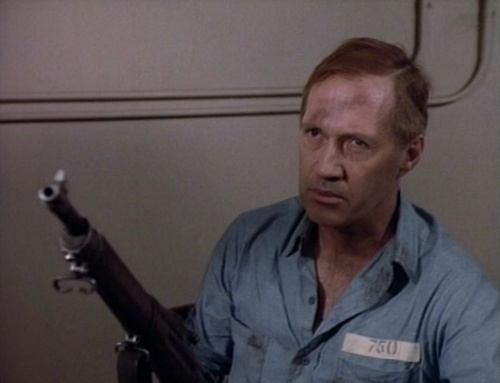
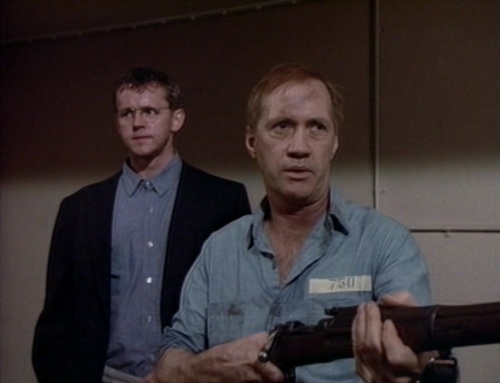
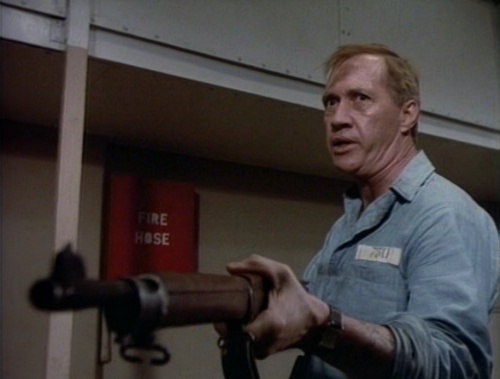
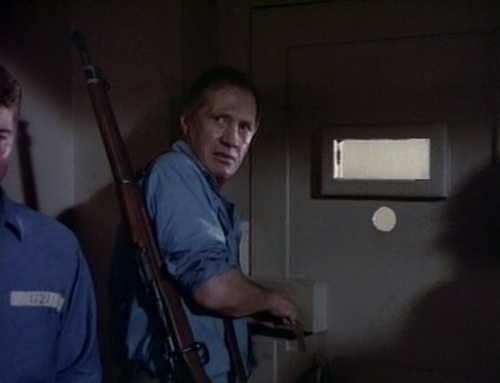
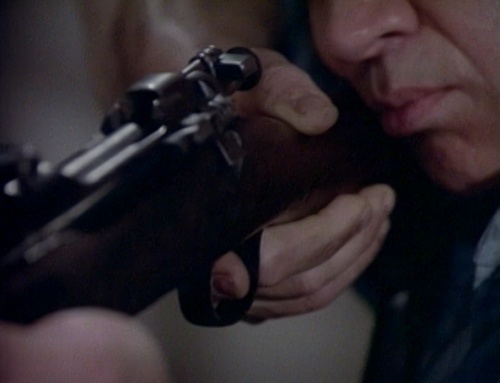
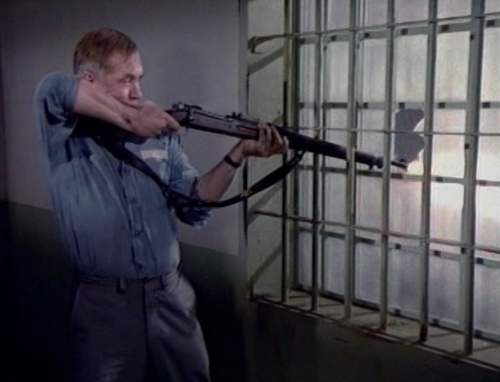
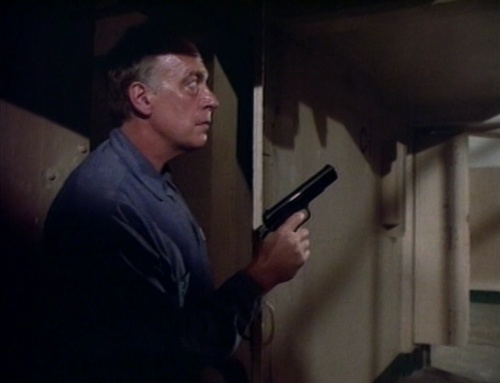
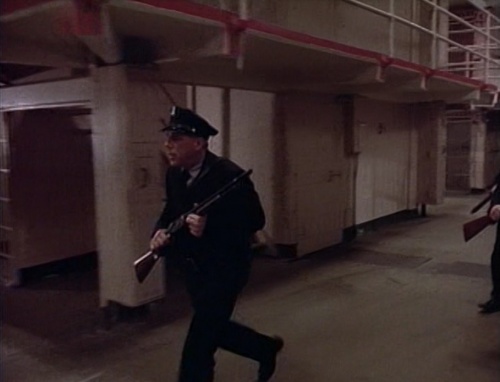
The Alcatraz tower guards and gun gallery guards, such as Bert Burch ([[Fred Lerner]]), all carry [[M1903 Springfield]] rifles. During the beginning of the escape, convict Bernard Coy ([[David Carradine]]) gets ahold of Burch's Springfield and uses it throughout most of the film, until it is carried by fellow escapee Marvin Hubbard ([[David Morse]]) towards the end. | The Alcatraz tower guards and gun gallery guards, such as Bert Burch ([[Fred Lerner]]), all carry [[M1903 Springfield]] rifles. During the beginning of the escape, convict Bernard Coy ([[David Carradine]]) gets ahold of Burch's Springfield and uses it throughout most of the film, until it is carried by fellow escapee Marvin Hubbard ([[David Morse]]) towards the end. | ||
| + | [[Image:M1903Mark1.jpg|thumb|none|450px|Springfield M1903 Mk 1 - .30-06]] | ||
[[Image:6atr-spring1.jpg|thumb|none|500px|Officer Burch watches over the cell block with his Springfield rifle.]] | [[Image:6atr-spring1.jpg|thumb|none|500px|Officer Burch watches over the cell block with his Springfield rifle.]] | ||
[[Image:6atr-spring2.jpg|thumb|none|500px|Coy aims his commandeered rifle at Officer Corwin.]] | [[Image:6atr-spring2.jpg|thumb|none|500px|Coy aims his commandeered rifle at Officer Corwin.]] | ||
| Line 19: | Line 20: | ||
== M1911A1 == | == M1911A1 == | ||
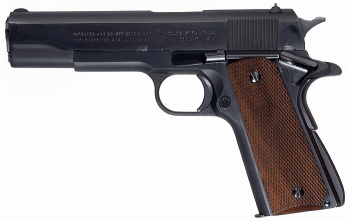
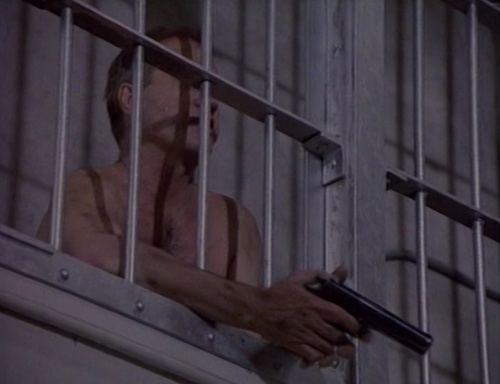
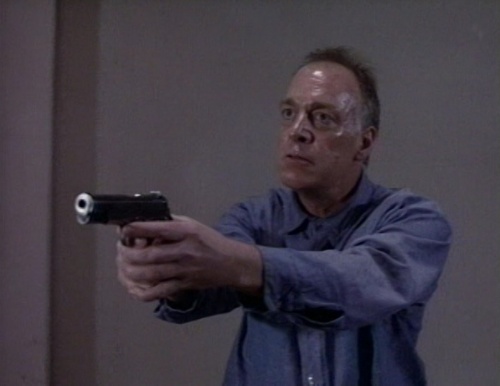
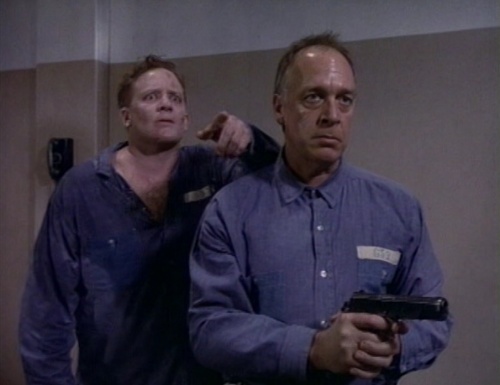
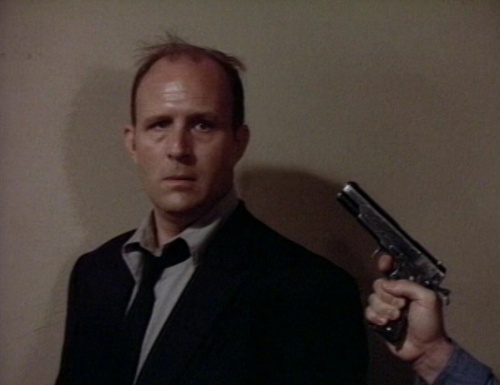
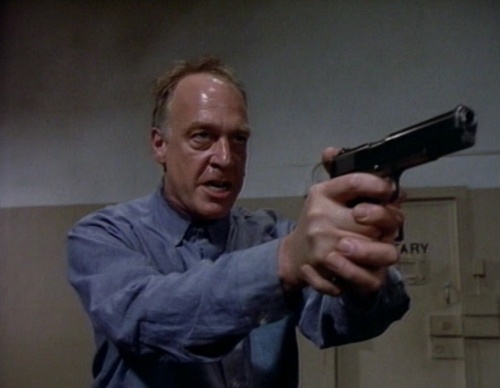
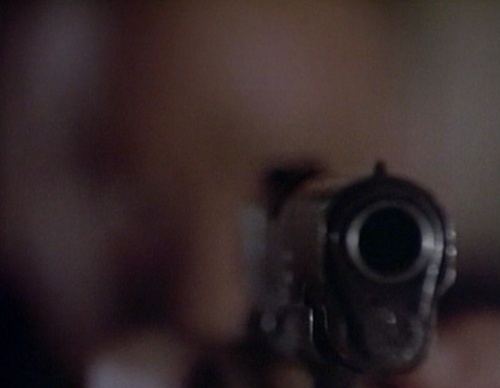
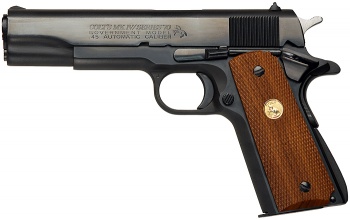
Several Alcatraz guards and U.S. Marines are seen with [[M1911A1]]s in their holsters. Bernard Coy ([[David Carradine]]) takes one from guard Burch ([[Fred Lerner]]) during their struggle, then hands it down to fellow con Joseph "Dutch" Cretzer ([[Howard Hesseman]]), who uses it throughout the film. At times, this alternates with a Colt Mk IV Series 70 1911. | Several Alcatraz guards and U.S. Marines are seen with [[M1911A1]]s in their holsters. Bernard Coy ([[David Carradine]]) takes one from guard Burch ([[Fred Lerner]]) during their struggle, then hands it down to fellow con Joseph "Dutch" Cretzer ([[Howard Hesseman]]), who uses it throughout the film. At times, this alternates with a Colt Mk IV Series 70 1911. | ||
| + | [[Image:Colt1911A1PreWar.jpg|thumb|350px|none|Pre-War Colt M1911A1 Pistol Commercial - .45 ACP]] | ||
[[Image:6atr-1911a.jpg|thumb|none|500px|Coy sticks the pistol through the bars of the gun gallery.]] | [[Image:6atr-1911a.jpg|thumb|none|500px|Coy sticks the pistol through the bars of the gun gallery.]] | ||
[[Image:6atr-1911b.jpg|thumb|none|500px|Cretzer aims the M1911A1 at Durando.]] | [[Image:6atr-1911b.jpg|thumb|none|500px|Cretzer aims the M1911A1 at Durando.]] | ||
| Line 27: | Line 29: | ||
== Colt Mk IV Series 70 == | == Colt Mk IV Series 70 == | ||
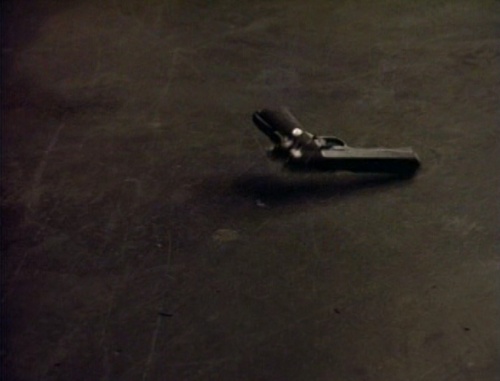
| − | During several scenes, such as the first shootout with the guard assault team and some shots on the cell block roof, Cretzer's ([[Howard Hesseman]]) 1911 is a [[M1911 pistol series#Colt | + | During several scenes, such as the first shootout with the guard assault team and some shots on the cell block roof, Cretzer's ([[Howard Hesseman]]) 1911 is a [[M1911 pistol series#Colt MK IV Series 70|Colt Mk IV Series 70]], as denoted by some of its parts. |
| + | [[Image:ColtMkIVSeries70.jpg |thumb|none|350px|Colt 1911 Series 70 - .45 ACP]] | ||
[[Image:6atr-c11a.jpg|thumb|none|500px|Cretzer ducks into a utility corridor after killing Officer Stites of the assault team sent in by the warden.]] | [[Image:6atr-c11a.jpg|thumb|none|500px|Cretzer ducks into a utility corridor after killing Officer Stites of the assault team sent in by the warden.]] | ||
[[Image:6atr-c11b.jpg|thumb|none|500px|Coy knocks the pistol out of Cretzer's hand, landing under Shockley's foot.]] | [[Image:6atr-c11b.jpg|thumb|none|500px|Coy knocks the pistol out of Cretzer's hand, landing under Shockley's foot.]] | ||
| Line 34: | Line 37: | ||
== M1928A1 Thompson == | == M1928A1 Thompson == | ||
When the warden sends in teams of armed guards to attack the inmates, the guards are primarily armed with [[Thompson#M1928/M1928A1 Thompson|M1928A1 Thompson]]s fitted with 50-round drum magazines. Stites, the officer killed by Cretzer during the first assault, carried an M1928A1. | When the warden sends in teams of armed guards to attack the inmates, the guards are primarily armed with [[Thompson#M1928/M1928A1 Thompson|M1928A1 Thompson]]s fitted with 50-round drum magazines. Stites, the officer killed by Cretzer during the first assault, carried an M1928A1. | ||
| + | [[Image:M1928A1Drum.jpg |thumb|none|450px|M1928A1 Thompson with 50-round drum magazine - .45 ACP ]] | ||
[[Image:6atr-thom28a.jpg|thumb|none|500px|The guards drag the beaten Officer Burch out of the gun gallery.]] | [[Image:6atr-thom28a.jpg|thumb|none|500px|The guards drag the beaten Officer Burch out of the gun gallery.]] | ||
[[Image:6atr-thom28b.jpg|thumb|none|500px|Two Thompsons lay on the ground after Officer Stites is gunned down.]] | [[Image:6atr-thom28b.jpg|thumb|none|500px|Two Thompsons lay on the ground after Officer Stites is gunned down.]] | ||
| Line 40: | Line 44: | ||
== M1 Garand == | == M1 Garand == | ||
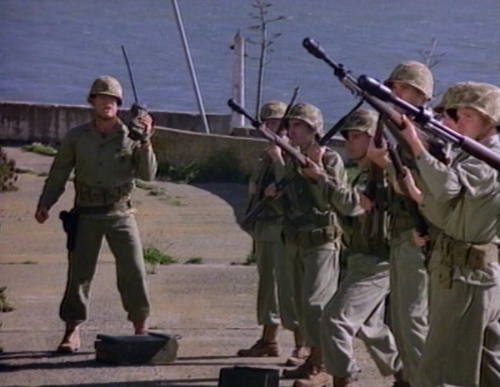
The U.S. Marines called to Alcatraz Island to respond to the attempted escape carry [[M1 Garand]] rifles, some fitted with grenade launchers. | The U.S. Marines called to Alcatraz Island to respond to the attempted escape carry [[M1 Garand]] rifles, some fitted with grenade launchers. | ||
| + | [[Image:M1 Garand.jpg|thumb|none|450px|M1 Garand semiautomatic Rifle with leather M1917 sling - .30-06]] | ||
[[Image:6atr-garand1.jpg|thumb|none|500px|Marines aim their grenade launchers at the side of the cellhouse.]] | [[Image:6atr-garand1.jpg|thumb|none|500px|Marines aim their grenade launchers at the side of the cellhouse.]] | ||
[[Image:6atr-garand2.jpg|thumb|none|500px|As another Marine jackhammers to drop a grenade onto the cell block roof where Cretzer is, another Marine stands behind them with an M1 Garand.]] | [[Image:6atr-garand2.jpg|thumb|none|500px|As another Marine jackhammers to drop a grenade onto the cell block roof where Cretzer is, another Marine stands behind them with an M1 Garand.]] | ||
| Line 45: | Line 50: | ||
== M2 Mortar == | == M2 Mortar == | ||
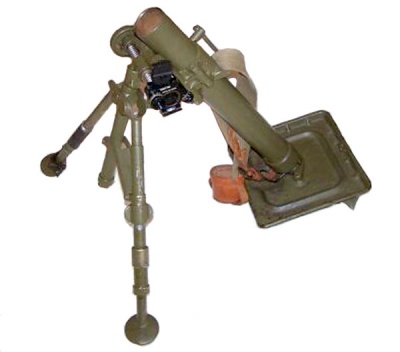
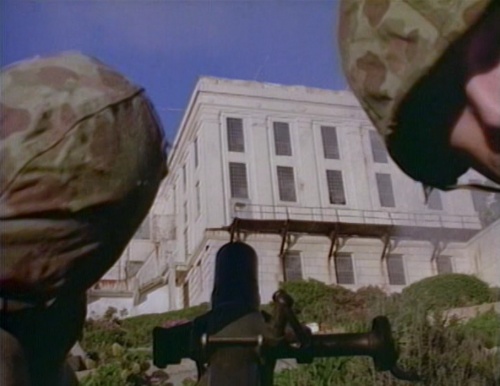
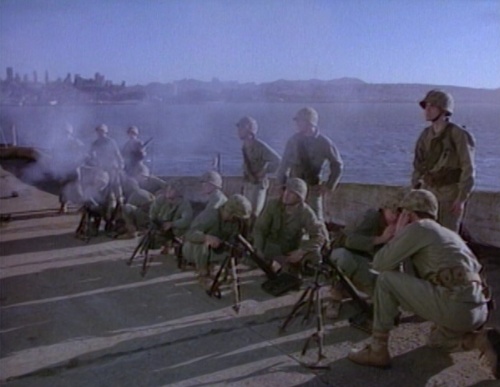
The U.S. Marines called to Alcatraz Island to respond to the attempted escape use [[M2 Mortar]]s when their grenades are unable to penetrate the cellhouse walls. | The U.S. Marines called to Alcatraz Island to respond to the attempted escape use [[M2 Mortar]]s when their grenades are unable to penetrate the cellhouse walls. | ||
| + | [[Image:M2Mortar60mm.jpg|thumb|none|400px|M2 60mm Mortar]] | ||
[[Image:6atr-mortar1.jpg|thumb|none|500px|Marines aim at the cellhouse.]] | [[Image:6atr-mortar1.jpg|thumb|none|500px|Marines aim at the cellhouse.]] | ||
[[Image:6atr-mortar2.jpg|thumb|none|500px|The Marines with their mortars.]] | [[Image:6atr-mortar2.jpg|thumb|none|500px|The Marines with their mortars.]] | ||
| Line 50: | Line 56: | ||
== Winchester Model 1897 == | == Winchester Model 1897 == | ||
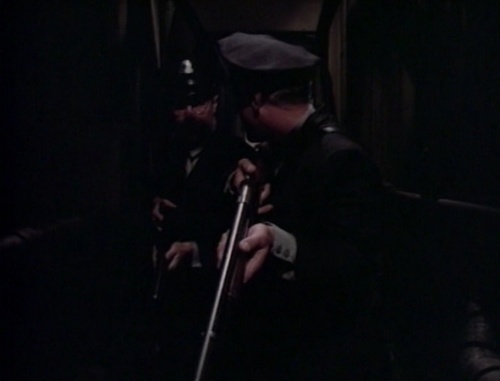
After dropping grenades into the cellhouse to force the inmates into the utility corridor, the warden sends in a team with "riot guns", [[Winchester Model 1897]] shotguns, to kill them. | After dropping grenades into the cellhouse to force the inmates into the utility corridor, the warden sends in a team with "riot guns", [[Winchester Model 1897]] shotguns, to kill them. | ||
| + | [[Image:Winchester1897Plain.jpg|thumb|none|450px|Winchester Model 1897 - 12 gauge. This is an imported copy of the non-take down version of the Winchester 1897 Shotgun (a Norinco 97W shotgun, imported by IAC). ]] | ||
[[Image:6atr-win97a.jpg|thumb|none|500px|A guard leads the assault team through the cellhouse.]] | [[Image:6atr-win97a.jpg|thumb|none|500px|A guard leads the assault team through the cellhouse.]] | ||
[[Image:6atr-win97b.jpg|thumb|none|500px|A guard aims his Winchester '97 at Coy and Hubbard.]] | [[Image:6atr-win97b.jpg|thumb|none|500px|A guard aims his Winchester '97 at Coy and Hubbard.]] | ||
| Line 55: | Line 62: | ||
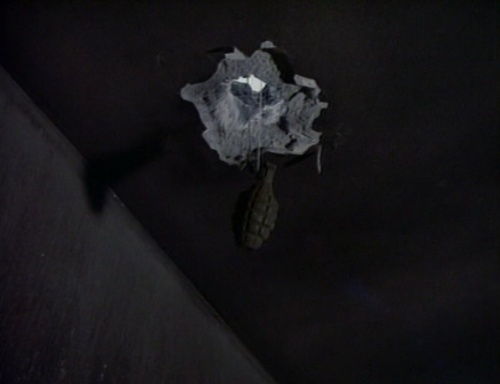
== Mk 2 hand grenade == | == Mk 2 hand grenade == | ||
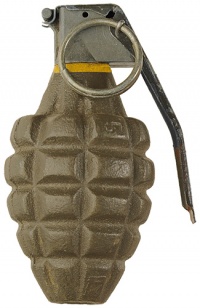
The Marines and guards throw [[Mk 2 hand grenade]]s at the inmates, particularly Cretzer, when forcing them into the utility corridor on the last morning of the escape attempt. | The Marines and guards throw [[Mk 2 hand grenade]]s at the inmates, particularly Cretzer, when forcing them into the utility corridor on the last morning of the escape attempt. | ||
| + | [[Image:MKIITrainingGrenade.jpg|thumb|none|200px|Mk 2 hand grenade|Mk 2 training grenade]] | ||
[[Image:6atr-grenade1.jpg|thumb|none|500px|A grenade is dropped onto the cell block roof.]] | [[Image:6atr-grenade1.jpg|thumb|none|500px|A grenade is dropped onto the cell block roof.]] | ||
[[Category:Movie]] | [[Category:Movie]] | ||
| − | [[Category:Action]] | + | [[Category:Action Movie]] |
Revision as of 20:17, 6 January 2010
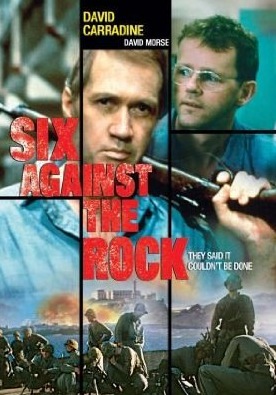
Six Against the Rock is a 1987 made-for-TV movie based on the true story of six convicts who attempted to break out of the infamous Alcatraz federal prison in May 1946, starring David Carradine, David Morse, Howard Hesseman, Charles Haid, Jan-Michael Vincent, and Paul Sanchez as the convicts with an appearance by Dennis Farina as Robert Stroud, better known as the "Birdman of Alcatraz".
The following firearms were used in the made-for-TV movie Six Against the Rock:
M1903 Springfield
The Alcatraz tower guards and gun gallery guards, such as Bert Burch (Fred Lerner), all carry M1903 Springfield rifles. During the beginning of the escape, convict Bernard Coy (David Carradine) gets ahold of Burch's Springfield and uses it throughout most of the film, until it is carried by fellow escapee Marvin Hubbard (David Morse) towards the end.
M1911A1
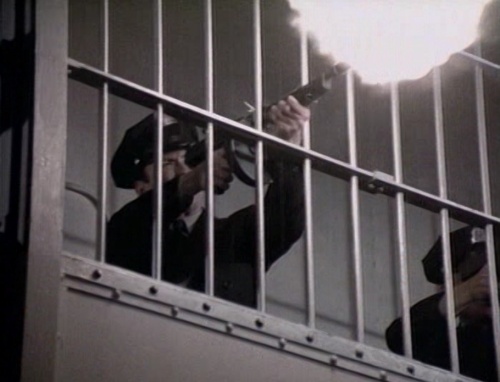
Several Alcatraz guards and U.S. Marines are seen with M1911A1s in their holsters. Bernard Coy (David Carradine) takes one from guard Burch (Fred Lerner) during their struggle, then hands it down to fellow con Joseph "Dutch" Cretzer (Howard Hesseman), who uses it throughout the film. At times, this alternates with a Colt Mk IV Series 70 1911.
Colt Mk IV Series 70
During several scenes, such as the first shootout with the guard assault team and some shots on the cell block roof, Cretzer's (Howard Hesseman) 1911 is a Colt Mk IV Series 70, as denoted by some of its parts.
M1928A1 Thompson
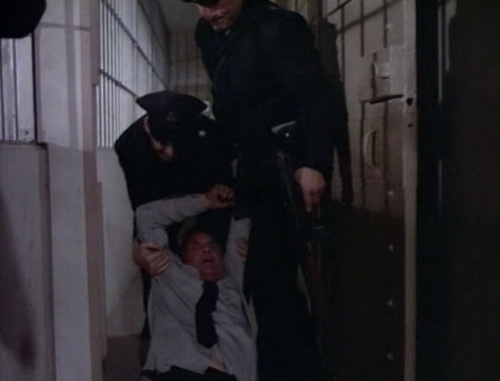
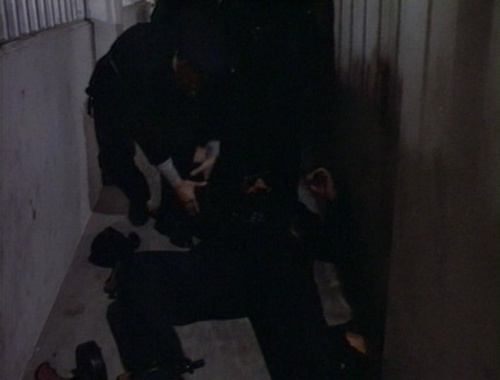
When the warden sends in teams of armed guards to attack the inmates, the guards are primarily armed with M1928A1 Thompsons fitted with 50-round drum magazines. Stites, the officer killed by Cretzer during the first assault, carried an M1928A1.
M1 Garand
The U.S. Marines called to Alcatraz Island to respond to the attempted escape carry M1 Garand rifles, some fitted with grenade launchers.
M2 Mortar
The U.S. Marines called to Alcatraz Island to respond to the attempted escape use M2 Mortars when their grenades are unable to penetrate the cellhouse walls.
Winchester Model 1897
After dropping grenades into the cellhouse to force the inmates into the utility corridor, the warden sends in a team with "riot guns", Winchester Model 1897 shotguns, to kill them.
Mk 2 hand grenade
The Marines and guards throw Mk 2 hand grenades at the inmates, particularly Cretzer, when forcing them into the utility corridor on the last morning of the escape attempt.
