| If you have been locked out of your account you can request a password reset here. |
Difference between revisions of "Saw V"
PyramidHead (talk | contribs) (grammar) |
|||
| Line 29: | Line 29: | ||
=Handguns= | =Handguns= | ||
==Glock 17== | ==Glock 17== | ||
| − | Agent Strahm ([[Scott Patterson]]) carries a 2nd Generation [[Glock 17]] once more throughout the film. In the continuation of the previous film in the beginning, he uses it to kill Jeff ([[Angus Macfadyen]]). After that, he finds a secret exit from the operating room with the corpse of Jigsaw, but falls into a trap, because of which he is forced to take part in his own test. All this time, his service Glock was a few meters away. | + | Agent Strahm ([[Scott Patterson]]) carries a 2nd Generation [[Glock 17]] once more throughout the film. In the continuation of the previous film in the beginning, he uses it to kill Jeff ([[Angus Macfadyen]]). After that, he finds a secret exit from the operating room with the corpse of Jigsaw, but falls into a trap, because of which he is forced to take part in his own test. All this time, his service Glock was a few meters away. When a police officer closes the doors of an ambulance that picks up the wounded Strahm after completing the test, a pistol that looks like a [[Glock 17]] can be seen in his belt holster. Erickson ([[Mark Rolston]]) tries to find evidence of Strahm's involvement in the Jigsaw case, and therefore goes to Gideon meatpacking plant. There, he uses a his [[Glock 17]]. When Hoffman arrives home, he hears a strange noise. This scares him and he checks the floor, keeping his [[Glock 17]] ready. At the end, when Agent Strahm is trapped in the compactor room, he uses it to attempt to breach the glass coffin protecting Mark Hoffman ([[Costas Mandylor]]) before he is crushed to death. Hoffman ([[Costas Mandylor]]) also carries a [[Glock 17]] in the film as his duty sidearm and draws it when he's hunting for Strahm near the film's finale. As before in [[Saw III]], a sound error is made. In the compactor room scene, Strahm's Glock sounds as though it is suppressed when he fires it at the glass coffin. |
[[Image:Glock173rdGen.jpg|thumb|none|300px|Glock 17 3rd Generation - 9x19mm]] | [[Image:Glock173rdGen.jpg|thumb|none|300px|Glock 17 3rd Generation - 9x19mm]] | ||
[[Image:Saw5 08.jpg|thumb|none|600px|Police officer with a Glock on his belt.]] | [[Image:Saw5 08.jpg|thumb|none|600px|Police officer with a Glock on his belt.]] | ||
| − | [[Image:Saw5 17.jpg|thumb|none|600px|Hoffman with Glock at home.]] | + | [[Image:Saw5 17.jpg|thumb|none|600px|Hoffman with the Glock at home.]] |
[[Image:Saw5 18.jpg|thumb|none|600px|Hoffman wants to check the room with his Glock.]] | [[Image:Saw5 18.jpg|thumb|none|600px|Hoffman wants to check the room with his Glock.]] | ||
| − | [[Image:Saw5 15.jpg|thumb|none|600px|Erickson ([[Mark Rolston]]) holds Glock when arriving at Gideon meatpacking plant.]] | + | [[Image:Saw5 15.jpg|thumb|none|600px|Erickson ([[Mark Rolston]]) holds the Glock when arriving at Gideon meatpacking plant.]] |
[[Image:Saw5 16.jpg|thumb|none|600px|Erickson with his service Glock.]] | [[Image:Saw5 16.jpg|thumb|none|600px|Erickson with his service Glock.]] | ||
[[Image:SawVglock1.jpg|thumb|none|600px| Hoffman ([[Costas Mandylor]]) hunts Strahm with his Glock ready.]] | [[Image:SawVglock1.jpg|thumb|none|600px| Hoffman ([[Costas Mandylor]]) hunts Strahm with his Glock ready.]] | ||
| Line 49: | Line 49: | ||
==Ruger GP-100== | ==Ruger GP-100== | ||
| − | In a flashback we once again see the [[Ruger GP100]] from the "Magnum Eyehole" trap in [[Saw II]]. Hoffman ([[Costas Mandylor]]) brings it to the Nerve Gas House, Jigsaw ([[Tobin Bell]]) installs it in the door peephole, after which Hoffman | + | In a flashback we once again see the [[Ruger GP100]] from the "Magnum Eyehole" trap in [[Saw II]]. Hoffman ([[Costas Mandylor]]) brings it to the Nerve Gas House, Jigsaw ([[Tobin Bell]]) installs it in the door peephole, after which Hoffman loads the ammo. |
[[File:RugerGP100Stainless6in.jpg|thumb|none|300px|Stainless Ruger GP100 - .357 Magnum]] | [[File:RugerGP100Stainless6in.jpg|thumb|none|300px|Stainless Ruger GP100 - .357 Magnum]] | ||
| − | [[Image:Saw5 05.jpg|thumb|none|600px|Hoffman brings Ruger to the "Nerve Gas House".]] | + | [[Image:Saw5 05.jpg|thumb|none|600px|Hoffman brings the Ruger to the "Nerve Gas House".]] |
[[Image:SawVruger357.jpg|thumb|none|600px|Jigsaw ([[Tobin Bell]]) sets up the [[Ruger GP100]] in the trap seen in [[Saw II]] in a flashback.]] | [[Image:SawVruger357.jpg|thumb|none|600px|Jigsaw ([[Tobin Bell]]) sets up the [[Ruger GP100]] in the trap seen in [[Saw II]] in a flashback.]] | ||
| − | [[Image:SawVruger357two.jpg|thumb|none|600px|Jigsaw takes one last look checking his work | + | [[Image:SawVruger357two.jpg|thumb|none|600px|Jigsaw takes one last look checking his work on the Ruger trap.]] |
| − | [[Image:Saw5 04.jpg|thumb|none|600px|Hoffman ([[Costas Mandylor]]) loads a | + | [[Image:Saw5 04.jpg|thumb|none|600px|Hoffman ([[Costas Mandylor]]) loads a single cartridge into a "Magnum Eyehole" trap.]] |
==Smith & Wesson Model 629 Classic== | ==Smith & Wesson Model 629 Classic== | ||
| − | In flashback | + | In flashback to [[Saw IV#Smith & Wesson Model 629 Classic|Saw IV]], Eric ([[Donnie Wahlberg]]) shoots a [[Smith & Wesson Model 629 Classic]], which Art Blank ([[Justin Louis]]) gave him. |
[[Image:S&W 629 classic 5".jpg|thumb|none|350px|Smith & Wesson Model 629 Classic with 5" barrel - .44 Magnum]] | [[Image:S&W 629 classic 5".jpg|thumb|none|350px|Smith & Wesson Model 629 Classic with 5" barrel - .44 Magnum]] | ||
[[Image:Saw5 02a.jpg|thumb|none|600px|Eric ([[Donnie Wahlberg]]) shoots a S&W at Rigg ([[Lyriq Bent]]).]] | [[Image:Saw5 02a.jpg|thumb|none|600px|Eric ([[Donnie Wahlberg]]) shoots a S&W at Rigg ([[Lyriq Bent]]).]] | ||
| Line 63: | Line 63: | ||
=Submachine Guns= | =Submachine Guns= | ||
==Heckler & Koch MP5A3== | ==Heckler & Koch MP5A3== | ||
| − | When the police arrive at the Gideon meatpacking plant, where [[Saw IV|Eric and Hoffman played]], | + | When the police arrive at the Gideon meatpacking plant, where [[Saw IV|Eric and Hoffman played]], a [[Heckler & Koch MP5A3]] is seen in the hands of one of the SWAT officers. |
[[Image:MP5A3RIS.jpg|thumb|none|400px| Heckler & Koch MP5A3 with Navy trigger group and railed handguard - 9x19mm]] | [[Image:MP5A3RIS.jpg|thumb|none|400px| Heckler & Koch MP5A3 with Navy trigger group and railed handguard - 9x19mm]] | ||
[[Image:Saw5 01.jpg|thumb|none|600px|The Heckler & Koch MP5A3 is seen in the hands of one of the SWAT officers.]] | [[Image:Saw5 01.jpg|thumb|none|600px|The Heckler & Koch MP5A3 is seen in the hands of one of the SWAT officers.]] | ||
| − | [[Image:Saw5 07.jpg|thumb|none|600px|The SWAT officer leaves Gideon meatpacking plant. In his hands is | + | [[Image:Saw5 07.jpg|thumb|none|600px|The SWAT officer leaves Gideon meatpacking plant. In his hands is an MP5A3.]] |
=Assault Rifles= | =Assault Rifles= | ||
==Colt M4A1== | ==Colt M4A1== | ||
| − | When the police arrive at the Gideon meatpacking plant, where [[Saw IV|Eric and Hoffman played]], | + | When the police arrive at the Gideon meatpacking plant, where [[Saw IV|Eric and Hoffman played]], an [[M4A1]] is seen in the hands of one of the SWAT officers. |
[[Image:ColtM4.jpg|thumb|none|450px|M4A1 Carbine - 5.56x45mm NATO]] | [[Image:ColtM4.jpg|thumb|none|450px|M4A1 Carbine - 5.56x45mm NATO]] | ||
[[Image:Saw5 01.jpg|thumb|none|600px|The M4A1 is seen in the hands of one of the SWAT officers.]] | [[Image:Saw5 01.jpg|thumb|none|600px|The M4A1 is seen in the hands of one of the SWAT officers.]] | ||
| Line 77: | Line 77: | ||
=Shotguns= | =Shotguns= | ||
==Charles Parker 1878 Side by Side Shotgun== | ==Charles Parker 1878 Side by Side Shotgun== | ||
| − | In a flashback, Jigsaw, ([[Tobin Bell]]) places Mark Hoffman ([[Costas Mandylor]]) in a "Shotgun Chair" trap after he stages a murder disguised as one of Jigsaw's traps. Hoffman is tied to a chair with ropes connected to the trigger of | + | In a flashback, Jigsaw, ([[Tobin Bell]]) places Mark Hoffman ([[Costas Mandylor]]) in a "Shotgun Chair" trap after he stages a murder disguised as one of Jigsaw's traps. Hoffman is tied to a chair with ropes connected to the trigger of a [[12 Gauge Double Barreled Shotgun|Charles Parker 1878 Side by Side Shotgun]] that is pointed at Hoffman's throat. After forcing Hoffman to explain himself, Jigsaw pulls one of the shotgun's triggers, but nothing happens. Jigsaw then pulls the shotgun away, and releases Hoffman, revealing that only the opposite chamber was loaded, and that the whole setup was a ploy to blackmail Hoffman into assisting Jigsaw in his future "games". |
[[Image:CharlesParker1878Shotgun.jpg|thumb|none|450px|Charles Parker 1878 Side by Side Shotgun - 12 gauge. ]] | [[Image:CharlesParker1878Shotgun.jpg|thumb|none|450px|Charles Parker 1878 Side by Side Shotgun - 12 gauge. ]] | ||
[[Image:Saw5 11a.jpg|thumb|500px|none|Production shot of Hoffman and Jigsaw.]] | [[Image:Saw5 11a.jpg|thumb|500px|none|Production shot of Hoffman and Jigsaw.]] | ||
| Line 87: | Line 87: | ||
=Others= | =Others= | ||
| − | == | + | ==Nail bomb== |
| − | During each trial of The Fatal Five's Trial, | + | During each trial of The Fatal Five's Trial, nail bombs were installed in the rooms, similar to the one in [[Saw III#Nails bomb|Troy trial]]. At the end of the allotted time, the bombs detonate, destroying everything that was in the room. |
[[Image:Saw5 09.jpg|thumb|none|600px|Bomb in one of the tests.]] | [[Image:Saw5 09.jpg|thumb|none|600px|Bomb in one of the tests.]] | ||
[[Image:Saw5 10.jpg|thumb|none|600px|Another bomb.]] | [[Image:Saw5 10.jpg|thumb|none|600px|Another bomb.]] | ||
| Line 94: | Line 94: | ||
==Shotgun Collar== | ==Shotgun Collar== | ||
When Agent Strahm ([[Scott Patterson]]) enters the [[Saw III#Shotgun Collar|operating room]], he finds Lynn’s (Bahar Soomekh) corpse with a Shotgun Collar. | When Agent Strahm ([[Scott Patterson]]) enters the [[Saw III#Shotgun Collar|operating room]], he finds Lynn’s (Bahar Soomekh) corpse with a Shotgun Collar. | ||
| − | [[Image:Saw5 03.jpg|thumb|none|600px|Lynn’s corpse in operating room. Shotgun Collar is seen on her neck.]] | + | [[Image:Saw5 03.jpg|thumb|none|600px|Lynn’s corpse in operating room. The Shotgun Collar is seen on her neck.]] |
{{Saw}} | {{Saw}} | ||
Revision as of 15:05, 21 May 2020
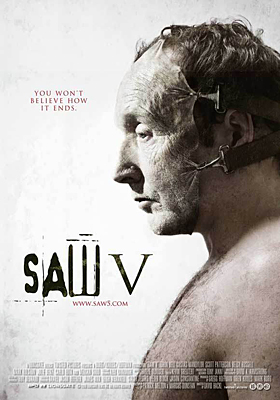
Saw V is a 2008 horror film directed by David Hackl from a screenplay by Patrick Melton and Marcus Dunstan. It is the fifth installment in the Saw film series. The film stars Tobin Bell, Costas Mandylor, Scott Patterson, Betsy Russell and Mark Rolston. Saw V was released in the United States on October 24, 2008, by Lionsgate. The film focuses primarily on the events that led up to Detective Mark Hoffman becoming an apprentice of the Jigsaw Killer, as well as his efforts to prevent anyone else from learning his secret. A sequel, titled Saw VI, was released in 2009.
| ||||||||||||||||||||||||||||||
![]() WARNING! THIS PAGE CONTAINS SPOILERS!
WARNING! THIS PAGE CONTAINS SPOILERS!
The following weapons were used in the film Saw V:
Handguns
Glock 17
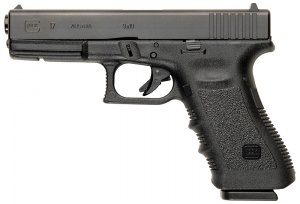
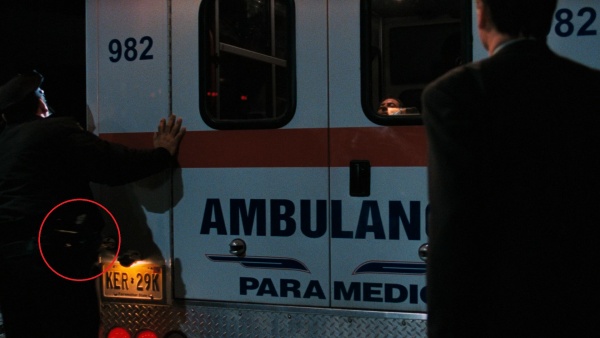
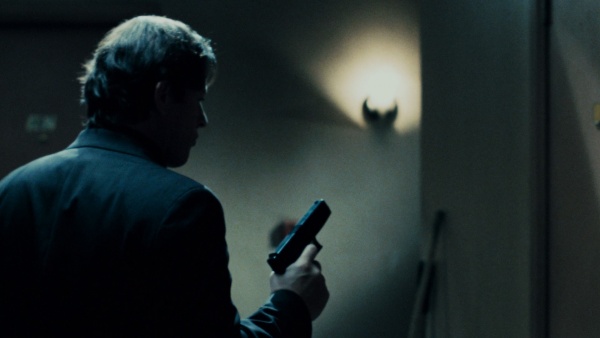
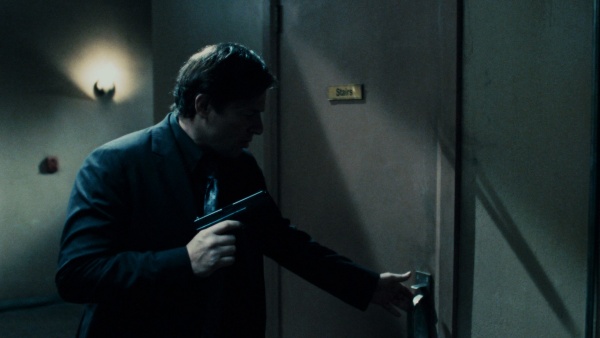
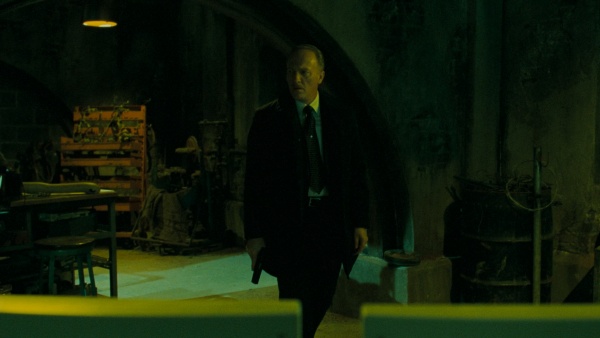
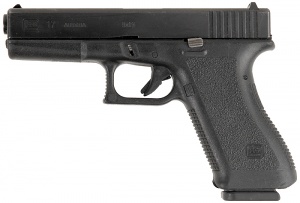
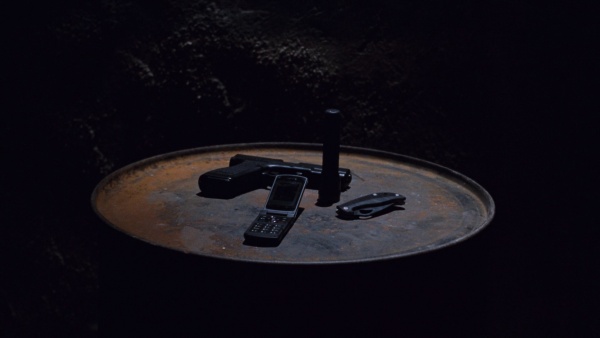
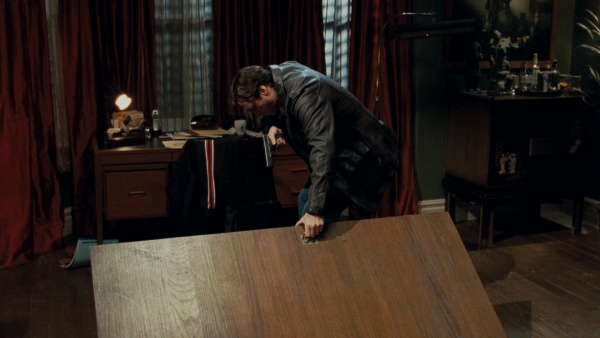
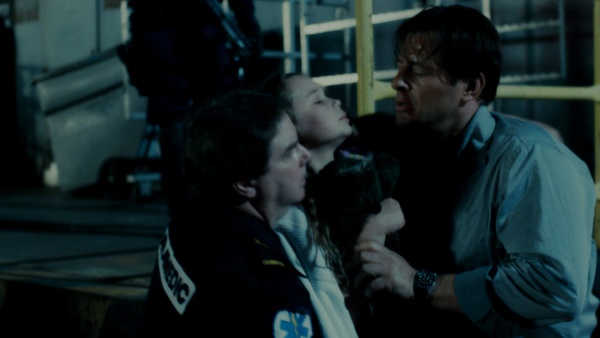
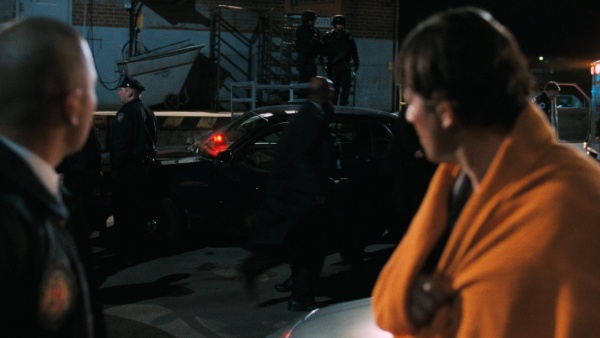
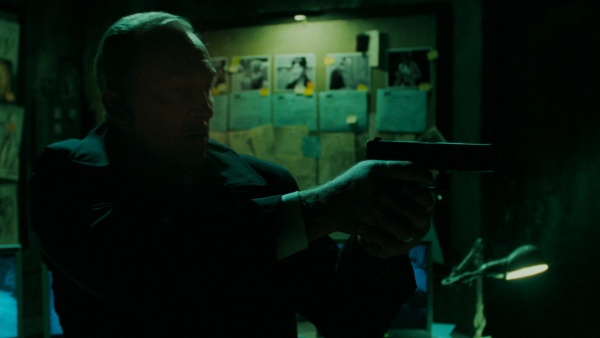
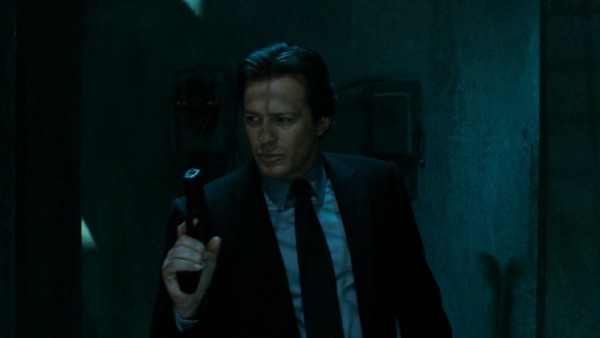
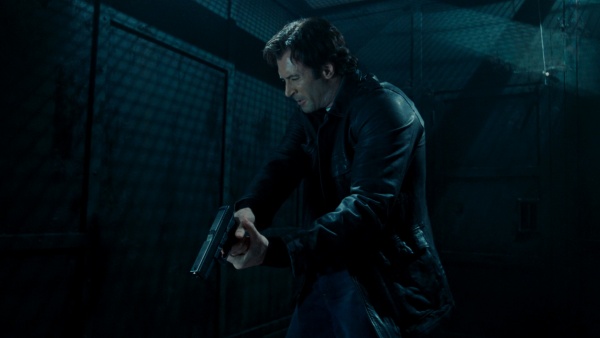
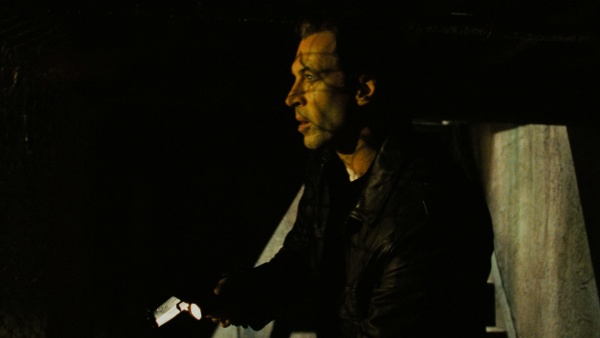
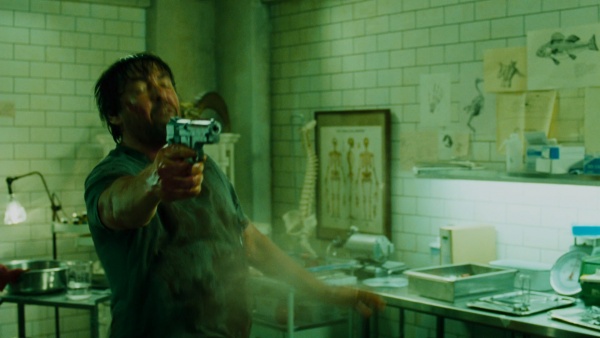
Agent Strahm (Scott Patterson) carries a 2nd Generation Glock 17 once more throughout the film. In the continuation of the previous film in the beginning, he uses it to kill Jeff (Angus Macfadyen). After that, he finds a secret exit from the operating room with the corpse of Jigsaw, but falls into a trap, because of which he is forced to take part in his own test. All this time, his service Glock was a few meters away. When a police officer closes the doors of an ambulance that picks up the wounded Strahm after completing the test, a pistol that looks like a Glock 17 can be seen in his belt holster. Erickson (Mark Rolston) tries to find evidence of Strahm's involvement in the Jigsaw case, and therefore goes to Gideon meatpacking plant. There, he uses a his Glock 17. When Hoffman arrives home, he hears a strange noise. This scares him and he checks the floor, keeping his Glock 17 ready. At the end, when Agent Strahm is trapped in the compactor room, he uses it to attempt to breach the glass coffin protecting Mark Hoffman (Costas Mandylor) before he is crushed to death. Hoffman (Costas Mandylor) also carries a Glock 17 in the film as his duty sidearm and draws it when he's hunting for Strahm near the film's finale. As before in Saw III, a sound error is made. In the compactor room scene, Strahm's Glock sounds as though it is suppressed when he fires it at the glass coffin.
Smith & Wesson 5946
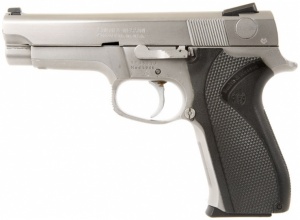
Eric Matthew's old sidearm, the Smith & Wesson 5946, is once again briefly seen in the hand's of Jeff (Angus Macfadyen) just before he is shot by Agent Strahm in the beginning.
Ruger GP-100
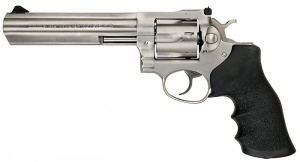
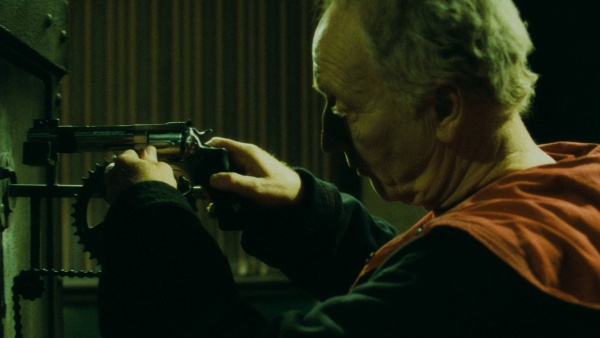
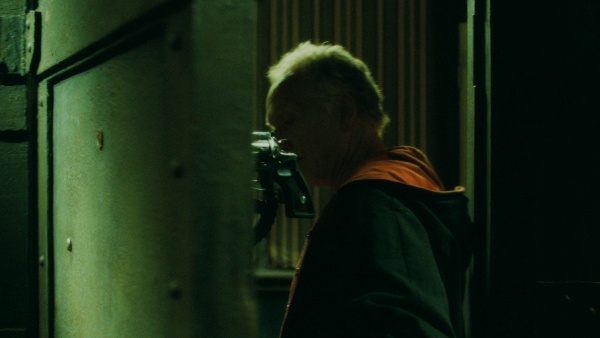
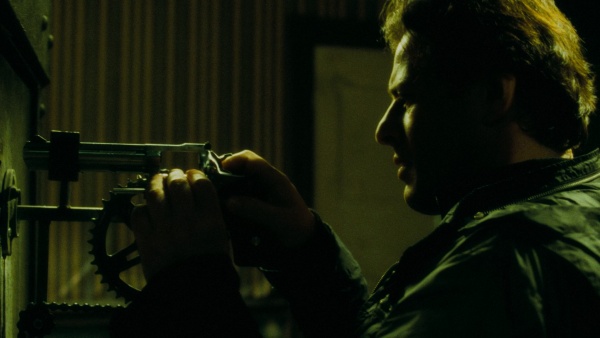
In a flashback we once again see the Ruger GP100 from the "Magnum Eyehole" trap in Saw II. Hoffman (Costas Mandylor) brings it to the Nerve Gas House, Jigsaw (Tobin Bell) installs it in the door peephole, after which Hoffman loads the ammo.
Smith & Wesson Model 629 Classic
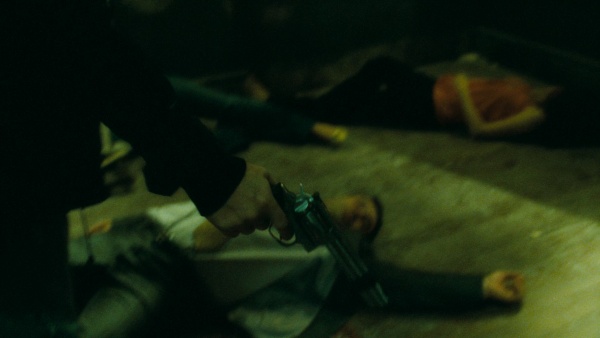
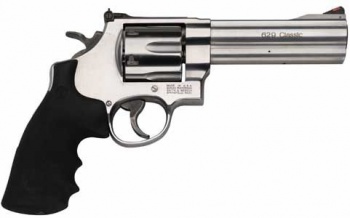
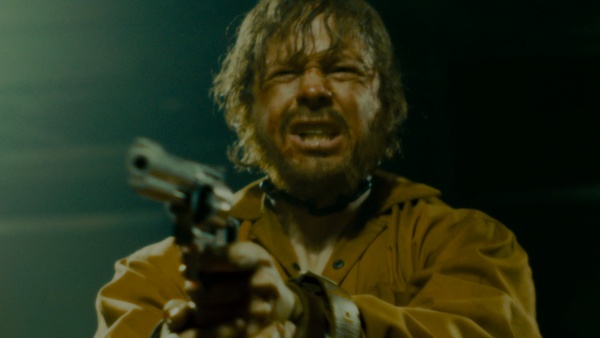
In flashback to Saw IV, Eric (Donnie Wahlberg) shoots a Smith & Wesson Model 629 Classic, which Art Blank (Justin Louis) gave him.
Submachine Guns
Heckler & Koch MP5A3
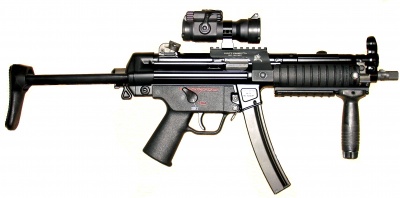
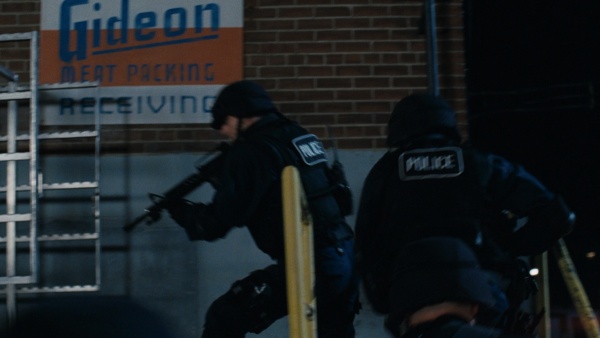
When the police arrive at the Gideon meatpacking plant, where Eric and Hoffman played, a Heckler & Koch MP5A3 is seen in the hands of one of the SWAT officers.
Assault Rifles
Colt M4A1
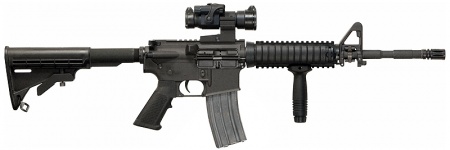
When the police arrive at the Gideon meatpacking plant, where Eric and Hoffman played, an M4A1 is seen in the hands of one of the SWAT officers.
Shotguns
Charles Parker 1878 Side by Side Shotgun
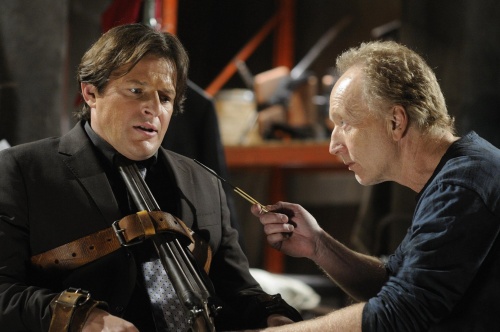
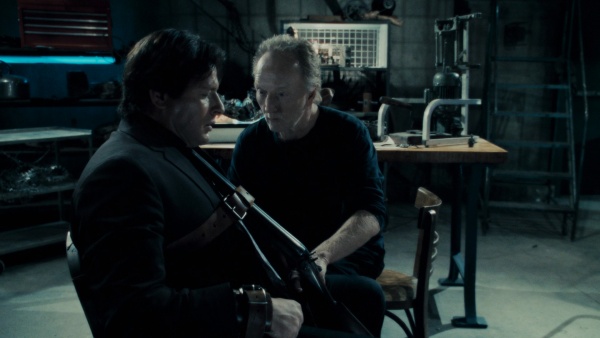
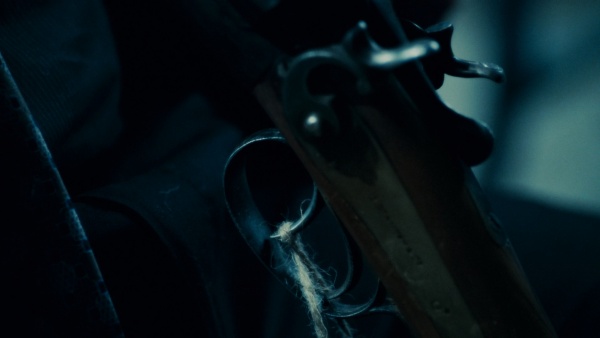
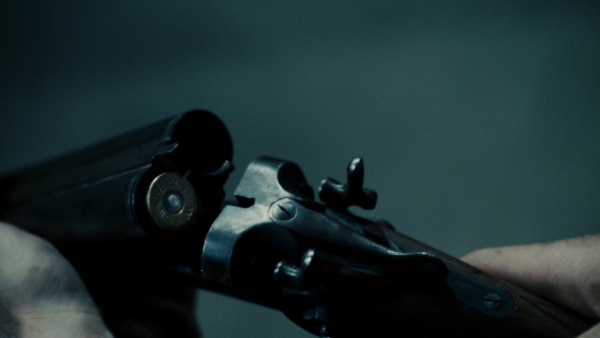
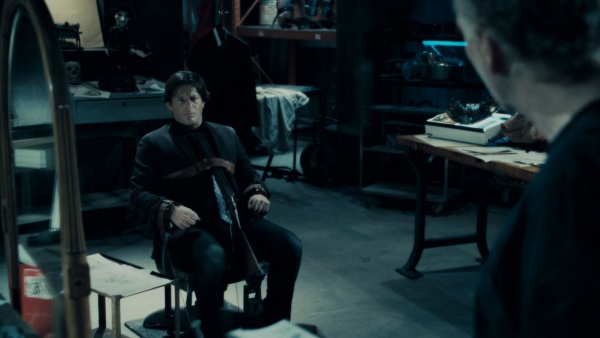
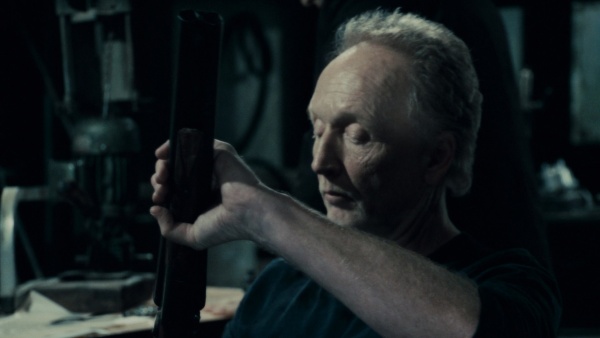
In a flashback, Jigsaw, (Tobin Bell) places Mark Hoffman (Costas Mandylor) in a "Shotgun Chair" trap after he stages a murder disguised as one of Jigsaw's traps. Hoffman is tied to a chair with ropes connected to the trigger of a Charles Parker 1878 Side by Side Shotgun that is pointed at Hoffman's throat. After forcing Hoffman to explain himself, Jigsaw pulls one of the shotgun's triggers, but nothing happens. Jigsaw then pulls the shotgun away, and releases Hoffman, revealing that only the opposite chamber was loaded, and that the whole setup was a ploy to blackmail Hoffman into assisting Jigsaw in his future "games".
Others
Nail bomb
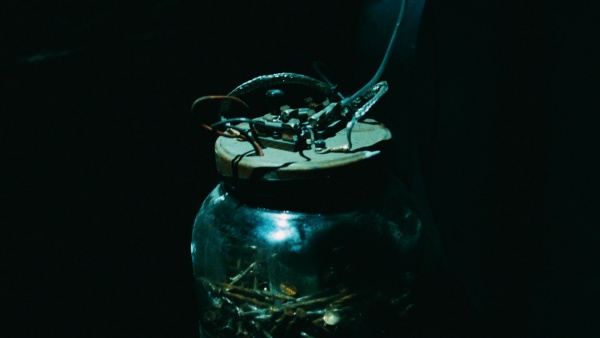
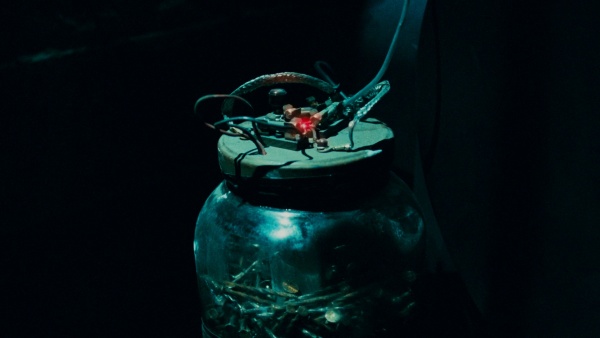
During each trial of The Fatal Five's Trial, nail bombs were installed in the rooms, similar to the one in Troy trial. At the end of the allotted time, the bombs detonate, destroying everything that was in the room.
Shotgun Collar
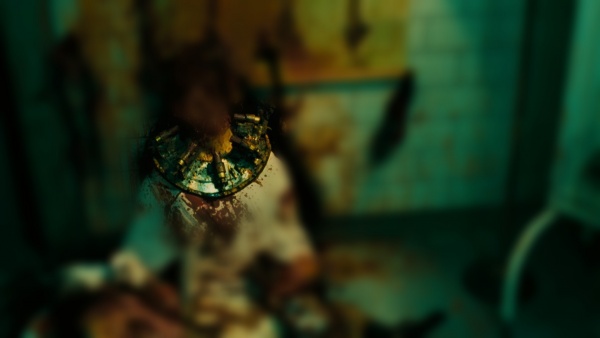
When Agent Strahm (Scott Patterson) enters the operating room, he finds Lynn’s (Bahar Soomekh) corpse with a Shotgun Collar.
