| If you have been locked out of your account you can request a password reset here. |
Difference between revisions of "Call of Duty 3"
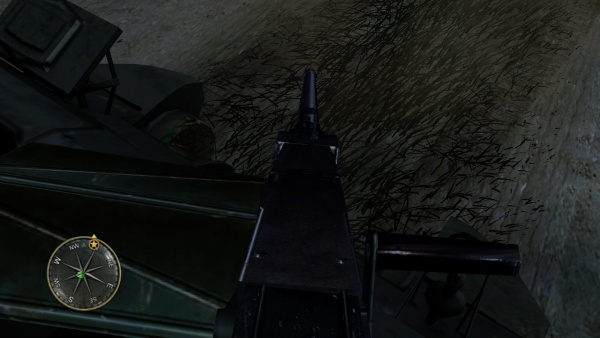
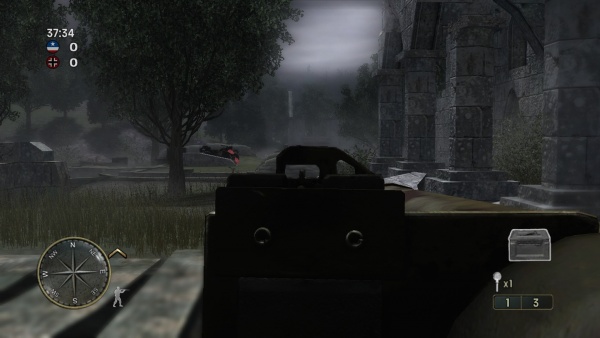
(For the record, the Wii version does actually show an M1918A2 in first person (albeit with the older front sight), but I'm not mentioning it because apparently that platform isn't being taken into consideration on IMFDB) |
XSlayer300 (talk | contribs) m (>released only for the consoles) |
||
| (14 intermediate revisions by 6 users not shown) | |||
| Line 1: | Line 1: | ||
| − | + | {{Infobox Video Game|{{PAGENAME}} | |
| + | |name = Call of Duty 3 | ||
| + | |picture = Cod3 box.jpg | ||
| + | |caption = ''Official Box Art'' | ||
| + | |series = [[Call of Duty]] | ||
| + | |date = November 7, 2006 | ||
| + | |developer = Treyarch | ||
| + | |platforms = PlayStation 2<br /> PlayStation 3<br /> Wii<br /> Xbox<br /> Xbox 360<br /> | ||
| + | |publisher = Activision | ||
| + | |genre = [[First-Person Shooter]] | ||
| + | }} | ||
| − | '''''Call of Duty 3''''' is the third entry in the ''[[Call of Duty]]'' first-person shooter series, and the first COD title by Treyarch. The game takes place during World War II, like its predecessors. The game was released only for the consoles | + | '''''Call of Duty 3''''' is the third entry in the ''[[Call of Duty]]'' first-person shooter series, and the first COD title by Treyarch. The game takes place during World War II, like its predecessors. The game was released only for the consoles. |
The singleplayer campaign is about the Battle of the Falaise Pocket, where the player can fight as an American, a British, a Canadian and a Polish soldier. | The singleplayer campaign is about the Battle of the Falaise Pocket, where the player can fight as an American, a British, a Canadian and a Polish soldier. | ||
| Line 30: | Line 40: | ||
=Rifles= | =Rifles= | ||
| − | == | + | == Fallschirmjägergewehr 42 == |
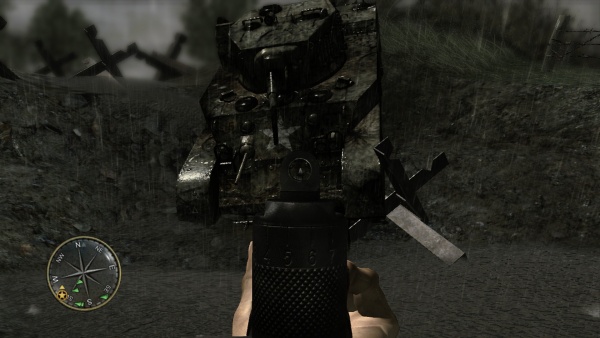
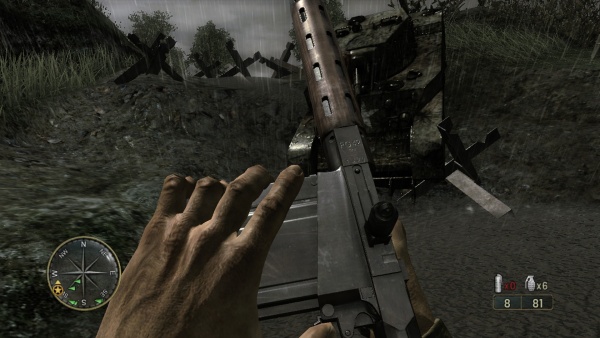
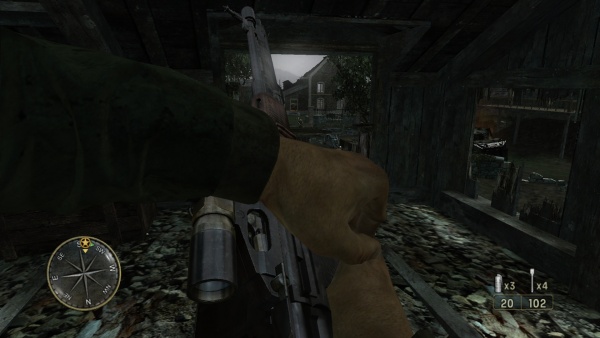
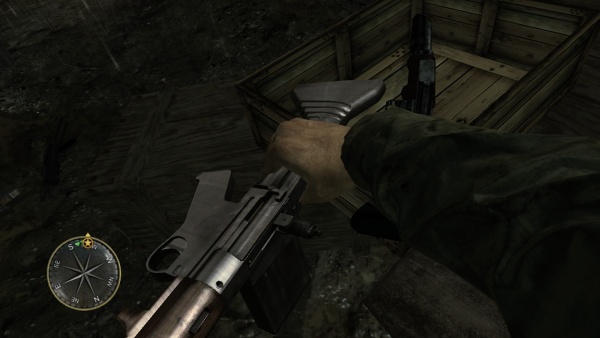
| − | The | + | The [[FG 42]] is seen on German soldiers in the second mission and scoped versions can be found in a few levels. |
| + | [[Image:FG421stPattern.jpg|thumb|none|400px|FG42 - 7.92x57mm Mauser]] | ||
| + | [[Image:Firearm FG42.jpg|thumb|none|400px|FG 42 1st pattern with Zeiss ZF4 scope - 7.92x57mm Mauser]] | ||
| + | [[File:COD3FG42.jpg|thumb|none|600px|Inspecting a destroyed M3 Stuart Rhino with the FG42 in hand.]] | ||
| + | [[File:COD3FG42s.jpg|thumb|none|600px|FG42 with the Zeiss ZF4 scope.]] | ||
| + | [[File:COD3FG42ads.jpg|thumb|none|600px|ADS of the FG42.]] | ||
| + | [[File:COD3FG42-1.jpg|thumb|none|600px|Grabbing the box magazine.]] | ||
| + | [[File:COD3FG42-2.jpg|thumb|none|600px|Followed by a rapid yank of the charging handle.]] | ||
| + | [[File:COD3FG42-3.jpg|thumb|none|600px|Melee animation of the FG42.]] | ||
| − | [[ | + | == Gewehr 43 == |
| − | + | The [[Gewehr 43]] is a German semi-automatic rifle. Only seen in the 2 forest levels. | |
| − | [[ | + | [[Image:K43 nc.jpg|thumb|none|400px|Gewehr 43 - 7.92x57mm Mauser]] |
| − | [[File: | + | [[File:COD3G43.jpg|thumb|none|600px|Gewehr 43 in the Forêt d'Ecouves]] |
| − | [[File: | + | [[File:COD3G43ads.jpg|thumb|none|600px|Aiming the G43; the sights are not really aligned particularly well.]] |
| − | [[File: | + | [[File:COD3G43-1.jpg|thumb|none|600px|The reload animation has the bolt locked back first...]] |
| − | [[File: | + | [[File:COD3G43-2.jpg|thumb|none|600px|...followed by swapping magazines...]] |
| − | + | [[File:COD3G43-3.jpg|thumb|none|600px|...and closing it with potato-hands.]] | |
| − | + | [[File:COD3G43-4.jpg|thumb|none|600px|Meleeing with the G43.]] | |
| − | |||
| − | |||
| − | [[File: | ||
| − | |||
| − | |||
| − | [[File: | ||
| − | |||
== Karabiner 98k == | == Karabiner 98k == | ||
| − | The [[ | + | The [[Karabiner 98k]] is the service rifle of Axis forces. The scoped version is only available in 'The Island' level. Note that in multiplayer levels, the safety is always depicted in the "ON" position, which obviously should render the weapon unable to fire. There is a modeling error where in third person the front sight appears to be hooded, but when its picked up there is no hood over the front sight in first person. |
[[Image:Karabiner-98K.jpg|thumb|none|400px|Karabiner 98k - 7.92x57mm Mauser]] | [[Image:Karabiner-98K.jpg|thumb|none|400px|Karabiner 98k - 7.92x57mm Mauser]] | ||
| Line 61: | Line 72: | ||
[[File:COD3K98K-4.jpg|thumb|none|600px|Stock attack.]] | [[File:COD3K98K-4.jpg|thumb|none|600px|Stock attack.]] | ||
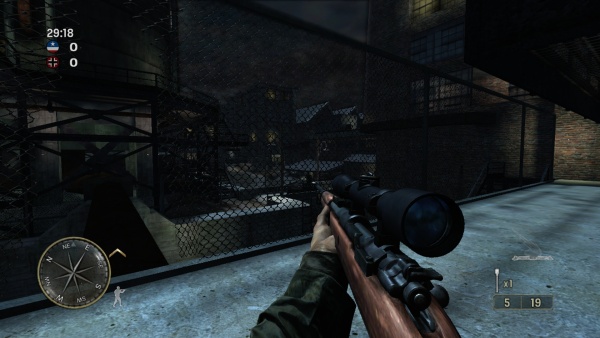
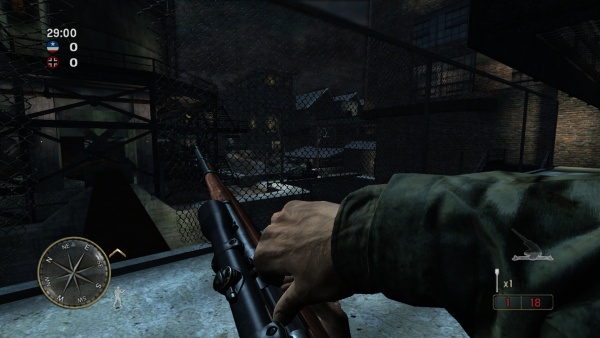
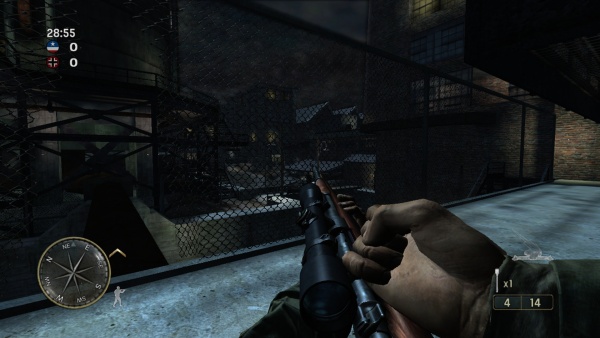
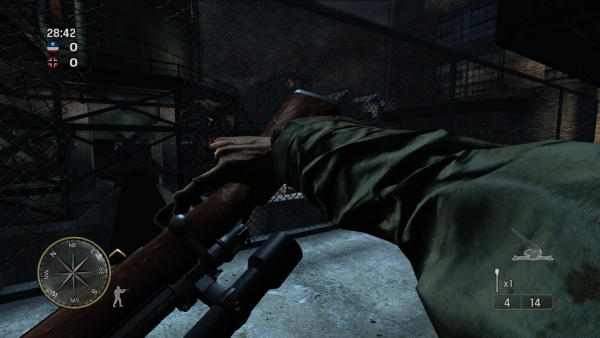
| − | The | + | The Kar98k appears also with a scope. |
[[Image:Mauser g98 Sniper.jpg|thumb|none|400px|Kar 98k with Zeiss ZF42 scope - 7.92x57mm Mauser]] | [[Image:Mauser g98 Sniper.jpg|thumb|none|400px|Kar 98k with Zeiss ZF42 scope - 7.92x57mm Mauser]] | ||
[[File:COD3K98Ksniper.jpg|thumb|none|600px|The scoped Karabiner 98K.]] | [[File:COD3K98Ksniper.jpg|thumb|none|600px|The scoped Karabiner 98K.]] | ||
| Line 68: | Line 79: | ||
[[File:COD3K98Ksnipermelee.jpg|thumb|none|600px|Stock attack.]] | [[File:COD3K98Ksnipermelee.jpg|thumb|none|600px|Stock attack.]] | ||
| − | + | == Lee-Enfield No. 4 Mk I == | |
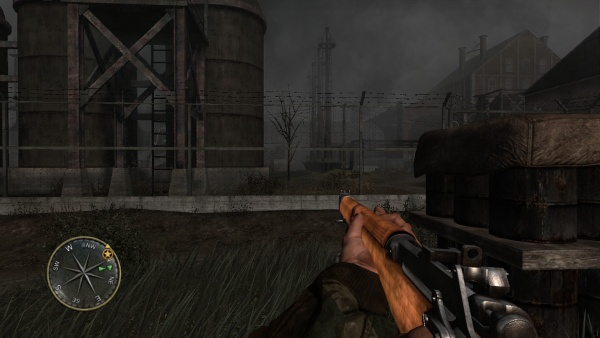
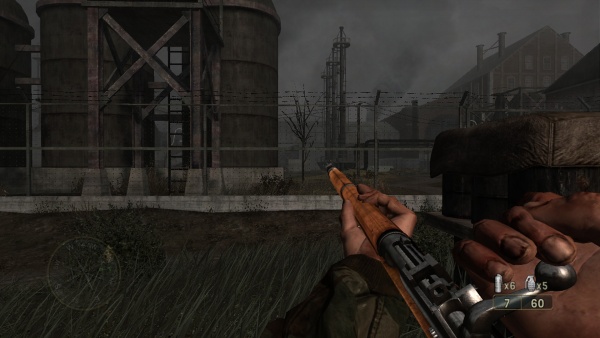
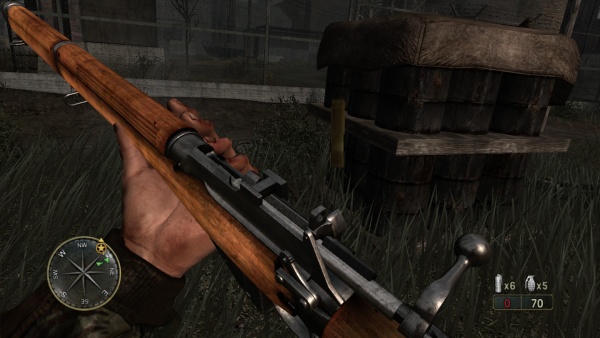
| − | + | The [[Lee-Enfield No. 4 Mk I]] is the service rifle of British, Canadian, and Polish forces. A unique sniper version is used by Private Cole in the ''Laison River'' level. | |
| − | + | [[Image:LeeEnfield4Rifle.jpg|thumb|none|400px|Lee-Enfield No. 4 Mk I - .303 British]] | |
| − | + | [[File:COD3No4.jpg|thumb|none|600px|The Lee-Enfield No. 4 Mk I outside of German-occupied coal plant.]] | |
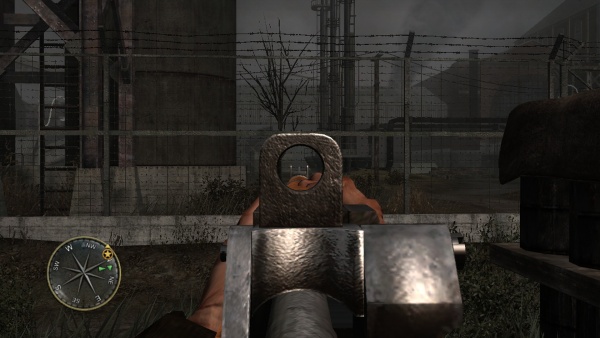
| − | + | [[File:COD3No4ads.jpg|thumb|none|600px|Aiming the Mk I.]] | |
| − | |||
| − | |||
| − | |||
| − | |||
| − | |||
| − | == Lee-Enfield No. 4 | ||
| − | The [[ | ||
| − | [[Image:LeeEnfield4Rifle.jpg|thumb|none|400px|Lee-Enfield No. 4 | ||
| − | [[File:COD3No4.jpg|thumb|none|600px|The Lee-Enfield No. 4 | ||
| − | [[File:COD3No4ads.jpg|thumb|none|600px|Aiming the | ||
[[File:COD3No4-1.jpg|thumb|none|600px|Cycling the bolt.]] | [[File:COD3No4-1.jpg|thumb|none|600px|Cycling the bolt.]] | ||
[[File:COD3No4-2.jpg|thumb|none|600px|Ejecting the last .303 case at the start of a reload.]] | [[File:COD3No4-2.jpg|thumb|none|600px|Ejecting the last .303 case at the start of a reload.]] | ||
| Line 88: | Line 89: | ||
[[File:COD3No4-4.jpg|thumb|none|600px|Rifle butt animation.]] | [[File:COD3No4-4.jpg|thumb|none|600px|Rifle butt animation.]] | ||
[[File:COD3bunchofenfields.jpg|thumb|none|600px|Enfield No. 4's bunched together at the crest of Mount Ormel, belonging to deceased Polish soldiers.]] | [[File:COD3bunchofenfields.jpg|thumb|none|600px|Enfield No. 4's bunched together at the crest of Mount Ormel, belonging to deceased Polish soldiers.]] | ||
| − | [[Image:Smle4mk1t.jpg|thumb|none|400px|Lee-Enfield No.4 Mk | + | [[Image:Smle4mk1t.jpg|thumb|none|400px|Lee-Enfield No. 4 Mk I (T) - .303 British]] |
| − | [[File:COD3No4sniper.jpg|thumb|none|600px|Lee-Enfield No. 4 | + | [[File:COD3No4sniper.jpg|thumb|none|600px|Lee-Enfield No. 4 Mk I with a sniper scope.]] |
[[File:COD3No4sniperreload.jpg|thumb|none|600px|Reloading the scoped Lee-Enfield with .303 of an inch of air.]] | [[File:COD3No4sniperreload.jpg|thumb|none|600px|Reloading the scoped Lee-Enfield with .303 of an inch of air.]] | ||
| − | = | + | == M1 Garand == |
| + | The main rifle of American forces is the [[M1 Garand]]. Used in almost all of the American levels. There is a modeling error in first person where it is all wood with the exception of the trigger group on the bottom of the stock when there should be the bottom of the internal magazine. | ||
| + | |||
| + | [[Image:M1 Garand.jpg|thumb|none|400px|M1 Garand - .30-06]] | ||
| + | [[File:COD3Garand.jpg|thumb|none|600px|M1 Garand in idle outside of St. Lô.]] | ||
| + | [[File:COD3Garandads.jpg|thumb|none|600px|ADS view.]] | ||
| + | [[File:COD3Garand-1.jpg|thumb|none|600px|An in-action shot of the M1 firing off a round. Note the inconsistency between the ammo counter and the two shots rendered inside the magazine.]] | ||
| + | [[File:COD3Garand-2.jpg|thumb|none|600px|Followed by an obligatory ''ping'' noise....]] | ||
| + | [[File:COD3Garand-3.jpg|thumb|none|600px|Loading in a new en-bloc clip.]] | ||
| + | [[File:COD3Garand-4.jpg|thumb|none|600px|Driving the bolt handle forward. The M1 Garand is supposed to automatically slam after a clip is inserted, but this scenario isn't completely impossible in reality due to non-optimal gun conditions.]] | ||
| − | == | + | == M1903A4 Springfield == |
| − | The [[ | + | The sniper rifle of the Americans is the [[M1903 Springfield|M1903A4 Springfield]]. Available in ''The Forest'' and ''Chambois'' levels. Used by a soldier to snipe a German radio op in the cutscene to 'Crossroads'. |
| − | + | [[Image:Rifle_Springfield_M1903A4_with_M84_sight.jpg|thumb|none|400px|M1903A4 Springfield - .30-06]] | |
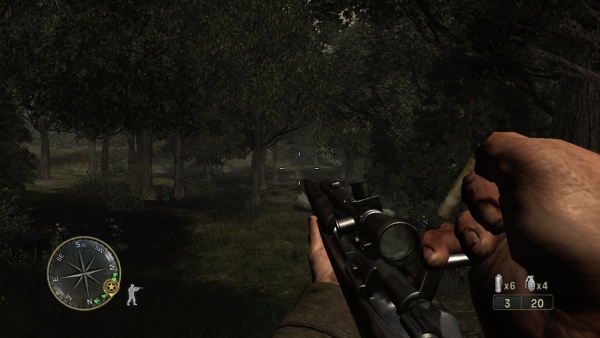
| − | [[ | + | [[File:COD3M1903.jpg|thumb|none|600px|M1903A4 Springfield in ''The Forest.'']] |
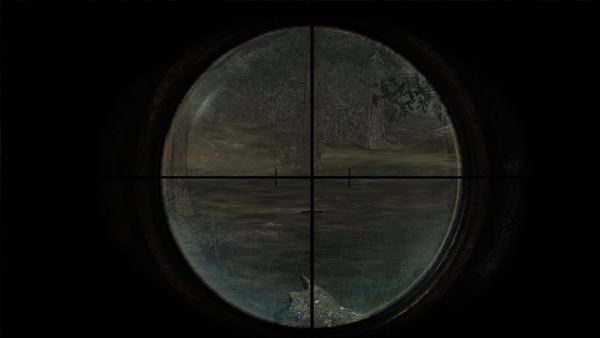
| − | [[File: | + | [[File:COD3M1903ads.jpg|thumb|none|600px|Scope view, which is a generic reticule used on all scoped weapons in game.]] |
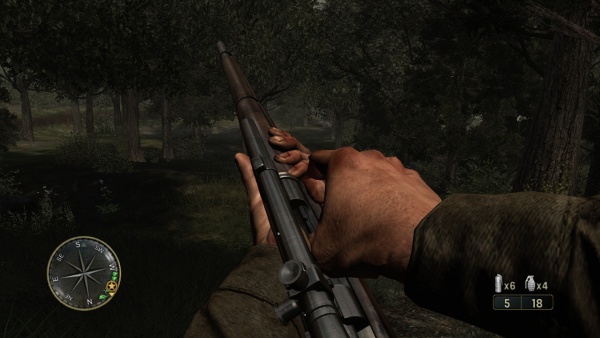
| − | [[File: | + | [[File:COD3M1903-1.jpg|thumb|none|600px|Cycling the action.]] |
| − | [[File: | + | [[File:COD3M1903-2.jpg|thumb|none|600px|Reloading the Springfield.]] |
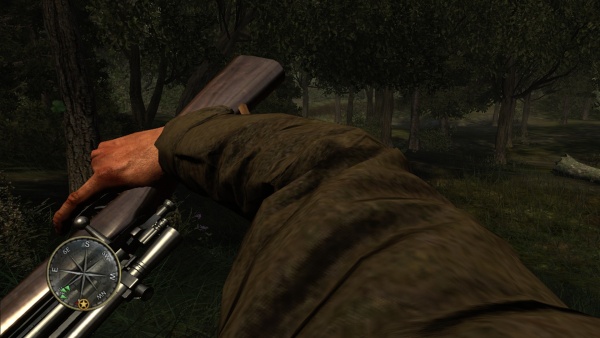
| − | [[File: | + | [[File:COD3M1903-3.jpg|thumb|none|600px|Stock attack.]] |
| − | [[File: | ||
| − | |||
== Sturmgewehr 44 == | == Sturmgewehr 44 == | ||
| Line 113: | Line 121: | ||
[[File:COD3STG44-2.jpg|thumb|none|600px]] | [[File:COD3STG44-2.jpg|thumb|none|600px]] | ||
[[File:COD3_STG44-3.jpg|thumb|none|600px|Melee attack. The right side of the receiver is mirrored, lacking the ejection port and signature dust cover.]] | [[File:COD3_STG44-3.jpg|thumb|none|600px|Melee attack. The right side of the receiver is mirrored, lacking the ejection port and signature dust cover.]] | ||
| − | |||
| − | |||
| − | |||
| − | |||
| − | |||
| − | |||
| − | |||
| − | |||
| − | |||
| − | |||
| − | |||
| − | |||
| − | |||
| − | |||
| − | |||
| − | |||
| − | |||
| − | |||
| − | |||
| − | |||
=Submachine Gun= | =Submachine Gun= | ||
| − | |||
| − | |||
| − | |||
| − | |||
| − | |||
| − | |||
| − | |||
| − | |||
== MP40 == | == MP40 == | ||
| Line 154: | Line 134: | ||
==Sten Mk II == | ==Sten Mk II == | ||
| − | The [[Sten Mk II]] is the main SMG for the British and Canadian armies. When idle, it is held from the assembly in front of the trigger guard, but when aiming down the sights it is held from the handguard. Either way, this is the first Call of Duty game where the Sten is held | + | The [[Sten Mk II]] is the main SMG for the British and Canadian armies. When idle, it is held from the assembly in front of the trigger guard, but when aiming down the sights it is held from the handguard. Either way, this is the first Call of Duty game where the Sten is held properly instead of being held from the magazine. |
[[Image:Sten.jpg|thumb|none|400px|Sten Mk II - 9x19mm]] | [[Image:Sten.jpg|thumb|none|400px|Sten Mk II - 9x19mm]] | ||
[[File:COD3Sten.jpg|thumb|none|600px|SAS Sergeant Doyle holds his Sten on a poor fellow that clearly didn't know his arse from his elbow.]] | [[File:COD3Sten.jpg|thumb|none|600px|SAS Sergeant Doyle holds his Sten on a poor fellow that clearly didn't know his arse from his elbow.]] | ||
| Line 161: | Line 141: | ||
[[File:COD3Sten-2.jpg|thumb|none|600px|...and then proceeds to push the bolt forward. It appears that the Sten was incorrectly treated as a closed bolt SMG by the animators.]] | [[File:COD3Sten-2.jpg|thumb|none|600px|...and then proceeds to push the bolt forward. It appears that the Sten was incorrectly treated as a closed bolt SMG by the animators.]] | ||
[[File:COD3Sten-3.jpg|thumb|none|600px|In a pinch, the stock makes for a great melee weapon, too.]] | [[File:COD3Sten-3.jpg|thumb|none|600px|In a pinch, the stock makes for a great melee weapon, too.]] | ||
| + | |||
| + | == Thompson M1A1 == | ||
| + | The [[Thompson Submachine Gun]] is used in almost all of American levels. Uses an incorrect 20 round magazine (20's were issued to paratroopers). Note that the Thompson in the coverart at the top of this page is actually a [[Thompson M1928A1|M1928A1]], a common trope of WWII shooter games. | ||
| + | [[Image:M1sb.jpg|thumb|none|400px|M1A1 Thompson - .45 ACP]] | ||
| + | [[File:CODM1A1.jpg|thumb|none|600px|M1A1 in game.]] | ||
| + | [[File:COD3M1A1ads.jpg|thumb|none|600px|Nichols marvels at the extent of the Third Reich's anti-gravity and invisible ammunition technology.]] | ||
| + | [[File:COD3M1A1-1.jpg|thumb|none|600px|Pulling the bolt back.]] | ||
| + | [[File:COD3M1A1-2.jpg|thumb|none|600px|Reloading.]] | ||
= Shotgun = | = Shotgun = | ||
==Winchester Model 1897 "Trench Gun"== | ==Winchester Model 1897 "Trench Gun"== | ||
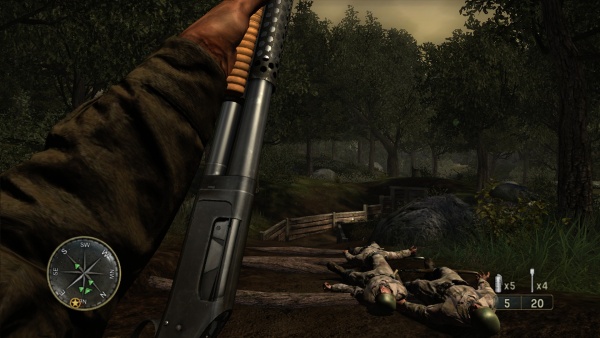
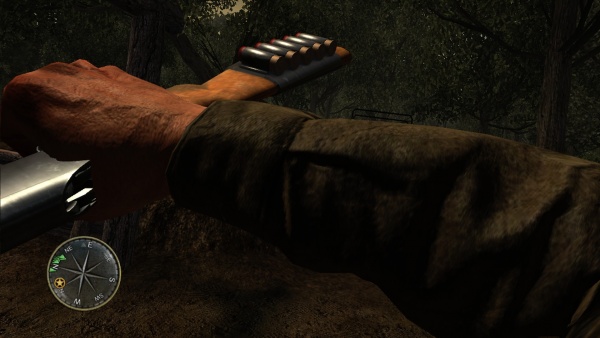
| − | The [[Winchester Model 1897 | + | The [[Winchester Model 1897 "Trench Gun"]] is used by the American and British forces. Interestingly, in an empty reload, the player character loads five shells, racks the pumping handle and then inserts a sixth extra shell, while during mid-reloads he just loads the shells required appropriately. This was the only game in the entire series until ''[[Call of Duty: Modern Warfare (2019)]]'' to feature the correct reloading process of pumping the handle ''exclusively'' during empty reloads. The weapon is incorrectly modeled with the ejection port mirrored to the left side. |
| − | + | [[File:Winchester1897TrenchTakedown.jpg|thumb|none|450px|Winchester Model 1897 "Trench Gun" - 12 gauge]] | |
| − | [[ | ||
[[File:COD3M1897.jpg|thumb|none|600px|Sergeant Doyle with his newly acquired Trench Gun.]] | [[File:COD3M1897.jpg|thumb|none|600px|Sergeant Doyle with his newly acquired Trench Gun.]] | ||
[[File:COD3M1897ads.jpg|thumb|none|600px|Aiming the Winchester M1897.]] | [[File:COD3M1897ads.jpg|thumb|none|600px|Aiming the Winchester M1897.]] | ||
| Line 177: | Line 164: | ||
=Machine Guns= | =Machine Guns= | ||
| − | == | + | == Bren LMG == |
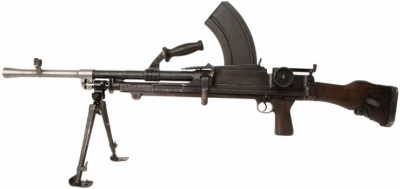
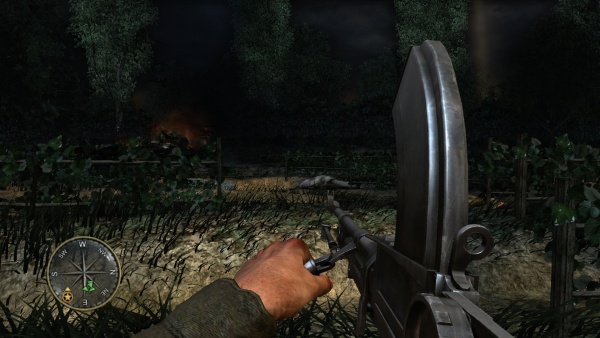
| − | The [[ | + | The [[Bren gun]] is used by the British, Canadian and Polish forces. |
| − | [[ | + | [[Image:Bren gun.JPG|thumb|none|400px|Bren Mk1 - .303]] |
| − | [[File: | + | [[File:COD3Bren.jpg|thumb|none|600px|Private Cole of the 4th Canadian Division wields the Bren gun in the ''Falaise Road'' mission.]] |
| − | [[File: | + | [[File:COD3Brenads.jpg|thumb|none|600px|Aiming the Bren.]] |
| + | [[File:COD3Bren-1.jpg|thumb|none|600px|Opening the bolt of the Bren.]] | ||
| + | [[File:COD3Bren-2.jpg|thumb|none|600px|Changing .303 magazines. For some reason, the character's dominant hand holds the Bren by its stock while reloading.]] | ||
| + | [[File:COD3Bren-3.jpg|thumb|none|600px|Wonky hand positions with the stock attack, as usual.]] | ||
| + | |||
| + | ==Browning M2HB== | ||
| + | The [[Browning M2HB]] is used once in the campaign, in the beginning of the ''Falaise Road'' level. | ||
| + | [[Image:BrowningM2HB.jpg|thumb|none|400px|Browning M2HB - .50 BMG]] | ||
| + | [[File:COD3M2HB.jpg|thumb|none|600px|Cole aiming downward with the "Kangaroo"-mounted M2HB.]] | ||
== Browning M1919A6 == | == Browning M1919A6 == | ||
| Line 195: | Line 190: | ||
[[File:COD3emplacedM1919Kowalski.jpg|thumb|none|600px|Sergeant Kowalski using the rather uncommonly-found mounted M1919A6 in defense of Mount Ormel.]] | [[File:COD3emplacedM1919Kowalski.jpg|thumb|none|600px|Sergeant Kowalski using the rather uncommonly-found mounted M1919A6 in defense of Mount Ormel.]] | ||
[[File:COD3emplacedM1919.jpg|thumb|none|600px|Corporal "Bohater" Wojciech manning another emplaced M1919A6.]] | [[File:COD3emplacedM1919.jpg|thumb|none|600px|Corporal "Bohater" Wojciech manning another emplaced M1919A6.]] | ||
| + | |||
| + | == M1918 Browning Automatic Rifle == | ||
| + | The [[Browning Automatic Rifle]] (BAR) is used by American support gunners; it is available in in ''The Island'' and ''Chambois'' levels. The bonus materials label it as the M1918A2 version, even though the menu image and the first-person model depict the earlier M1918. However, the third-person model during gameplay does actually show the M1918A2 variant. | ||
| + | [[File:BARearlymodel.jpg|thumb|none|400px|M1918 Browning Automatic Rifle - .30-06]] | ||
| + | [[File:BAR1918.jpg|thumb|none|400px|M1918A2 Browning Automatic Rifle - .30-06]] | ||
| + | [[File:COD3BAR.jpg|thumb|none|600px|The M1918 BAR on ''The Island''.]] | ||
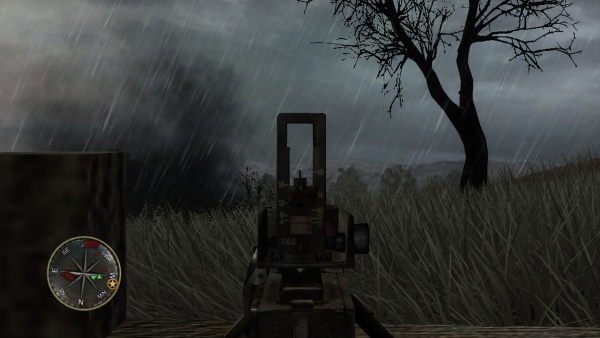
| + | [[File:COD3BARads.jpg|thumb|none|600px|BAR iron sights.]] | ||
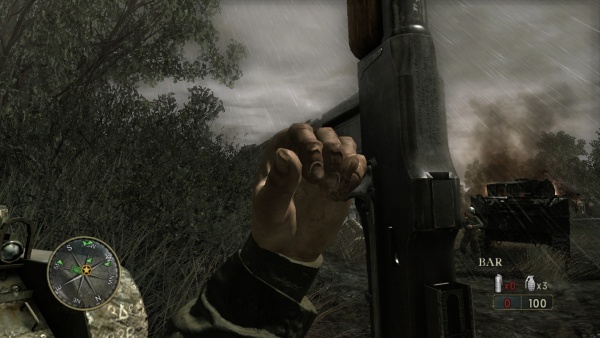
| + | [[File:COD3BAR-1.jpg|thumb|none|600px|Pulling back the charging handle.]] | ||
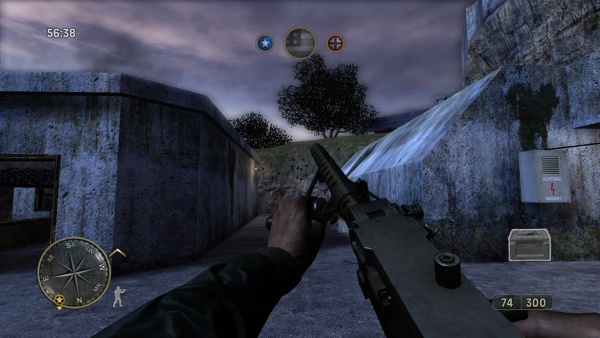
| + | [[File:COD3BAR-2.jpg|thumb|none|600px|The BAR has a rather unique animation where the character's hand fidgets around trying to release and remove the magazine. This reload animation, as with the animations of the MP44 and G43, were originally from Call of Duty 2: Big Red One.]] | ||
| + | [[File:COD3BAR-3.jpg|thumb|none|600px|The magazine is always empty, but at least the follower has some nice detail.]] | ||
| + | [[File:COD3BAR-4.jpg|thumb|none|600px|Meleeing shows the right side is completely solid, however.]] | ||
== MG34 == | == MG34 == | ||
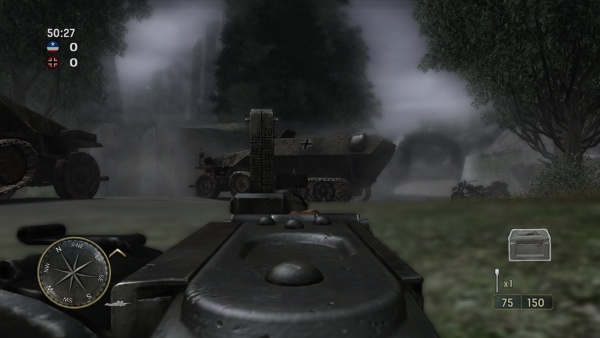
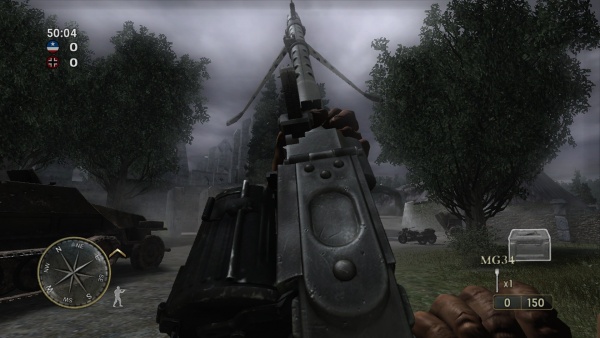
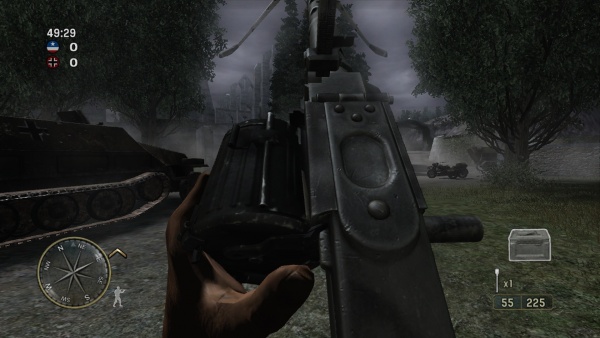
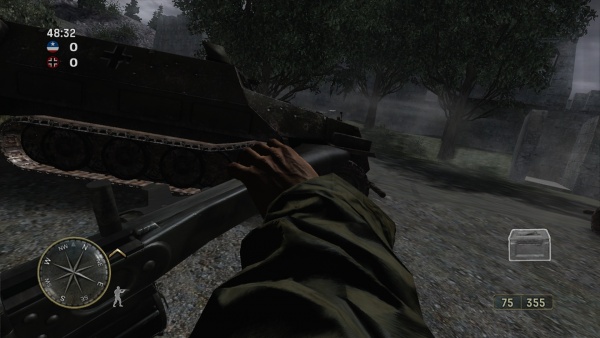
The [[MG34]] is used by support Gunners of the Axis Forces in Multiplayer mode; it is also Mounted on Tiger and Panzer tanks. It can be used in 'The Mace' level. The game's bonus materials incorrectly refer it to as a light machine gun; it is actually a general-purpose machine gun. | The [[MG34]] is used by support Gunners of the Axis Forces in Multiplayer mode; it is also Mounted on Tiger and Panzer tanks. It can be used in 'The Mace' level. The game's bonus materials incorrectly refer it to as a light machine gun; it is actually a general-purpose machine gun. | ||
| − | [[Image: | + | [[Image:Mg-34man-portable.jpg|thumb|none|450px|MG34 with 50 round belt drum ''Gurtrommel'' 34 - 7.92x57mm Mauser (8mm Mauser)]] |
| − | [[File:COD3MG34.jpg|thumb|none|600px|The MG34 and some Sd.Kfz. 251 half-tracks and a usable (!) motorcycle.]] | + | [[File:COD3MG34.jpg|thumb|none|600px|The MG34 and some Sd.Kfz. 251 Ausf. D half-tracks and a usable (!) motorcycle.]] |
[[File:COD3MG34ads.jpg|thumb|none|600px|MG34 sights.]] | [[File:COD3MG34ads.jpg|thumb|none|600px|MG34 sights.]] | ||
[[File:COD3MG34-1.jpg|thumb|none|600px|Clearing the MG34's chamber. Note the vented heat shield texture appears on the bipod as well, oddly enough.]] | [[File:COD3MG34-1.jpg|thumb|none|600px|Clearing the MG34's chamber. Note the vented heat shield texture appears on the bipod as well, oddly enough.]] | ||
[[File:COD3MG34-2.jpg|thumb|none|600px|Swapping out the drum magazine. As with the MG42 in World at War, the tray cover is never opened, which would make reloading rather difficult to complete.]] | [[File:COD3MG34-2.jpg|thumb|none|600px|Swapping out the drum magazine. As with the MG42 in World at War, the tray cover is never opened, which would make reloading rather difficult to complete.]] | ||
[[File:COD3MG34-3.jpg|thumb|none|600px|The melee animation shows off a ''very'' low-detailed pistol grip.]] | [[File:COD3MG34-3.jpg|thumb|none|600px|The melee animation shows off a ''very'' low-detailed pistol grip.]] | ||
| + | |||
| + | == MG42 == | ||
| + | The [[MG42]] is the standard mounted machine gun of German forces, and is used frequently by Allied troops as well. The game's bonus materials incorrectly refer it to as a light machine gun. | ||
| + | [[Image:MG42.jpg|thumb|none|400px|MG42 - 7.92 x 57mm Mauser (8mm Mauser)]] | ||
| + | [[File:CoD3_mg42.jpg|thumb|none|600px|Waffen SS soldiers fire the [[MG42]].]] | ||
| + | [[File:COD3MG42.jpg|thumb|none|600px|Manning the MG42, which has unlimited ammo despite no feed source. It will overheat if fired for too long.]] | ||
== Vickers K== | == Vickers K== | ||
| Line 211: | Line 223: | ||
[[File:COD3Vickersfiring.jpg|thumb|none|600px|Sergeant Doyle uses the passenger-side mounted Vickers K machine guns to inform the Bosch that he is [[Mad Max: Fury Road#Heckler & Koch MP5K-PDW|''THE SCALES OF JUSTICE!'']]]] | [[File:COD3Vickersfiring.jpg|thumb|none|600px|Sergeant Doyle uses the passenger-side mounted Vickers K machine guns to inform the Bosch that he is [[Mad Max: Fury Road#Heckler & Koch MP5K-PDW|''THE SCALES OF JUSTICE!'']]]] | ||
| − | == | + | = Rocket Launchers = |
| − | |||
| − | |||
| − | |||
| − | = Rocket | + | == M9A1 Bazooka == |
| + | The [[M1 Rocket Launcher "Bazooka"|M9A1 Bazooka]] is the anti-tank weapon of the American Forces.It is usable at the end of the campaign, to destroy armored cars and tanks in the ''Chambois'' level. | ||
| + | [[File:M9A1 Bazooka.jpg|thumb|none|400px|M9A1 "Bazooka" - 2.36 inch]] | ||
| + | [[File:COD3Bazooka.jpg|thumb|none|600px|M9A1 Bazooka in multiplayer.]] | ||
| + | [[File:COD3Bazookaads.jpg|thumb|none|600px|View down the optical sight.]] | ||
| + | [[File:COD3Bazooka-1.jpg|thumb|none|600px|Manhandling the M9A1.]] | ||
| + | [[File:COD3Bazooka-2.jpg|thumb|none|600px|Dropping in another 2.36 inch rocket.]] | ||
== Panzerschreck == | == Panzerschreck == | ||
| Line 224: | Line 239: | ||
[[File:COD3Pzads.jpg|thumb|none|600px|Iron sights of the Panzerschreck.]] | [[File:COD3Pzads.jpg|thumb|none|600px|Iron sights of the Panzerschreck.]] | ||
[[File:COD3Pz-1.jpg|thumb|none|600px|Loading an infamous 88mm warhead before heading off to schreck more panzers.]] | [[File:COD3Pz-1.jpg|thumb|none|600px|Loading an infamous 88mm warhead before heading off to schreck more panzers.]] | ||
| − | |||
| − | |||
| − | |||
| − | |||
| − | |||
| − | |||
| − | |||
| − | |||
= Grenades = | = Grenades = | ||
| Line 265: | Line 272: | ||
[[File:COD3Eihandgranate.jpg|thumb|none|600px|[[Wolfenstein: The New Order#Eihandgranate 39|So...gullible....]]]] | [[File:COD3Eihandgranate.jpg|thumb|none|600px|[[Wolfenstein: The New Order#Eihandgranate 39|So...gullible....]]]] | ||
| − | ==No. 74 Anti-Tank Grenade S.T. | + | ==No. 74 Anti-Tank Grenade S.T.== |
The "Sticky Bomb" in multiplayer is a British [[No 74 ST Grenade|No. 74 Anti-Tank Grenade S.T. "Sticky Bomb"]] grenade. | The "Sticky Bomb" in multiplayer is a British [[No 74 ST Grenade|No. 74 Anti-Tank Grenade S.T. "Sticky Bomb"]] grenade. | ||
[[File:Sticky72ii.jpg|thumb|none|300px|No. 74 MK. 2 Anti-Tank Grenade S.T. "Sticky Bomb".]] | [[File:Sticky72ii.jpg|thumb|none|300px|No. 74 MK. 2 Anti-Tank Grenade S.T. "Sticky Bomb".]] | ||
| − | == AN/M8 | + | == AN/M8 HC smoke grenade == |
| − | The [[AN/M8 smoke grenade]] can be used for concealment. | + | The [[AN/M8 HC smoke grenade]] can be used for concealment. |
[[Image:AN-M8.jpg|100px|thumb|none|AN/M8 smoke grenade]] | [[Image:AN-M8.jpg|100px|thumb|none|AN/M8 smoke grenade]] | ||
[[File:COD3ANM8.jpg|thumb|none|600px|A crate of AN/M8 smoke grenades.]] | [[File:COD3ANM8.jpg|thumb|none|600px|A crate of AN/M8 smoke grenades.]] | ||
| Line 276: | Line 283: | ||
=Others= | =Others= | ||
| − | == | + | ==8-cm Granatwerfer 34== |
| − | + | A [[Granatwerfer 34 Mortar]] must be used in the mission "The Forest". | |
| − | |||
| − | |||
| − | |||
| − | |||
[[File:8cm-granatwerfer-34.jpg|150px|thumb|none|8-cm Granatwerfer 34 (GrW 34)]] | [[File:8cm-granatwerfer-34.jpg|150px|thumb|none|8-cm Granatwerfer 34 (GrW 34)]] | ||
[[File:CoD3_Grw34.jpg|thumb|none|600px|]] | [[File:CoD3_Grw34.jpg|thumb|none|600px|]] | ||
| − | == | + | ==8.8 cm FlaK 37== |
| − | + | Several FlaK 37 88mm antiaircraft guns, appear in the in-game description as FlaK 36/37, are seen during the "Night Drop" and "Laison River" missions. The 37 was the more dedicated antiaircraft variant of the infamous 88mm FlaK guns, equipped with an additional gun-laying system with pointer dials. The same models were reused in ''[[Call of Duty: World at War]]''. | |
| − | + | [[Image:FlaK37.jpg|thumb|none|400px|8.8 cm FlaK 37 (note the pointer dials, the rectangular boxes on the side of the gun cradle with two circles) - 88x571mm R]] | |
| − | + | [[File:CoD3_flak.jpg|thumb|none|600px|Pte. Cole encounters a FlaK in a trench in "Laison River". Note the pointer dials of a FlaK 37 cradle, along with the earlier FlaK 18-style one-piece barrel often used with the 37.]] | |
| − | |||
| − | |||
| − | Several FlaK 37 88mm antiaircraft guns are seen during the | ||
| − | |||
| − | [[File:CoD3_flak.jpg|thumb|none|600px|Note the pointer dials of a FlaK 37 cradle, along with the earlier FlaK 18-style one-piece barrel often used with the 37.]] | ||
==8.8 cm Pak 43/41== | ==8.8 cm Pak 43/41== | ||
| Line 301: | Line 299: | ||
[[File:COD3Pak43.jpg|thumb|none|600px|The Pak 43/41 with some debris.]] | [[File:COD3Pak43.jpg|thumb|none|600px|The Pak 43/41 with some debris.]] | ||
[[File:COD3Pak43firing.jpg|thumb|none|600px|Firing the Pak 43 at a Tiger 1.]] | [[File:COD3Pak43firing.jpg|thumb|none|600px|Firing the Pak 43 at a Tiger 1.]] | ||
| + | |||
| + | ==15 cm Nebelwerfer 41== | ||
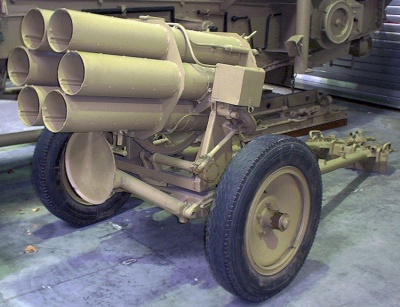
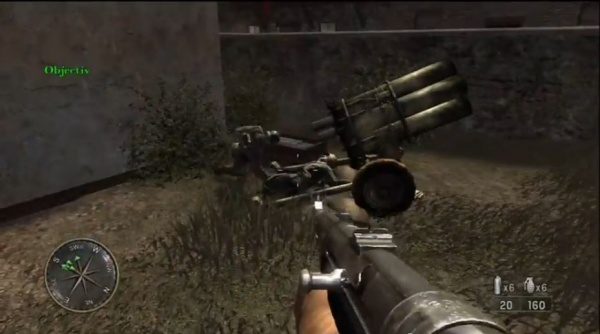
| + | Two 15 cm Nebelwerfer 41 multiple rocket launchers can be seen in the mission "Mayenne Bridge". | ||
| + | [[File:15cm Nebelwerfer 41.jpg|thumb|none|400px|15 cm Nebelwerfer 41 multiple rocket launcher]] | ||
| + | [[File:CoD3_nebelwerfer41.jpg|thumb|none|600px|Private Nichols looks at a Nebelwerfer whose crew he killed.]] | ||
| + | |||
| + | ==Hitler Youth Knife== | ||
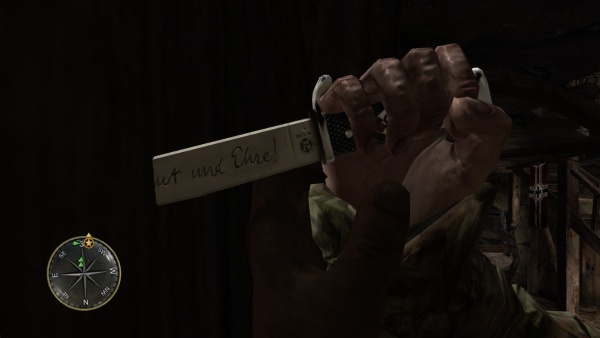
| + | In the mission "Crossroads" a Waffen SS soldier ambushes you with a surprisingly detailed ''Hitlerjugend'' knife. | ||
| + | [[File:COD3knife.jpg|thumb|none|600px|The ''Hitler-Jugend-Fahrtenmesser''.]] | ||
| + | |||
{{Call of Duty Series}} | {{Call of Duty Series}} | ||
Revision as of 23:48, 2 November 2022
|
Call of Duty 3 is the third entry in the Call of Duty first-person shooter series, and the first COD title by Treyarch. The game takes place during World War II, like its predecessors. The game was released only for the consoles.
The singleplayer campaign is about the Battle of the Falaise Pocket, where the player can fight as an American, a British, a Canadian and a Polish soldier.
The following weapons are used in the video game Call of Duty 3:
Pistols
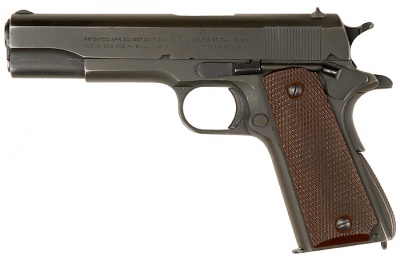
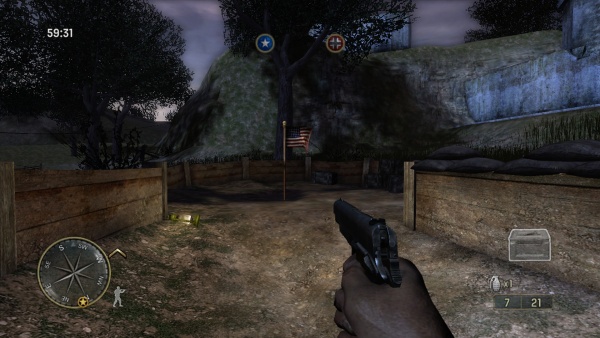
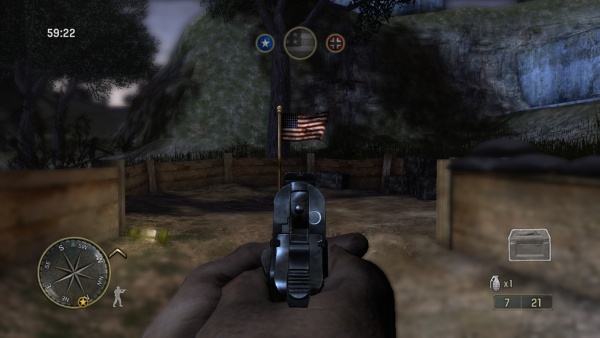
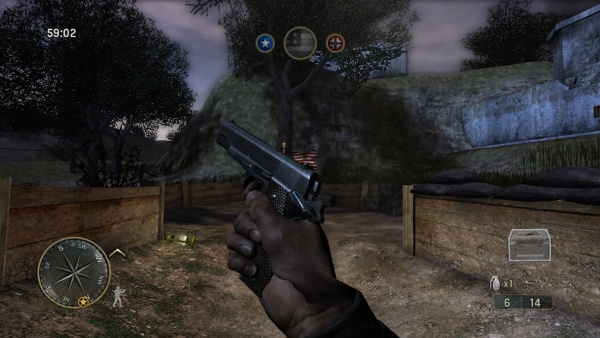
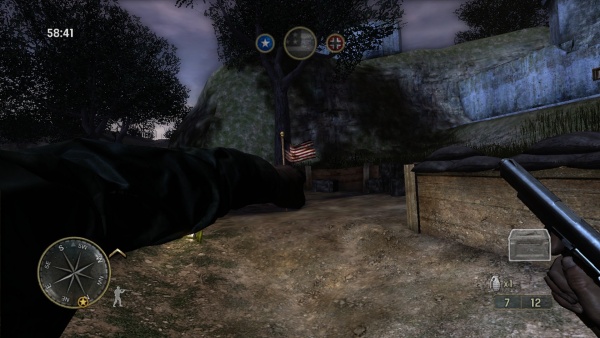
M1911A1
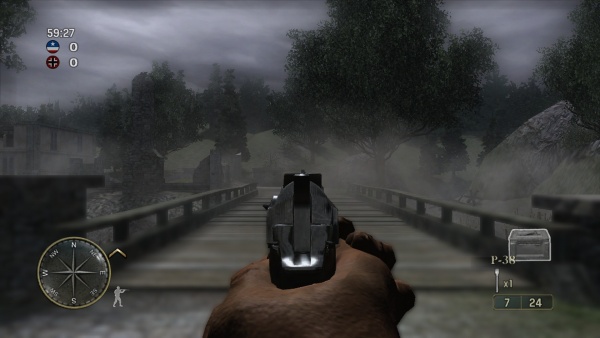
The M1911A1 is the standard sidearm of the Allied Forces. It is only available in multiplayer.
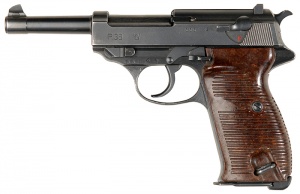
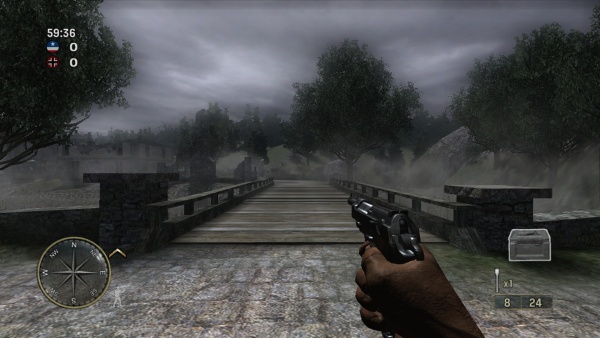
Walther P38
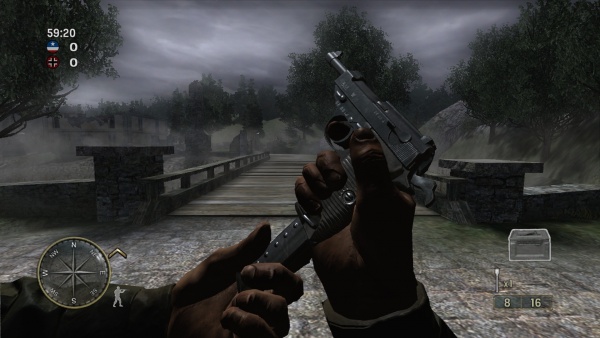
The Walther P38 is the standard sidearm of the German Forces, available only in Multiplayer.
Rifles
Fallschirmjägergewehr 42
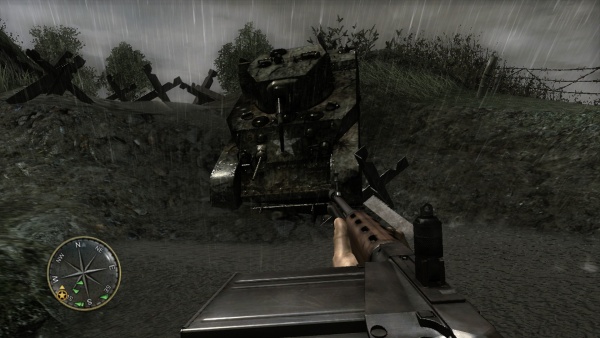
The FG 42 is seen on German soldiers in the second mission and scoped versions can be found in a few levels.
Gewehr 43
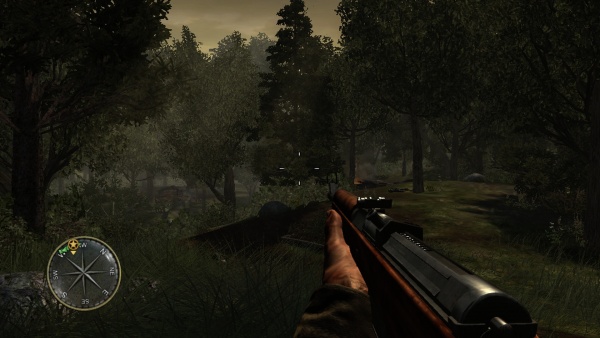
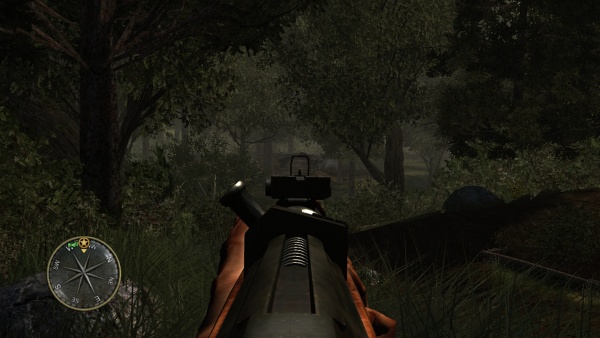
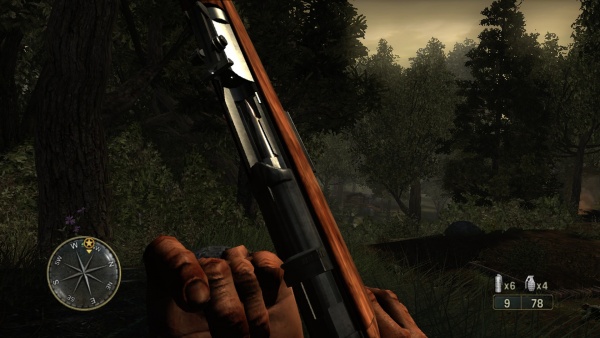
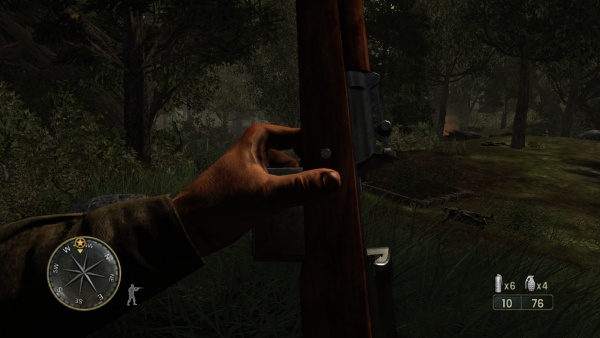
The Gewehr 43 is a German semi-automatic rifle. Only seen in the 2 forest levels.
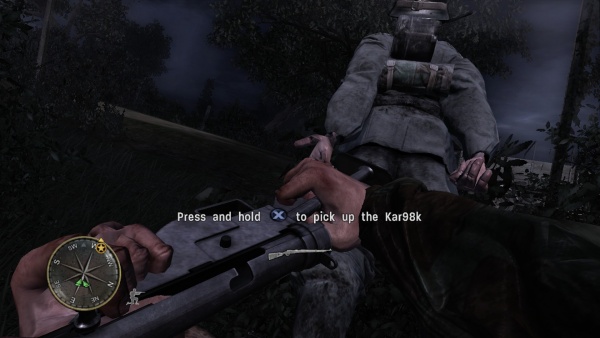
Karabiner 98k
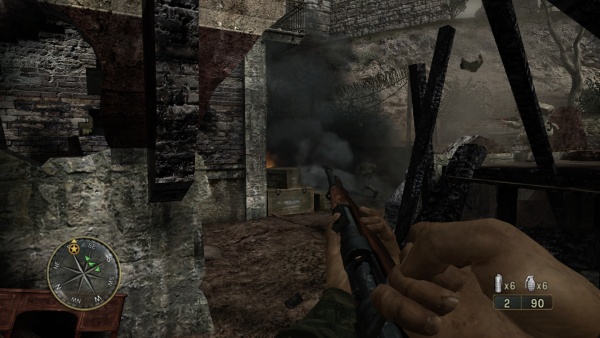
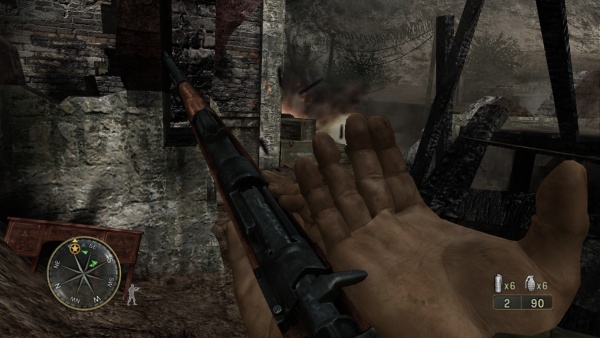
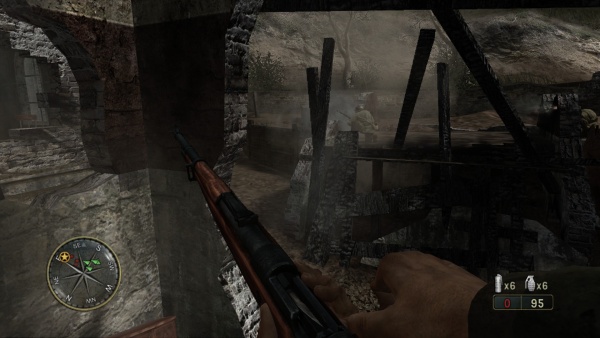
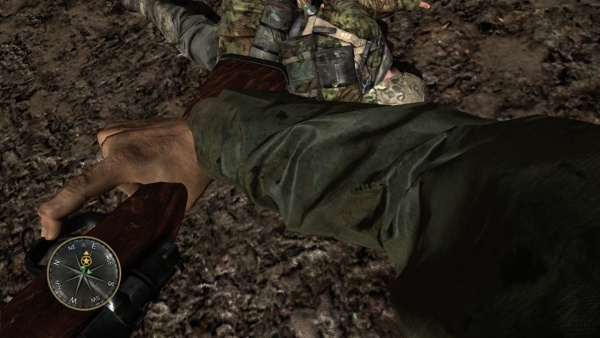
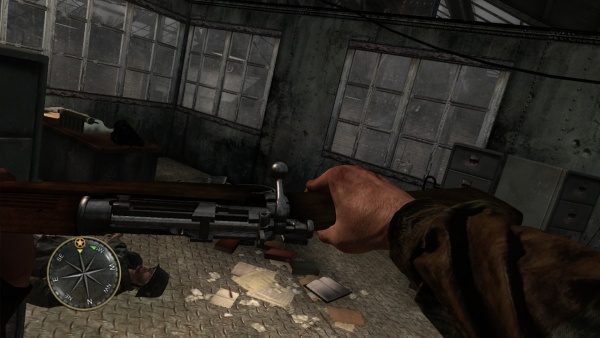
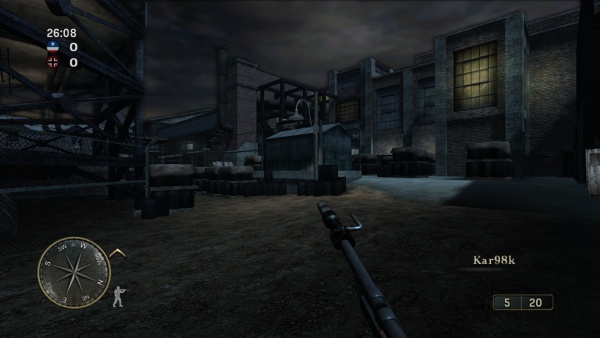
The Karabiner 98k is the service rifle of Axis forces. The scoped version is only available in 'The Island' level. Note that in multiplayer levels, the safety is always depicted in the "ON" position, which obviously should render the weapon unable to fire. There is a modeling error where in third person the front sight appears to be hooded, but when its picked up there is no hood over the front sight in first person.
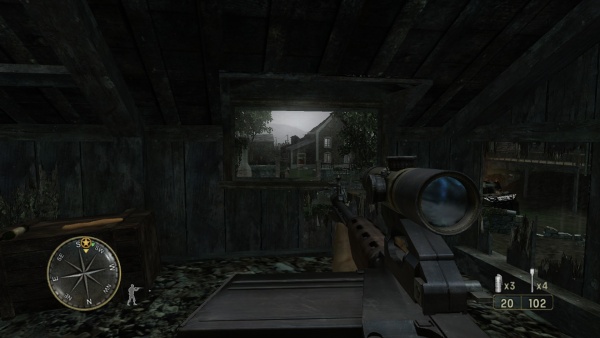
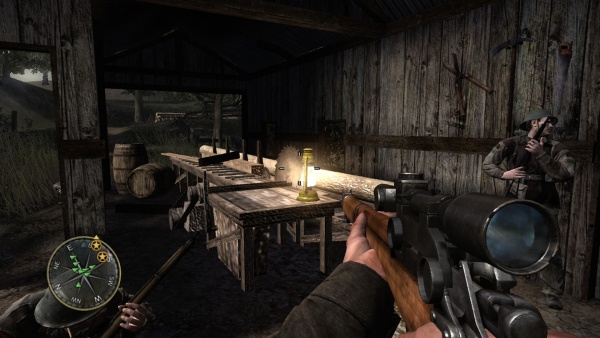
The Kar98k appears also with a scope.
Lee-Enfield No. 4 Mk I
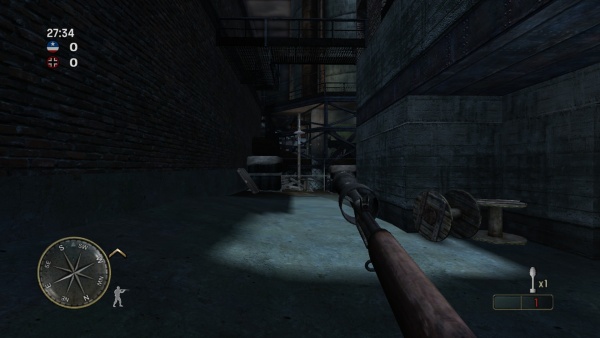
The Lee-Enfield No. 4 Mk I is the service rifle of British, Canadian, and Polish forces. A unique sniper version is used by Private Cole in the Laison River level.
M1 Garand
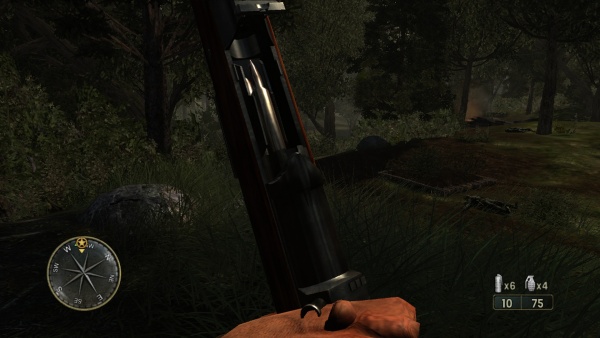
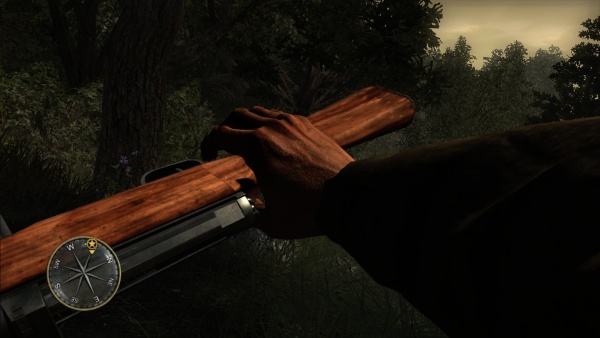
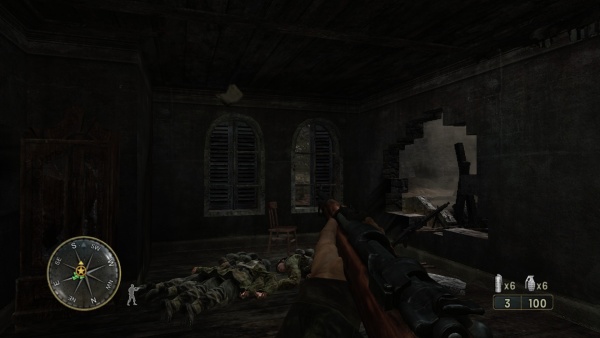
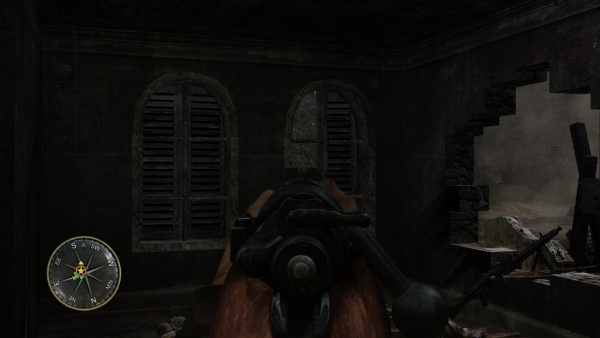
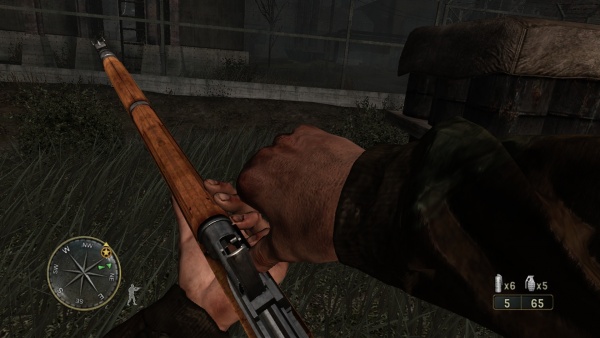
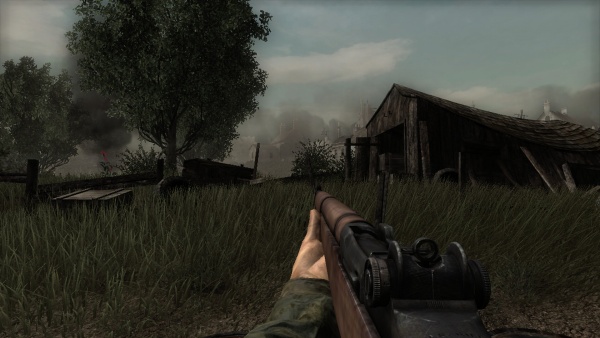
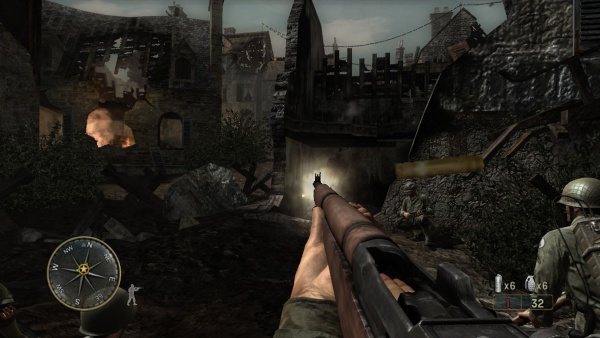
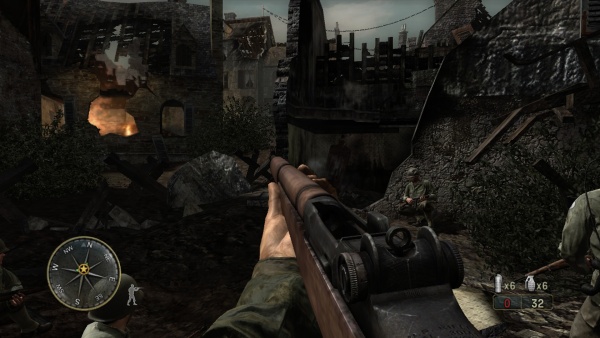
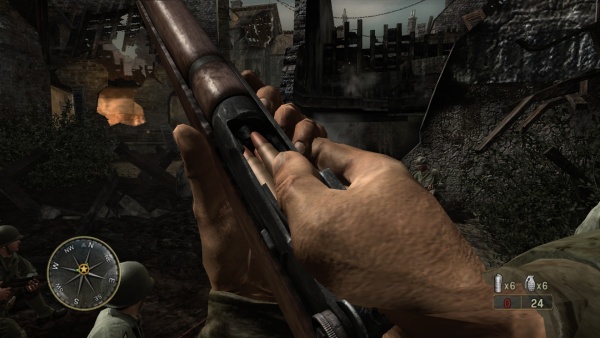
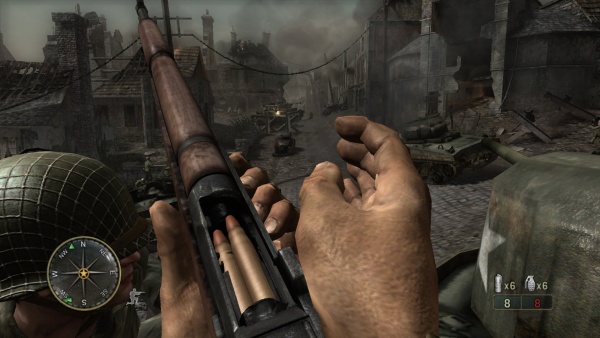
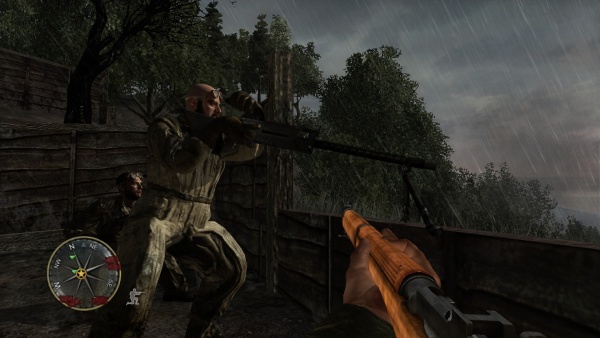
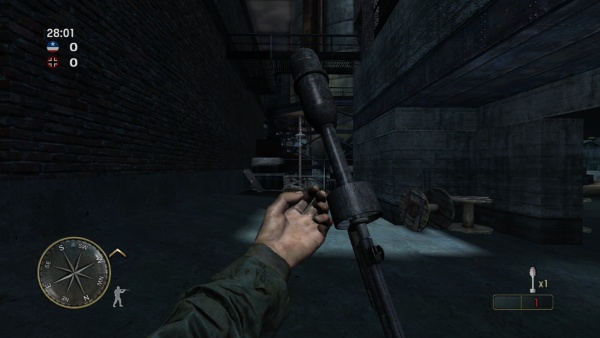
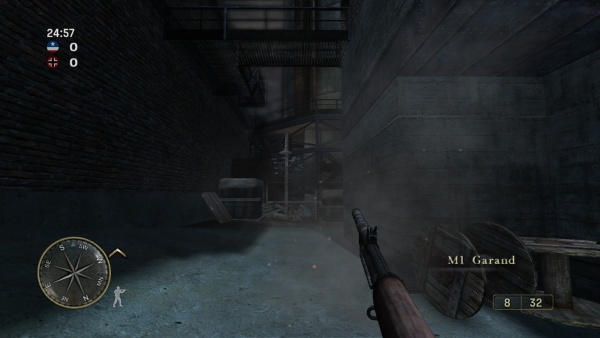
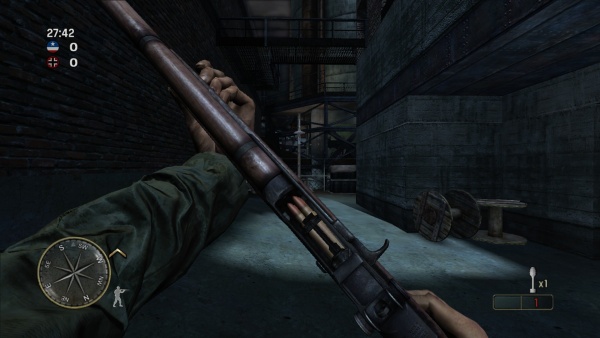
The main rifle of American forces is the M1 Garand. Used in almost all of the American levels. There is a modeling error in first person where it is all wood with the exception of the trigger group on the bottom of the stock when there should be the bottom of the internal magazine.
M1903A4 Springfield
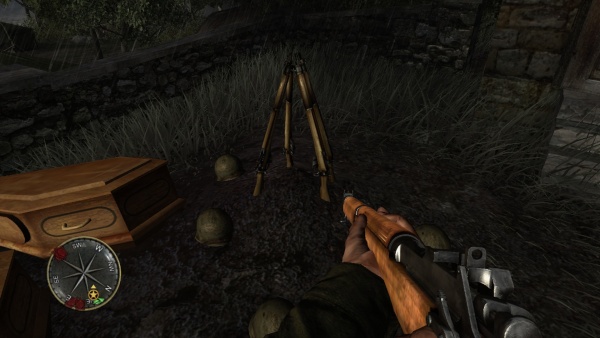
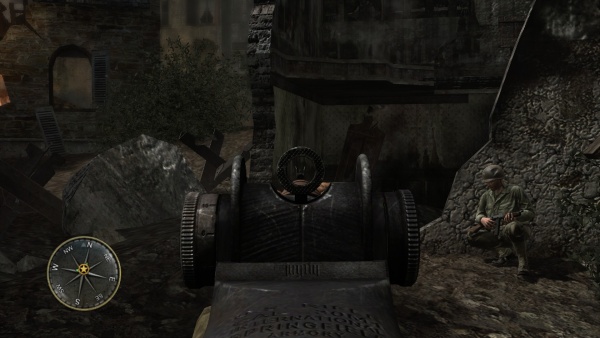
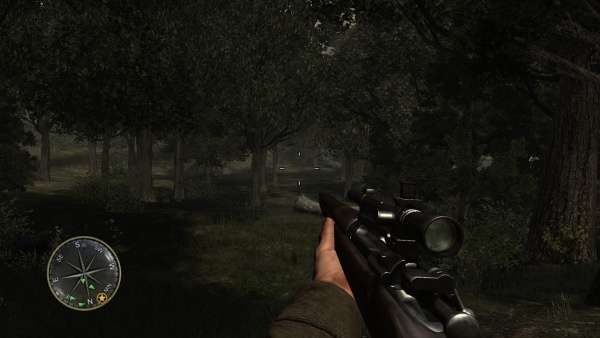
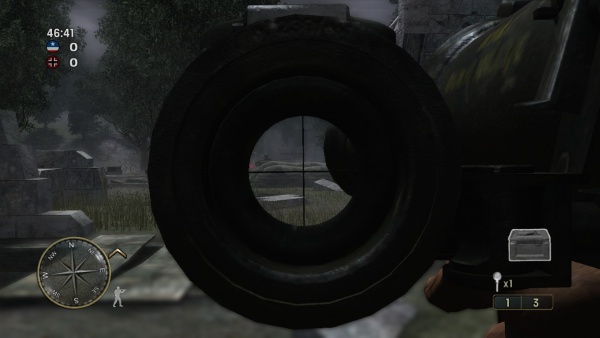
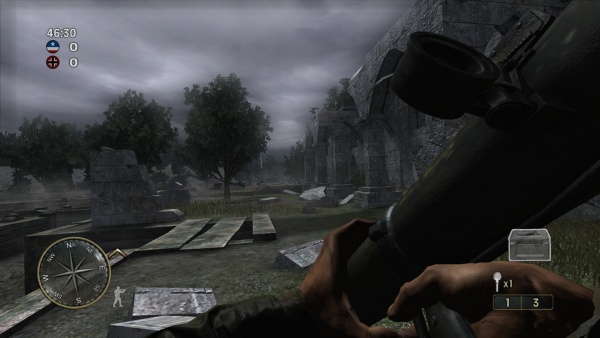
The sniper rifle of the Americans is the M1903A4 Springfield. Available in The Forest and Chambois levels. Used by a soldier to snipe a German radio op in the cutscene to 'Crossroads'.
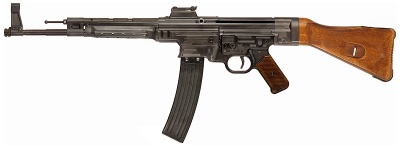
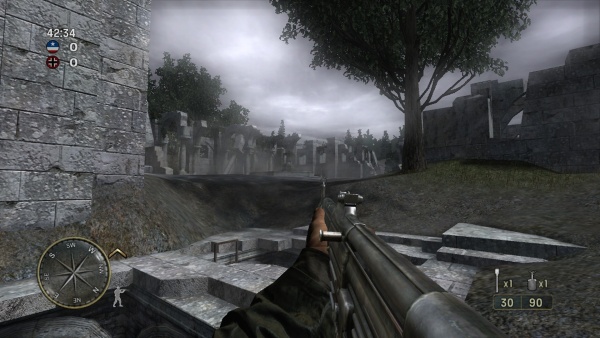
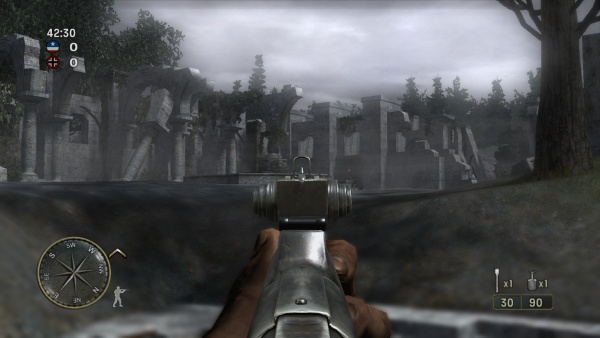
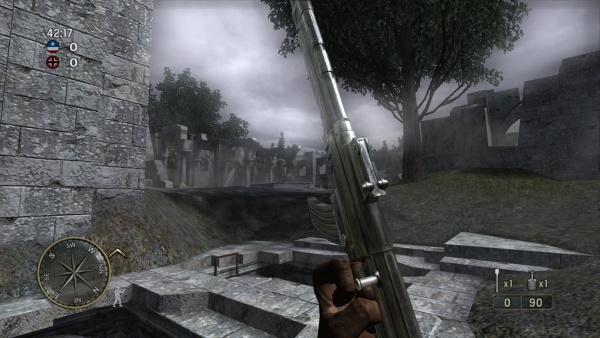
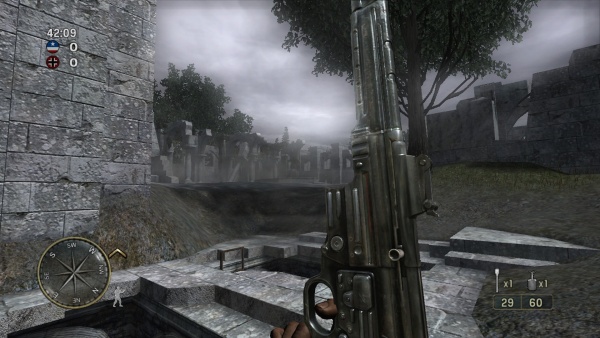
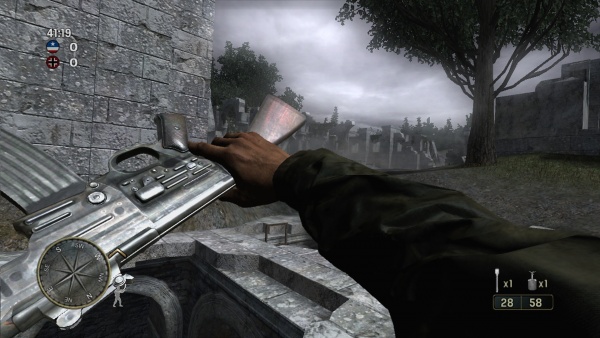
Sturmgewehr 44
The Sturmgewehr 44 appears in the game as the MP44. Used by German support gunners, mostly seen in the last missions of the game.
Submachine Gun
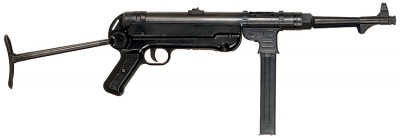
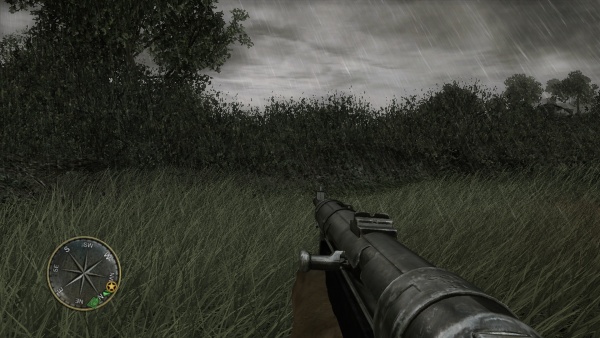
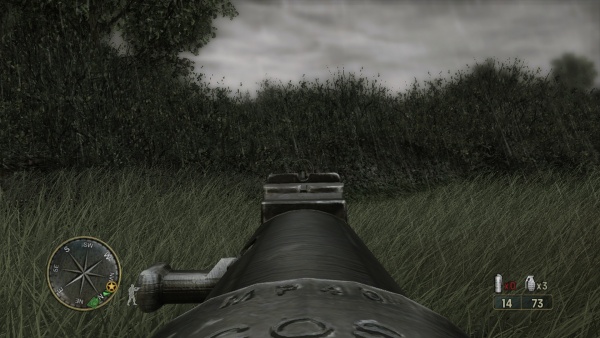
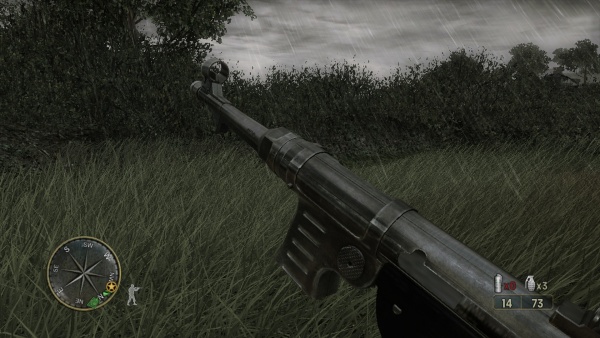
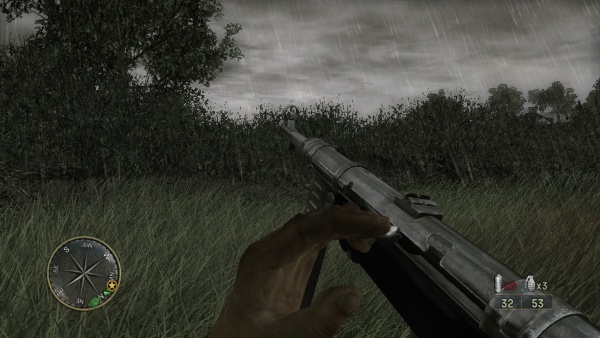
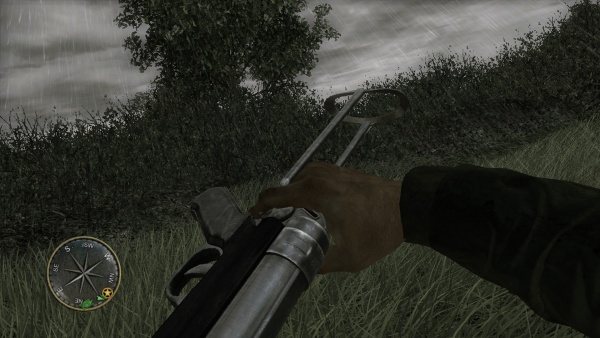
MP40
The MP40 is the submachine gun of German forces.
Sten Mk II
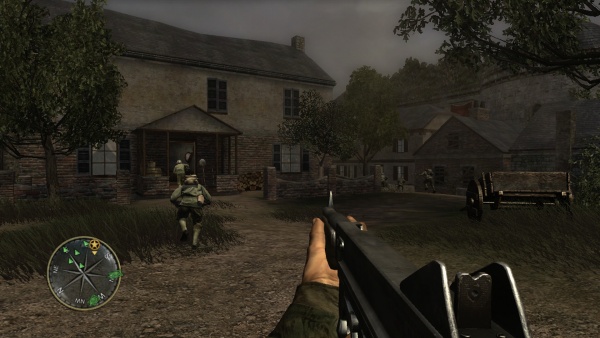
The Sten Mk II is the main SMG for the British and Canadian armies. When idle, it is held from the assembly in front of the trigger guard, but when aiming down the sights it is held from the handguard. Either way, this is the first Call of Duty game where the Sten is held properly instead of being held from the magazine.
Thompson M1A1
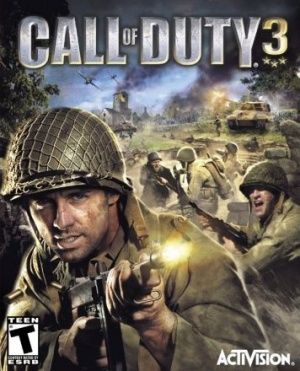
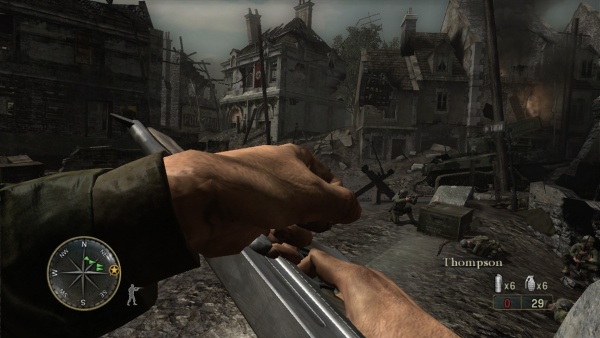
The Thompson Submachine Gun is used in almost all of American levels. Uses an incorrect 20 round magazine (20's were issued to paratroopers). Note that the Thompson in the coverart at the top of this page is actually a M1928A1, a common trope of WWII shooter games.
Shotgun
Winchester Model 1897 "Trench Gun"
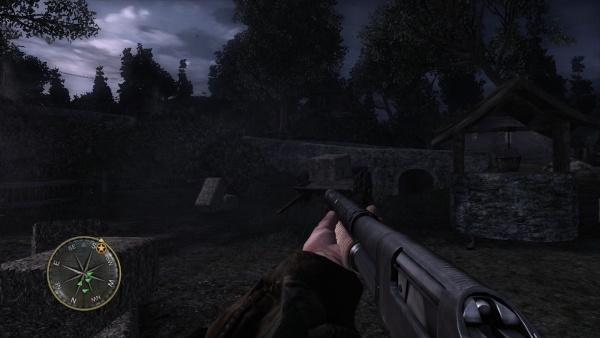
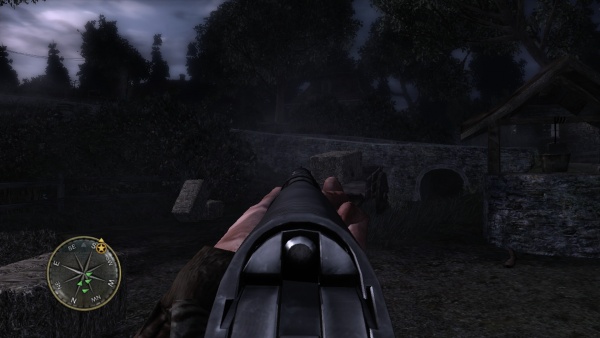
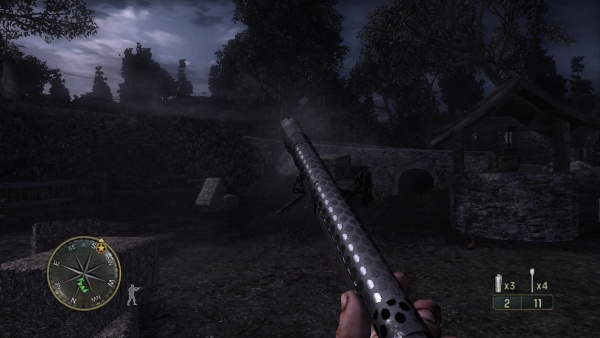
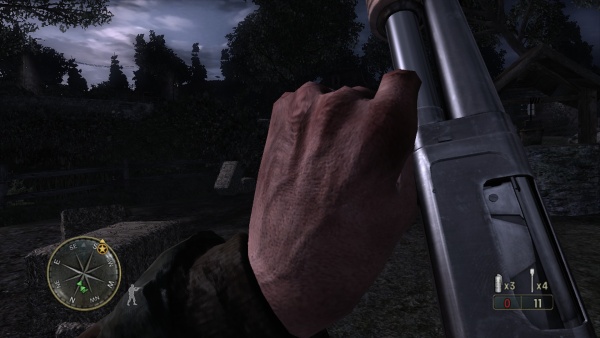
The Winchester Model 1897 "Trench Gun" is used by the American and British forces. Interestingly, in an empty reload, the player character loads five shells, racks the pumping handle and then inserts a sixth extra shell, while during mid-reloads he just loads the shells required appropriately. This was the only game in the entire series until Call of Duty: Modern Warfare (2019) to feature the correct reloading process of pumping the handle exclusively during empty reloads. The weapon is incorrectly modeled with the ejection port mirrored to the left side.
Machine Guns
Bren LMG
The Bren gun is used by the British, Canadian and Polish forces.
Browning M2HB
The Browning M2HB is used once in the campaign, in the beginning of the Falaise Road level.
Browning M1919A6
The Browning M1919A6 is used by support gunners of the Allied Forces in Multiplayer Mode and as an emplaced machine gun in the last two levels. The M1919A4 is seen mounted on Sherman tanks.
M1918 Browning Automatic Rifle
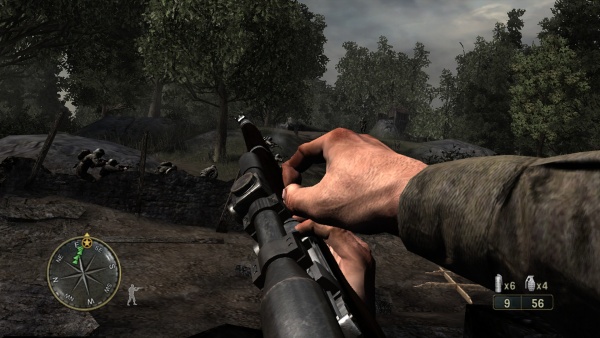
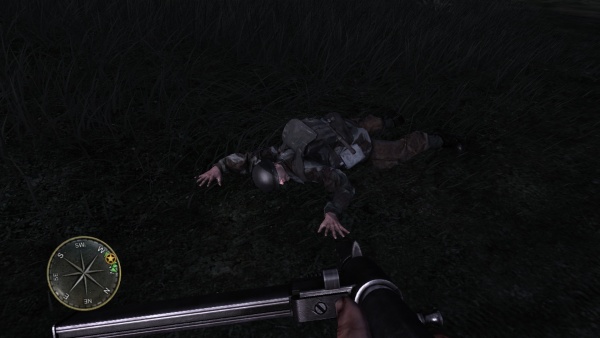
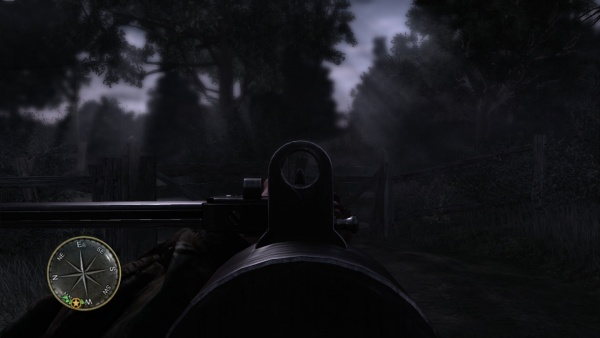
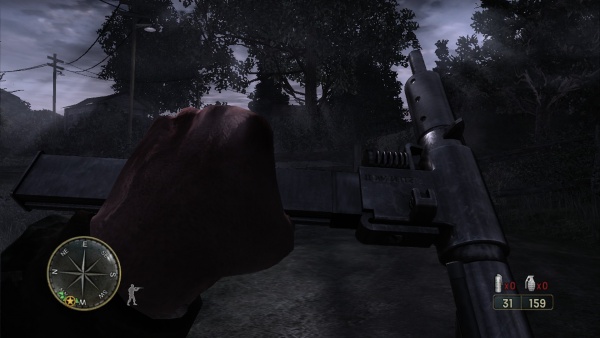
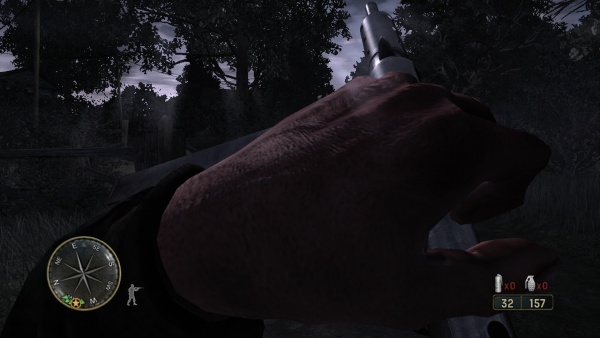
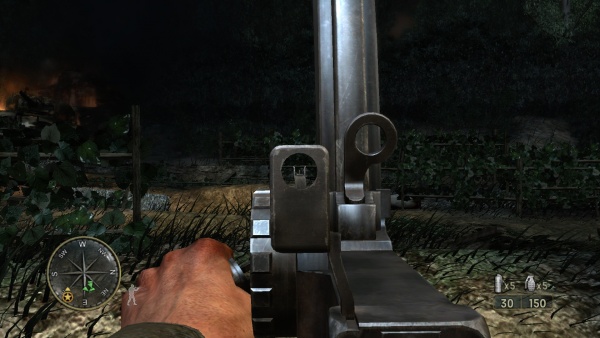
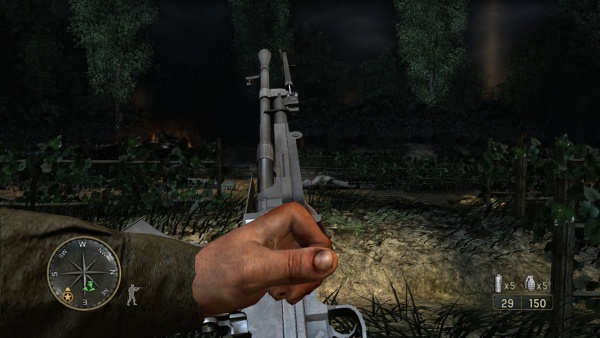
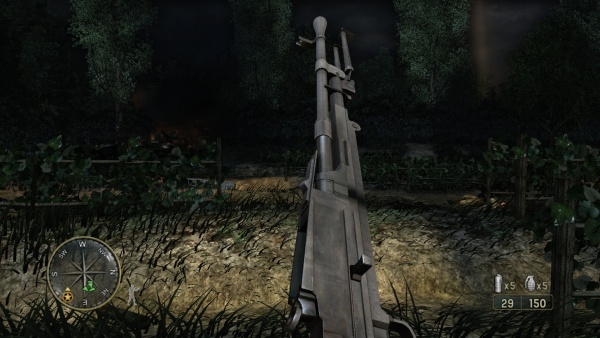
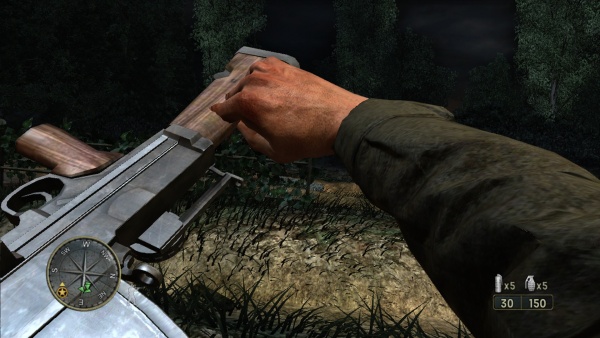
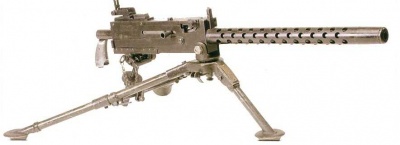
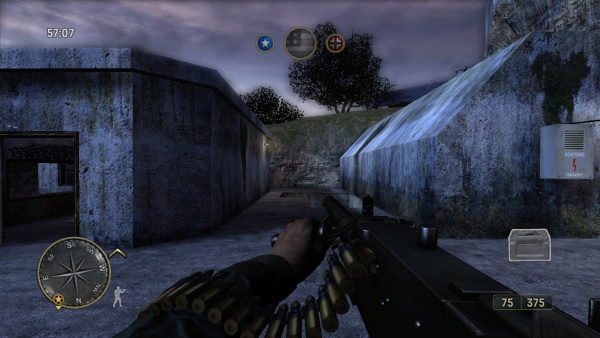
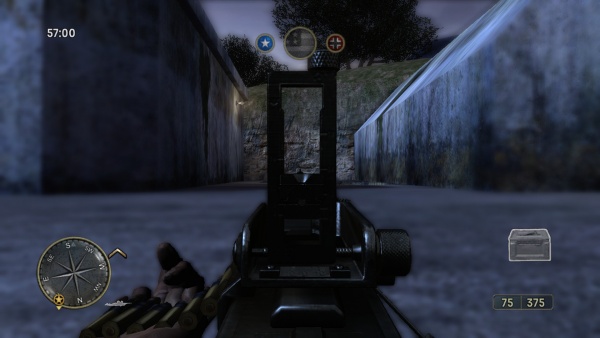
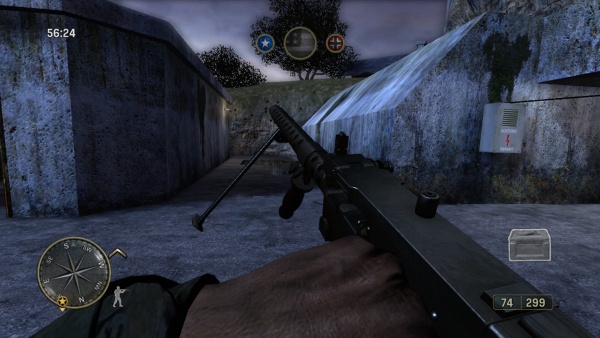
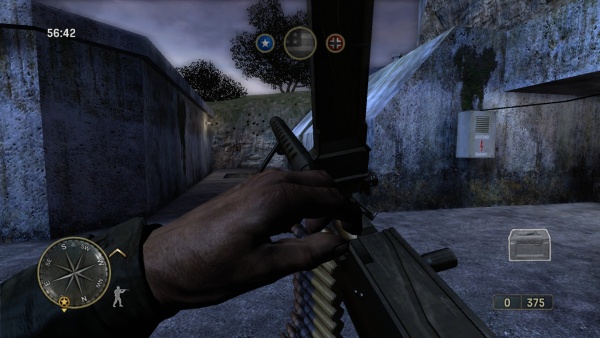
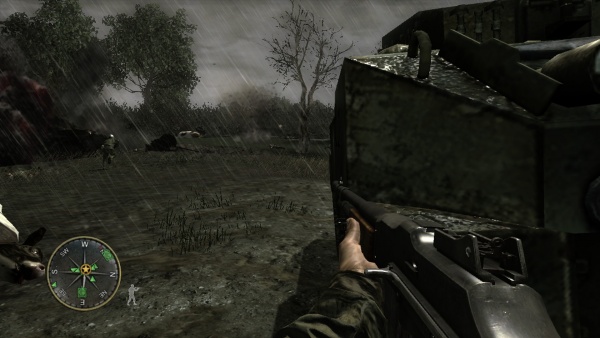
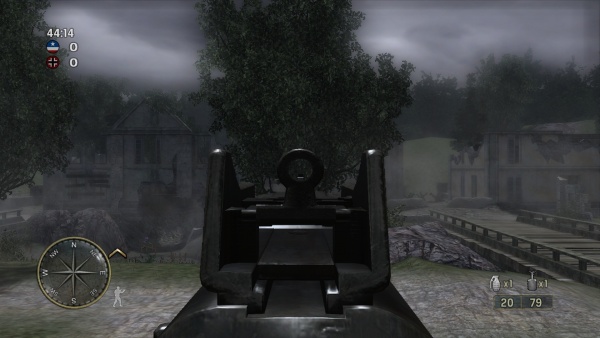
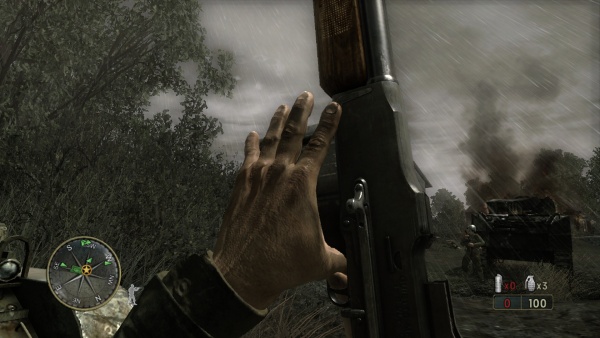
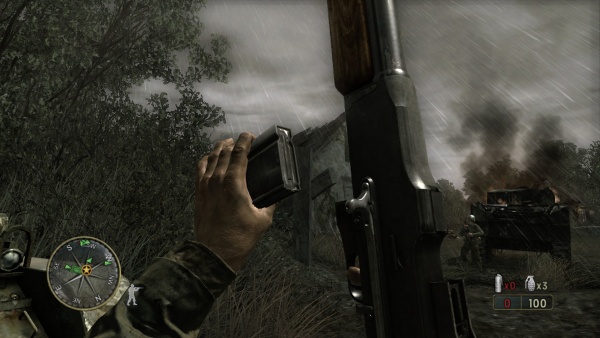
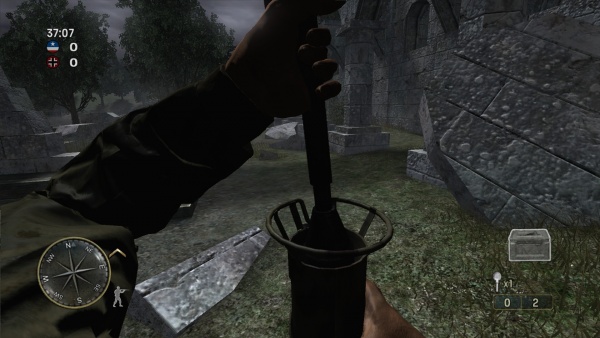
The Browning Automatic Rifle (BAR) is used by American support gunners; it is available in in The Island and Chambois levels. The bonus materials label it as the M1918A2 version, even though the menu image and the first-person model depict the earlier M1918. However, the third-person model during gameplay does actually show the M1918A2 variant.
MG34
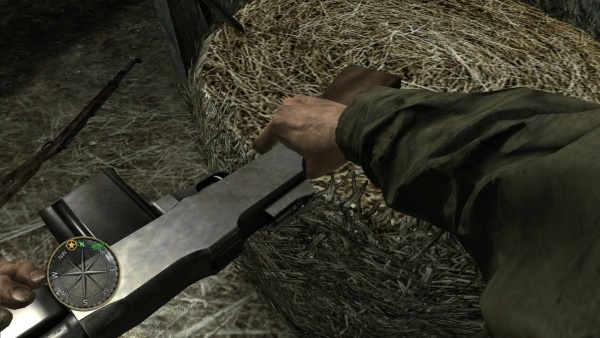
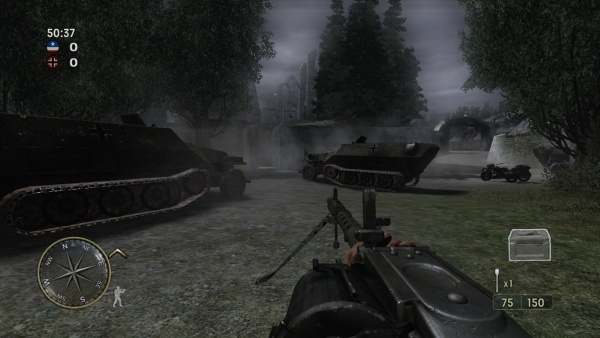
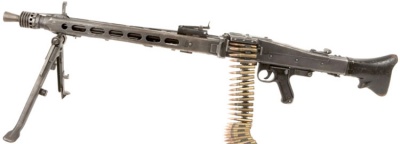
The MG34 is used by support Gunners of the Axis Forces in Multiplayer mode; it is also Mounted on Tiger and Panzer tanks. It can be used in 'The Mace' level. The game's bonus materials incorrectly refer it to as a light machine gun; it is actually a general-purpose machine gun.
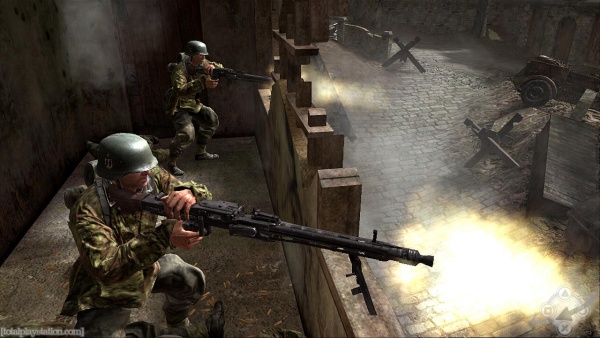
MG42
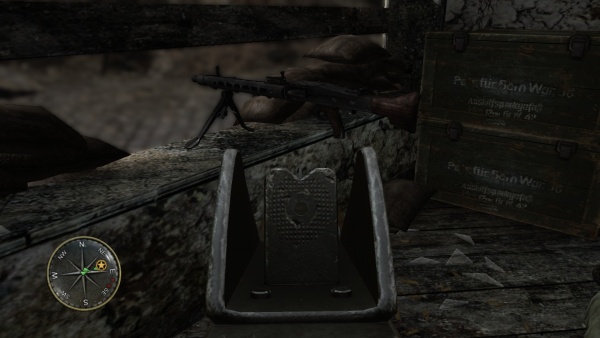
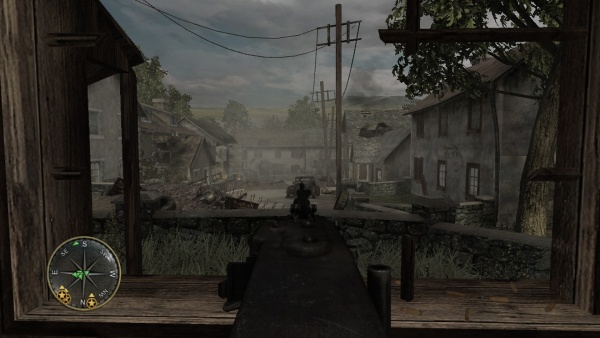
The MG42 is the standard mounted machine gun of German forces, and is used frequently by Allied troops as well. The game's bonus materials incorrectly refer it to as a light machine gun.
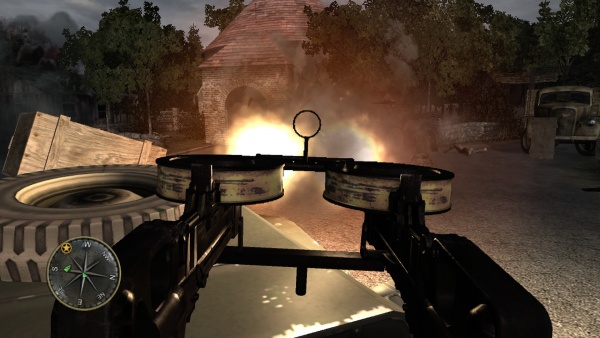
Vickers K
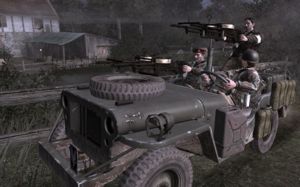
The Vickers K is seen mounted on SAS jeeps.
Rocket Launchers
M9A1 Bazooka
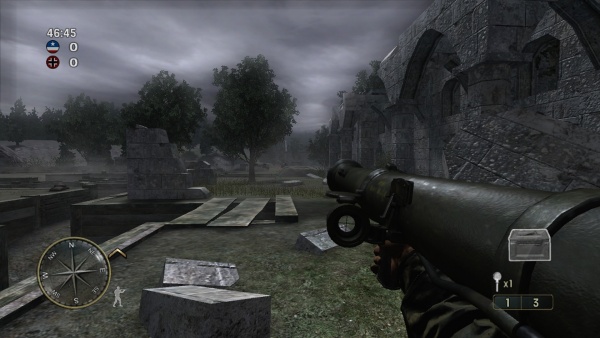
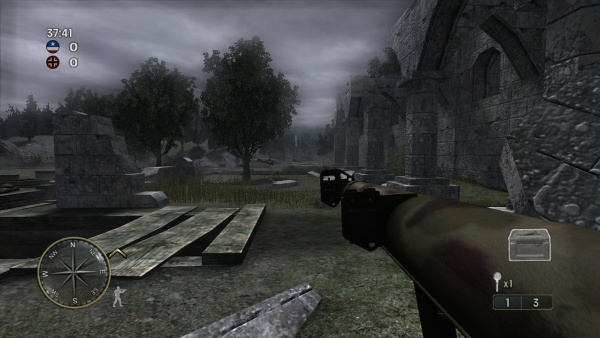
The M9A1 Bazooka is the anti-tank weapon of the American Forces.It is usable at the end of the campaign, to destroy armored cars and tanks in the Chambois level.
Panzerschreck
The anti-tank weapon of the German forces is the Panzerschreck without the distinctive blast shield. Used in the levels Falaise Road and The Mace.
Grenades
Gewehrgranatengerät rifle grenade launcher
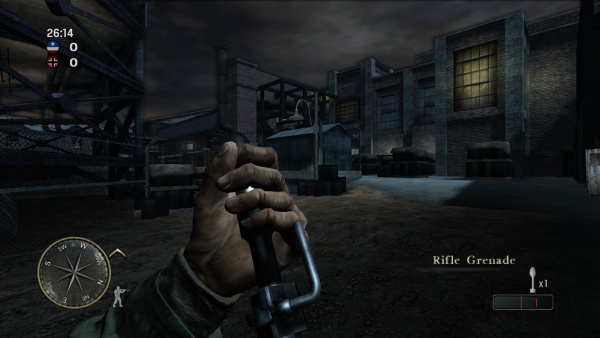
The Gewehrgranatengerät Rifle Grenade Launcher is issued to the Wehrmacht Rifleman in Multiplayer, used on the Karabiner 98 Kurz.
M7 rifle grenade launcher
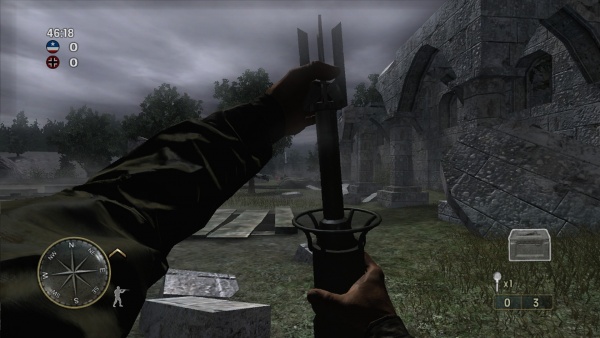
The M7 Rifle Grenade Launcher is used briefly by Dixon in campaign to open a path in the mission The Crossroads and is available to the US Rifleman class in multiplayer.
Mk 2 hand grenade
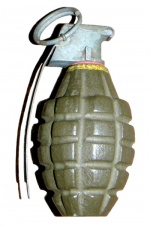
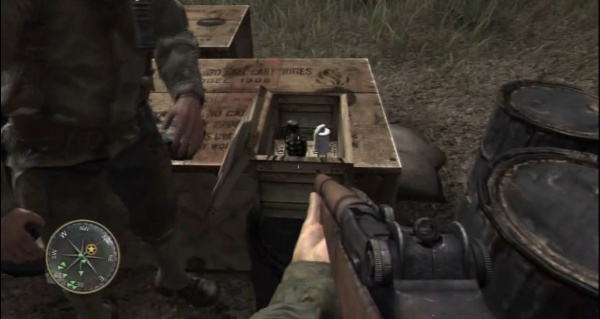
The Mk 2 hand grenade is the standard hand grenade of the Allies in the game.
Model 24 Stielhandgranate
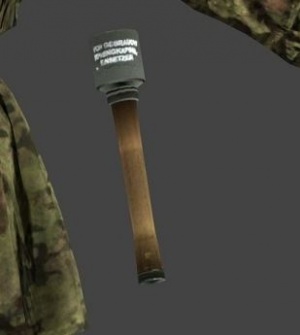
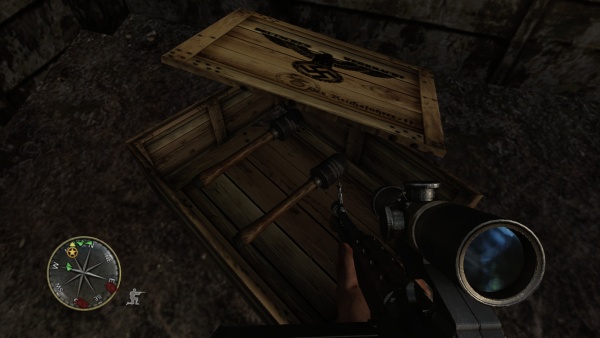
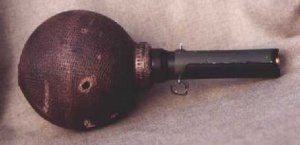
The Model 24 Stielhandgranate is the standard hand grenade of the Axis forces.
Model 39 Eihandgranate
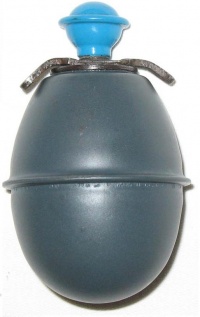
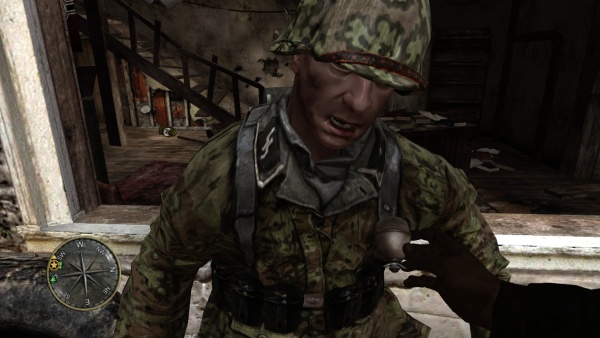
The Waffen SS soldier that attacks Nichols in Crossroads is dispatched with his own Model 39 Eihandgranate. It is never usable outside of this quick time event.
No. 74 Anti-Tank Grenade S.T.
The "Sticky Bomb" in multiplayer is a British No. 74 Anti-Tank Grenade S.T. "Sticky Bomb" grenade.
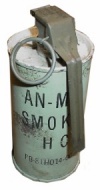
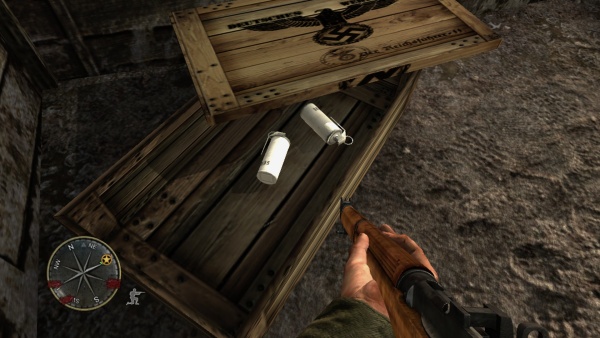
AN/M8 HC smoke grenade
The AN/M8 HC smoke grenade can be used for concealment.
Others
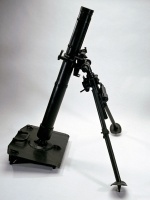
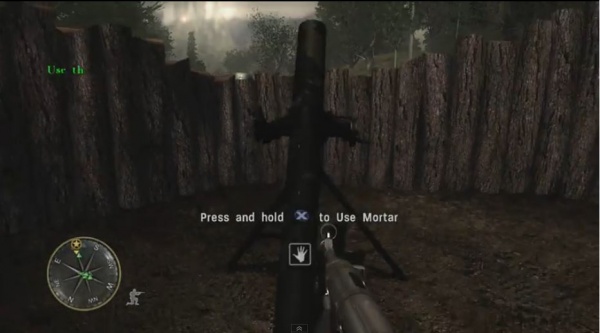
8-cm Granatwerfer 34
A Granatwerfer 34 Mortar must be used in the mission "The Forest".
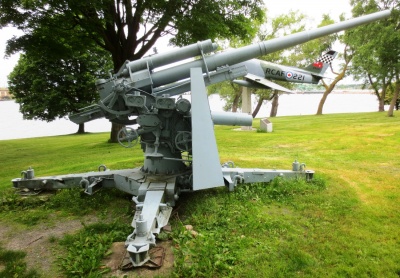
8.8 cm FlaK 37
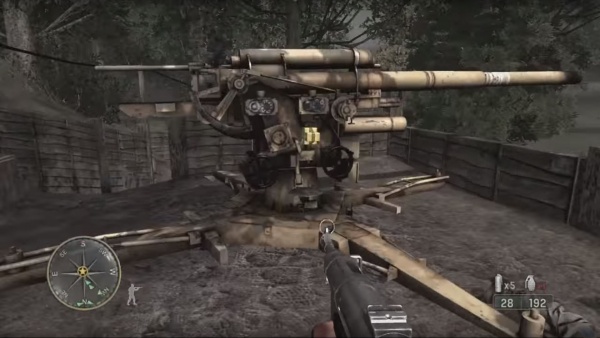
Several FlaK 37 88mm antiaircraft guns, appear in the in-game description as FlaK 36/37, are seen during the "Night Drop" and "Laison River" missions. The 37 was the more dedicated antiaircraft variant of the infamous 88mm FlaK guns, equipped with an additional gun-laying system with pointer dials. The same models were reused in Call of Duty: World at War.
8.8 cm Pak 43/41
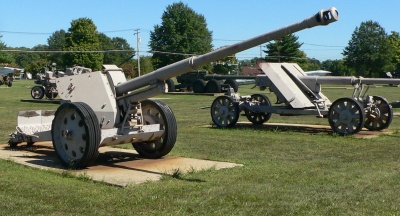
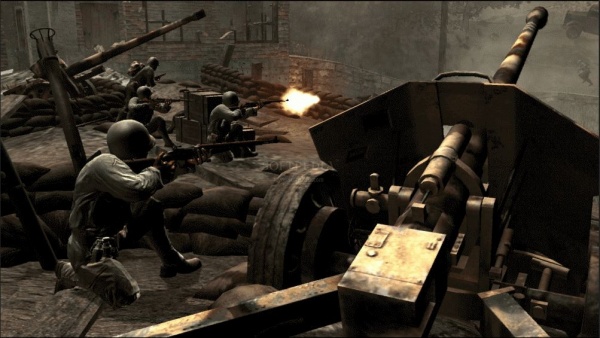
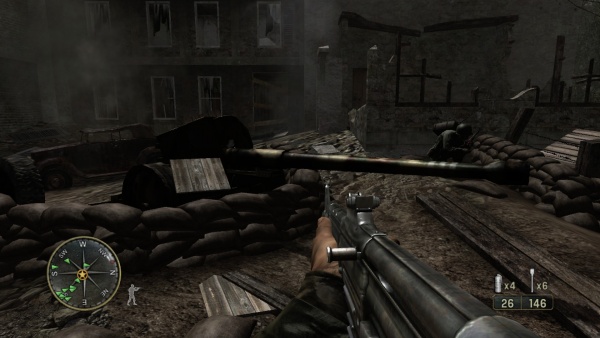
At the end of the final mission (Chambois) you can use a 8.8 cm Pak 43/41, in addition to the M9A1 Bazooka, to take out German tanks and armored cars.
15 cm Nebelwerfer 41
Two 15 cm Nebelwerfer 41 multiple rocket launchers can be seen in the mission "Mayenne Bridge".
Hitler Youth Knife
In the mission "Crossroads" a Waffen SS soldier ambushes you with a surprisingly detailed Hitlerjugend knife.
