| If you have been locked out of your account you can request a password reset here. |
Difference between revisions of "Call of Duty (2003)"
| (39 intermediate revisions by 15 users not shown) | |||
| Line 15: | Line 15: | ||
=Handguns= | =Handguns= | ||
| − | ==Colt | + | ==Colt M1911== |
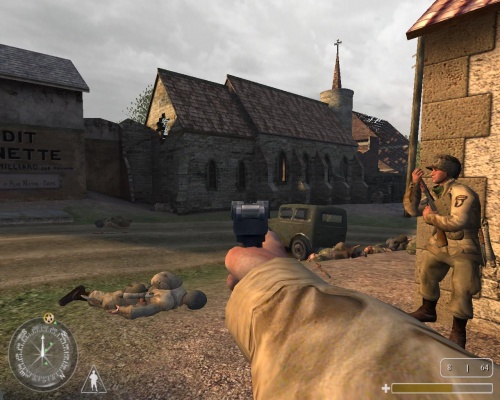
| − | The [[ | + | The [[Colt M1911]] is the main sidearm used by both U.S. and British troops in the game. Pvt. Martin and the British Character, Sgt. Jack Evans, both use M1911 pistols throughout their levels. Sgt. Waters uses one when he and Evans protect the truck that they and Cpt. Price are escaping in. |
| − | [[ | + | [[File:COLTM1911 1913.jpg|thumb|none|350px|Original Colt M1911 (dated 1913) - .45 ACP]] |
| − | [[ | + | [[File:CoD1 M1911 holding.jpg|thumb|none|500px|Holding the M1911.]] |
| − | [[ | + | [[File:CoD1 M1911 aiming.jpg|thumb|none|500px|Aiming down the sights.]] |
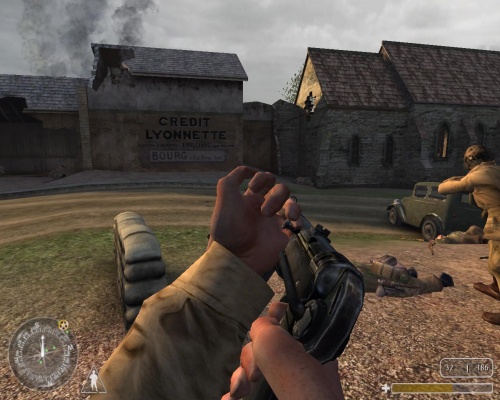
| − | [[ | + | [[File:CoD1 M1911 reload 1.jpg|thumb|none|500px|Ejecting the magazine.]] |
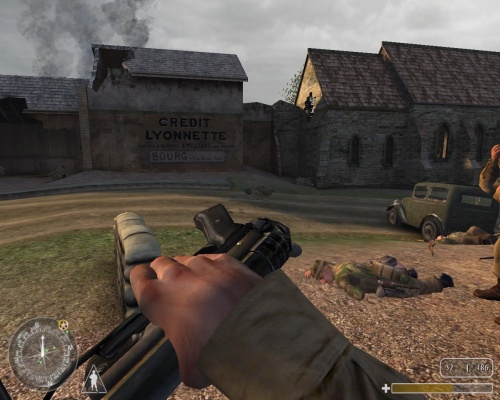
| − | [[ | + | [[File:CoD1 M1911 reload 2.jpg|thumb|none|500px|Loading a fresh mag.]] |
| − | [[ | + | [[File:CoD1 M1911 thirdperson.jpg|thumb|none|500px|World model of the Colt.]] |
==Luger P08== | ==Luger P08== | ||
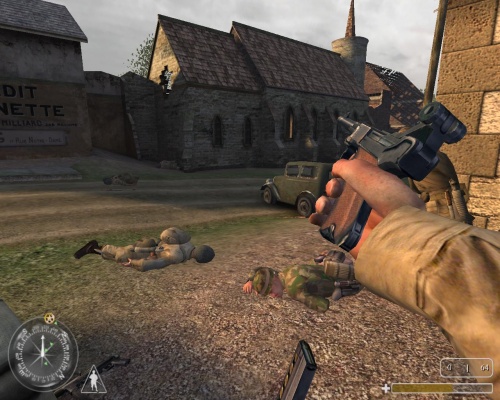
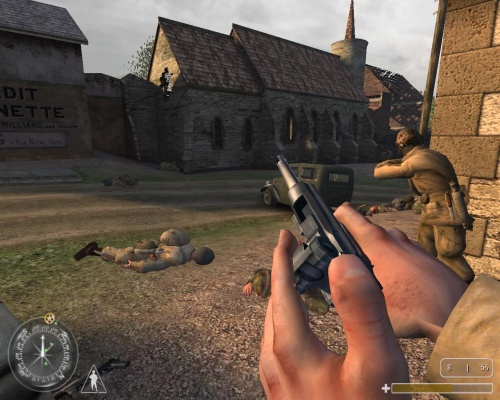
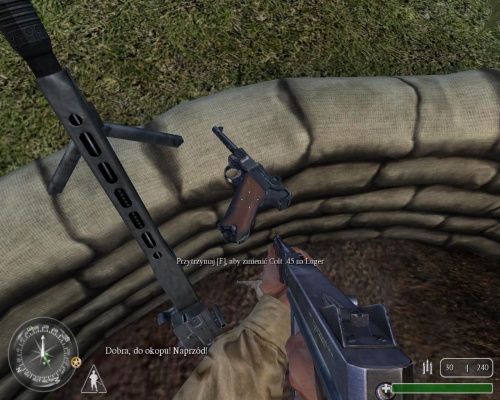
| − | The [[Luger P08]] appears as the sidearm for Soviet troops | + | The [[Luger P08]] incorrectly appears as the sidearm for Soviet troops. It is used by the commissars who execute retreating conscripts. They are also the sidearm for German forces. |
| − | [[ | + | [[File:LugerP08Pistol.jpg|thumb|none|350px|Luger P08 - 9x19mm]] |
| − | [[ | + | [[File:CoDSP Luger P08 Parabellum holding.jpg|thumb|none|500px|First-person view of the Luger P08.]] |
| − | [[ | + | [[File:CoDSP Luger P08 Parabellum aim.jpg|thumb|none|500px|Iron sights.]] |
| − | [[ | + | [[File:CoDSP Luger P08 Parabellum reloading 1.jpg|thumb|none|500px|Reloading.]] |
| − | [[ | + | [[File:CoDSP Luger P08 Parabellum reloading 2.jpg|thumb|none|500px|Cocking the Luger.]] |
| − | [[ | + | [[File:CoDSP Luger P08 Parabellum world.jpg|thumb|none|500px|It isn't clear what type of glue technology has been to used to accomplish this.]] |
=Submachine Guns= | =Submachine Guns= | ||
==MP40== | ==MP40== | ||
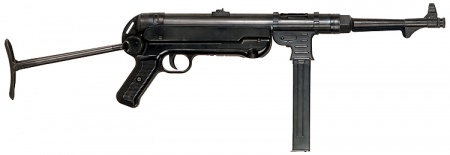
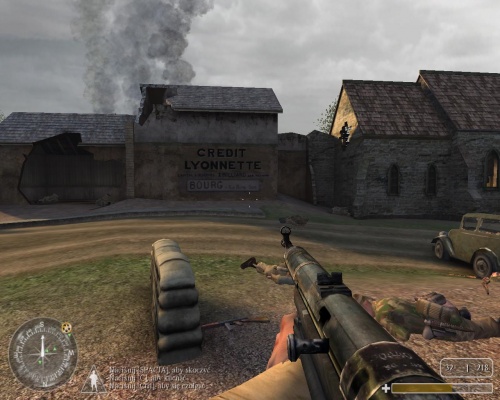
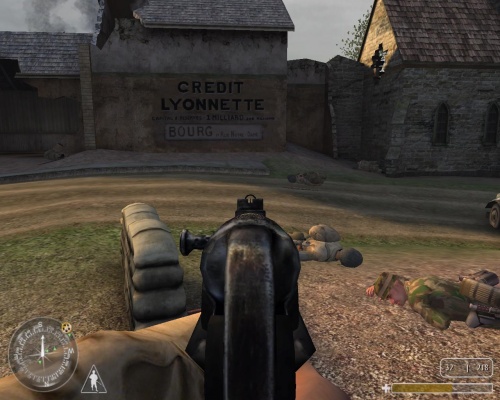
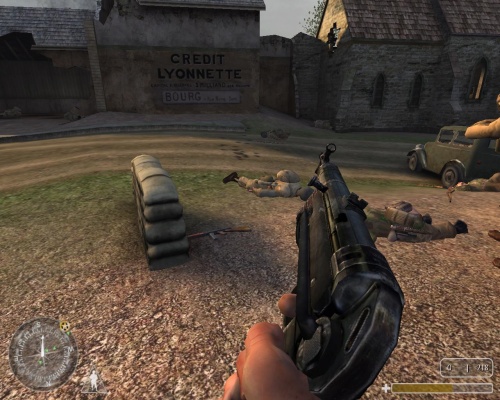
| − | The [[ | + | The [[MP40]] appears as the submachine gun for the Germans. Evans and Price commandeer MP40s when they sabotage the German Battleship ''Tirpitz'', and Price also uses one. |
| − | [[ | + | [[File:MP40.jpg|thumb|none|450px|MP40 - 9x19mm]] |
| − | [[ | + | [[File:CoDSP mp40 holding.jpg|thumb|none|500px|The player character holding an MP40.]] |
| − | [[ | + | [[File:CoDSP mp40 aim.jpg|thumb|none|500px|Aiming.]] |
| − | [[ | + | [[File:CoDSP mp40 reloading 1.jpg|thumb|none|500px|Replacing the magazine.]] |
| − | [[ | + | [[File:CoDSP mp40 reloading 2.jpg|thumb|none|500px|Pulling the charging handle.]] |
| − | [[ | + | [[File:CoDSP mp40 mele.jpg|thumb|none|500px|Melee attack.]] |
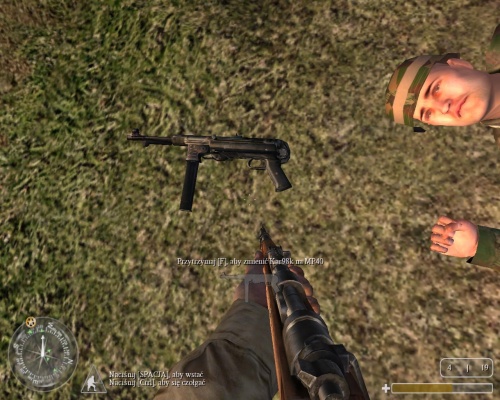
| − | [[ | + | [[File:CoDSP mp40 world.jpg|thumb|none|500px|An MP40 next to a dead soldier.]] |
==PPSh-41== | ==PPSh-41== | ||
| − | The [[ | + | The [[PPSh-41]] appears as the main SMG for the Red Army, and has the highest ammo capacity of all the submachine guns in the game at 71 rounds per drum magazine and has the highest rate of fire, so to compensate it is wildly inaccurate and very weak. They are notably used by Commissars to execute retreating Conscripts. Almost every Russian mission after Red Square starts with Alexei Voronin using one of these. |
| − | [[ | + | [[File:PPSH-01-SMG.jpg|thumb|none|450px|PPSh-41 - 7.62x25mm Tokarev]] |
| − | [[ | + | [[File:CoDSP ppsh 41 holding.jpg|thumb|none|500px|The PPSh-41 in first person.]] |
| − | [[ | + | [[File:CoDSP ppsh 41 aim.jpg|thumb|none|500px|ADS view.]] |
| − | [[ | + | [[File:CoDSP ppsh 41 reloading 1.jpg|thumb|none|500px|Reloading.]] |
| − | [[ | + | [[File:CoDSP ppsh 41 reloading 2.jpg|thumb|none|500px|Cocking the weapon.]] |
| − | [[ | + | [[File:CoDSPppsh41mele.jpg|thumb|none|500px|Stock attack.]] |
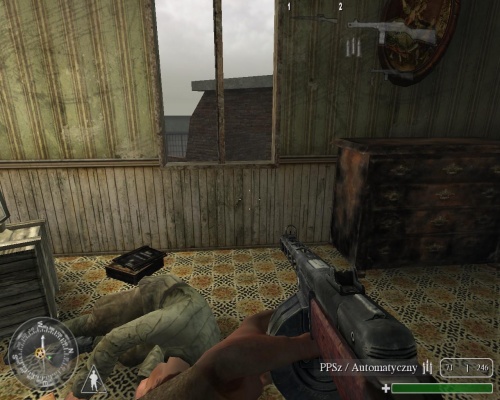
| − | [[ | + | [[File:CoDSP ppsh 41 world.jpg|thumb|none|500px|A PPSh on the floor.]] |
==Sten Mk II== | ==Sten Mk II== | ||
| − | The [[ | + | The [[Sten Mk II]] appears as the main SMG for British forces. Cpt. Price uses one during the Pegasus Bridge Levels. Sgt. Evans uses one when he infiltrates the Eder Dam, and again when he and Sgt. Waters sabotage the German V-2 missile launch site. |
| − | [[ | + | [[File:Sten.jpg|thumb|none|450px|Sten Mk II - 9x19mm]] |
| − | [[ | + | [[File:CoDSP sten holding.jpg|thumb|none|500px|The Sten in first person.]] |
| − | [[ | + | [[File:CoDSP sten aim.jpg|thumb|none|500px|Aiming; note how the weapon is tilted due to the way it is held.]] |
| − | [[ | + | [[File:CoDSP sten reloading 1.jpg|thumb|none|500px|Reloading.]] |
| − | [[ | + | [[File:CoDSP sten reloading 2.jpg|thumb|none|500px|Racking the charging handle.]] |
| − | [[ | + | [[File:CoDSP sten mele.jpg|thumb|none|500px|Melee attack.]] |
| − | [[ | + | [[File:CoDSP sten world.jpg|thumb|none|500px|World model of the Sten.]] |
==Thompson M1A1== | ==Thompson M1A1== | ||
| − | The [[ | + | The [[Thompson M1A1]] appears as the main SMG for the U.S. Army forces, notably Sgt. Moody and Cpt. Foley. Pvt. Martin has one with him in nearly all the American Levels, and trains with one at Camp Toccoa, and Pvt. Elder uses one in the car level, using it to shoot at German Soldiers that attack. A rare detail hardly ever seen on video game weapons, the Thompson in the game has the Auto Ordnance logo clearly visible on top of the weapon ahead of the rear sight. Also of note, the weapon has a fire selector switch, a mechanic that wouldn't return until 2012's ''Black Ops II.'' |
| − | [[ | + | [[File:M1sb.jpg|thumb|none|450px|Thompson M1A1 - .45 ACP]] |
| − | [[ | + | [[File:CoDSP Thompson M1A1 holding.jpg|thumb|none|500px|The Thompson being held.]] |
| − | [[ | + | [[File:CoDSP Thompson M1A1 aim.jpg|thumb|none|500px|Aiming down the sights.]] |
| − | [[ | + | [[File:CoDSP Thompson M1A1 reloading 1.jpg|thumb|none|500px|Changing magazines.]] |
| − | [[ | + | [[File:CoDSP Thompson M1A1 reloading 2.jpg|thumb|none|500px|Cocking the Thompson.]] |
| − | [[ | + | [[File:CoDSP Thompson M1A1 mele.jpg|thumb|none|500px|Meleeing with the stock]] |
| − | [[ | + | [[File:CoDSP Thompson M1A1 world.jpg|thumb|none|500px|A Thompson in third person.]] |
=Rifles= | =Rifles= | ||
==FG 42== | ==FG 42== | ||
| − | The [[FG 42]] is shown in the game as a supergun with rifle-grade firepower, high accuracy, optional full-auto fire and a Zeiss ZF4 scope. This somewhat diverges from the real weapon, which was excessively light, difficult to fire accurately and would physically destroy itself if fired in full-auto for any meaningful amount of time. It appears only in the earlier American levels and then is never seen again. In the multiplayer mode, Players are unable to spawn with the FG 42 | + | The [[FG 42]] is shown in the game as a supergun with rifle-grade firepower, high accuracy, optional full-auto fire and a Zeiss ZF4 scope. This somewhat diverges from the real weapon, which was excessively light, difficult to fire accurately and would physically destroy itself if fired in full-auto for any meaningful amount of time. It appears only in the earlier American levels and then is never seen again. In the multiplayer mode, Players are unable to spawn with the FG 42, it is scattered across most maps for players to pick up. |
| − | [[ | + | [[File:FG 42 with ZFG 42.jpg|thumb|none|450px|FG 42 second model with bipod and ZFG42 scope - 7.92x57mm]] |
| − | [[ | + | [[File:CoDSP FG42 holding.jpg|thumb|none|500px|Holding the FG 42.]] |
| − | [[ | + | [[File:CoDSP FG42 aim.jpg|thumb|none|500px|Scoped view.]] |
| + | [[File:CoDSP FG42 reloading 1.jpg|thumb|none|500px|Inserting a fresh magazine.]] | ||
| + | [[File:CoDSP FG42 reloading 2.jpg|thumb|none|500px|Pulling the charging handle.]] | ||
| + | [[File:CoDSP FG42 mele.jpg|thumb|none|500px|Meleeing with the butt of the weapon.]] | ||
| + | [[File:CoDSP FG42 world.jpg|thumb|none|500px|Pvt. Martin ignores Cpt. Foley's orders of blowing up a Tiger tank, and opts to threaten a much more dangerous scoped FG 42.]] | ||
| − | == | + | ==Karabiner 98k== |
| − | The [[ | + | The [[Karabiner 98k]] appears in the game as the standard-issue rifle of German forces, with a Zeiss ZF41 scope or with open iron sights. The scoped variant is used by Evans when he infiltrates the Eder Dam, and again during the escape when he covers Waters as he blows up a bridge that was rigged to blow. Finally, he uses one when he and Waters sabotage the V-2 launch site. |
| − | [[ | + | [[File:Karabiner-98K.jpg|thumb|none|450px|Karabiner 98k - 7.92x57mm Mauser]] |
| − | [[ | + | [[File:CoDSPkar98kholding.jpg|thumb|none|500px|The Karabiner 98k in first person.]] |
| − | [[ | + | [[File:CoDSP kar98k aim.jpg|thumb|none|500px|ADS view.]] |
| − | [[ | + | [[File:CoDSP kar98k reloading 1.jpg|thumb|none|500px|Loading a stripper clip.]] |
| + | [[File:CoDSP kar98k reloading 2.jpg|thumb|none|500px|Pushing the bolt forward.]] | ||
| + | [[File:CoDSP kar98k mele.jpg|thumb|none|500px|Melee attack.]] | ||
| + | [[File:CoDSP kar98k world.jpg|thumb|none|500px|Third-person view of the weapon.]] | ||
| − | ==Lee-Enfield No.4 Mk | + | ==Lee-Enfield No. 4 Mk I== |
| − | The [[ | + | The [[Lee-Enfield No. 4 Mk I]] appears as the main bolt action rifle for the British forces in the game. At 10 rounds loaded via two stripper clips, it has the highest ammo capacity of all bolt-action rifles in the game but this comes at a price, as the player must have discharged at least five rounds before inserting a single clip, and must completely empty the weapon to fully reload it, just like the M1. It is also the only bolt-action rifle in the game that does not have a sniper variant available, and unusually for a video game, it is extremely weak, sometimes taking two or three rounds to kill a single enemy. Sgt. Evans uses one during the Pegasus Bridge Levels. Often complained about in multiplayer due to the small front sight being difficult to see in dark areas or at lower screen resolutions. |
| − | [[ | + | [[File:LeeEnfield4Rifle.jpg|thumb|none|450px|Lee-Enfield No. 4 Mk I - .303 British]] |
| − | [[ | + | [[File:CoDSP Lee-Enfield No.4 Mk.I holding.jpg|thumb|none|500px|The player character holding a Lee-Enfield.]] |
| − | [[ | + | [[File:CoDSP Lee-Enfield No.4 Mk.I aim.jpg|thumb|none|500px|Aiming down the sights.]] |
| − | [[ | + | [[File:CoDSP Lee-Enfield No.4 Mk.I reloading 1.jpg|thumb|none|500px|Reloading.]] |
| + | [[File:CoDSP Lee-Enfield No.4 Mk.I reloading 2.jpg|thumb|none|500px|Driving the bolt forward.]] | ||
| + | [[File:CoDSP Lee-Enfield No.4 Mk.I mele.jpg|thumb|none|500px|Using the stock for a melee attack.]] | ||
| + | [[File:CoDSP Lee-Enfield No.4 Mk.I world.jpg|thumb|none|500px|World model of the Lee-Enfield.]] | ||
| + | |||
| + | ==M1 Garand== | ||
| + | The [[M1 Garand]] appears as the main service rifle of the U.S. Army forces in the game. The American single-player character, Pvt. Joey Martin, has one at the start of the Brecourt Manor level. Pvt. Elder uses one in Basic Training at Camp Toccoa, and uses one at Brecourt Manor until his death. | ||
| + | |||
| + | The Garand's use in the game is slightly handicapped by the player's inability to reload without expending the entire 8-round clip. This is correct for the manual-of-arms soldiers were taught, since using the clip latch to eject a part-used clip was only supposed to be used to either empty the rifle for storage or switch over to firing rifle grenades, not as a means of reloading (though in general characters reload too much in videogames and never encounter the partial magazines / clips that would result from doing so). | ||
| + | |||
| + | [[File:M1 Garand.jpg|thumb|none|450px|M1 Garand - .30-06]] | ||
| + | [[File:CoDSP m1 garand holding.jpg|thumb|none|500px|First-person view of the M1 Garand.]] | ||
| + | [[File:CoDSP m1 garand aim.jpg|thumb|none|500px|Using the iron sights.]] | ||
| + | [[File:CoDSP m1 garand reloading 1.jpg|thumb|none|500px|Inserting a fresh en-bloc clip.]] | ||
| + | [[File:CoDSP m1 garand reloading 2.jpg|thumb|none|500px|The end of the reloading animation, after the bolt has slammed forward.]] | ||
| + | [[File:CoDSP m1 garand mele.jpg|thumb|none|500px|Meleeing with the stock.]] | ||
| + | [[File:CoDSP m1 garand world.jpg|thumb|none|500px|The M1 in third person]] | ||
==M1A1 Carbine== | ==M1A1 Carbine== | ||
| − | The [[ | + | The [[M1A1 Carbine]] with a side-folding stock appears as the secondary service rifle for the U.S. Army. The M1A1 in the game is shown fitted with an anachronistic adjustable rear sight; the M1 Carbine series did not receive this upgrade until after World War 2. Pvt. Martin is armed with one when he lands in Normandy, and is one of the weapons he trains with at Camp Toccoa. |
| − | [[ | + | [[File:M1A1Carbine.jpg|thumb|none|350px|M1A1 Carbine - .30 Carbine]] |
| − | [[ | + | [[File:CoDSP Carbine m1a1 holding.jpg|thumb|none|500px|The M1A1 Carbine being held.]] |
| − | [[ | + | [[File:CoDSP Carbine m1a1 aim.jpg|thumb|none|500px|Aiming down the sights.]] |
| − | [[ | + | [[File:CoDSP Carbine m1a1 reloading 1.jpg|thumb|none|500px|Switching magazines.]] |
| − | + | [[File:CoDSP Carbine m1a1 reloading 2.jpg|thumb|none|500px|Pulling the charging handle.]] | |
| − | + | [[File:CoDSP Carbine m1a1 mele.jpg|thumb|none|500px|Melee attack.]] | |
| − | |||
| − | |||
| − | |||
| − | |||
| − | |||
| − | [[ | ||
| − | [[ | ||
| − | |||
| − | ==Mosin Nagant M91/30 | + | ==Mosin Nagant M91/30== |
| − | The [[ | + | The [[Mosin Nagant M91/30]] appears as the standard-issue rifle of the Soviet army, available with a PU scope or with open iron sights. Often complained about in multiplayer as it is the only sniper rifle to reload using a stripper clip rather than individual rounds. At the start of the first Soviet mission set at the Battle of Stalingrad, Voronin is issued only a single 5-round stripper clip and has to procure a rifle later on from a fallen comrade in the next level, similar to the scenario seen at the start of ''[[Enemy at the Gates]]''. |
| − | [[ | + | [[File:M9130.jpg|thumb|none|450px|Mosin Nagant M91/30 - 7.62x54mm R]] |
| − | [[ | + | [[File:CoDSP Mosin Nagant holding.jpg|thumb|none|500px|The Mosin Nagant in first person.]] |
| − | [[ | + | [[File:CoDSP Mosin Nagant aim.jpg|thumb|none|500px|Aiming.]] |
| − | [[ | + | [[File:CoDSP Mosin Nagant reloading 1.jpg|thumb|none|500px|Reloading.]] |
| − | [[ | + | [[File:CoDSP Mosin Nagant reloading 2.jpg|thumb|none|500px|Returning the bolt to forward position.]] |
| − | [[ | + | [[File:CoDSP Mosin Nagant mele.jpg|thumb|none|500px|Buttstock attack.]] |
| − | [[ | + | [[File:CoDSP Mosin Nagant world.jpg|thumb|none|500px|A Mosin Nagant on the floor.]] |
==PTRS-41== | ==PTRS-41== | ||
| − | The [[PTRS-41 rifle]] appears in the level "Pavlov's House" by Voronin to destroy a series of attacking German tanks. The guns behave very unusually: Hitting the front of a tank or the ground causes a small explosion, when the bullets are not explosive just solid AP and shooting a tank 3-5 times anywhere will make it explode. The hatch, however, takes only a couple shots, which is how it would work in real life. This level in general is a reference to a famous apartment building where a Sergeant Pavlov and a group of about 30 other men held off the entire German Army for two months during the Battle of Stalingrad. Pavlov himself is cited as having destroyed 12 tanks with this anti- | + | The [[PTRS-41 rifle]] appears in the level "Pavlov's House" by Voronin to destroy a series of attacking German tanks. The guns behave very unusually: Hitting the front of a tank or the ground causes a small explosion, when the bullets are not explosive just solid AP and shooting a tank 3-5 times anywhere will make it explode. The hatch, however, takes only a couple shots, which is how it would work in real life. This level in general is a reference to a famous apartment building where a Sergeant Pavlov and a group of about 30 other men held off the entire German Army for two months during the Battle of Stalingrad. Pavlov himself is cited as having destroyed 12 tanks with this anti-materiel rifle. |
| − | [[file:PTRS 41.jpg|thumb|none| | + | [[file:PTRS 41.jpg|thumb|none|450px|PTRS-41 anti-tank rifle - 14.5x114mm]] |
| − | [[file:CoDSP ptrs-41 holding.jpg|thumb|none| | + | [[file:CoDSP ptrs-41 holding.jpg|thumb|none|500px|The PTRS-41 in use.]] |
| − | [[file:CoDSP ptrs-41 1.jpg|thumb|none| | + | [[file:CoDSP ptrs-41 1.jpg|thumb|none|500px|Third-person view of the weapon.]] |
| − | [[file:CoDSP ptrs-41 2.jpg|thumb|none| | + | [[file:CoDSP ptrs-41 2.jpg|thumb|none|500px|A more distant view of the right side.]] |
| − | [[file:CoDSP ptrs-41 3.jpg|thumb|none| | + | [[file:CoDSP ptrs-41 3.jpg|thumb|none|500px|Left side of the PTRS-41.]] |
==Sturmgewehr 44== | ==Sturmgewehr 44== | ||
| − | The [[Sturmgewehr 44]] appears in the hands of German forces in the game, and is one of the most popular weapons used in multiplayer due to its firepower, accuracy, and rate of fire. Is shown issued to troops at the battle of Stalingrad, though the battle ended several months before they were first issued. It is also referred to in-game as the "MP44", despite the fact that most of the levels it appears in except the last couple take place in 1943. One is notably seen carried by a German Sailor aboard the ''Tirpitz'', but is never seen again. | + | The [[Sturmgewehr 44]] appears in the hands of German forces in the game, and is one of the most popular weapons used in multiplayer due to its firepower, accuracy, and rate of fire. Is shown issued to troops at the battle of Stalingrad, though the battle ended several months before they were first issued. It is also referred to in-game as the "MP44", despite the fact that most of the levels it appears in except the last couple take place in 1943. One is notably seen carried by a German Sailor aboard the ''Tirpitz'', but is never seen again. Like the Thompson, it can be set to either semi or automatic fire, something it cannot do in any CoD game since. |
| − | [[file:Sturmgewehr 44.jpg|thumb|none| | + | [[file:Sturmgewehr 44.jpg|thumb|none|450px|Sturmgewehr 44 - 7.92x33mm]] |
| − | [[file:CoDSP STG44 holding.jpg|thumb|none| | + | [[file:CoDSP STG44 holding.jpg|thumb|none|500px|The Sturmgewehr 44 being held.]] |
| − | [[file:CoDSP STG44 aim.jpg|thumb|none| | + | [[file:CoDSP STG44 aim.jpg|thumb|none|500px|Aiming.]] |
| − | [[file:CoDSP STG44 reloading 1.jpg|thumb|none| | + | [[file:CoDSP STG44 reloading 1.jpg|thumb|none|500px|Replacing the magazine.]] |
| − | [[file:CoDSP STG44 reloading 2.jpg|thumb|none| | + | [[file:CoDSP STG44 reloading 2.jpg|thumb|none|500px|Racking the charging handle.]] |
| − | [[file:CoDSP STG44 mele.jpg|thumb|none| | + | [[file:CoDSP STG44 mele.jpg|thumb|none|500px|Meleeing with the stock.]] |
| − | [[file:CoDSP STG44 world.jpg|thumb|none| | + | [[file:CoDSP STG44 world.jpg|thumb|none|500px|A StG 44 in the middle of dead soldiers.]] |
=Sniper Rifles= | =Sniper Rifles= | ||
| − | == | + | ==Karabiner 98k Sniper== |
| − | [[file: | + | The Karabiner 98k equipped with a Zeiss ZF41 scope appears as the main German sniper rifle. |
| − | [[file:CoDSP kar98k sniper holding.jpg|thumb|none| | + | [[file:98kZF4.jpg|thumb|none|450px|Karabiner 98k with Zeiss ZF41 1.5x scope and hooded front sight - 7.92x57mm Mauser]] |
| − | [[file:CoDSP kar98k sniper aim.jpg|thumb|none| | + | [[file:CoDSP kar98k sniper holding.jpg|thumb|none|500px|First-person view of the scoped Karabiner 98k.]] |
| − | [[file:CoDSP kar98k sniper reloading 1.jpg|thumb|none| | + | [[file:CoDSP kar98k sniper aim.jpg|thumb|none|500px|Aiming down the scope.]] |
| − | [[file:CoDSP kar98k sniper reloading 2.jpg|thumb|none| | + | [[file:CoDSP kar98k sniper reloading 1.jpg|thumb|none|500px|Loading individual rounds.]] |
| − | [[file:CoDSP kar98k sniper mele.jpg|thumb|none| | + | [[file:CoDSP kar98k sniper reloading 2.jpg|thumb|none|500px|Driving the bolt forward.]] |
| − | [[file:CoDSP kar98k sniper world.jpg|thumb|none| | + | [[file:CoDSP kar98k sniper mele.jpg|thumb|none|500px|Buttstock attack.]] |
| + | [[file:CoDSP kar98k sniper world.jpg|thumb|none|500px|A scoped 98k on the ground. Note that the ZF41 scope is mounted rather rearward in a more traditional position for a scope instead of its designated place.]] | ||
| + | |||
| + | ==M1903A4 Springfield== | ||
| + | The [[M1903A4 Springfield]] appears as the main U.S. sniper rifle. Unlike the other bolt-action sniper rifles mentioned below, this rifle does not have an open iron sights version, mainly because the A4 didn't have sights. Pvt. Martin trains with one at Camp Toccoa, and uses one to snipe at the German guards at the entrance to Dulag 183. | ||
| + | [[file:Rifle Springfield M1903A4 with M84 sight.jpg|thumb|none|450px|M1903A4 Springfield sniper rifle with M84 scope - .30-06]] | ||
| + | [[file:CoDSP M1903A4 Springfield holding.jpg|thumb|none|500px|The Springfield being held.]] | ||
| + | [[file:CoDSP M1903A4 Springfield aim.jpg|thumb|none|500px|Aiming.]] | ||
| + | [[file:CoDSP M1903A4 Springfield reloading 1.jpg|thumb|none|500px|Reloading.]] | ||
| + | [[file:CoDSP M1903A4 Springfield reloading 2.jpg|thumb|none|500px|Returning the bolt to forward position.]] | ||
| + | [[file:CoDSP M1903A4 Springfield mele.jpg|thumb|none|500px|Meleeing.]] | ||
==Mosin Nagant M91/30 Sniper== | ==Mosin Nagant M91/30 Sniper== | ||
| − | + | [[file:MosinNagantM9130Sniper.jpg|thumb|none|450px|Mosin Nagant M91/30 Sniper - 7.62x54mm R]] | |
| − | [[file:MosinNagantM9130Sniper.jpg|thumb|none| | + | [[file:CoDSP Mosin Nagant sniper holding.jpg|thumb|none|500px|The weapon being held.]] |
| − | [[file:CoDSP Mosin Nagant sniper holding.jpg|thumb|none| | + | [[file:CoDSP Mosin Nagant sniper aim.jpg|thumb|none|500px|Scoped view.]] |
| − | [[file:CoDSP Mosin Nagant sniper aim.jpg|thumb|none| | + | [[file:CoDSP Mosin Nagant sniper reloading 1.jpg|thumb|none|500px|Due to the way the scope is mounted, the player character is able to insert a full stripper clip, unlike other sniper rifles in the game.]] |
| − | [[file:CoDSP Mosin Nagant sniper reloading 1.jpg|thumb|none| | + | [[file:CoDSP Mosin Nagant sniper reloading 2.jpg|thumb|none|500px|Pushing the bolt forward.]] |
| − | [[file:CoDSP Mosin Nagant sniper reloading 2.jpg|thumb|none| | + | [[file:CoDSP Mosin Nagant sniper mele.jpg|thumb|none|500px|Melee attack.]] |
| − | [[file:CoDSP Mosin Nagant sniper mele.jpg|thumb|none| | + | [[file:CoDSP Mosin Nagant sniper world.jpg|thumb|none|500px|The scoped Mosin Nagant in third person.]] |
| − | [[file:CoDSP Mosin Nagant sniper world.jpg|thumb|none| | ||
| − | |||
| − | |||
| − | |||
| − | |||
| − | |||
| − | |||
| − | |||
| − | |||
| − | |||
=Machine Guns= | =Machine Guns= | ||
| Line 176: | Line 191: | ||
==Bren Mk2== | ==Bren Mk2== | ||
The [[Bren gun|Bren Mk2]] appears as the main support weapon for British forces. Sgt. Evans uses one during the assault on the Pegasus Bridge and when defending it, and again when he, Waters, and Price are escaping from the Eder Dam. | The [[Bren gun|Bren Mk2]] appears as the main support weapon for British forces. Sgt. Evans uses one during the assault on the Pegasus Bridge and when defending it, and again when he, Waters, and Price are escaping from the Eder Dam. | ||
| − | [[file: | + | [[file:Bren mk2.jpg|thumb|none|450px|Bren Mk 2 - .303 British]] |
| − | [[file:CoDSP Bren holding.jpg|thumb|none| | + | [[file:CoDSP Bren holding.jpg|thumb|none|500px|The Bren gun in first person]] |
| − | [[file:CoDSP Bren aim.jpg|thumb|none| | + | [[file:CoDSP Bren aim.jpg|thumb|none|500px|Aiming down the sights.]] |
| − | [[file:CoDSP Bren reloading 1.jpg|thumb|none| | + | [[file:CoDSP Bren reloading 1.jpg|thumb|none|500px|The player character about to remove the magazine.]] |
| − | [[file:CoDSP Bren reloading 2.jpg|thumb|none| | + | [[file:CoDSP Bren reloading 2.jpg|thumb|none|500px|Reloading.]] |
| − | [[file:CoDSP Bren mele.jpg|thumb|none| | + | [[file:CoDSP Bren mele.jpg|thumb|none|500px|Stock attack.]] |
| − | [[file:CoDSP Bren world.jpg|thumb|none| | + | [[file:CoDSP Bren world.jpg|thumb|none|500px|World model of the Bren.]] |
| − | ==Browning Automatic Rifle== | + | ==M1918A2 Browning Automatic Rifle== |
| − | The [[Browning Automatic Rifle]] appears as the main support weapon for the U.S. Army forces, with the bipod removed as in ''[[Saving Private Ryan]]''. Pvt. Martin uses one in the Austrian level when he and his squad rescue Cpt. Price from the German Mansion. | + | The [[Browning Automatic Rifle]] appears as the main support weapon for the U.S. Army forces, with the bipod removed as in ''[[Saving Private Ryan]]''. Pvt. Martin uses one in the Austrian level when he and his squad rescue Cpt. Price from the German Mansion. Like the Thompson and STG-44, it takes advantage of the game's fire selection mechanics, and realistically has two modes: normal and slow. |
| − | [[file:BAR.jpg|thumb|none| | + | [[file:BAR.jpg|thumb|none|450px|M1918A2 Browning Automatic Rifle - .30-06]] |
| − | [[file:CoDSP BAR holding.jpg|thumb|none| | + | [[file:CoDSP BAR holding.jpg|thumb|none|500px|Holding the BAR.]] |
| − | [[file:CoDSP BAR aim.jpg|thumb|none| | + | [[file:CoDSP BAR aim.jpg|thumb|none|500px|Aiming.]] |
| − | [[file:CoDSP BAR reloading 1.jpg|thumb|none| | + | [[file:CoDSP BAR reloading 1.jpg|thumb|none|500px|Pulling the charging handle before replacing the magazine.]] |
| − | [[file:CoDSP BAR reloading 2.jpg|thumb|none| | + | [[file:CoDSP BAR reloading 2.jpg|thumb|none|500px|Reloading; note how the charging handle is erroneously locked in the rear position.]] |
| − | [[file:CoDSP BAR mele.jpg|thumb|none| | + | [[file:CoDSP BAR mele.jpg|thumb|none|500px|Melee attack.]] |
==MG42== | ==MG42== | ||
| − | In some levels, the player can commandeer German [[MG42]] machine guns. In the 'basic training' level at the start of the game, Pvt. Martin is taught how to low-crawl under barbed wire while an MG42 is fired over his head. While this should have been an American machine gun like the [[Browning M1919]], it is possible that a captured MG42 was used to acclimate soldiers to the MG42's notoriously demoralizing sound when fired. Sgt. Evans uses one to cover his squad when they retreat across the Pegasus Bridge, and Waters uses one to cover Evans while he uses a Flak 38 to down several Stuka Dive Bombers. It is notably used by Russian Commissars to execute fleeing conscripts at the start of the Red Square level, rather than the [[Maxim#Maxim M1910|Maxim M1910]] used in the sequence in ''[[Enemy at the Gates]]'' that inspired it. | + | In some levels, the player can commandeer German [[MG42]] machine guns. In the 'basic training' level at the start of the game, Pvt. Martin is taught how to low-crawl under barbed wire while an MG42 is fired over his head. While this should have been an American machine gun like the [[Browning M1919]], it is possible that a captured MG42 was used to acclimate soldiers to the MG42's notoriously demoralizing sound when fired. Sgt. Evans uses one to cover his squad when they retreat across the Pegasus Bridge, and Waters uses one to cover Evans while he uses a Flak 38 to down several Stuka Dive Bombers. It is notably used by Russian Commissars to execute fleeing conscripts at the start of the Red Square level, rather than the [[Maxim#Maxim M1910|Maxim M1910]] used in the sequence in ''[[Enemy at the Gates]]'' that inspired it. While the MG42 actually saw limited use at Stalingrad, the game's depiction commits the common error of showing the weapon with the post 1943 vertical charging handle instead of the period appropriate and rare slab-sided horizontal handle. |
| − | [[file:MG42.jpg|thumb|none| | + | [[file:MG42.jpg|thumb|none|450px|MG42 - 7.92x57mm Mauser]] |
| − | [[file:CoDSP mg42 holding.jpg|thumb|none| | + | [[file:CoDSP mg42 holding.jpg|thumb|none|500px|Seeing as the MG42 is not loaded, it makes perfect sense for it not to run out of ammunition.]] |
| − | [[file:CoDSP mg42 world 1.jpg|thumb|none| | + | [[file:CoDSP mg42 world 1.jpg|thumb|none|500px|A couple of MG42s inside a building. Note the vertical charging handle, a feature which was developed at some point in 1943 after the Battle of Stalingrad.]] |
| − | [[file:CoDSP mg42 world 2.jpg|thumb|none| | + | [[file:CoDSP mg42 world 2.jpg|thumb|none|500px|Another MG42.]] |
| − | [[file:CoDSP mg42 world 3.jpg|thumb|none| | + | [[file:CoDSP mg42 world 3.jpg|thumb|none|500px|Left side view.]] |
=Grenades & Explosives= | =Grenades & Explosives= | ||
| − | |||
==Dynamite== | ==Dynamite== | ||
| − | [[file:CoDSP dynamite 2.jpg|thumb|none| | + | [[file:CoDSP dynamite 2.jpg|thumb|none|500px|A dynamite pack placed on a wall.]] |
| − | [[file:CoDSP dynamite.jpg|thumb|none| | + | [[file:CoDSP dynamite.jpg|thumb|none|500px|Unused dynamite.]] |
==Mk 2 Hand Grenade== | ==Mk 2 Hand Grenade== | ||
The [[Mk 2 hand grenade]] appears as the main hand grenade for the U.S. Army forces. | The [[Mk 2 hand grenade]] appears as the main hand grenade for the U.S. Army forces. | ||
[[file:MK2 grenade DoD.jpg|thumb|150px|none|Mk 2 High-Explosive Fragmentation hand grenade]] | [[file:MK2 grenade DoD.jpg|thumb|150px|none|Mk 2 High-Explosive Fragmentation hand grenade]] | ||
| − | [[file:CoDSP M2 grenade holding.jpg|thumb|none| | + | [[file:CoDSP M2 grenade holding.jpg|thumb|none|500px|A Mk 2 hand grenade in first person.]] |
| − | [[file:CoDSP M2 grenade mele.jpg|thumb|none| | + | [[file:CoDSP M2 grenade mele.jpg|thumb|none|500px|The player character about to throw a grenade.]] |
| − | [[file:CoDSP M2 grenade world.jpg|thumb|none| | + | [[file:CoDSP M2 grenade world.jpg|thumb|none|500px|A Mk 2 grenade on a table.]] |
==Mills Bomb== | ==Mills Bomb== | ||
The [[Mills Bomb]] appears as the standard-issue hand grenade of British forces in the game, referred to as the "MK1 Frag Grenade" in-game. | The [[Mills Bomb]] appears as the standard-issue hand grenade of British forces in the game, referred to as the "MK1 Frag Grenade" in-game. | ||
[[file:Mills Bomb SGM-1.jpg|thumb|none|150px|Mills Bomb High-Explosive Fragmentation hand grenade]] | [[file:Mills Bomb SGM-1.jpg|thumb|none|150px|Mills Bomb High-Explosive Fragmentation hand grenade]] | ||
| − | [[file:CoDSP Mills Bomb holding.jpg|thumb|none| | + | [[file:CoDSP Mills Bomb holding.jpg|thumb|none|500px|A Mills Bomb in-game.]] |
==Model 24 Stielhandgranate== | ==Model 24 Stielhandgranate== | ||
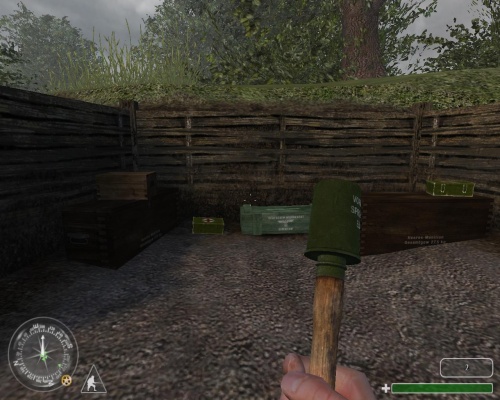
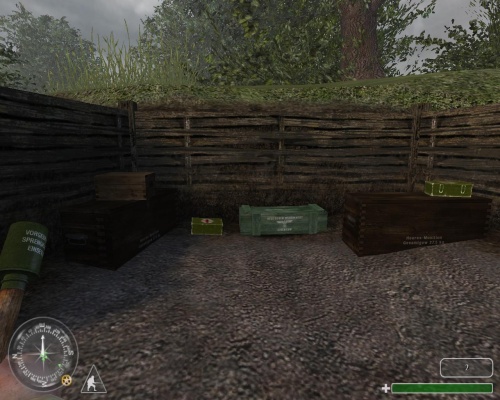
The [[Model 24 Stielhandgranate]] appears as the standard hand grenade for German soldiers in the game, and can also be commandeered by the player. | The [[Model 24 Stielhandgranate]] appears as the standard hand grenade for German soldiers in the game, and can also be commandeered by the player. | ||
| − | [[file:24- | + | [[file:24-43 grenade.jpg|thumb|none|300px|Model 24 Stielhandgrenate]] |
| − | [[file:CoDSP Model 24 Stielhandgranate holding.jpg|thumb|none| | + | [[file:CoDSP Model 24 Stielhandgranate holding.jpg|thumb|none|500px|The Stielhandgrenate in first person.]] |
| − | [[file:CoDSP Model 24 Stielhandgranate mele.jpg|thumb|none| | + | [[file:CoDSP Model 24 Stielhandgranate mele.jpg|thumb|none|500px|Meleeing with the grenade.]] |
==RGD-33 Stick Grenade== | ==RGD-33 Stick Grenade== | ||
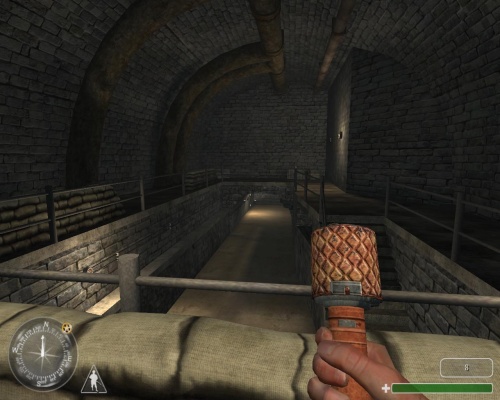
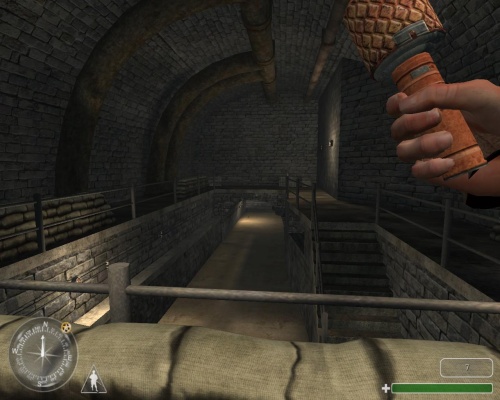
The [[RGD-33 stick grenade]] appears as the standard grenade for Soviet forces in the game. | The [[RGD-33 stick grenade]] appears as the standard grenade for Soviet forces in the game. | ||
| − | [[file:Rgd-33russianfrag mp.jpg|thumb|none| | + | [[file:Rgd-33russianfrag mp.jpg|thumb|none|250px|RGD-33 High-Explosive Fragmentation stick grenade]] |
| − | [[file:CoDSP RGD-33 holding.jpg|thumb|none| | + | [[file:CoDSP RGD-33 holding.jpg|thumb|none|500px|The RGD-33 in-game.]] |
| − | [[file:CoDSP RGD-33 mele.jpg|thumb|none| | + | [[file:CoDSP RGD-33 mele.jpg|thumb|none|500px|Melee attack.]] |
=Launchers= | =Launchers= | ||
| Line 235: | Line 249: | ||
==Panzerfaust== | ==Panzerfaust== | ||
The [[Panzerfaust]] appears as the only man-portable anti-armor weapon available in the game. | The [[Panzerfaust]] appears as the only man-portable anti-armor weapon available in the game. | ||
| − | [[file:Panzerfaust.jpg|thumb|none| | + | [[file:Panzerfaust.jpg|thumb|none|450px|Panzerfaust - 44mm with 149mm warhead]] |
| − | [[file:CoDSP Panzerfaust holding.jpg|thumb|none| | + | [[file:CoDSP Panzerfaust holding.jpg|thumb|none|500px|The Panzerfaust in first person.]] |
| − | [[file:CoDSP Panzerfaust aim.jpg|thumb|none| | + | [[file:CoDSP Panzerfaust aim.jpg|thumb|none|500px|Aiming.]] |
| − | [[file:CoDSP Panzerfaust mele.jpg|thumb|none| | + | [[file:CoDSP Panzerfaust mele.jpg|thumb|none|500px|Meleeing.]] |
| − | [[file:CoDSP Panzerfaust world.jpg|thumb|none| | + | [[file:CoDSP Panzerfaust world.jpg|thumb|none|500px|Third-person of the Panzerfaust.]] |
=Others= | =Others= | ||
| Line 245: | Line 259: | ||
==FlaK 18== | ==FlaK 18== | ||
FlaK 18 88mm cannons are present throughout the campaign, and are occasionally usable by the player; they have infinite ammunition, with a substantial pause between shots. This is perhaps the most outlandish single-man crew-served weapon in the series since the FlaK would normally require a crew of at least eight men. The player character is shown positioned on the left of the gun, which is the correct location for the firing lever but would mean they could not operate the elevation and traverse handwheels on the right side, or reload the gun. | FlaK 18 88mm cannons are present throughout the campaign, and are occasionally usable by the player; they have infinite ammunition, with a substantial pause between shots. This is perhaps the most outlandish single-man crew-served weapon in the series since the FlaK would normally require a crew of at least eight men. The player character is shown positioned on the left of the gun, which is the correct location for the firing lever but would mean they could not operate the elevation and traverse handwheels on the right side, or reload the gun. | ||
| − | [[file:CoDSP 88 1.jpg|thumb|none| | + | |
| − | [[file:CoDSP 88 2.jpg|thumb|none| | + | [[Image:Flak18-36.jpg|thumb|none|400px|FlaK 18 antiaircraft gun on a FlaK 36 cruciform mount at the British Imperial War Museum - 88mm]] |
| + | [[file:CoDSP 88 1.jpg|thumb|none|500px|Right side of the FlaK 18. Note the one-piece barrel.]] | ||
| + | [[file:CoDSP 88 2.jpg|thumb|none|500px|Left side view. The gun is shown with no loading tray and the rear of the automatic rammer removed; it was actually quite common for some or all of the gun's ramming mechanism to be missing in the field, since trained crews could manually load the gun faster than the automatic system could.]] | ||
==Flakvierling 38== | ==Flakvierling 38== | ||
| − | [[file:CoDSP Flakvierling 38 aim.jpg|thumb|none| | + | Several [[Flakvierling 38]] quad guns are seen in the game, like the above FlaK 18 guns, some are usable by the player, notably in the final part of the Eder Dam escape mission. More bizarrely, they can be seen on Panzer IV-based Möbelwagen anti-aircraft vehicles in the D-Day level; while this configuration did actually exist, it was only used on a single prototype, the Flakvierling being deemed too weak and ultimately being replaced with a single 3.7cm FlaK 43 on the production model. |
| − | [[file:CoDSP Flakvierling 38 world.jpg|thumb|none| | + | [[Image:Flak38.jpg|thumb|none|400px|Flakvierling 38 - 20x138mm B]] |
| + | [[file:CoDSP Flakvierling 38 aim.jpg|thumb|none|500px|Manned FPS view of the Flakvierling 38.]] | ||
| + | [[file:CoDSP Flakvierling 38 world.jpg|thumb|none|500px|The Flakvierling 38 in third person.]] | ||
| − | == | + | ==Granatwerfer 34== |
| − | [[file:CoDSP mortar.jpg|thumb|none| | + | German Fallschirmjägers use the [[Granatwerfer 34 Mortar|Granatwerfer 34]] mortar. |
| + | [[Image:8cm-granatwerfer-34.jpg|thumb|none|300px|8-cm Granatwerfer 34 (GrW 34)]] | ||
| + | [[file:CoDSP mortar.jpg|thumb|none|500px|One of the soldiers refused to die without giving a warm hug to his mortar.]] | ||
{{Call of Duty Series}} | {{Call of Duty Series}} | ||
Revision as of 05:29, 17 December 2019
|
The following weapons are used in the video game Call of Duty:
Handguns
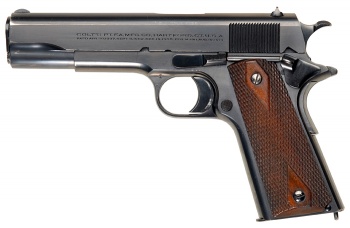
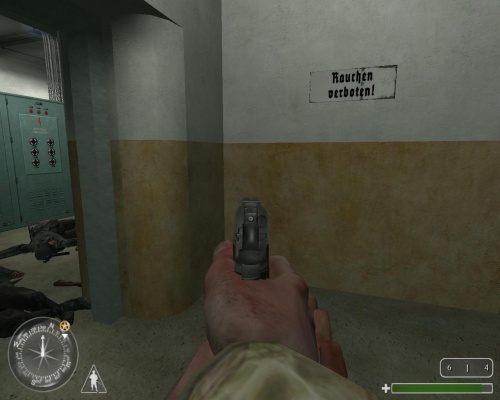
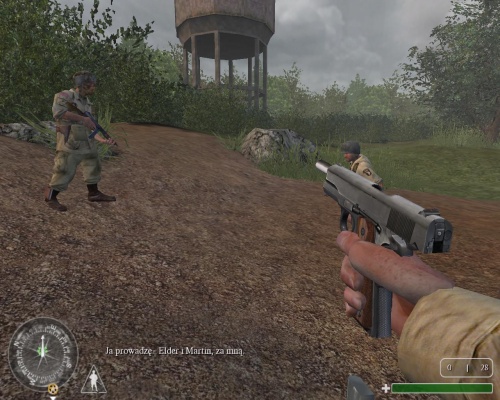
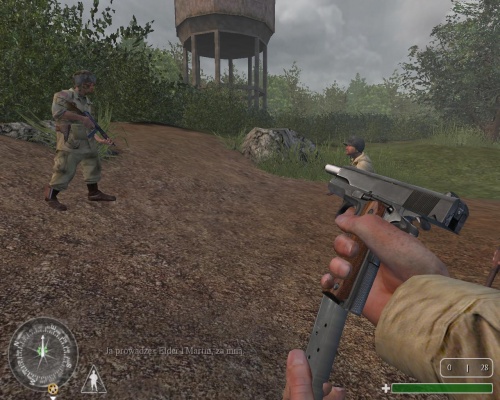
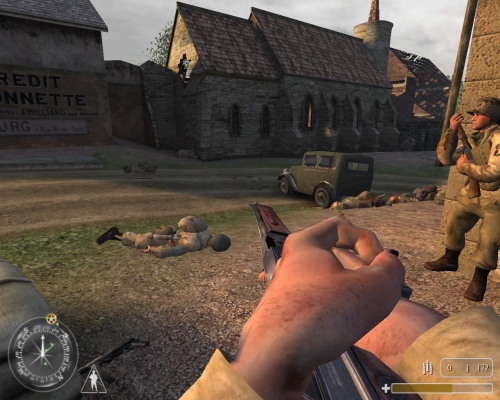
Colt M1911
The Colt M1911 is the main sidearm used by both U.S. and British troops in the game. Pvt. Martin and the British Character, Sgt. Jack Evans, both use M1911 pistols throughout their levels. Sgt. Waters uses one when he and Evans protect the truck that they and Cpt. Price are escaping in.
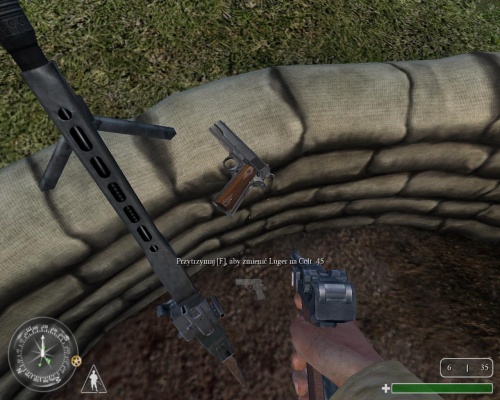
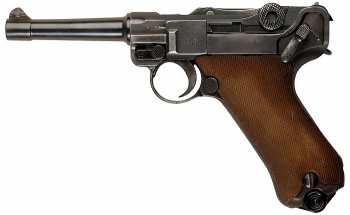
Luger P08
The Luger P08 incorrectly appears as the sidearm for Soviet troops. It is used by the commissars who execute retreating conscripts. They are also the sidearm for German forces.
Submachine Guns
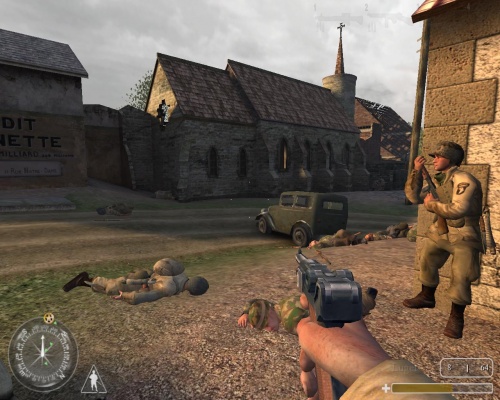
MP40
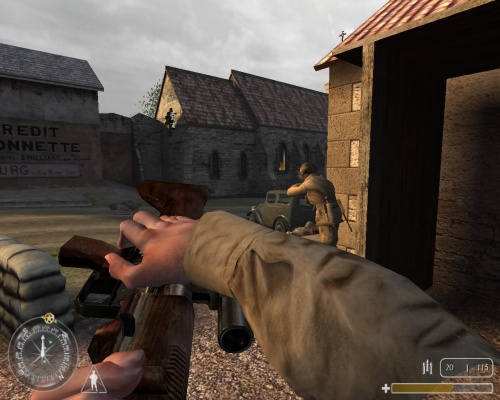
The MP40 appears as the submachine gun for the Germans. Evans and Price commandeer MP40s when they sabotage the German Battleship Tirpitz, and Price also uses one.
PPSh-41
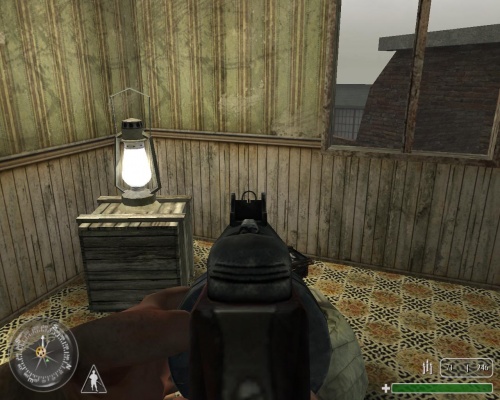
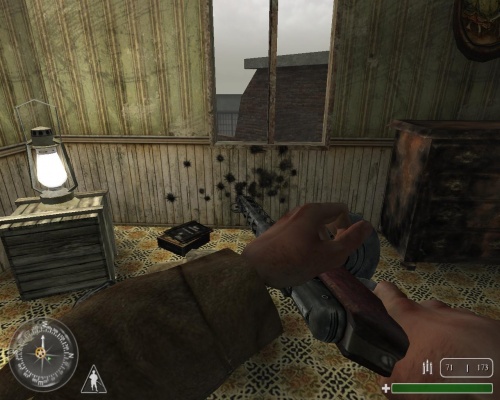
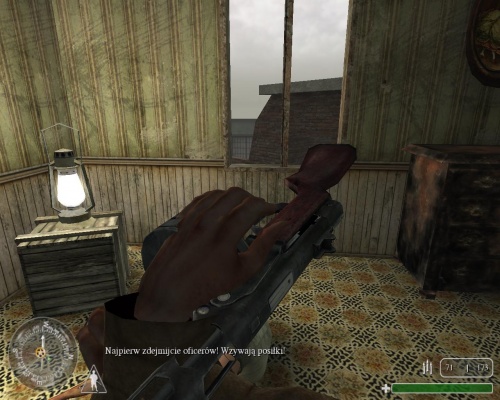
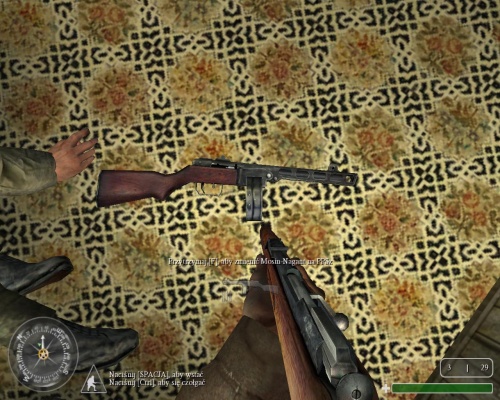
The PPSh-41 appears as the main SMG for the Red Army, and has the highest ammo capacity of all the submachine guns in the game at 71 rounds per drum magazine and has the highest rate of fire, so to compensate it is wildly inaccurate and very weak. They are notably used by Commissars to execute retreating Conscripts. Almost every Russian mission after Red Square starts with Alexei Voronin using one of these.
Sten Mk II
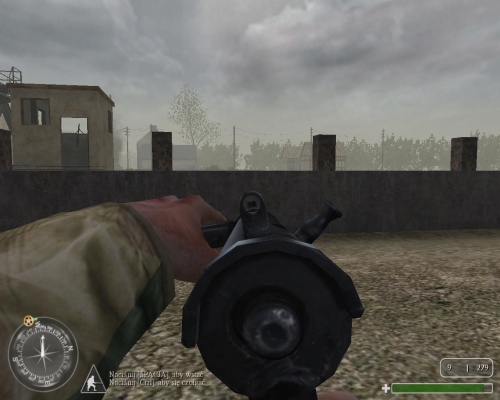
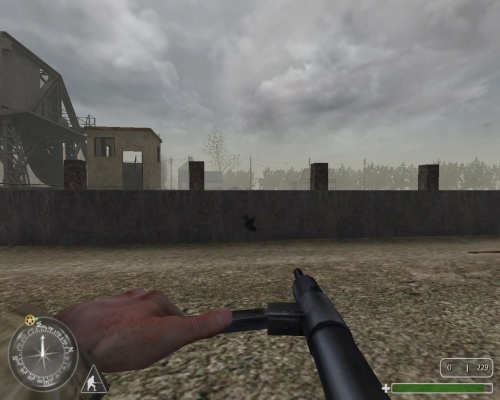
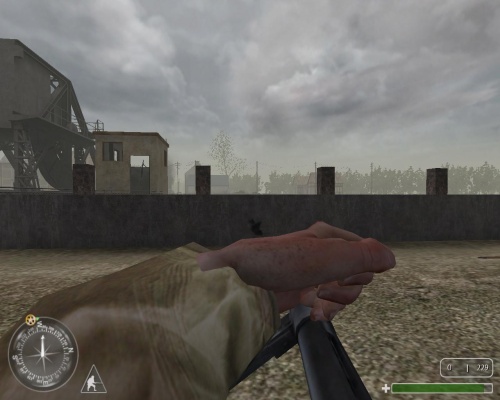
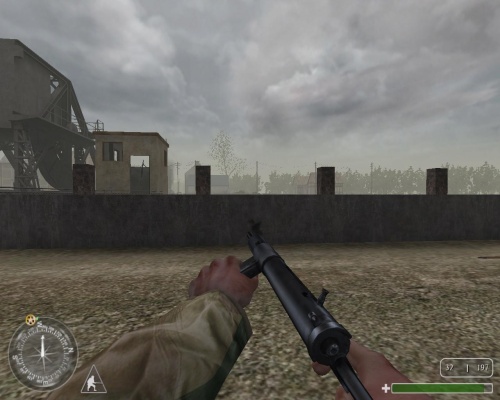
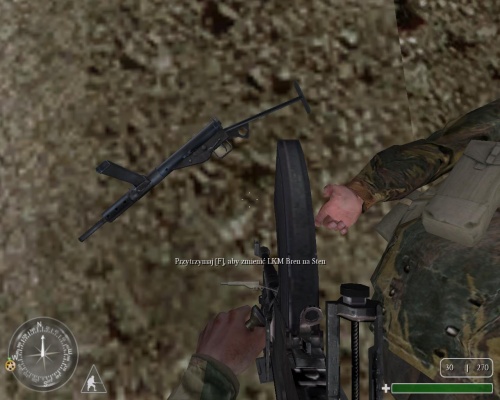
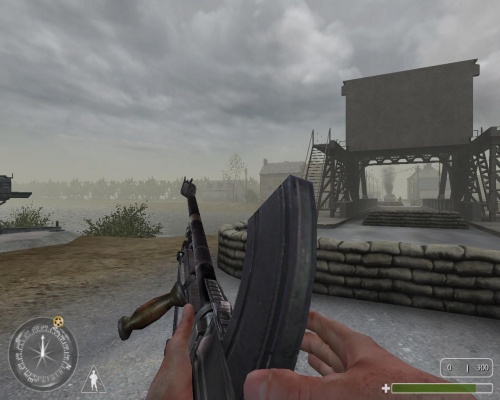
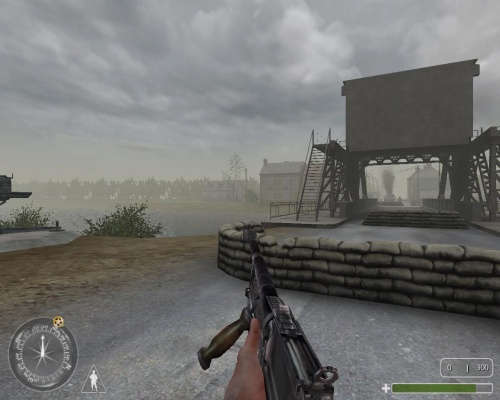
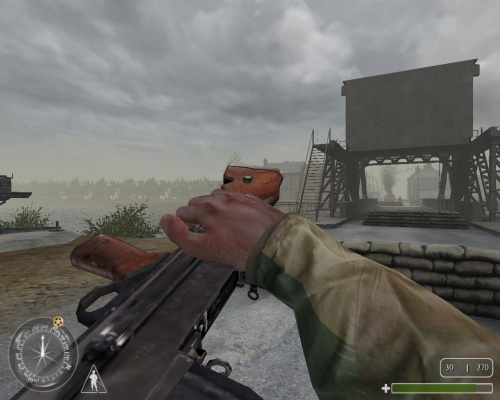
The Sten Mk II appears as the main SMG for British forces. Cpt. Price uses one during the Pegasus Bridge Levels. Sgt. Evans uses one when he infiltrates the Eder Dam, and again when he and Sgt. Waters sabotage the German V-2 missile launch site.
Thompson M1A1
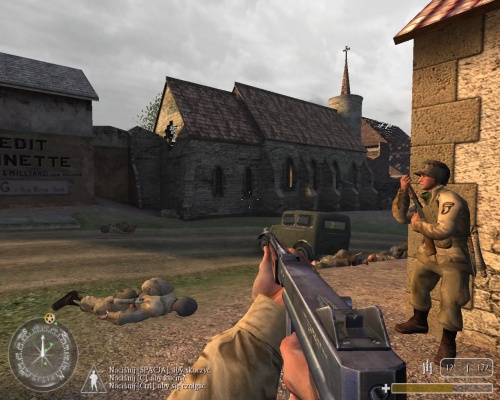
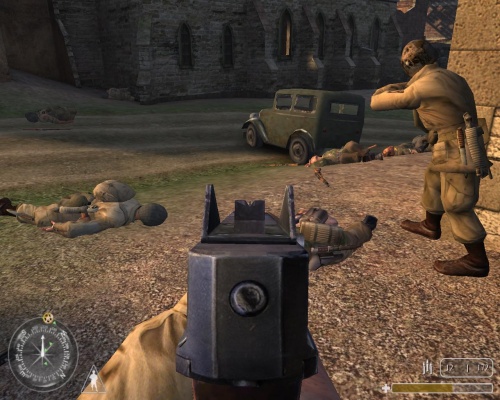
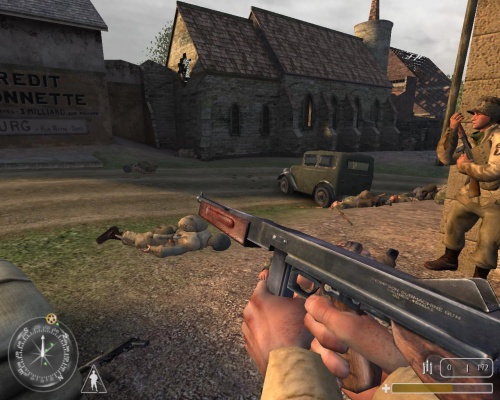
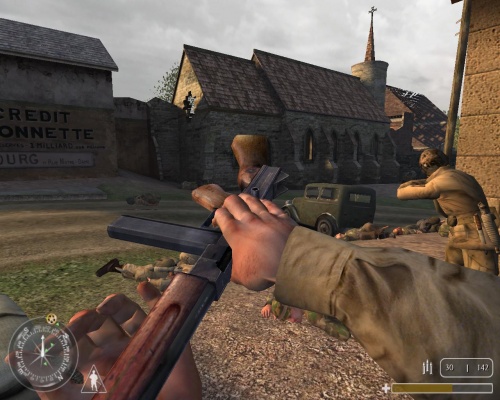
The Thompson M1A1 appears as the main SMG for the U.S. Army forces, notably Sgt. Moody and Cpt. Foley. Pvt. Martin has one with him in nearly all the American Levels, and trains with one at Camp Toccoa, and Pvt. Elder uses one in the car level, using it to shoot at German Soldiers that attack. A rare detail hardly ever seen on video game weapons, the Thompson in the game has the Auto Ordnance logo clearly visible on top of the weapon ahead of the rear sight. Also of note, the weapon has a fire selector switch, a mechanic that wouldn't return until 2012's Black Ops II.
Rifles
FG 42
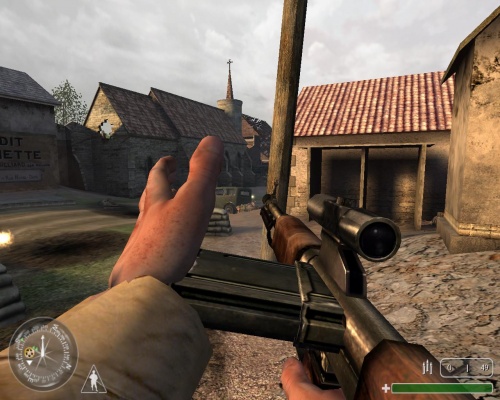
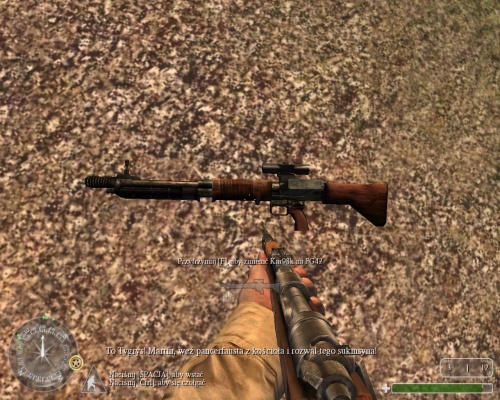
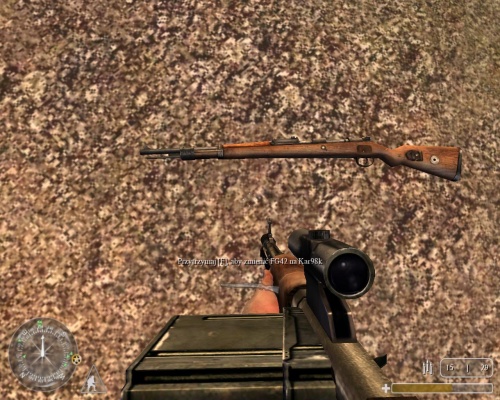
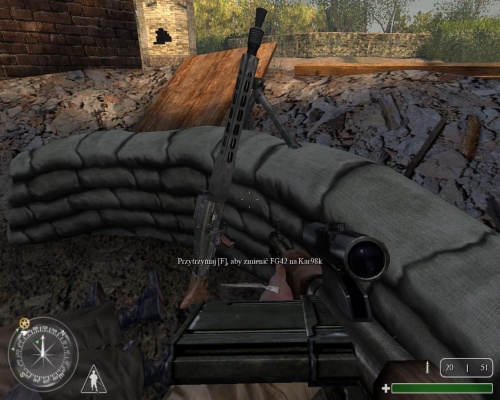
The FG 42 is shown in the game as a supergun with rifle-grade firepower, high accuracy, optional full-auto fire and a Zeiss ZF4 scope. This somewhat diverges from the real weapon, which was excessively light, difficult to fire accurately and would physically destroy itself if fired in full-auto for any meaningful amount of time. It appears only in the earlier American levels and then is never seen again. In the multiplayer mode, Players are unable to spawn with the FG 42, it is scattered across most maps for players to pick up.
Karabiner 98k
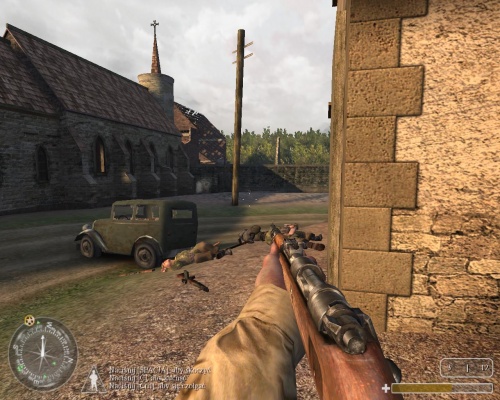
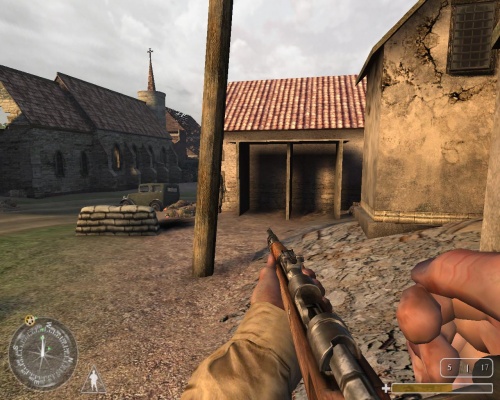
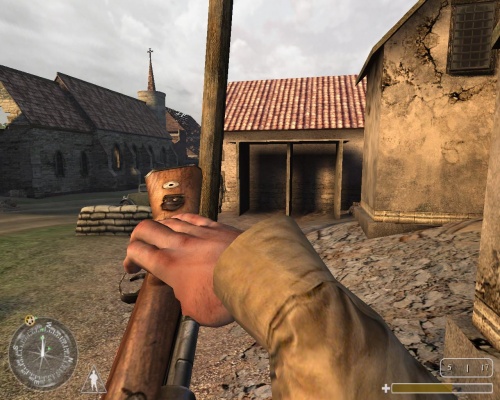
The Karabiner 98k appears in the game as the standard-issue rifle of German forces, with a Zeiss ZF41 scope or with open iron sights. The scoped variant is used by Evans when he infiltrates the Eder Dam, and again during the escape when he covers Waters as he blows up a bridge that was rigged to blow. Finally, he uses one when he and Waters sabotage the V-2 launch site.
Lee-Enfield No. 4 Mk I
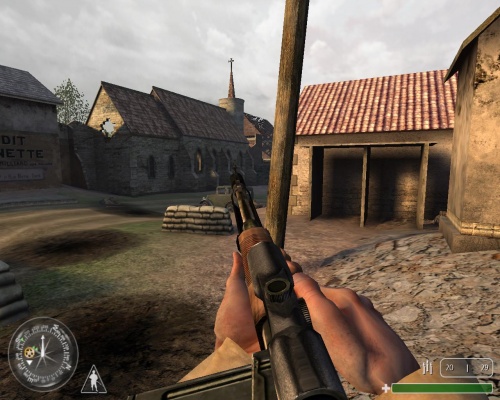
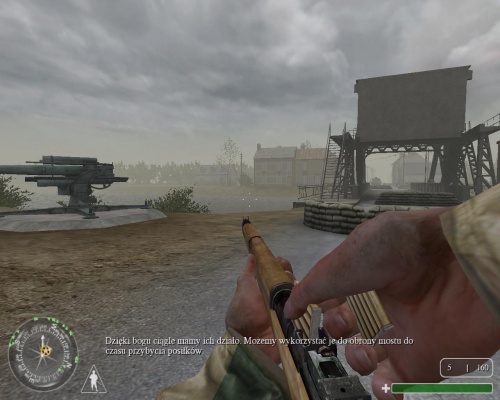
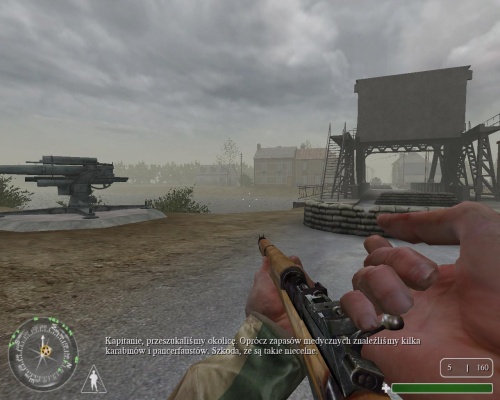
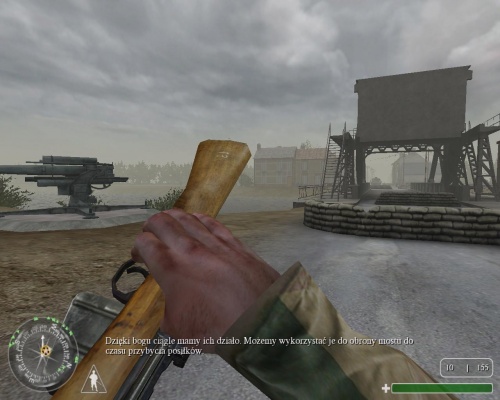
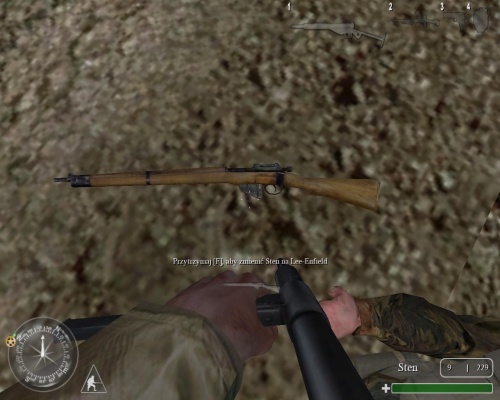
The Lee-Enfield No. 4 Mk I appears as the main bolt action rifle for the British forces in the game. At 10 rounds loaded via two stripper clips, it has the highest ammo capacity of all bolt-action rifles in the game but this comes at a price, as the player must have discharged at least five rounds before inserting a single clip, and must completely empty the weapon to fully reload it, just like the M1. It is also the only bolt-action rifle in the game that does not have a sniper variant available, and unusually for a video game, it is extremely weak, sometimes taking two or three rounds to kill a single enemy. Sgt. Evans uses one during the Pegasus Bridge Levels. Often complained about in multiplayer due to the small front sight being difficult to see in dark areas or at lower screen resolutions.
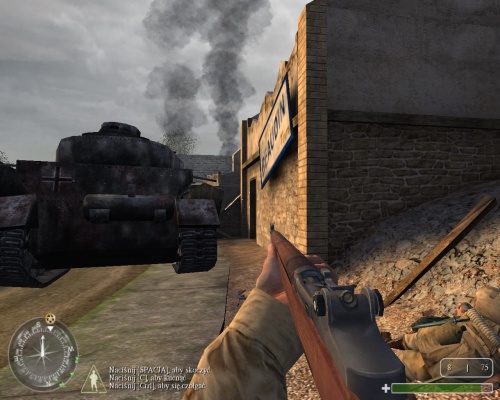
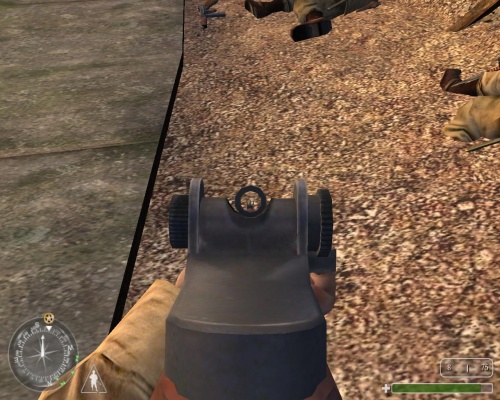
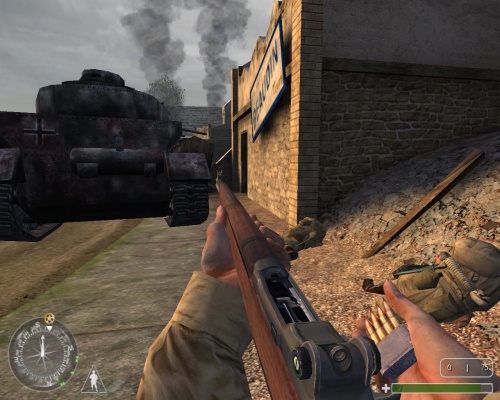
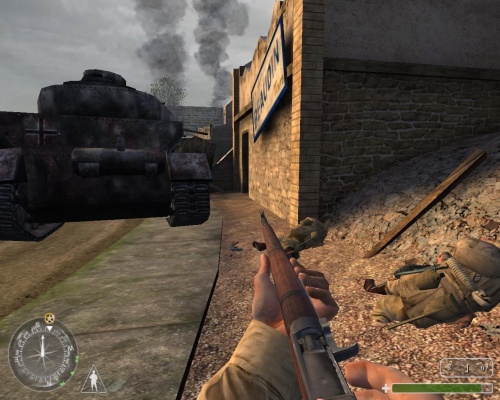
M1 Garand
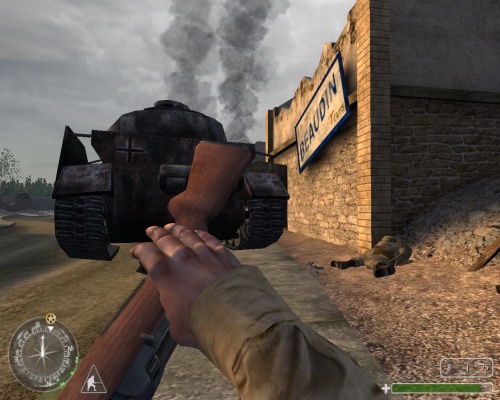
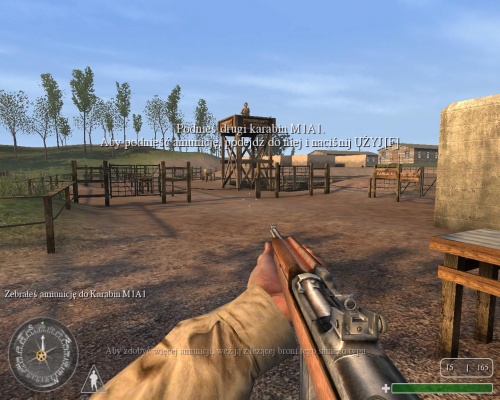
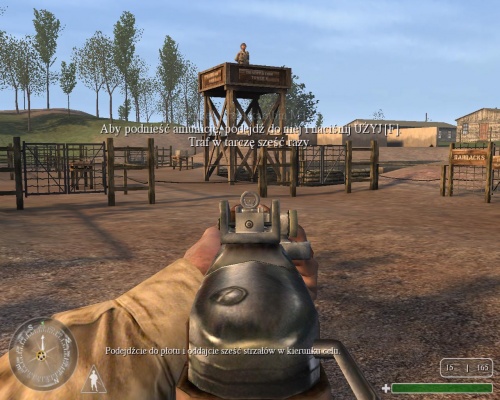
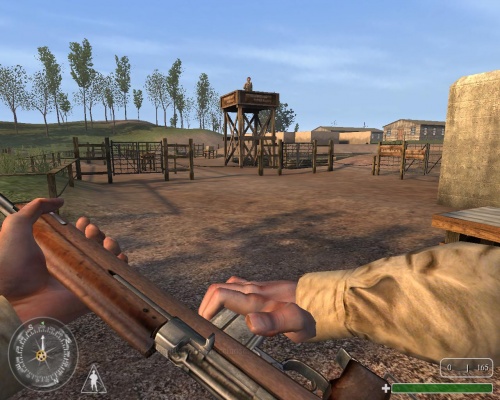
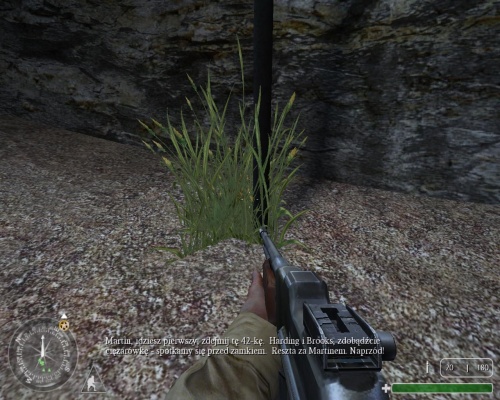
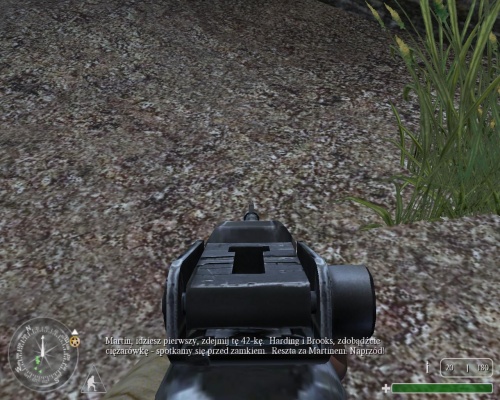
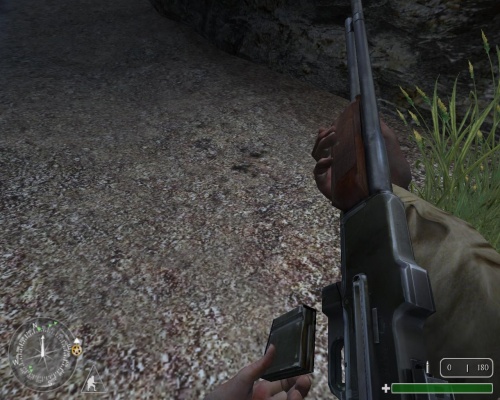
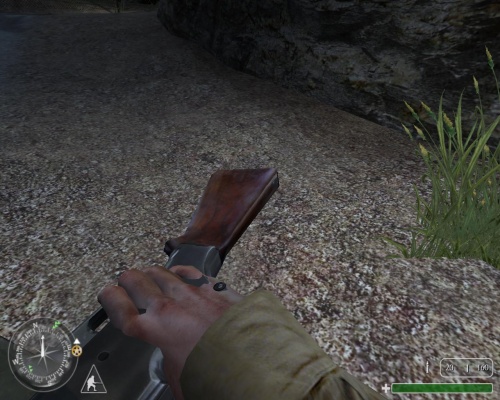
The M1 Garand appears as the main service rifle of the U.S. Army forces in the game. The American single-player character, Pvt. Joey Martin, has one at the start of the Brecourt Manor level. Pvt. Elder uses one in Basic Training at Camp Toccoa, and uses one at Brecourt Manor until his death.
The Garand's use in the game is slightly handicapped by the player's inability to reload without expending the entire 8-round clip. This is correct for the manual-of-arms soldiers were taught, since using the clip latch to eject a part-used clip was only supposed to be used to either empty the rifle for storage or switch over to firing rifle grenades, not as a means of reloading (though in general characters reload too much in videogames and never encounter the partial magazines / clips that would result from doing so).
M1A1 Carbine
The M1A1 Carbine with a side-folding stock appears as the secondary service rifle for the U.S. Army. The M1A1 in the game is shown fitted with an anachronistic adjustable rear sight; the M1 Carbine series did not receive this upgrade until after World War 2. Pvt. Martin is armed with one when he lands in Normandy, and is one of the weapons he trains with at Camp Toccoa.
Mosin Nagant M91/30
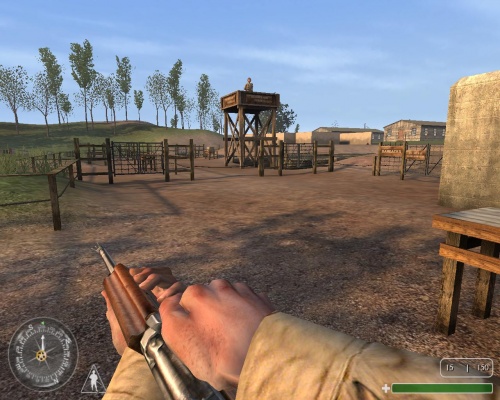
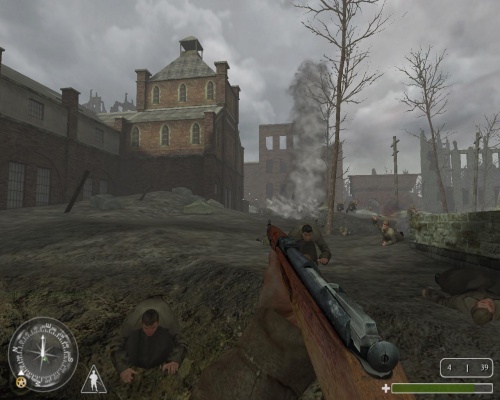
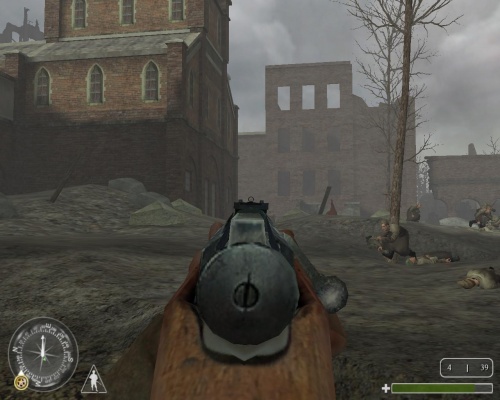
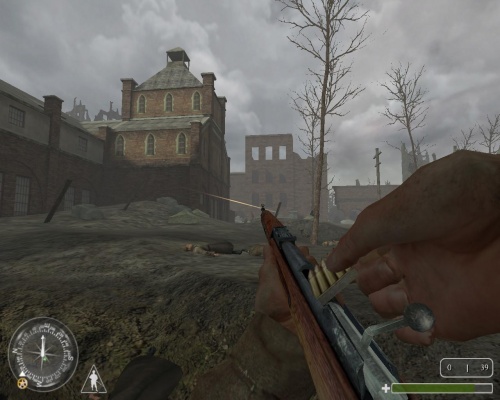
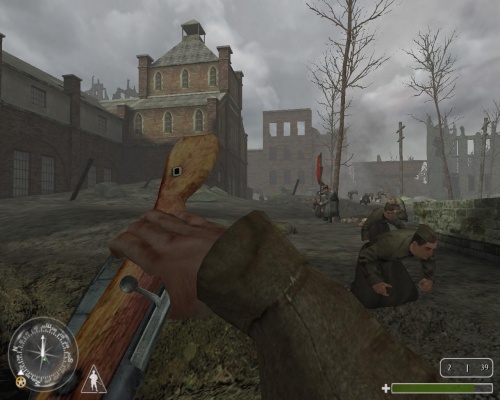
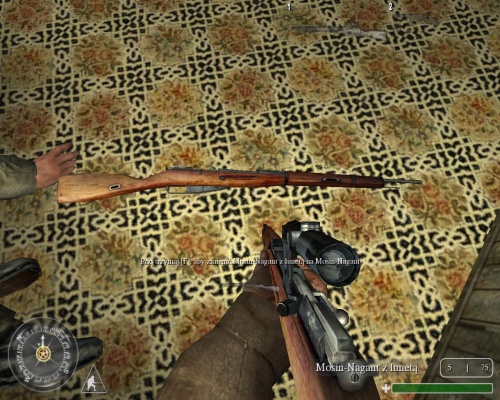
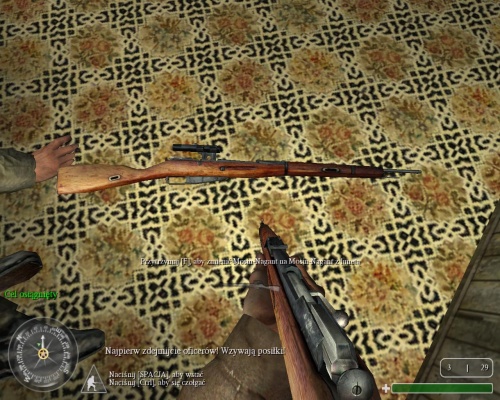
The Mosin Nagant M91/30 appears as the standard-issue rifle of the Soviet army, available with a PU scope or with open iron sights. Often complained about in multiplayer as it is the only sniper rifle to reload using a stripper clip rather than individual rounds. At the start of the first Soviet mission set at the Battle of Stalingrad, Voronin is issued only a single 5-round stripper clip and has to procure a rifle later on from a fallen comrade in the next level, similar to the scenario seen at the start of Enemy at the Gates.
PTRS-41
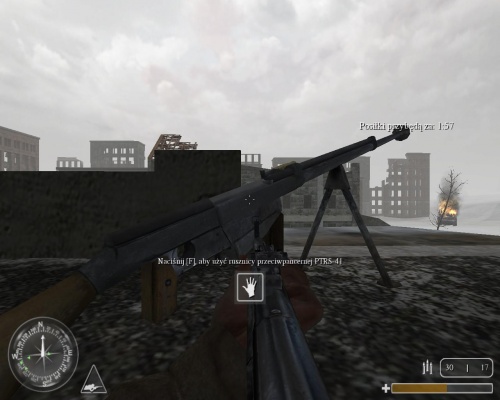
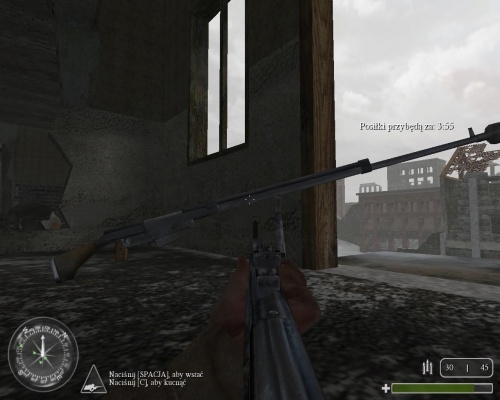
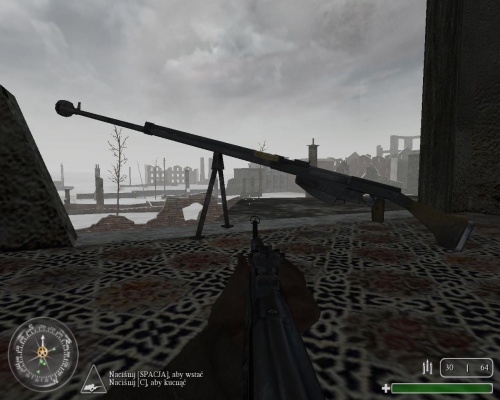
The PTRS-41 rifle appears in the level "Pavlov's House" by Voronin to destroy a series of attacking German tanks. The guns behave very unusually: Hitting the front of a tank or the ground causes a small explosion, when the bullets are not explosive just solid AP and shooting a tank 3-5 times anywhere will make it explode. The hatch, however, takes only a couple shots, which is how it would work in real life. This level in general is a reference to a famous apartment building where a Sergeant Pavlov and a group of about 30 other men held off the entire German Army for two months during the Battle of Stalingrad. Pavlov himself is cited as having destroyed 12 tanks with this anti-materiel rifle.
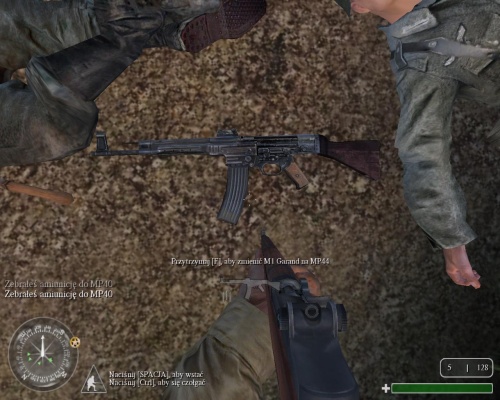
Sturmgewehr 44
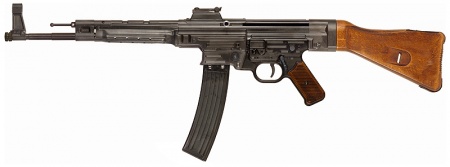
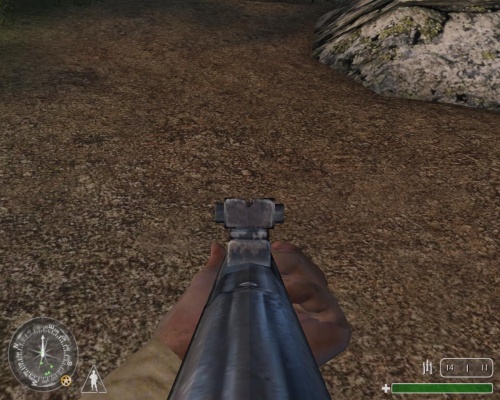
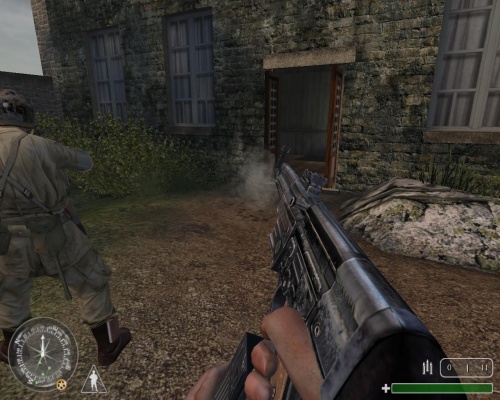
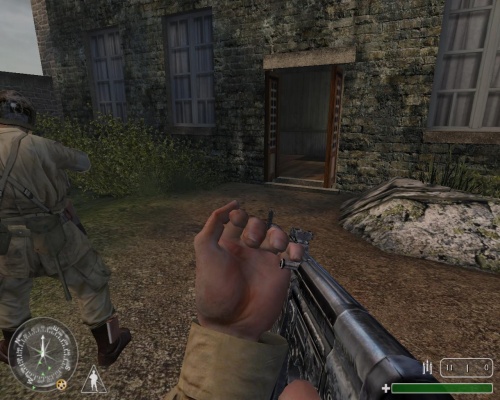
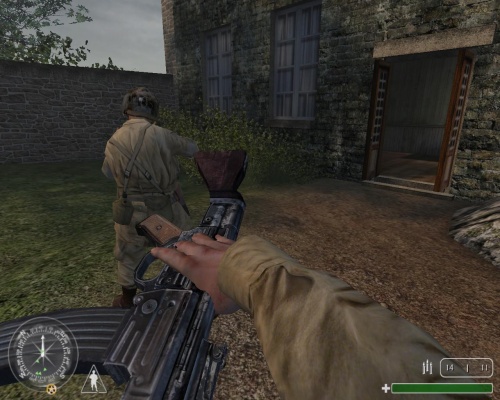
The Sturmgewehr 44 appears in the hands of German forces in the game, and is one of the most popular weapons used in multiplayer due to its firepower, accuracy, and rate of fire. Is shown issued to troops at the battle of Stalingrad, though the battle ended several months before they were first issued. It is also referred to in-game as the "MP44", despite the fact that most of the levels it appears in except the last couple take place in 1943. One is notably seen carried by a German Sailor aboard the Tirpitz, but is never seen again. Like the Thompson, it can be set to either semi or automatic fire, something it cannot do in any CoD game since.
Sniper Rifles
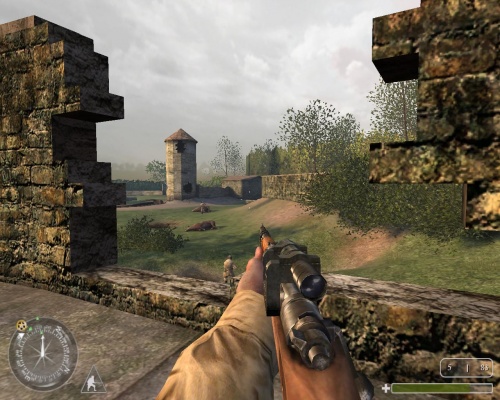
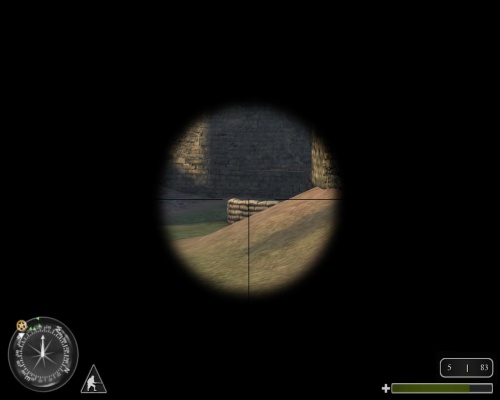
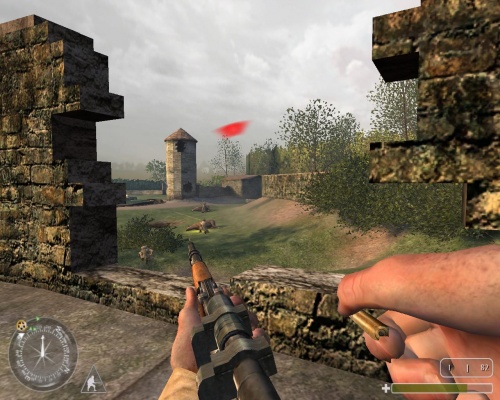
Karabiner 98k Sniper
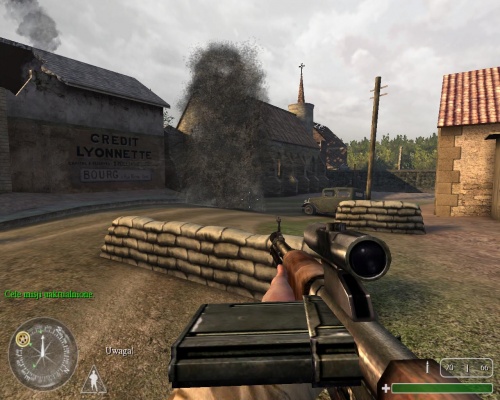
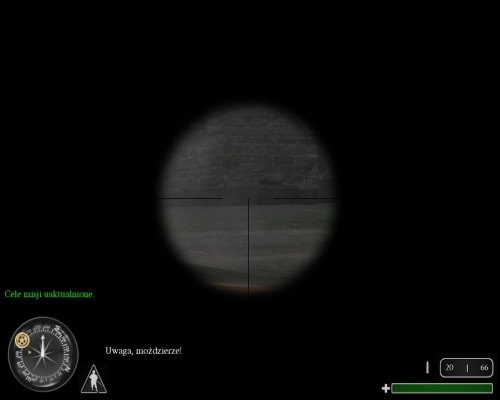
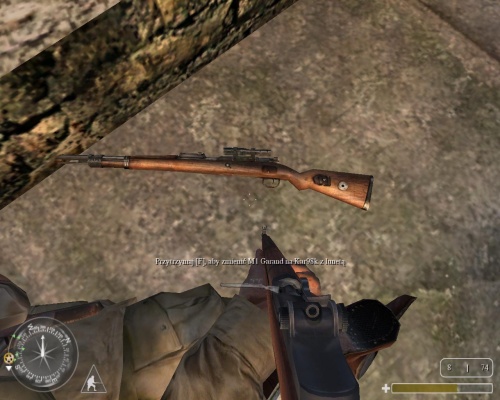
The Karabiner 98k equipped with a Zeiss ZF41 scope appears as the main German sniper rifle.
M1903A4 Springfield
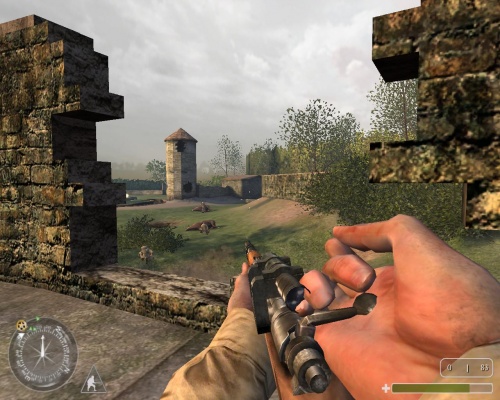
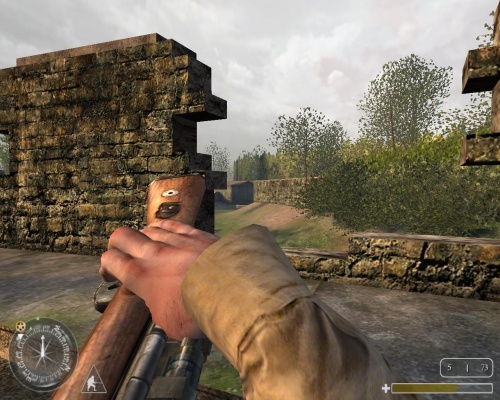
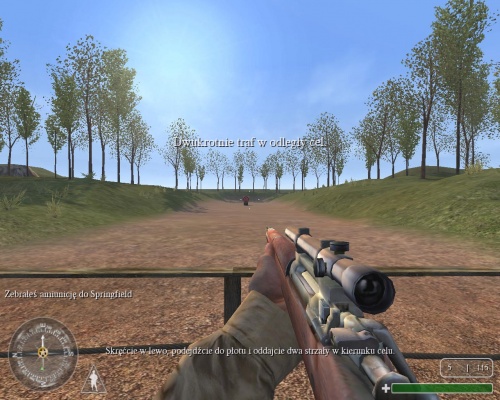
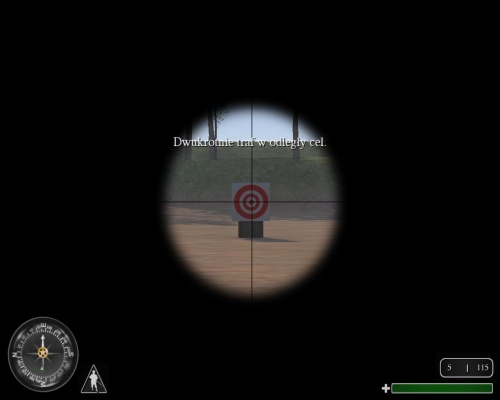
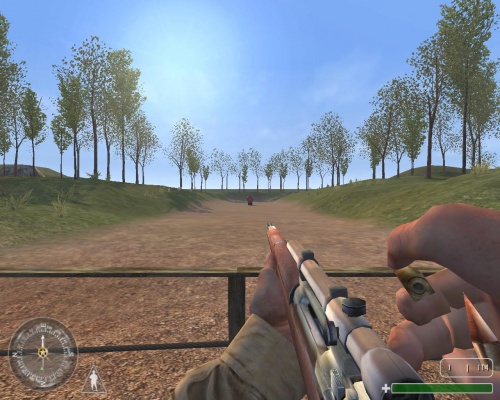
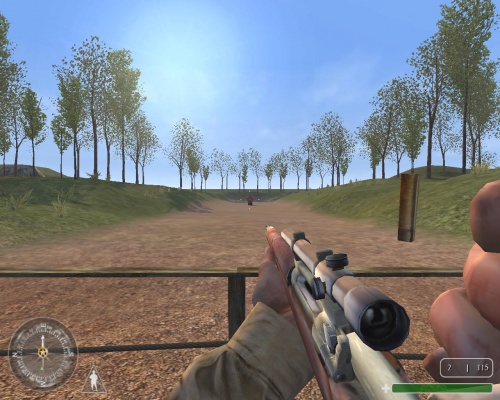
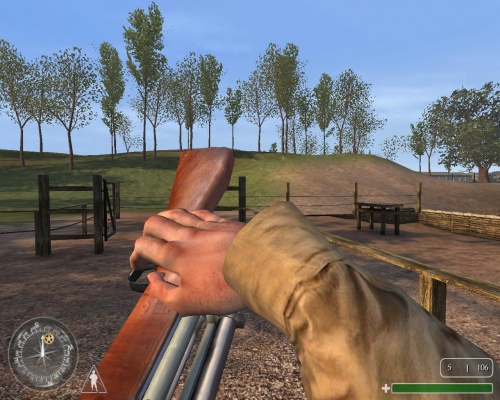
The M1903A4 Springfield appears as the main U.S. sniper rifle. Unlike the other bolt-action sniper rifles mentioned below, this rifle does not have an open iron sights version, mainly because the A4 didn't have sights. Pvt. Martin trains with one at Camp Toccoa, and uses one to snipe at the German guards at the entrance to Dulag 183.
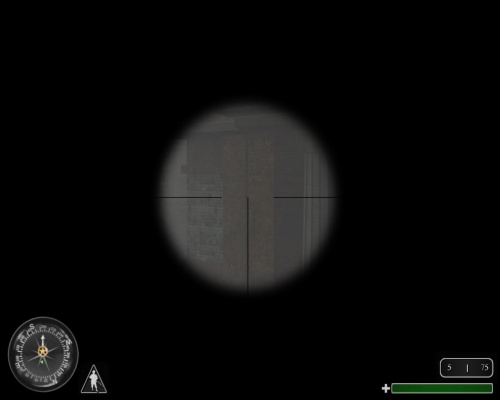
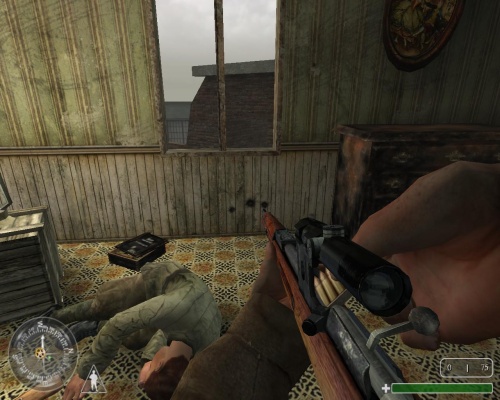
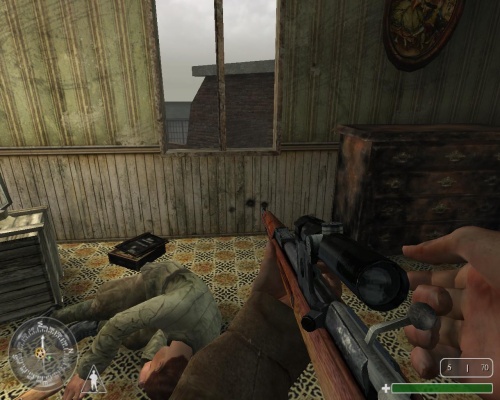
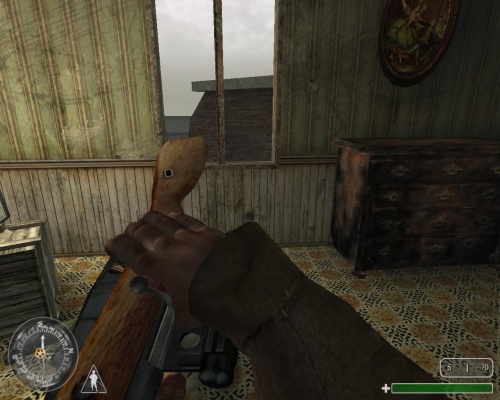
Mosin Nagant M91/30 Sniper
Machine Guns
Bren Mk2
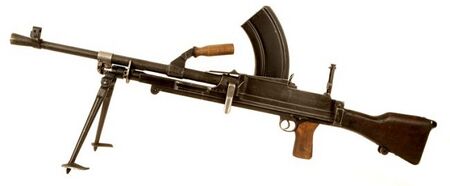
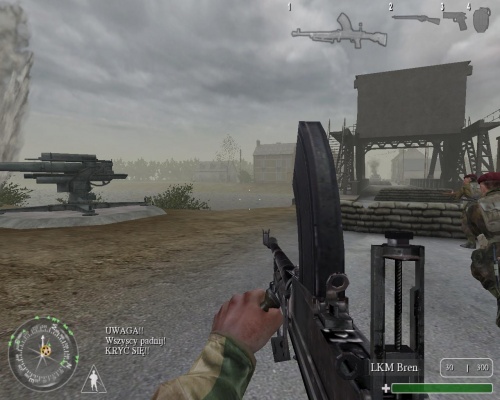
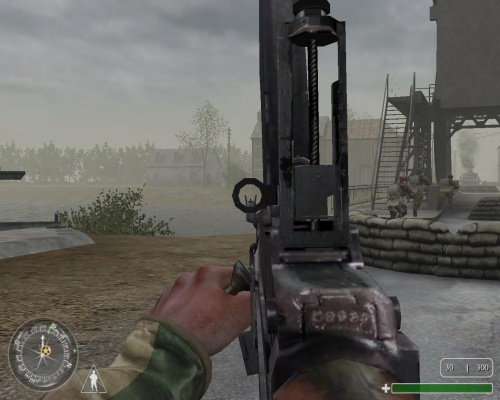
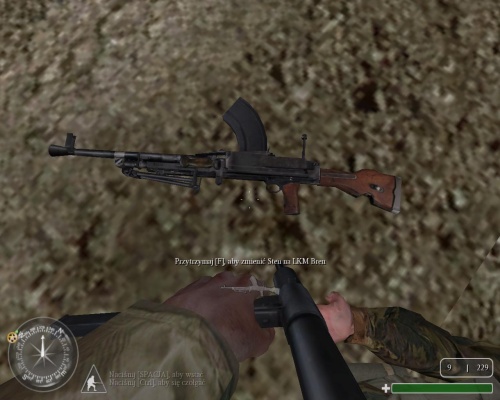
The Bren Mk2 appears as the main support weapon for British forces. Sgt. Evans uses one during the assault on the Pegasus Bridge and when defending it, and again when he, Waters, and Price are escaping from the Eder Dam.
M1918A2 Browning Automatic Rifle
The Browning Automatic Rifle appears as the main support weapon for the U.S. Army forces, with the bipod removed as in Saving Private Ryan. Pvt. Martin uses one in the Austrian level when he and his squad rescue Cpt. Price from the German Mansion. Like the Thompson and STG-44, it takes advantage of the game's fire selection mechanics, and realistically has two modes: normal and slow.
MG42
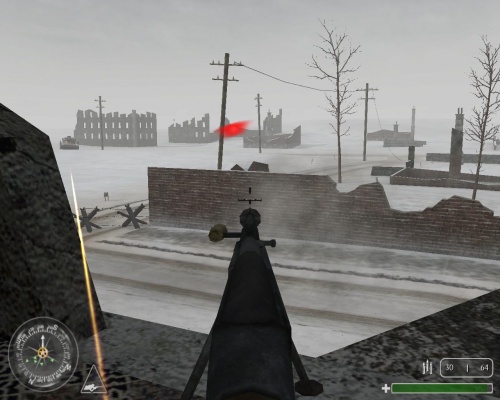
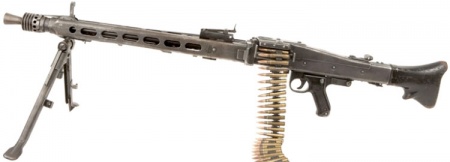
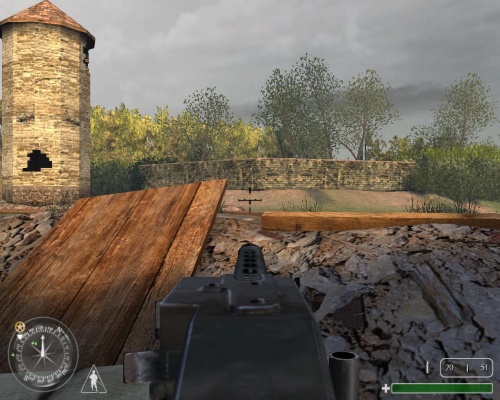
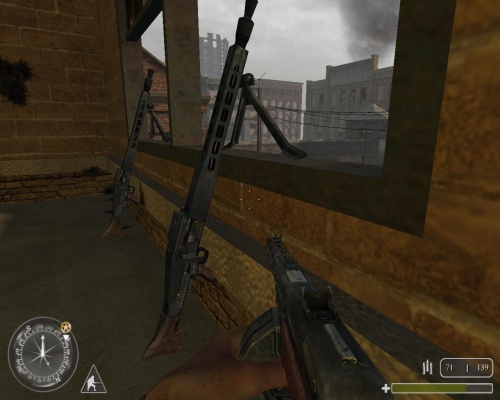
In some levels, the player can commandeer German MG42 machine guns. In the 'basic training' level at the start of the game, Pvt. Martin is taught how to low-crawl under barbed wire while an MG42 is fired over his head. While this should have been an American machine gun like the Browning M1919, it is possible that a captured MG42 was used to acclimate soldiers to the MG42's notoriously demoralizing sound when fired. Sgt. Evans uses one to cover his squad when they retreat across the Pegasus Bridge, and Waters uses one to cover Evans while he uses a Flak 38 to down several Stuka Dive Bombers. It is notably used by Russian Commissars to execute fleeing conscripts at the start of the Red Square level, rather than the Maxim M1910 used in the sequence in Enemy at the Gates that inspired it. While the MG42 actually saw limited use at Stalingrad, the game's depiction commits the common error of showing the weapon with the post 1943 vertical charging handle instead of the period appropriate and rare slab-sided horizontal handle.
Grenades & Explosives
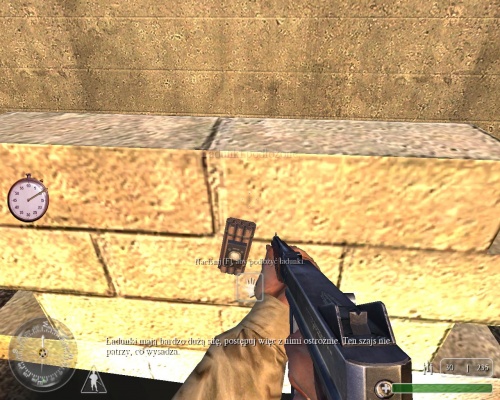
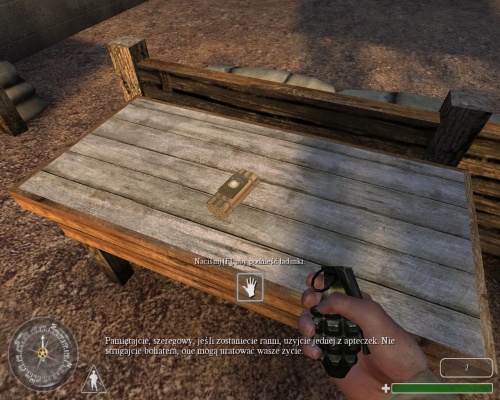
Dynamite
Mk 2 Hand Grenade
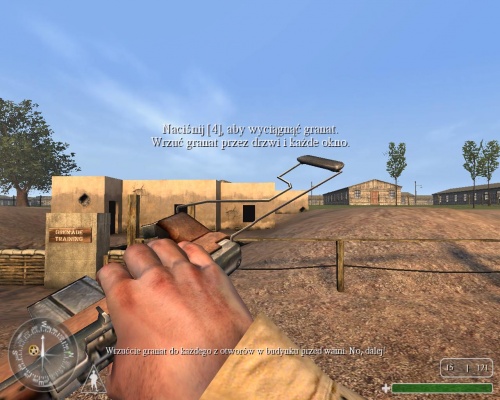
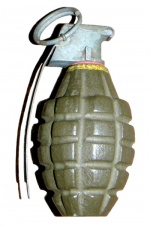
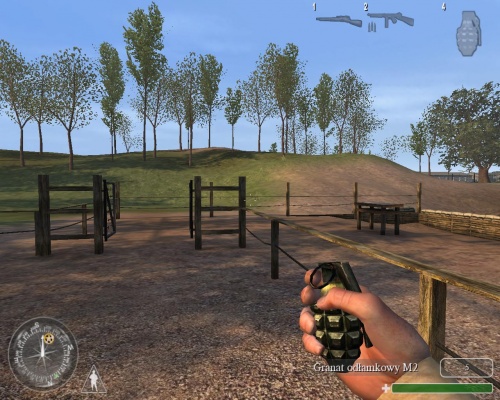
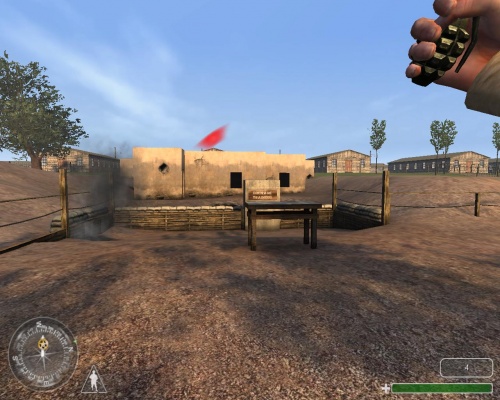
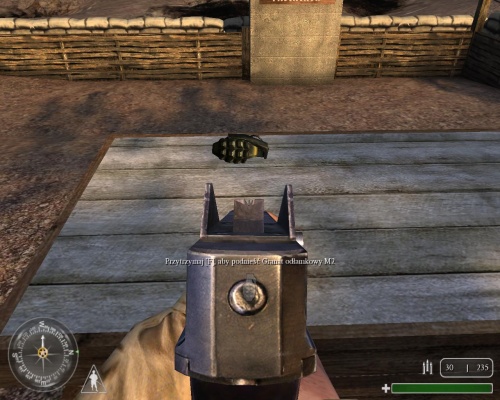
The Mk 2 hand grenade appears as the main hand grenade for the U.S. Army forces.
Mills Bomb
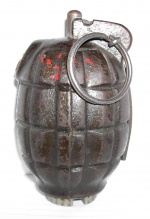
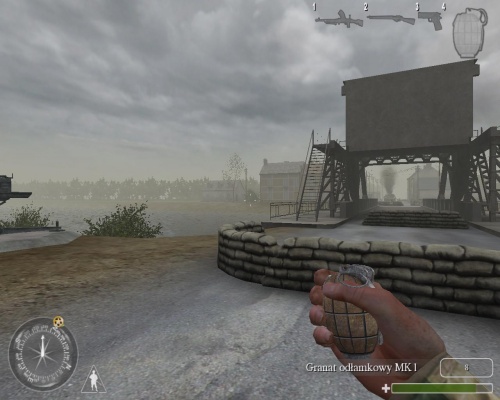
The Mills Bomb appears as the standard-issue hand grenade of British forces in the game, referred to as the "MK1 Frag Grenade" in-game.
Model 24 Stielhandgranate
The Model 24 Stielhandgranate appears as the standard hand grenade for German soldiers in the game, and can also be commandeered by the player.
RGD-33 Stick Grenade
The RGD-33 stick grenade appears as the standard grenade for Soviet forces in the game.
Launchers
Panzerfaust
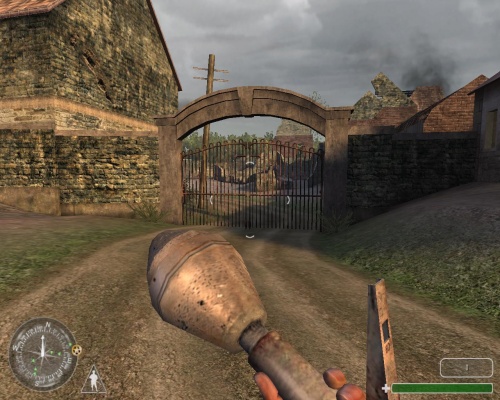
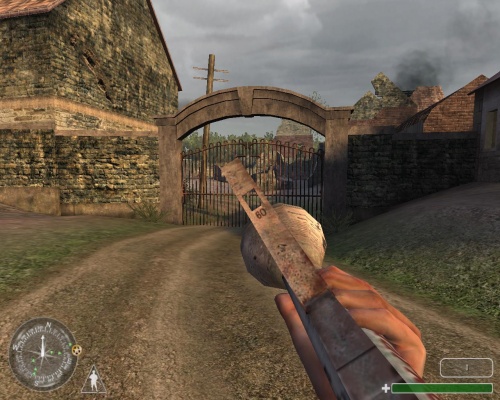
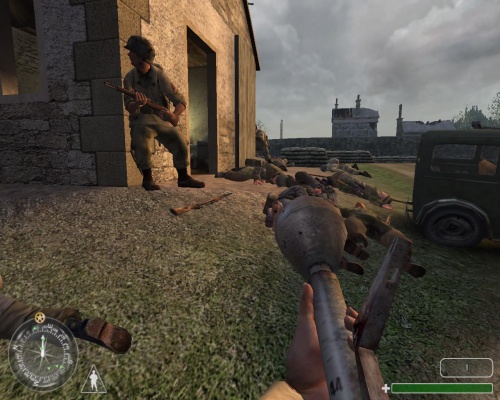
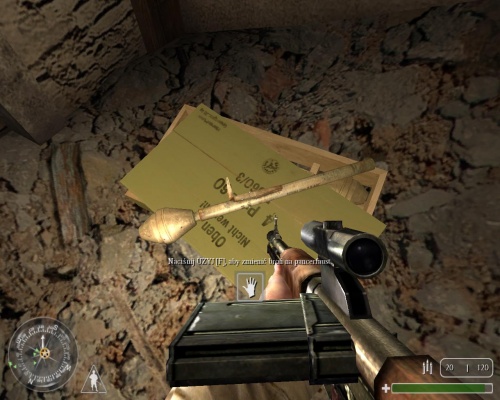
The Panzerfaust appears as the only man-portable anti-armor weapon available in the game.
Others
FlaK 18
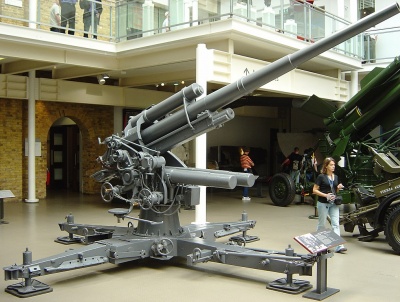
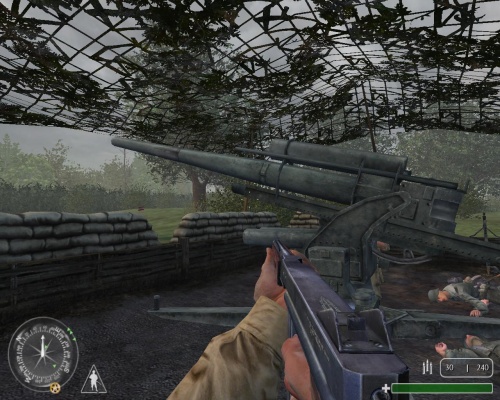
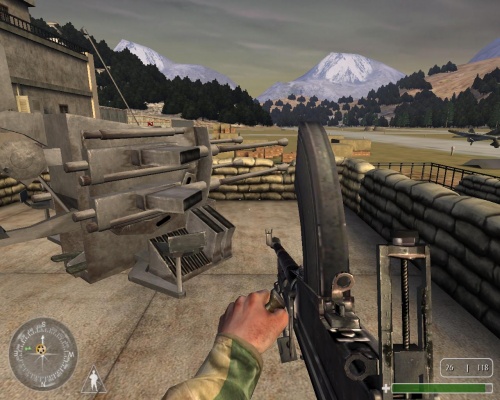
FlaK 18 88mm cannons are present throughout the campaign, and are occasionally usable by the player; they have infinite ammunition, with a substantial pause between shots. This is perhaps the most outlandish single-man crew-served weapon in the series since the FlaK would normally require a crew of at least eight men. The player character is shown positioned on the left of the gun, which is the correct location for the firing lever but would mean they could not operate the elevation and traverse handwheels on the right side, or reload the gun.
Flakvierling 38
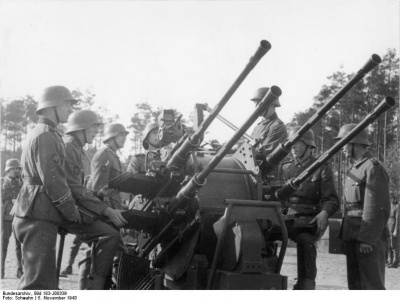
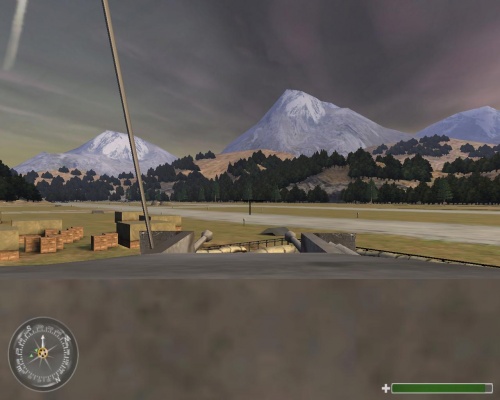
Several Flakvierling 38 quad guns are seen in the game, like the above FlaK 18 guns, some are usable by the player, notably in the final part of the Eder Dam escape mission. More bizarrely, they can be seen on Panzer IV-based Möbelwagen anti-aircraft vehicles in the D-Day level; while this configuration did actually exist, it was only used on a single prototype, the Flakvierling being deemed too weak and ultimately being replaced with a single 3.7cm FlaK 43 on the production model.
Granatwerfer 34
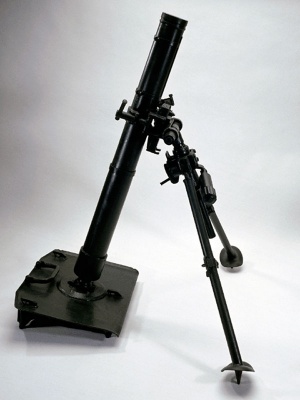
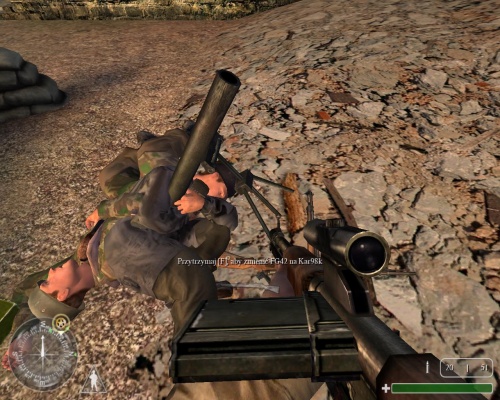
German Fallschirmjägers use the Granatwerfer 34 mortar.
