| If you have been locked out of your account you can request a password reset here. |
Difference between revisions of "Anzacs"
(→Rifles) |
|||
| (32 intermediate revisions by 13 users not shown) | |||
| Line 1: | Line 1: | ||
| − | [[ | + | {{Infobox TV|{{PAGENAME}} |
| + | |name= Anzacs | ||
| + | |picture = AnzacsPoster.jpg | ||
| + | |caption = ''DVD Cover'' | ||
| + | |country = [[File:AUS.jpg|25px]] Australia | ||
| + | |channel = Nine Network | ||
| + | |genre = War | ||
| + | |creator = Geoff Burrowes | ||
| + | |dates = 1985 | ||
| + | |language = English | ||
| + | |seasons = 1 | ||
| + | |episodes = 6 | ||
| + | |character1=Capt. Martin Barrington | ||
| + | |actor1=[[Andrew Clarke]] | ||
| + | |character2= Cpl. Pat Cleary | ||
| + | |actor2=[[Paul Hogan]] | ||
| + | |character3=Capt. Flanagan | ||
| + | |actor3=[[Jon Blake]] | ||
| + | |character4=Sister Kate Baker | ||
| + | |actor4=[[Megan Williams]] | ||
| + | |character5=Pte. Roly Collins | ||
| + | |actor5=[[Christopher Cummins]] | ||
| + | |character6= Keith Murdoch | ||
| + | |actor6=[[David Bradshaw]] | ||
| + | |character7= Rev. George Lonsdale | ||
| + | |actor7=[[Robert Coleby]] | ||
| + | |character8= Lt. Harold Armstrong | ||
| + | |actor8=[[Tony Bonner]] | ||
| + | |character9=Sgt. 'Kaiser' Schmidt | ||
| + | |actor9=[[Shane Briant]] | ||
| + | |character10=Cpl. 'Bluey' | ||
| + | |actor10=[[Peter Finlay]] | ||
| + | }} | ||
| − | ''Anzacs'' is a 1985 Australian miniseries. Set during the First World War, it follows several Australians as they enlist in the | + | ''Anzacs'' is a 1985 Australian TV miniseries. Set during the First World War, it follows several Australians as they enlist in the Army during World War One, from joining up to homecoming, and the battles that made the Anzac name famous, such as Gallipoli, the Somme, Passchendaele and Hamel. |
'''The following weapons can be seen in the miniseries ''Anzacs'':''' | '''The following weapons can be seen in the miniseries ''Anzacs'':''' | ||
| Line 10: | Line 42: | ||
==Rifles== | ==Rifles== | ||
| − | ===Lee-Enfield No.1 Mk | + | ===Lee-Enfield No. 1 Mk III*=== |
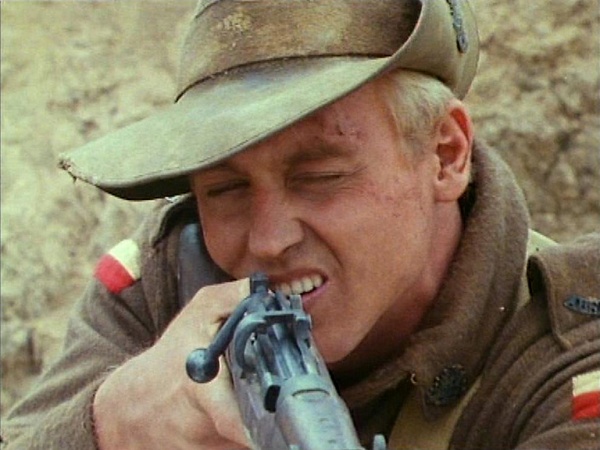
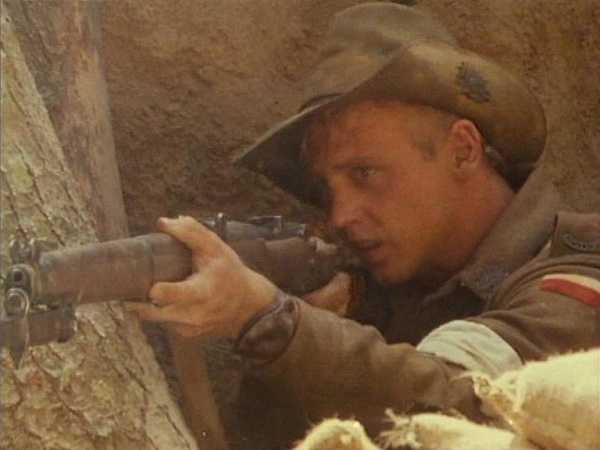
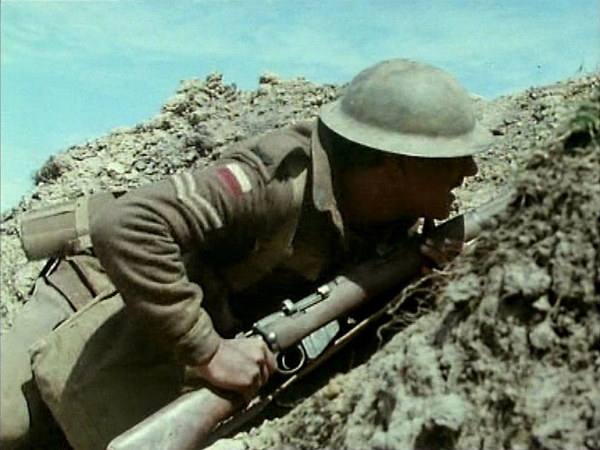
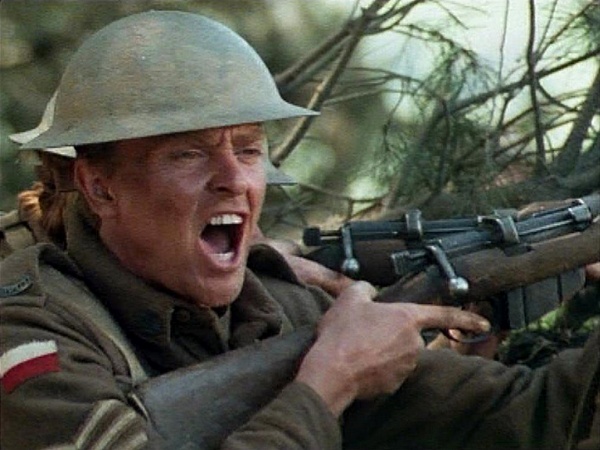
| − | The main weapon of the Anzacs is the [[ | + | The main weapon of the Anzacs is the [[Lee-Enfield No. 1 Mk III*]], including Martin "Marty" Barrington ([[Andrew Clarke]]), Flanagan ([[Jon Blake]]), Roly Collins ([[Christopher Cummins]]), Alec "Pudden" Parsons ([[Alec Wilson]]), Sgt. Tom MacArthur ([[Patrick Ward]]) and Dick Baker ([[Mark Hembrow]]). |
| − | [[Image:SMLE.jpg|thumb|none| | + | [[Image:SMLE.jpg|thumb|none|450px|Lee-Enfield No.1 Mk.III* - .303 British]] |
[[Image:Roly EnfieldMkIII.jpg|thumb|none|600px|Bill Harris ([[Johnathon Sweet]]) instructs Roly Collins ([[Christopher Cummins]]) in the proper use of the Lee-Enfield No.1 Mk.III*.]] | [[Image:Roly EnfieldMkIII.jpg|thumb|none|600px|Bill Harris ([[Johnathon Sweet]]) instructs Roly Collins ([[Christopher Cummins]]) in the proper use of the Lee-Enfield No.1 Mk.III*.]] | ||
[[Image:Roly EnfieldMkIII 2.jpg|thumb|none|600px|Roly loads a .303 Mk VII round into his Lee-Enfield.]] | [[Image:Roly EnfieldMkIII 2.jpg|thumb|none|600px|Roly loads a .303 Mk VII round into his Lee-Enfield.]] | ||
| Line 20: | Line 52: | ||
[[Image:Dick EnfieldMkIII 2.jpg|thumb|none|600px|Dick with his Lee-Enfield, bayonet fixed, in the Lone Pine trenches at Gallipoli.]] | [[Image:Dick EnfieldMkIII 2.jpg|thumb|none|600px|Dick with his Lee-Enfield, bayonet fixed, in the Lone Pine trenches at Gallipoli.]] | ||
[[Image:Marty EnfieldMkIII.jpg|thumb|none|600px|Marty at the Somme with his Lee-Enfield.]] | [[Image:Marty EnfieldMkIII.jpg|thumb|none|600px|Marty at the Somme with his Lee-Enfield.]] | ||
| − | |||
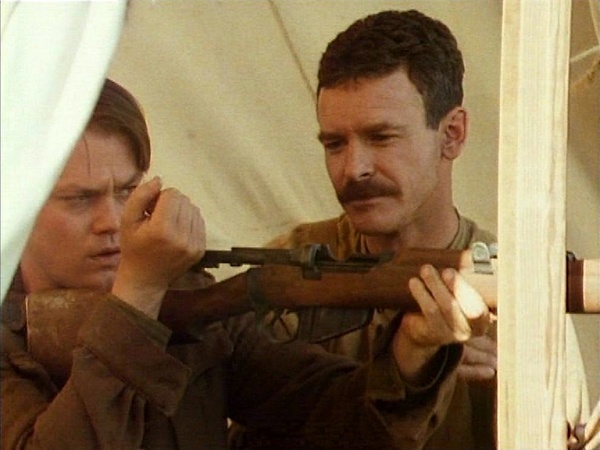
[[Image:Flanagan Marty EnfieldMkIII.jpg|thumb|none|600px|Flanagan ([[Jon Blake]]) and Marty with their Lee-Enfield rifles as they search for Pudden, whom has gone AWOL.]] | [[Image:Flanagan Marty EnfieldMkIII.jpg|thumb|none|600px|Flanagan ([[Jon Blake]]) and Marty with their Lee-Enfield rifles as they search for Pudden, whom has gone AWOL.]] | ||
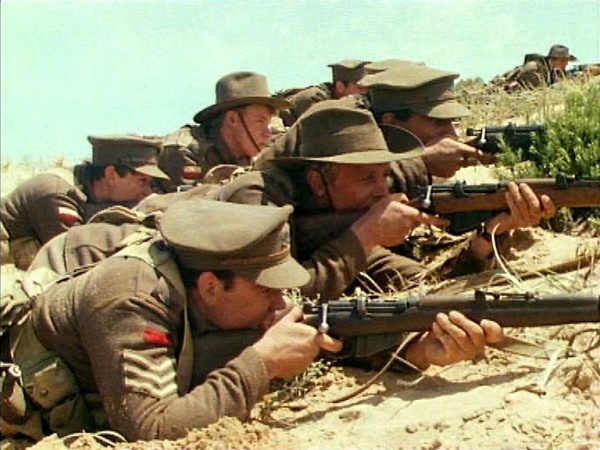
[[Image:Australian EnfieldMkIIIs.jpg|thumb|none|600px|Two Anzacs fire their Lee-Enfield rifles at attacking Germans in Amiens.]] | [[Image:Australian EnfieldMkIIIs.jpg|thumb|none|600px|Two Anzacs fire their Lee-Enfield rifles at attacking Germans in Amiens.]] | ||
| + | |||
| + | ===Lee-Enfield No.1 Mk.III=== | ||
| + | Some Anzacs carry the older [[Lee-Enfield No. 1 Mk III]] rifle. | ||
| + | [[Image:SMLE Mark III.jpg|thumb|none|450px|Lee-Enfield No.1 Mk.III - .303 British]] | ||
| + | [[Image:Pudden EnfieldMkIII.jpg|thumb|none|600px|Alec "Pudden" Parsons ([[Alec Wilson]]) covers Wilhelm "Kaiser" Schmidt ([[Shane Briant]]) with his Lee-Enfield. This can be identified as an earlier original Mk.III by the presence of the magazine cutoff and by the round back on the cocking piece.]] | ||
===M1917 Enfield=== | ===M1917 Enfield=== | ||
| − | American soldiers can at one point be seen drilling with [[M1917 Enfield]] rifles. | + | American soldiers can at one point be seen drilling with [[M1917 Enfield]] rifles. It should be noted that units of the American Expeditionary Force that were attached to Australian and British Army units re-equipped themselves with the [[Lee-Enfield No. 1 Mk III*]] rifle for the rest of the First World War. |
| − | [[Image:M1917enfield.jpg|thumb|none| | + | [[Image:M1917enfield.jpg|thumb|none|450px|M1917 Enfield - .30-06]] |
[[Image:Americans M1917Enfields.jpg|thumb|none|600px|American troops march behind a Cambrai tank with their M1917 Enfields.]] | [[Image:Americans M1917Enfields.jpg|thumb|none|600px|American troops march behind a Cambrai tank with their M1917 Enfields.]] | ||
| Line 32: | Line 68: | ||
===Lewis Gun=== | ===Lewis Gun=== | ||
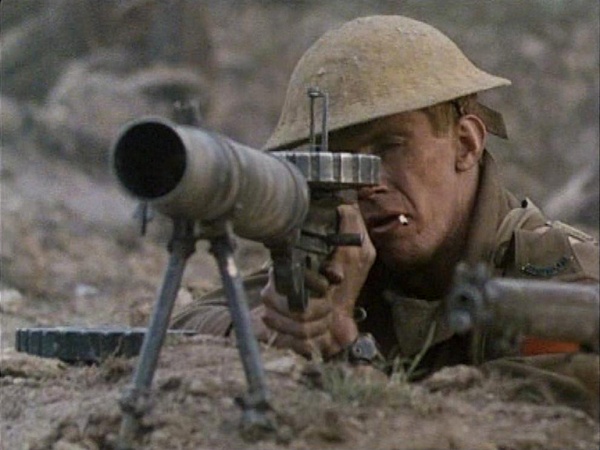
| − | Bluey ([[Peter Finlay]]) carries a [[Lewis Gun]], which he mainly uses in a support role. Other soldiers that can be seen operating the weapon are Wilhelm "Kaiser" Schmidt ([[Shane Briant]]), Sergeant Tom MacArthur ([[Patrick Ward]]) and Carter ([[Peter Browne | + | Cpl. 'Bluey' ([[Peter Finlay]]) carries a [[Lewis Gun]], which he mainly uses in a support role. Other soldiers that can be seen operating the weapon are Wilhelm "Kaiser" Schmidt ([[Shane Briant]]), Sergeant Tom MacArthur ([[Patrick Ward]]) and Carter ([[Peter Browne]]). |
| − | [[Image:Lewis gun.JPG|thumb|none| | + | [[Image:Lewis gun.JPG|thumb|none|450px|Lewis gun - .303 British]] |
[[Image:Bluey LewisGun 2.jpg|thumb|none|600px|Bluey ([[Peter Finlay]]) with his Lewis Gun as he talks with Lt. Harold Armstrong ([[Tony Bonner]]) on the Somme battlefields.]] | [[Image:Bluey LewisGun 2.jpg|thumb|none|600px|Bluey ([[Peter Finlay]]) with his Lewis Gun as he talks with Lt. Harold Armstrong ([[Tony Bonner]]) on the Somme battlefields.]] | ||
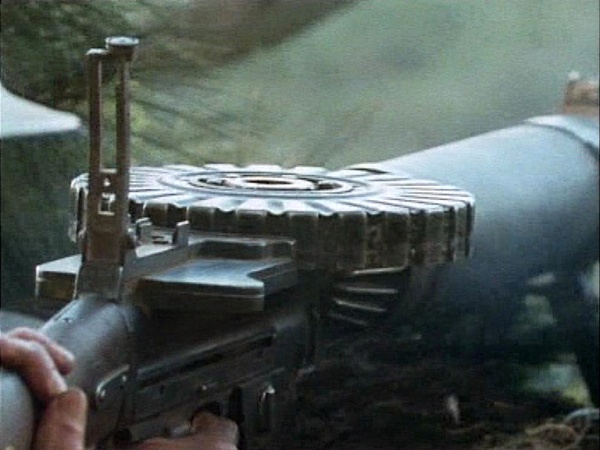
[[Image:Bluey LewisGun 3.jpg|thumb|none|600px|Close-up of the Lewis Gun magazine and sight.]] | [[Image:Bluey LewisGun 3.jpg|thumb|none|600px|Close-up of the Lewis Gun magazine and sight.]] | ||
| Line 44: | Line 80: | ||
===Vickers Mk1 Machine Gun=== | ===Vickers Mk1 Machine Gun=== | ||
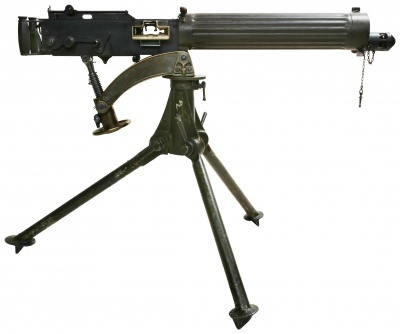
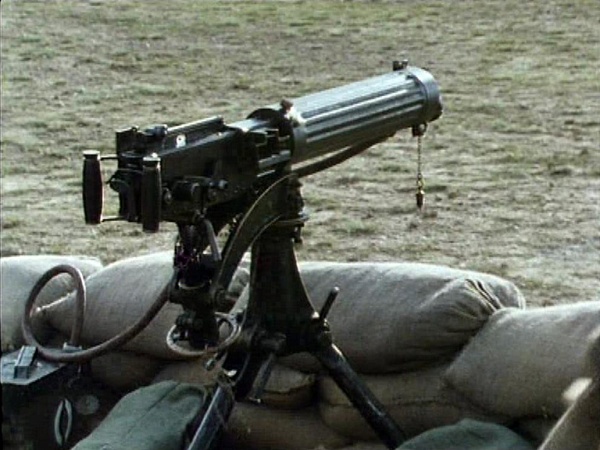
| − | British soldiers use a pair of [[Vickers|Vickers Mk1 Machine Guns]] in a demonstration for the Anzacs when they first arrive in France. British soldiers use | + | British soldiers use a pair of [[Vickers|Vickers Mk1 Machine Guns]] in a demonstration for the Anzacs when they first arrive in France. British soldiers use one to repel a German attack in Amiens. |
| − | [[Image:Vickers gun.JPG|thumb|none| | + | [[Image:Vickers gun.JPG|thumb|none|400px|Vickers Mk1 Machine Gun - .303 British]] |
[[Image:British Vickers.jpg|thumb|none|600px|British soldiers unveil a Vickers Mk1 Machine Gun.]] | [[Image:British Vickers.jpg|thumb|none|600px|British soldiers unveil a Vickers Mk1 Machine Gun.]] | ||
[[Image:British Vickers 2.jpg|thumb|none|600px|A British soldier pours down fire on advancing Germans at Amiens.]] | [[Image:British Vickers 2.jpg|thumb|none|600px|A British soldier pours down fire on advancing Germans at Amiens.]] | ||
| Line 52: | Line 88: | ||
===Luger P08=== | ===Luger P08=== | ||
Flanagan ([[Jon Blake]]) uses a [[Luger P08]] throughout the series. An Australian officer also uses one in Hamel. | Flanagan ([[Jon Blake]]) uses a [[Luger P08]] throughout the series. An Australian officer also uses one in Hamel. | ||
| − | [[Image:P08Luger1917.jpg|thumb|none| | + | [[Image:P08Luger1917.jpg|thumb|none|300px|Luger P08 - 9x19mm]] |
[[Image:Flanagan LugerP08.jpg|thumb|none|600px|Flanagan ([[Jon Blake]]) approaches the German trenches in the Somme, Luger P08 in hand.]] | [[Image:Flanagan LugerP08.jpg|thumb|none|600px|Flanagan ([[Jon Blake]]) approaches the German trenches in the Somme, Luger P08 in hand.]] | ||
[[Image:Flanagan LugerP08 2.jpg|thumb|none|600px|Flanagan with the Luger in the trenches.]] | [[Image:Flanagan LugerP08 2.jpg|thumb|none|600px|Flanagan with the Luger in the trenches.]] | ||
| Line 59: | Line 95: | ||
===Luger P08 "Artillery"=== | ===Luger P08 "Artillery"=== | ||
| − | Pat Cleary ([[Paul Hogan]]) captures a long-barreled [[Luger P08 | + | Pat Cleary ([[Paul Hogan]]) captures a long-barreled [[Luger P08 "Artillery" model]] from a dead German in a trench raid in the Somme. He later uses it to capture several Germans in a basement tavern, mounting it on a "Broomhandle" stock similar to the one used on the [[Mauser C96]]. |
| − | [[Image:LugerP08Artillery.jpg|thumb|none| | + | [[Image:LugerP08Artillery.jpg|thumb|none|350px|Luger P08 - 9x19mm. This is the long barreled "Artillery" model]] |
[[Image:German LugerArtillery.jpg|thumb|none|600px|A German soldier fires his Luger P08 "Artillery" in the Somme trenches.]] | [[Image:German LugerArtillery.jpg|thumb|none|600px|A German soldier fires his Luger P08 "Artillery" in the Somme trenches.]] | ||
[[Image:Pat LugerArtillery.jpg|thumb|none|600px|Pat Cleary ([[Paul Hogan]]) picks up the "Artillery" model.]] | [[Image:Pat LugerArtillery.jpg|thumb|none|600px|Pat Cleary ([[Paul Hogan]]) picks up the "Artillery" model.]] | ||
| Line 68: | Line 104: | ||
===Mauser C96 "Broomhandle"=== | ===Mauser C96 "Broomhandle"=== | ||
Bill Harris ([[Johnathon Sweet]]) uses a [[Mauser C96]] pistol with a "Broomhandle" stock. | Bill Harris ([[Johnathon Sweet]]) uses a [[Mauser C96]] pistol with a "Broomhandle" stock. | ||
| − | [[Image:C96STOCK.jpg|thumb|none| | + | [[Image:C96STOCK.jpg|thumb|none|450px|Mauser C96 Broomhandle - C96 "Broomhandle" Mauser fitted with holster/stock combo - 7.63x25mm]] |
| − | |||
[[Image:Bill MauserC96Broomhandle 2.jpg|thumb|none|600px|Bill leads a group of reinforcements to the front at Amiens, Mauser in hand.]] | [[Image:Bill MauserC96Broomhandle 2.jpg|thumb|none|600px|Bill leads a group of reinforcements to the front at Amiens, Mauser in hand.]] | ||
[[Image:Bill MauserC96Broomhandle 3.jpg|thumb|none|600px|Bill fires his Mauser.]] | [[Image:Bill MauserC96Broomhandle 3.jpg|thumb|none|600px|Bill fires his Mauser.]] | ||
[[Image:Bill MauserC96Broomhandle 4.jpg|thumb|none|600px|Bill in the trenches with his Mauser.]] | [[Image:Bill MauserC96Broomhandle 4.jpg|thumb|none|600px|Bill in the trenches with his Mauser.]] | ||
| − | ===Webley | + | ===Webley "WG" Army=== |
| − | Martin Barrington ([[Andrew Clarke]]) and Flanagan ([[Jon Blake]]) use the [[Webley | + | Martin Barrington ([[Andrew Clarke]]) and Flanagan ([[Jon Blake]]) use the [[Webley "WG" Army Model]] Revolver throughout the series. |
| − | [[Image: | + | [[Image:wgr.jpg|thumb|none|350px|Webley "WG" Army Model - .455 Webley]] |
| − | [[Image:Flanagan WebleyMkVI.jpg|thumb|none|600px|Flanagan ([[Jon Blake]]) fires his Webley | + | |
| + | [[Image:Flanagan WebleyMkVI.jpg|thumb|none|600px|Flanagan ([[Jon Blake]]) fires his Webley "WG" Army Model at a German soldier during a trench raid.]] | ||
[[Image:Marty WebleyMkVI.jpg|thumb|none|600px|Martin Barrington ([[Andrew Clarke]]) with his Webley during the Anzac advance in Menin Road, Passchendaele.]] | [[Image:Marty WebleyMkVI.jpg|thumb|none|600px|Martin Barrington ([[Andrew Clarke]]) with his Webley during the Anzac advance in Menin Road, Passchendaele.]] | ||
[[Image:Flanagan WebleyMkVI 2.jpg|thumb|none|600px|Flanagan with his Webley in Amiens.]] | [[Image:Flanagan WebleyMkVI 2.jpg|thumb|none|600px|Flanagan with his Webley in Amiens.]] | ||
| Line 83: | Line 119: | ||
===Webley & Scott Signal Pistol=== | ===Webley & Scott Signal Pistol=== | ||
| − | Max Earnshaw ( | + | Max Earnshaw (David Lynch) uses a [[Webley & Scott Signal Pistols|Webley & Scott Signal Pistol]] to signal the success of the attack on the German bunkers at Broodseinde Ridge, Passchendaele, before he is wounded by a German shell. |
| − | [[Image:Webley & Scott MkIII Signal.jpg|thumb|none| | + | [[Image:Webley & Scott MkIII Signal.jpg|thumb|none|300px|Webley & Scott MkIII Signal Pistol - 1 inch]] |
| − | [[Image:Earnshaw VereyLight.jpg|thumb|none|600px|Max Earnshaw ( | + | [[Image:Earnshaw VereyLight.jpg|thumb|none|600px|Max Earnshaw (David Lynch) loads a Webley & Scott MkIII Signal Pistol.]] |
[[Image:Earnshaw VereyLight 2.jpg|thumb|none|600px|Earnshaw fires a Green flare from the Webley & Scott.]] | [[Image:Earnshaw VereyLight 2.jpg|thumb|none|600px|Earnshaw fires a Green flare from the Webley & Scott.]] | ||
==Grenades== | ==Grenades== | ||
===Jam Tin Grenade=== | ===Jam Tin Grenade=== | ||
| − | Bill Harris ([[Johnathon Sweet]]), Flanagan ([[Jon Blake]]) and Dick Baker ([[Mark Hembrow]]) use the Jam Tin Grenade at Gallipoli. This improvised grenade was constructed from empty jam (or bully beef) tins packed with gunpowder or dynamite. | + | Bill Harris ([[Johnathon Sweet]]), Flanagan ([[Jon Blake]]) and Dick Baker ([[Mark Hembrow]]) use the [[Jam Tin Grenade]] at Gallipoli. This improvised grenade was constructed from empty jam (or bully beef) tins packed with gunpowder or dynamite. |
[[Image:Gws-jamtinbomb.jpg|thumb|none|300px|Jam Tin Grenade]] | [[Image:Gws-jamtinbomb.jpg|thumb|none|300px|Jam Tin Grenade]] | ||
[[Image:Dick Flanagan JamTinBomb.jpg|thumb|none|600px|Flanagan ([[Jon Blake]]) lights a Jam Tin Grenade held by Dick Baker ([[Mark Hembrow]]) with his cigarette.]] | [[Image:Dick Flanagan JamTinBomb.jpg|thumb|none|600px|Flanagan ([[Jon Blake]]) lights a Jam Tin Grenade held by Dick Baker ([[Mark Hembrow]]) with his cigarette.]] | ||
[[Image:Bill JamTinBomb.jpg|thumb|none|600px|Bill Harris ([[Johnathon Sweet]]) demonstrates to the soldiers the proper way to make a Jam Tin Grenade.]] | [[Image:Bill JamTinBomb.jpg|thumb|none|600px|Bill Harris ([[Johnathon Sweet]]) demonstrates to the soldiers the proper way to make a Jam Tin Grenade.]] | ||
| − | ===No 15 Grenade=== | + | ===No. 15 Hand Grenade "Ball"=== |
| − | The main weapon of the Anzacs (including Martin Barrington ([[Andrew Clarke]]) at Gallipoli is the No 15 Grenade, before it is replaced by the [[Mills Bomb]] in France. Turkish soldiers also use the No 15 Grenade. | + | The main weapon of the Anzacs (including Martin Barrington ([[Andrew Clarke]]) at Gallipoli is the [[No. 15 Hand Grenade "Ball"]], before it is replaced by the [[Mills Bomb]] in France. Turkish soldiers also use the No 15 Grenade. |
| − | [[Image:Nov15a.jpg|thumb|none|150px|No 15 Grenade]] | + | [[Image:Nov15a.jpg|thumb|none|150px|No. 15 Hand Grenade "Ball".]] |
| − | [[Image:Marty No15Bomb.jpg|thumb|none|600px|Martin Barrington ([[Andrew Clarke]]) lights a No 15 Grenade in Lone Pine.]] | + | [[Image:Marty No15Bomb.jpg|thumb|none|600px|Martin Barrington ([[Andrew Clarke]]) lights a No. 15 Hand Grenade "Ball" in Lone Pine.]] |
| − | [[Image:Turkish No15Bomb.jpg|thumb|none|600px|A Turkish soldier drops a No 15 Grenade into the Gallipoli trenches.]] | + | [[Image:Turkish No15Bomb.jpg|thumb|none|600px|A Turkish soldier drops a No. 15 Hand Grenade "Ball" into the Gallipoli trenches.]] |
===Mills Bomb=== | ===Mills Bomb=== | ||
| Line 109: | Line 145: | ||
[[Image:Pat MillsBomb 2.jpg|thumb|none|600px|Pat shows the Mills Bomb, its pin only partially in place, to the Germans, convincing them not to do anything stupid.]] | [[Image:Pat MillsBomb 2.jpg|thumb|none|600px|Pat shows the Mills Bomb, its pin only partially in place, to the Germans, convincing them not to do anything stupid.]] | ||
| − | = | + | =Central Powers Weapons= |
==Rifles== | ==Rifles== | ||
===Mauser Gewehr 1898=== | ===Mauser Gewehr 1898=== | ||
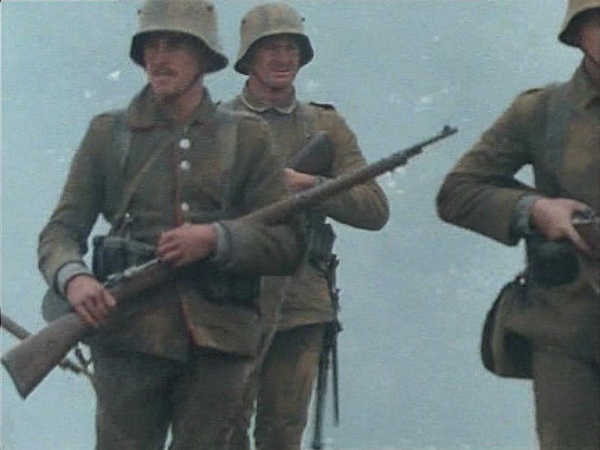
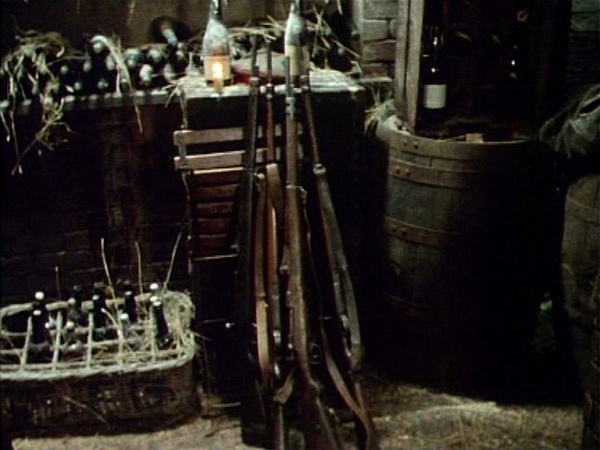
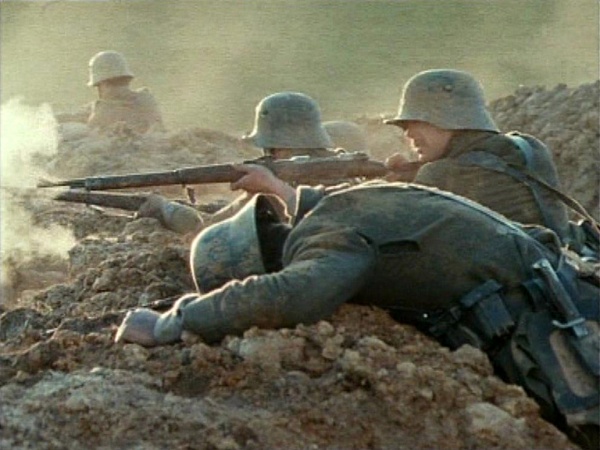
The main weapon of the German soldiers is the [[Mauser Gewehr 1898]]. Turkish soldiers also use them. (This is incorrect; they should be using the [[Mauser Rifle Series|1903 Turkish Mauser]]). | The main weapon of the German soldiers is the [[Mauser Gewehr 1898]]. Turkish soldiers also use them. (This is incorrect; they should be using the [[Mauser Rifle Series|1903 Turkish Mauser]]). | ||
| − | [[Image:Mauser g98.jpg|thumb|none| | + | [[Image:Mauser g98.jpg|thumb|none|450px|Mauser Gewehr 1898 - 7.92x57mm Mauser]] |
[[Image:Turkish Gewehr1898.jpg|thumb|none|600px|A Turkish soldier fires a Mauser Gewehr 1898 at the Anzacs on the Gallipoli bluffs in defense of a machine gun nest.]] | [[Image:Turkish Gewehr1898.jpg|thumb|none|600px|A Turkish soldier fires a Mauser Gewehr 1898 at the Anzacs on the Gallipoli bluffs in defense of a machine gun nest.]] | ||
[[Image:Turkish Gewehr1898 2.jpg|thumb|none|600px|A Turkish soldier aims his Mauser.]] | [[Image:Turkish Gewehr1898 2.jpg|thumb|none|600px|A Turkish soldier aims his Mauser.]] | ||
[[Image:German Gewehr1898s.jpg|thumb|none|600px|German soldiers with their Mauser rifles in a Somme foxhole.]] | [[Image:German Gewehr1898s.jpg|thumb|none|600px|German soldiers with their Mauser rifles in a Somme foxhole.]] | ||
[[Image:Deserter Gewehr1898.jpg|thumb|none|600px|The deserter on the right carries a Mauser rifle.]] | [[Image:Deserter Gewehr1898.jpg|thumb|none|600px|The deserter on the right carries a Mauser rifle.]] | ||
| − | [[Image:German Gewehr1898.jpg|thumb|none|600px|A German soldier fires his Mauser rifle from a machine gun nest.]] | + | [[Image:German Gewehr1898 a.jpg|thumb|none|600px|A German soldier fires his Mauser rifle from a machine gun nest.]] |
[[Image:German Gewehr1898 2.jpg|thumb|none|600px|A German soldier advancing on the Anzac positions at Amiens with his Mauser rifle.]] | [[Image:German Gewehr1898 2.jpg|thumb|none|600px|A German soldier advancing on the Anzac positions at Amiens with his Mauser rifle.]] | ||
[[Image:German Gewehr1898s 2.jpg|thumb|none|600px|Several Mauser rifles propped up against a bar chair.]] | [[Image:German Gewehr1898s 2.jpg|thumb|none|600px|Several Mauser rifles propped up against a bar chair.]] | ||
| Line 125: | Line 161: | ||
[[Image:German Gewehr1898 4.jpg|thumb|none|600px|A German soldier (somewhat ineffectively) fires his Mauser at an oncoming Cambrai tank.]] | [[Image:German Gewehr1898 4.jpg|thumb|none|600px|A German soldier (somewhat ineffectively) fires his Mauser at an oncoming Cambrai tank.]] | ||
[[Image:German Gewehr1898 5.jpg|thumb|none|600px|A German soldier fires his Mauser.]] | [[Image:German Gewehr1898 5.jpg|thumb|none|600px|A German soldier fires his Mauser.]] | ||
| + | |||
| + | ==Machine Guns== | ||
| + | ===Maxim MG08=== | ||
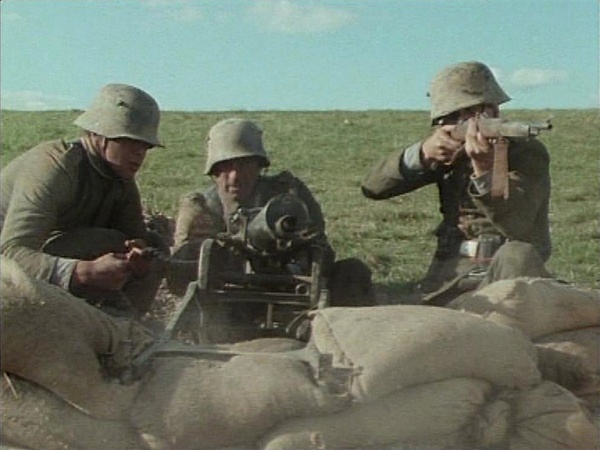
| + | German soldiers use the [[Maxim#Maxim MG08|Maxim MG08]] machine gun throughout the series, mainly in a support or defensive role. Turkish soldiers also use them at Gallipoli. Dick Baker ([[Mark Hembrow]]) dismantles one after capture to prevent its re-use by the enemy. | ||
| + | [[Image:MaximMG08.jpg|thumb|none|400px|Maxim MG08 - 7.92x57mm]] | ||
| + | [[Image:Turkish MaximMG08.jpg|thumb|none|600px|A Turkish soldier fires the Maxim MG08 at advancing Anzacs at Gallipoli.]] | ||
| + | [[Image:Dick MaximMG08.jpg|thumb|none|600px|Dick Baker ([[Mark Hembrow]]) removes the firing pin from the machine gun to prevent enemy use.]] | ||
| + | [[Image:German MaximMG08Somme.jpg|thumb|none|600px|German soldiers hurriedly reposition the Maxim to prevent enemy flanking at the Somme.]] | ||
| + | [[Image:German MaximMG08 2Somme.jpg|thumb|none|600px|The German crew fire the Maxim.]] | ||
| + | [[Image:German MaximMG08 3.jpg|thumb|none|600px|German soldiers fire at Anzacs in a supporting role during the Amiens battle.]] | ||
| + | [[Image:German MaximMG08 4.jpg|thumb|none|600px|Close-up of the Maxim barrel.]] | ||
| + | [[Image:German MaximMG08 5.jpg|thumb|none|600px|German soldiers fire uselessly at an oncoming Cambrai tank at Hamel.]] | ||
| + | [[Image:German MaximMG08 6.jpg|thumb|none|600px|A German soldier cocks the Maxim gun, preparing to ambush oncoming Anzacs at Hamel.]] | ||
| + | |||
| + | ===Maxim MG08/15=== | ||
| + | German soldiers can be seen using the [[Maxim#Maxim MG08/15|Maxim MG08/15]] as a light machine gun, fitted with a drum magazine. An Australian soldier captures one during a trench raid in the Somme. | ||
| + | [[Image:Maxim MG08-15.jpg|thumb|none|450px|Maxim MG08/15 - 7.92x57mm Mauser]] | ||
| + | [[Image:Australian MaximMG08 15.jpg|thumb|none|600px|An Australian soldier with a captured Maxim MG08/15 in the Somme trenches.]] | ||
| + | [[Image:German MaximMG08 15.jpg|thumb|none|600px|The German soldier on the right is cut down with his Maxim MG08/15.]] | ||
| + | |||
| + | ==Grenades== | ||
| + | ===Model 17 Stielhandgranate=== | ||
| + | German soldiers use the [[Model 17 Stielhandgranate]] as a primary hand grenade. Alec "Pudden" Parsons ([[Alec Wilson]]) can be seen packing several into a tin in the Somme. | ||
| + | [[Image:German ww1 hand grenade.jpg|thumb|none|300px|Model 17 Stielhandgranate "Potato Masher" high-explosive fragmentation hand grenade]] | ||
| + | [[Image:Pudden PotatoMasher.jpg|thumb|none|600px|Alec "Pudden" Parsons ([[Alec Wilson]]) preparing a crate of Model 17 Stielhandgranate's for use against the Germans in the Somme.]] | ||
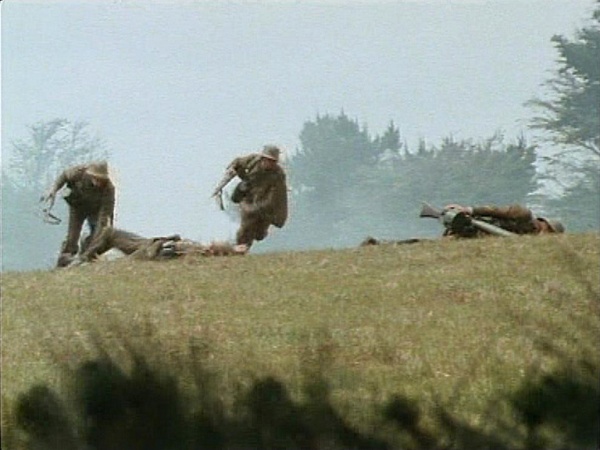
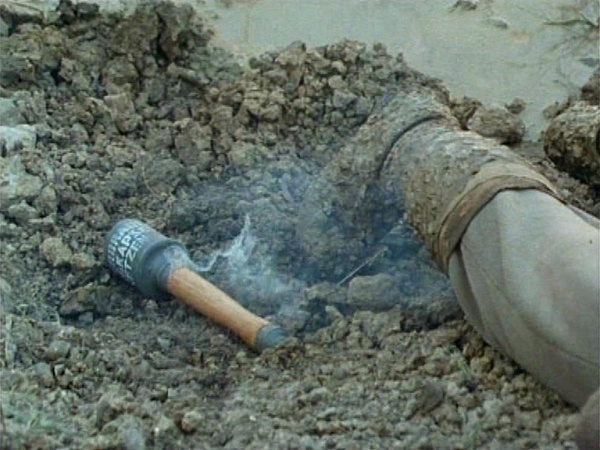
| + | [[Image:German PotatoMasher 3.jpg|thumb|none|600px|A smoking Stielhandgranate lands in the Anzac foxhole on the Hindenburg Line.]] | ||
[[Category:Television]] | [[Category:Television]] | ||
Revision as of 01:57, 18 December 2019
| ||||||||||||||||||||||||||||||||||||||||||||
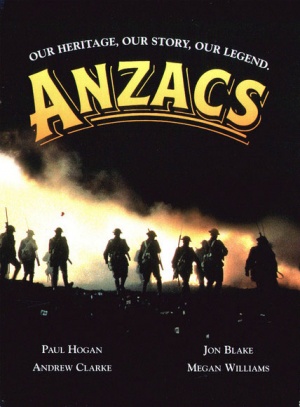
Anzacs is a 1985 Australian TV miniseries. Set during the First World War, it follows several Australians as they enlist in the Army during World War One, from joining up to homecoming, and the battles that made the Anzac name famous, such as Gallipoli, the Somme, Passchendaele and Hamel.
The following weapons can be seen in the miniseries Anzacs:
Allied Weapons
Rifles
Lee-Enfield No. 1 Mk III*
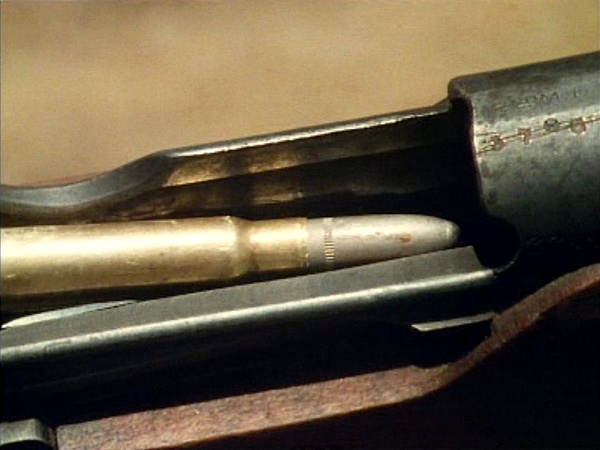
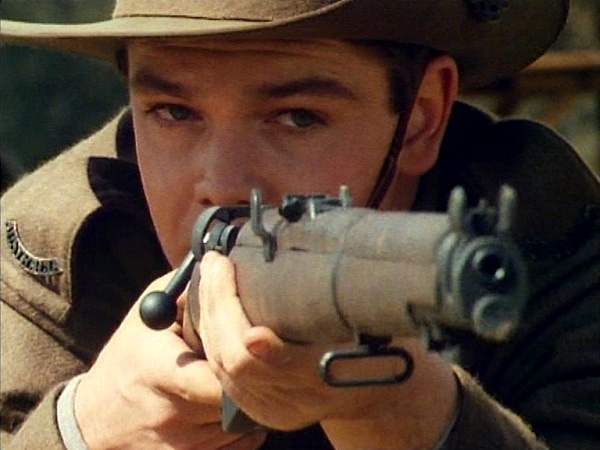
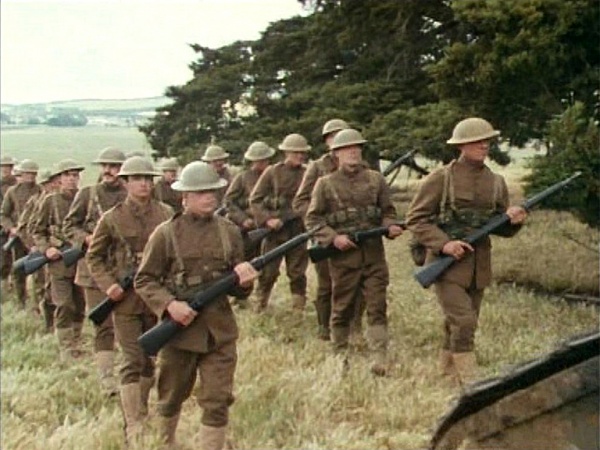
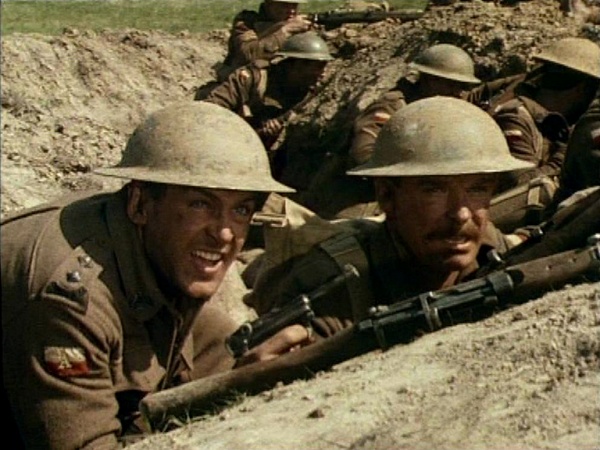
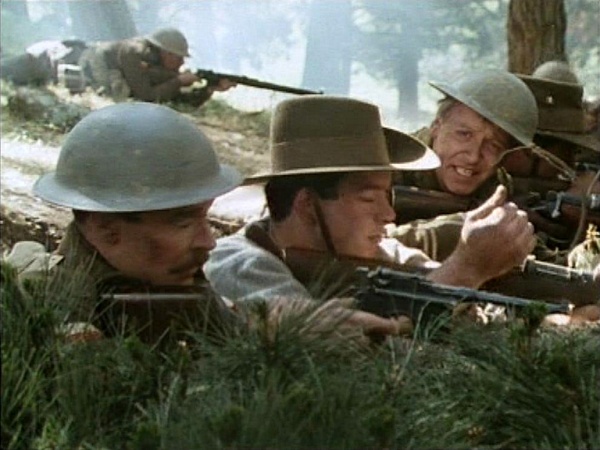
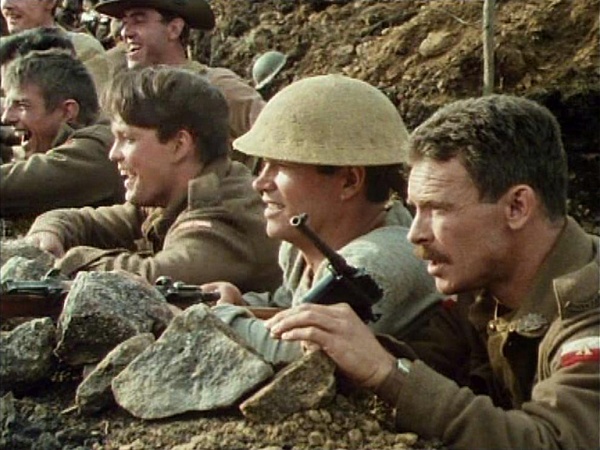
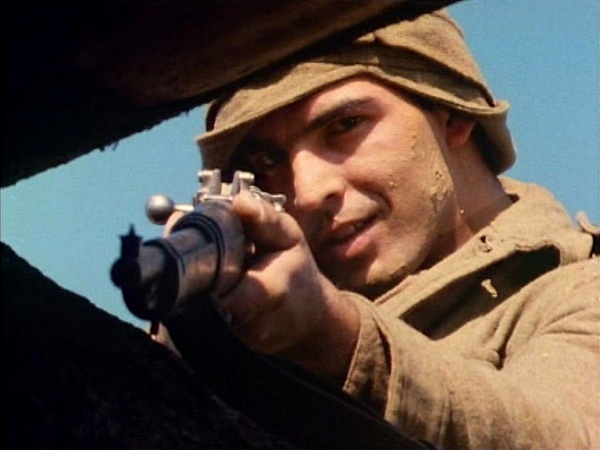
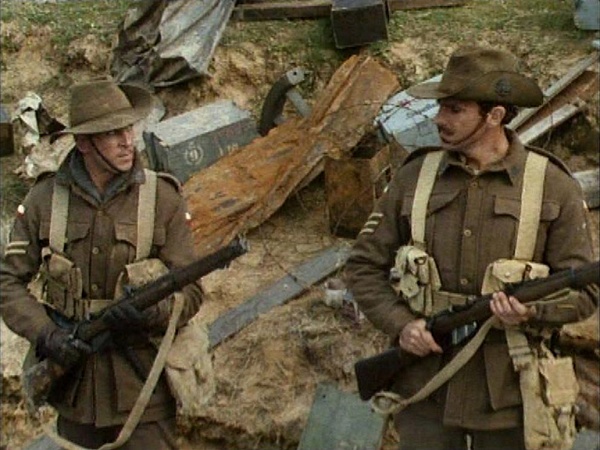
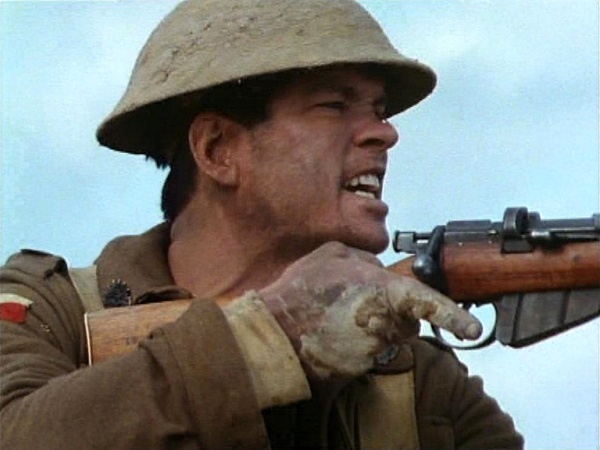
The main weapon of the Anzacs is the Lee-Enfield No. 1 Mk III*, including Martin "Marty" Barrington (Andrew Clarke), Flanagan (Jon Blake), Roly Collins (Christopher Cummins), Alec "Pudden" Parsons (Alec Wilson), Sgt. Tom MacArthur (Patrick Ward) and Dick Baker (Mark Hembrow).
Lee-Enfield No.1 Mk.III
Some Anzacs carry the older Lee-Enfield No. 1 Mk III rifle.
M1917 Enfield
American soldiers can at one point be seen drilling with M1917 Enfield rifles. It should be noted that units of the American Expeditionary Force that were attached to Australian and British Army units re-equipped themselves with the Lee-Enfield No. 1 Mk III* rifle for the rest of the First World War.
Machine Guns
Lewis Gun
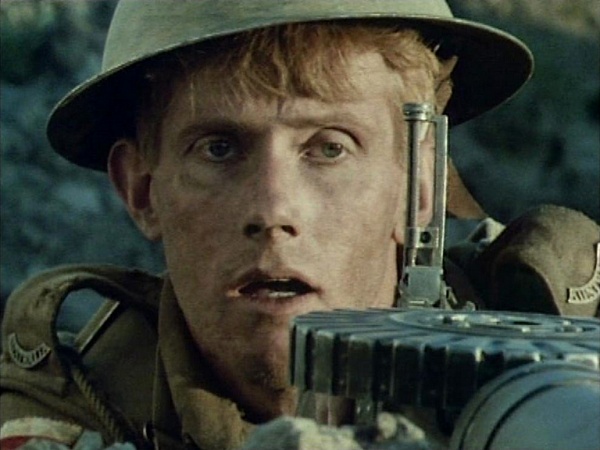
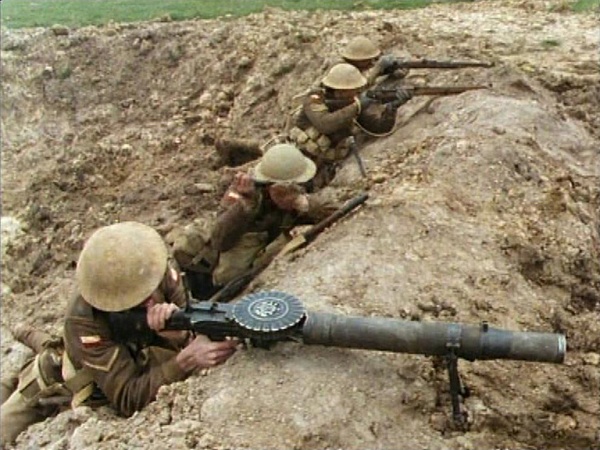
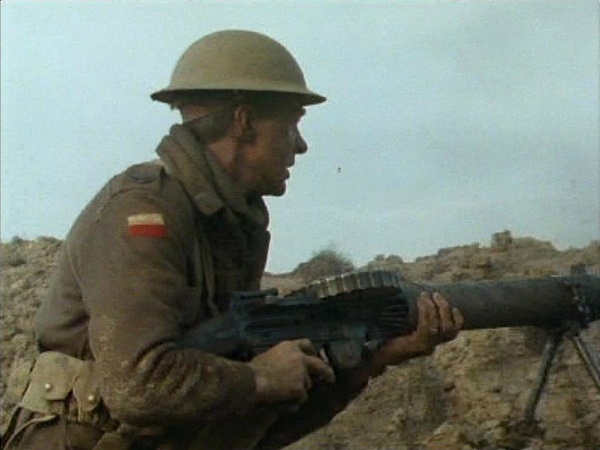
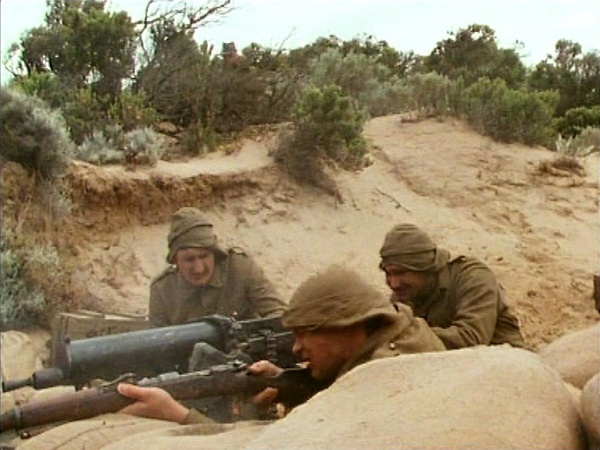
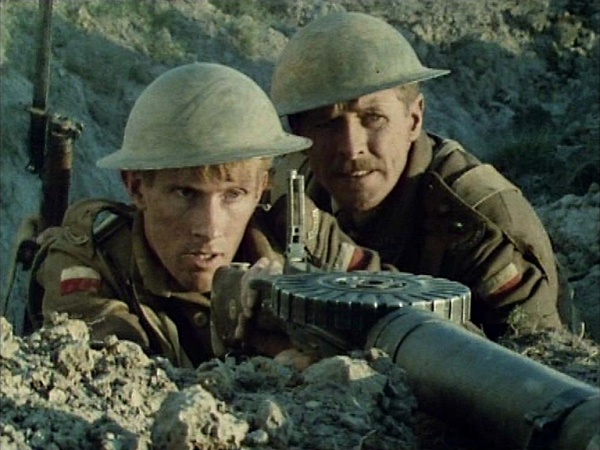
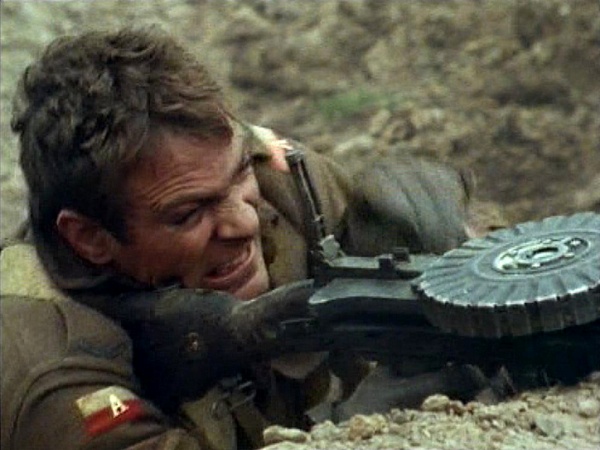
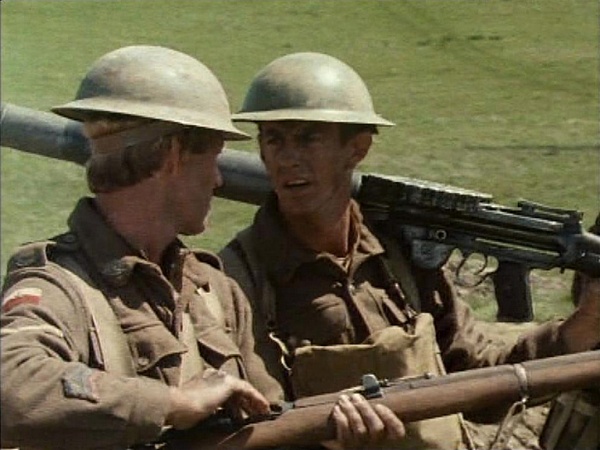
Cpl. 'Bluey' (Peter Finlay) carries a Lewis Gun, which he mainly uses in a support role. Other soldiers that can be seen operating the weapon are Wilhelm "Kaiser" Schmidt (Shane Briant), Sergeant Tom MacArthur (Patrick Ward) and Carter (Peter Browne).
Vickers Mk1 Machine Gun
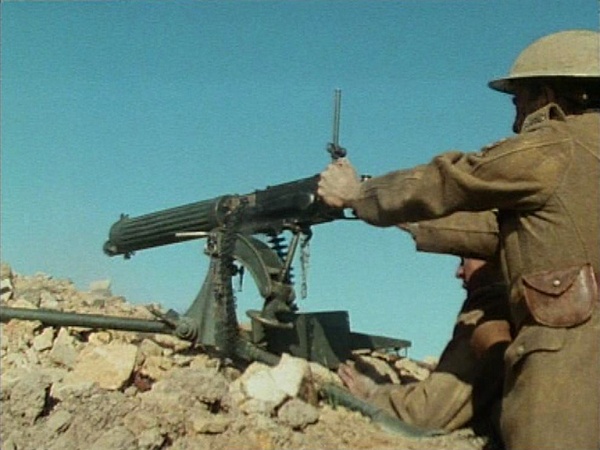
British soldiers use a pair of Vickers Mk1 Machine Guns in a demonstration for the Anzacs when they first arrive in France. British soldiers use one to repel a German attack in Amiens.
Sidearms
Luger P08
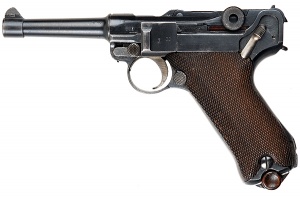
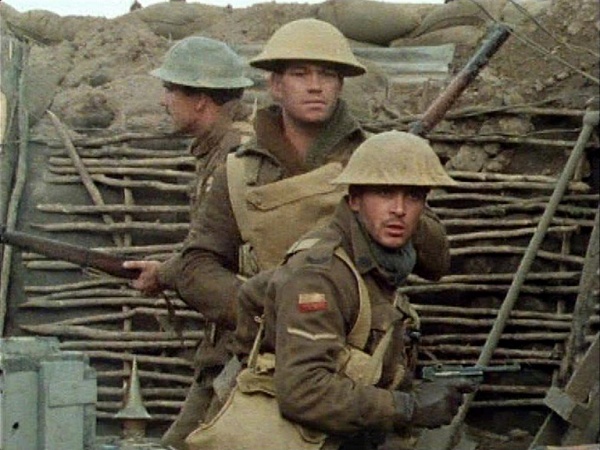
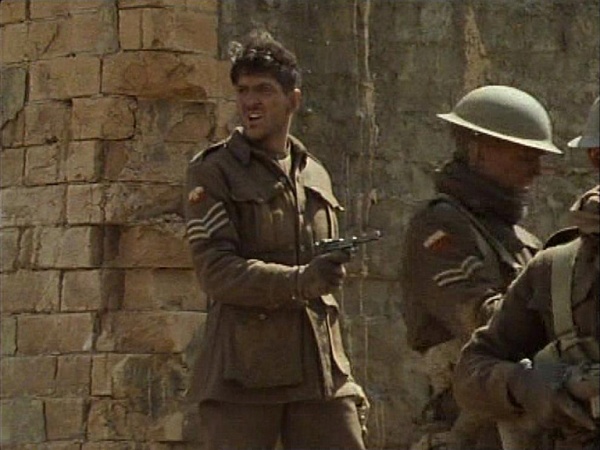
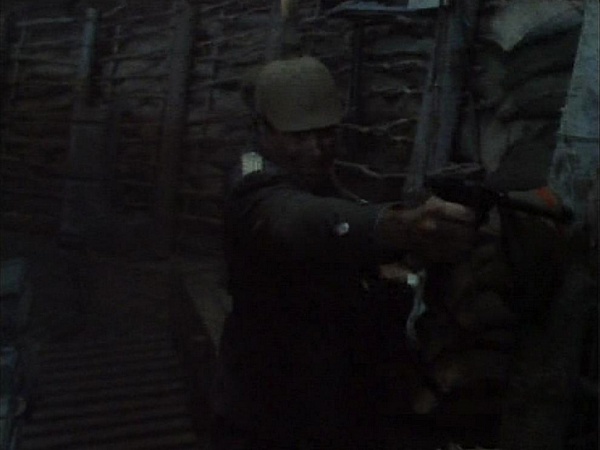
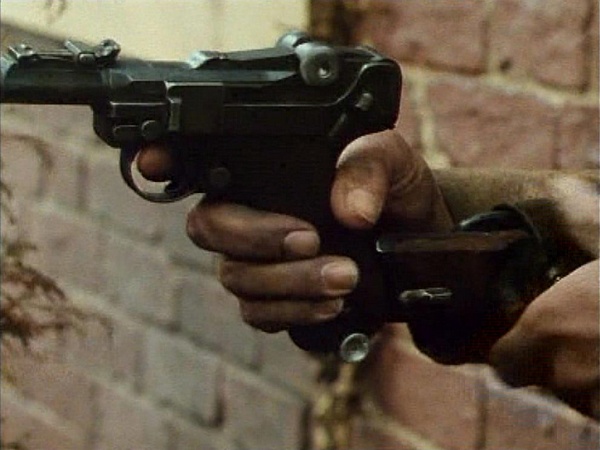
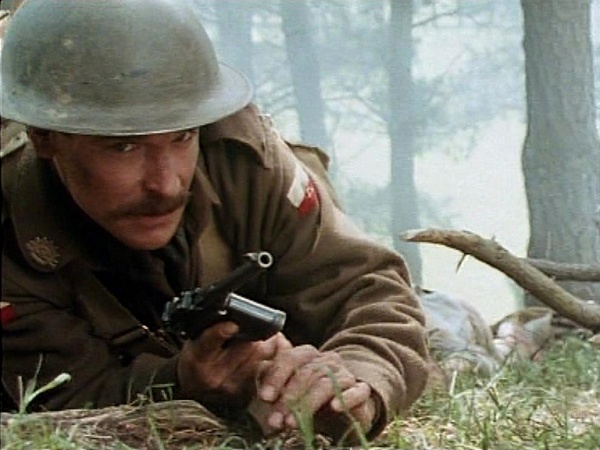
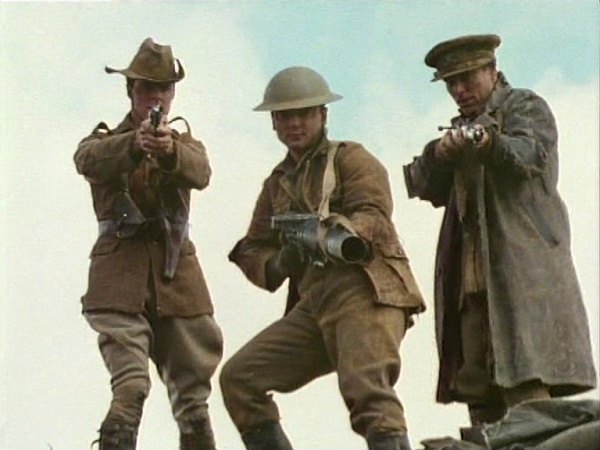
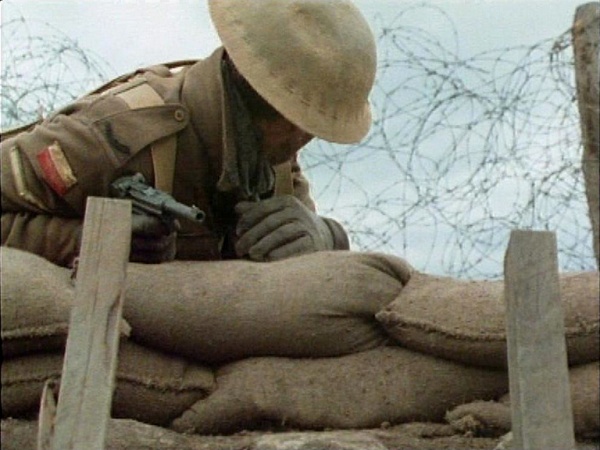
Flanagan (Jon Blake) uses a Luger P08 throughout the series. An Australian officer also uses one in Hamel.
Luger P08 "Artillery"
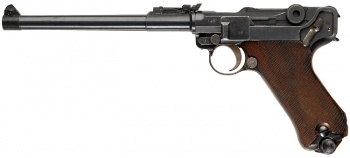
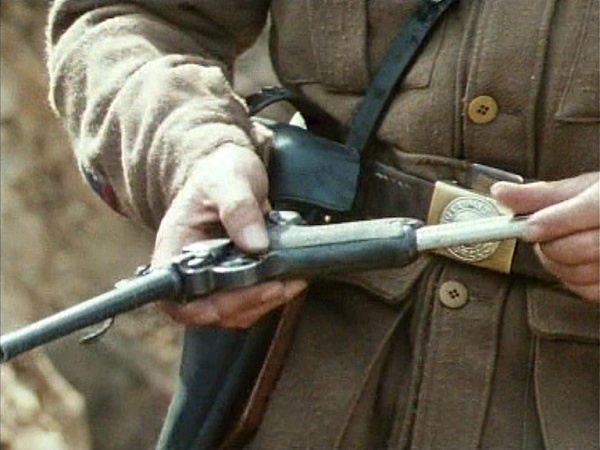
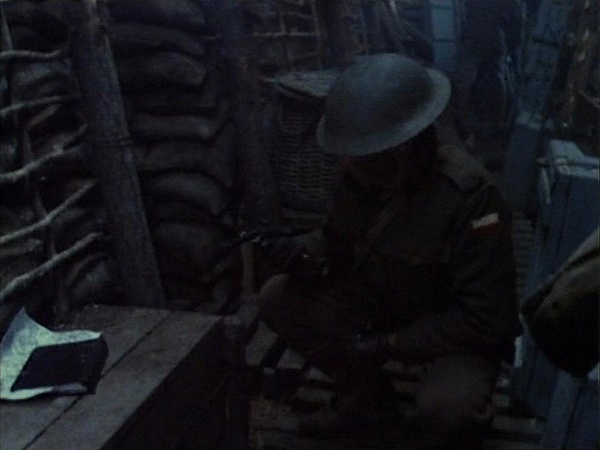
Pat Cleary (Paul Hogan) captures a long-barreled Luger P08 "Artillery" model from a dead German in a trench raid in the Somme. He later uses it to capture several Germans in a basement tavern, mounting it on a "Broomhandle" stock similar to the one used on the Mauser C96.
Mauser C96 "Broomhandle"
Bill Harris (Johnathon Sweet) uses a Mauser C96 pistol with a "Broomhandle" stock.
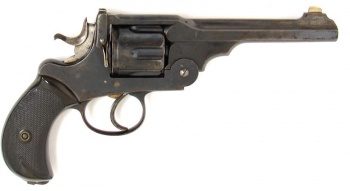
Webley "WG" Army
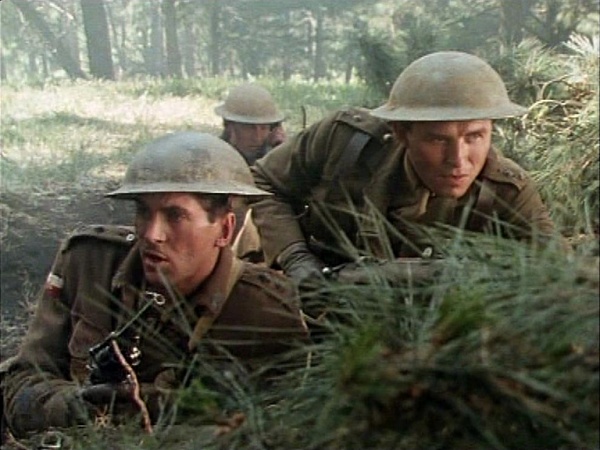
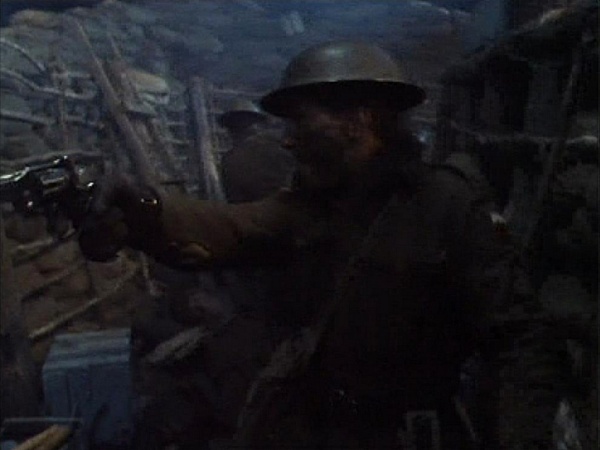
Martin Barrington (Andrew Clarke) and Flanagan (Jon Blake) use the Webley "WG" Army Model Revolver throughout the series.
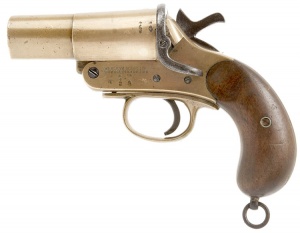
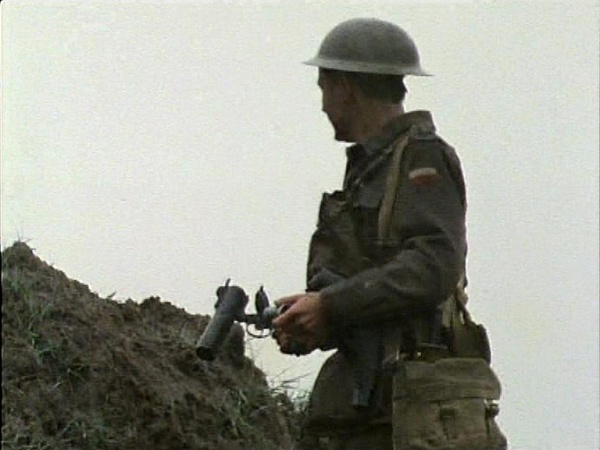
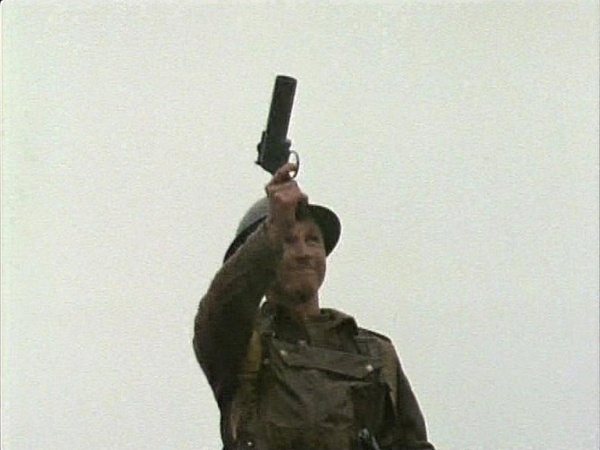
Webley & Scott Signal Pistol
Max Earnshaw (David Lynch) uses a Webley & Scott Signal Pistol to signal the success of the attack on the German bunkers at Broodseinde Ridge, Passchendaele, before he is wounded by a German shell.
Grenades
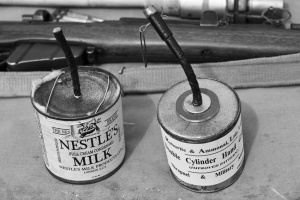
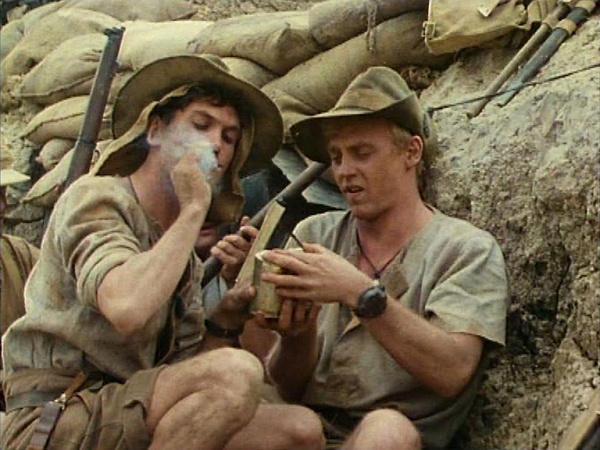
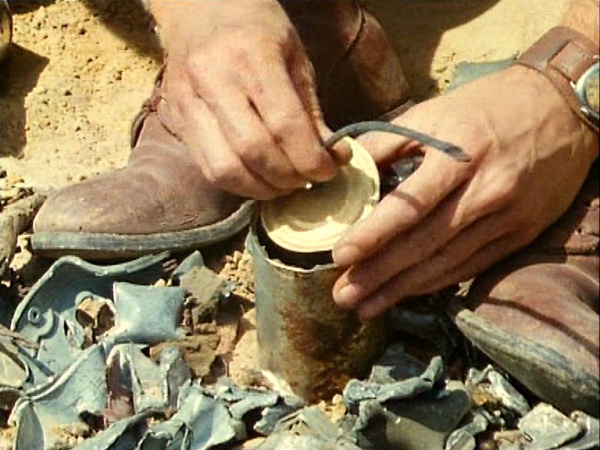
Jam Tin Grenade
Bill Harris (Johnathon Sweet), Flanagan (Jon Blake) and Dick Baker (Mark Hembrow) use the Jam Tin Grenade at Gallipoli. This improvised grenade was constructed from empty jam (or bully beef) tins packed with gunpowder or dynamite.
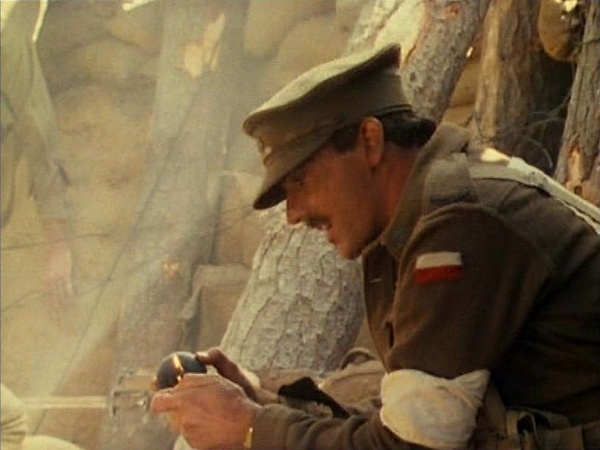
No. 15 Hand Grenade "Ball"
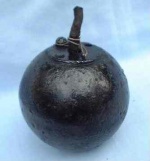
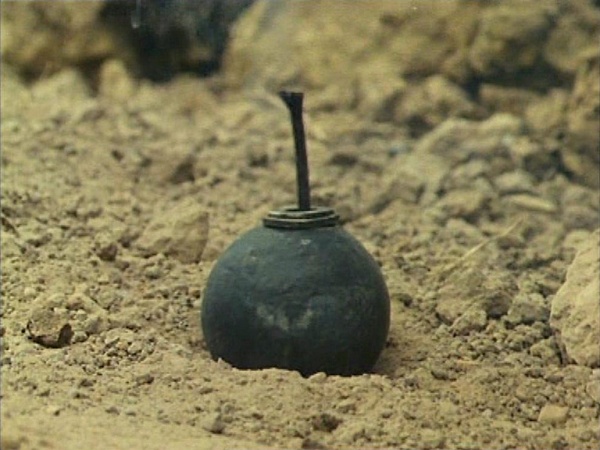
The main weapon of the Anzacs (including Martin Barrington (Andrew Clarke) at Gallipoli is the No. 15 Hand Grenade "Ball", before it is replaced by the Mills Bomb in France. Turkish soldiers also use the No 15 Grenade.
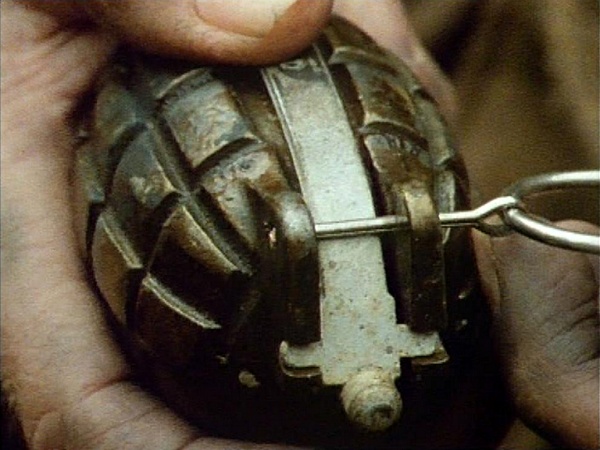
Mills Bomb
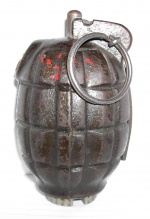
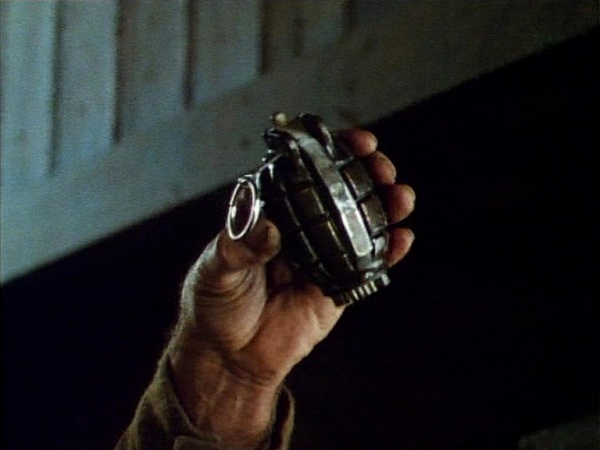
The Mills Bomb is used by the Anzacs, including Martin Barrington (Andrew Clarke), Flanagan (Jon Blake) and Pat Cleary (Paul Hogan), after Gallipoli.
Central Powers Weapons
Rifles
Mauser Gewehr 1898
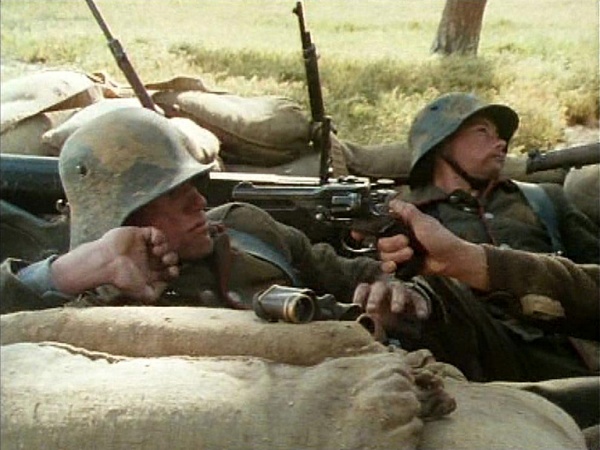
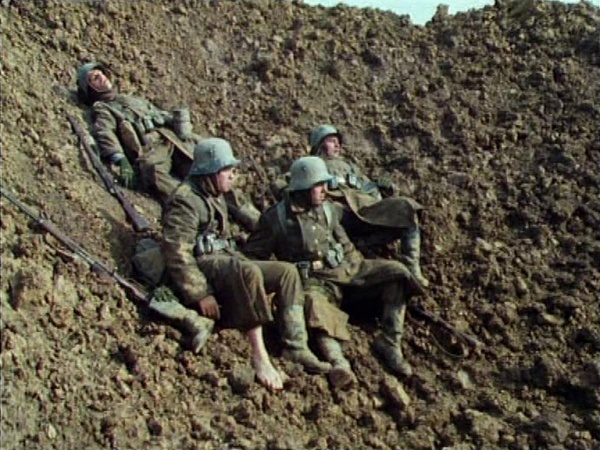
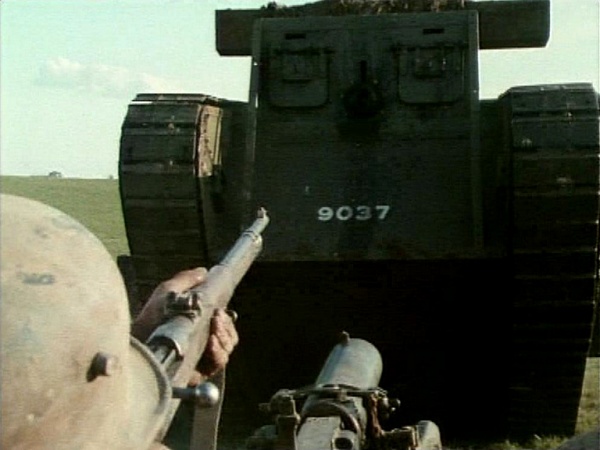
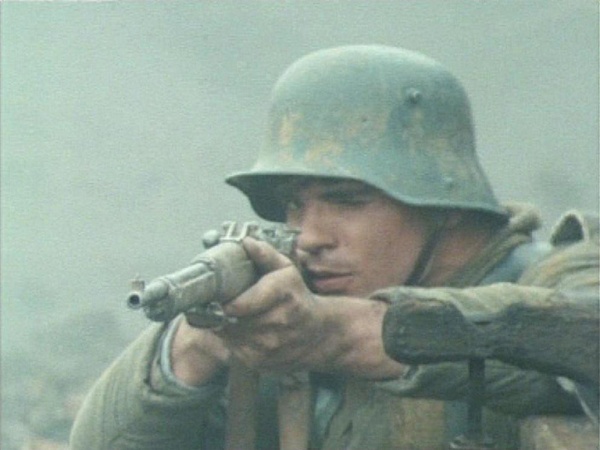
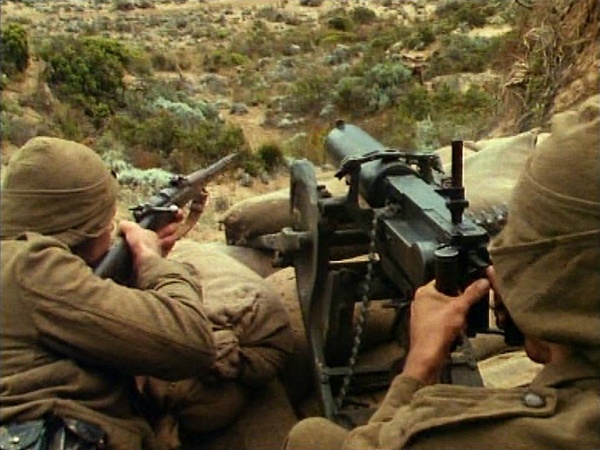
The main weapon of the German soldiers is the Mauser Gewehr 1898. Turkish soldiers also use them. (This is incorrect; they should be using the 1903 Turkish Mauser).
Machine Guns
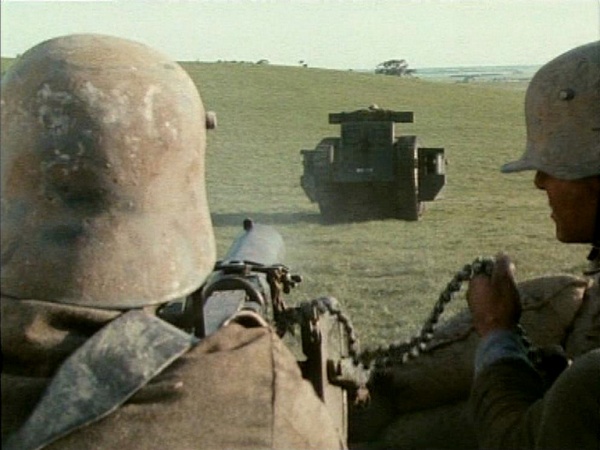
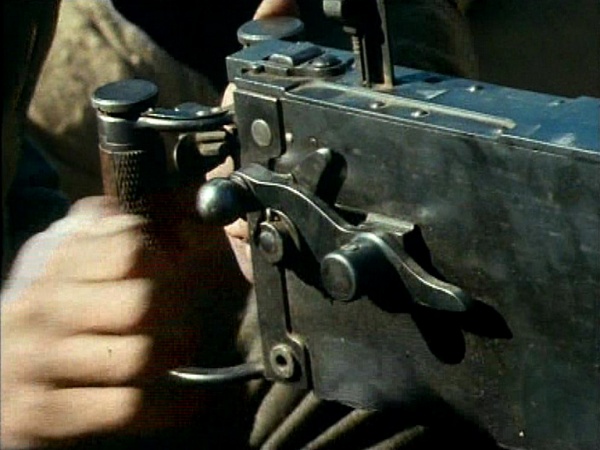
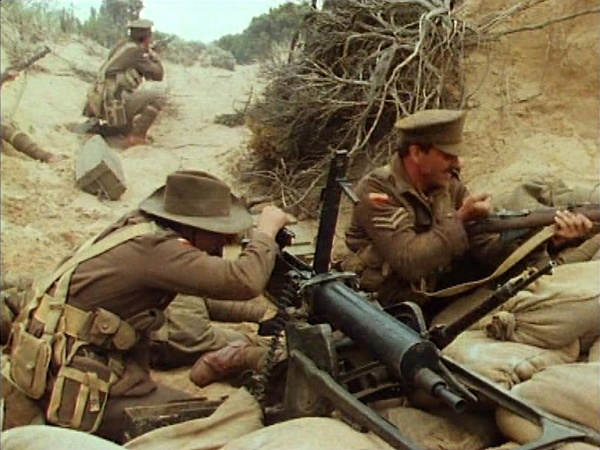
Maxim MG08
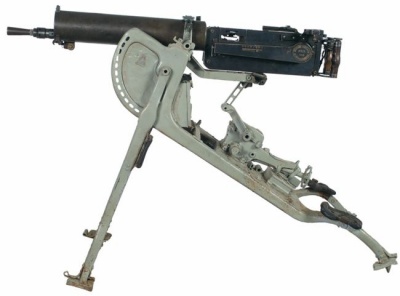
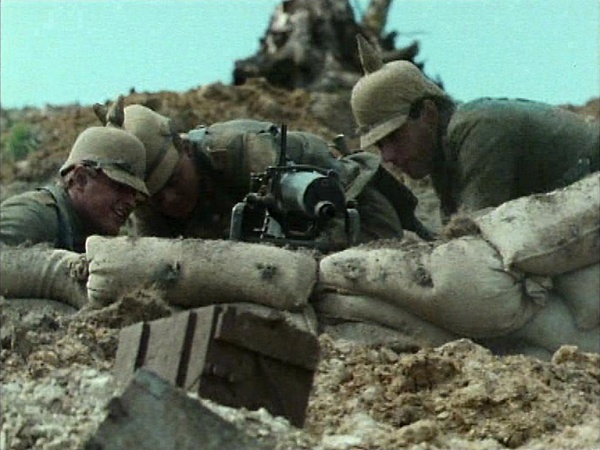
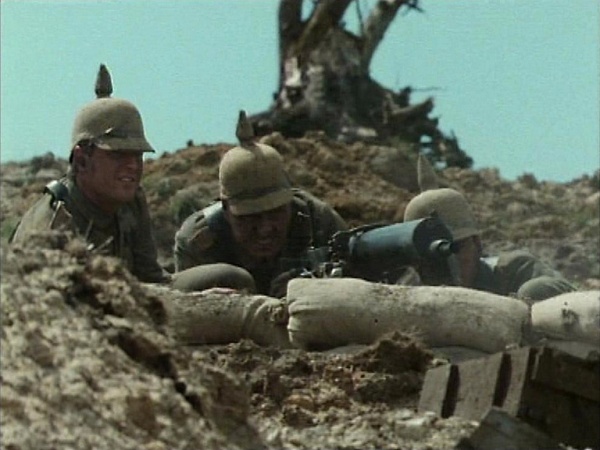
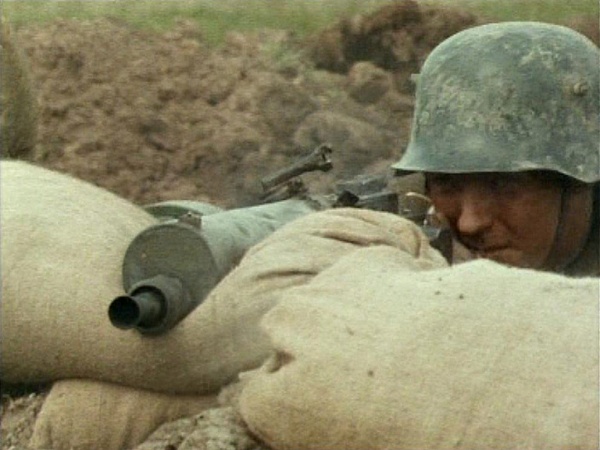
German soldiers use the Maxim MG08 machine gun throughout the series, mainly in a support or defensive role. Turkish soldiers also use them at Gallipoli. Dick Baker (Mark Hembrow) dismantles one after capture to prevent its re-use by the enemy.
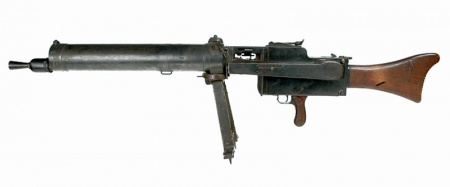
Maxim MG08/15
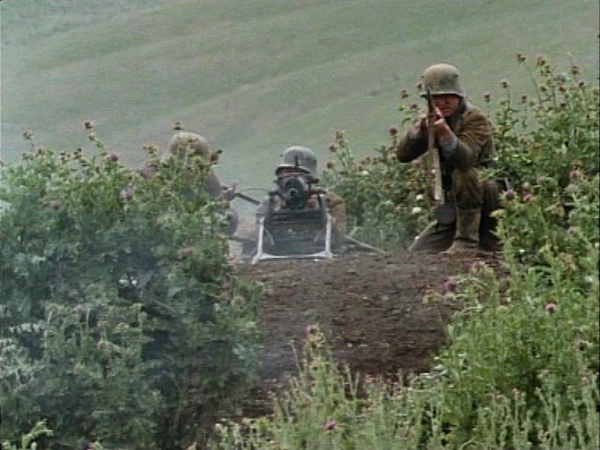
German soldiers can be seen using the Maxim MG08/15 as a light machine gun, fitted with a drum magazine. An Australian soldier captures one during a trench raid in the Somme.
Grenades
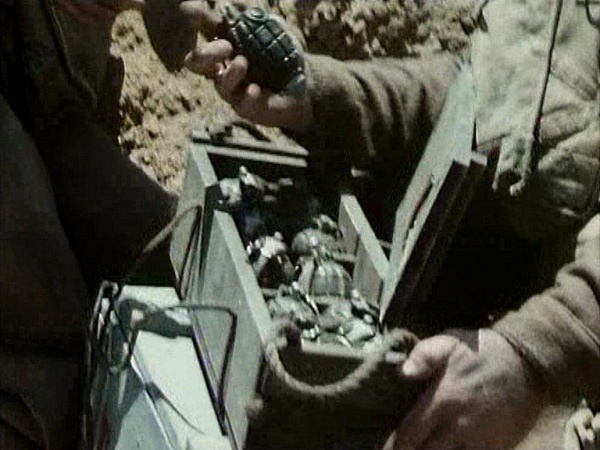
Model 17 Stielhandgranate
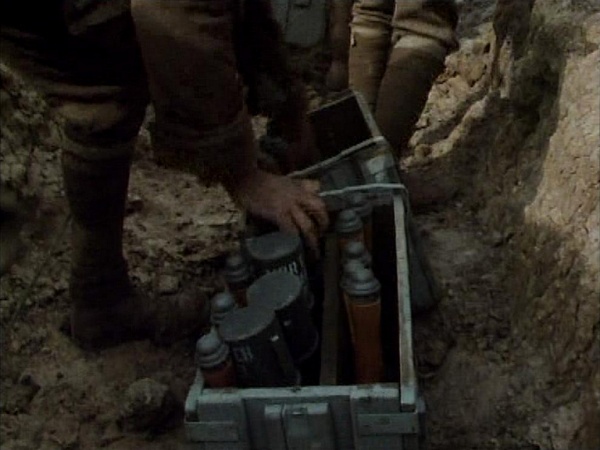
German soldiers use the Model 17 Stielhandgranate as a primary hand grenade. Alec "Pudden" Parsons (Alec Wilson) can be seen packing several into a tin in the Somme.
